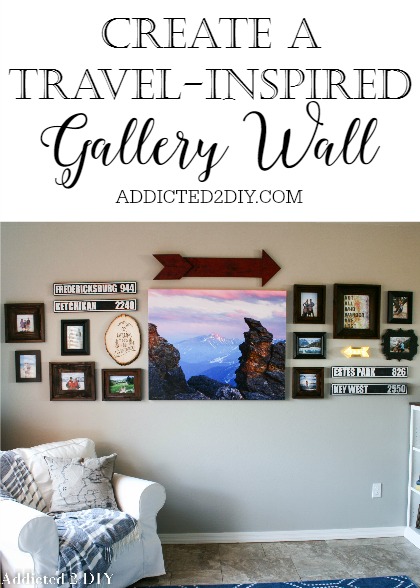
Hey there everyone! Today I’m going to show you how I created this travel-inspired gallery wall. I’ve been wanting to create a gallery wall in my den for quite some time, but it was always so hard to figure out exactly how to put it together. Part of my problem was the sheer size of the wall in this room. It’s pretty long and really needs a lot of pictures to fill the space.
The other problem was that we have this huge wrapped canvas picture that my father-in-law gave us as a wedding gift almost 10 years ago. It’s a picture of Long’s Peak (aka my husband’s nemesis) in the Rocky Mountains. Hanging by itself, it looked so out of place. Trying to find another place in our house to hang it was virtually impossible. We just don’t have a place for it. I toyed with the idea of getting rid of it, but I knew that wouldn’t fly with my husband. I decided to channel Tim Gunn and “make it work.”
We LOVE to travel, so I finally came up with the idea of creating a gallery wall of our many travels. Once I came up with that idea, I realized that our entire den could be a place to showcase pictures and items from our travels. Then came the challenge of figuring out the layout of the wall.
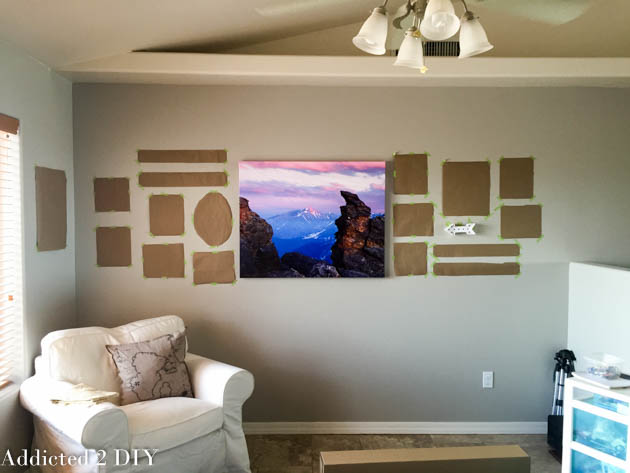
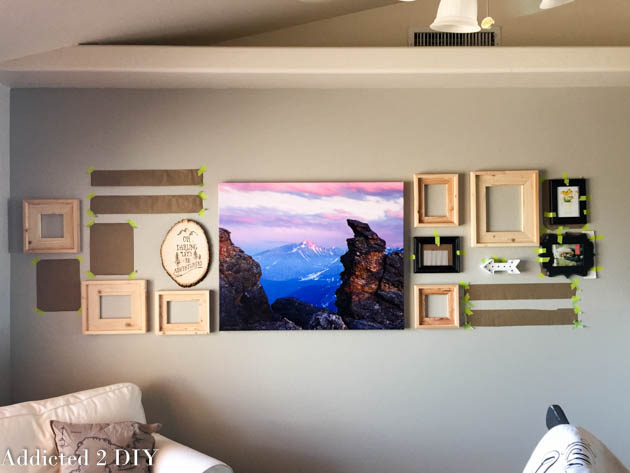
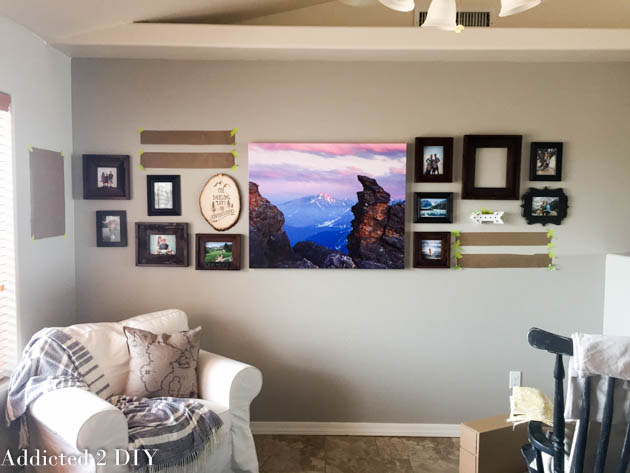
Planning the gallery wall was no quick task. It took quite a bit of time to really figure out how I wanted it to look and what pictures I could hang on the wall. After I had an idea of what pictures I wanted to hang, I cut some paper and taped it on the wall to play with the layout. This is the perfect way to really get a feel for the layout and tweak it if needed.
I searched high and low for the perfect frames, but the prices were absolutely insane! I ended up building my own frames and then grabbing some that I already had to mix things up a bit. I really wanted this wall to be perfect, so I was constantly playing with the layout to make sure everything was just right.
I stained the frames that I built and hung them on the wall with Command Picture-Hanging strips (affiliate link). These things are lifesavers! After filling countless holes in the wall when I painted this room, I was not about to nail a bunch more into it. I bought several packages of the strips and stuck them onto the backs of my frames. It made hanging them so much easier.
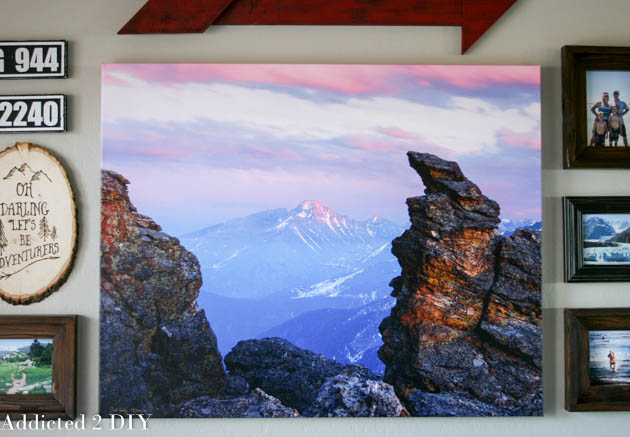
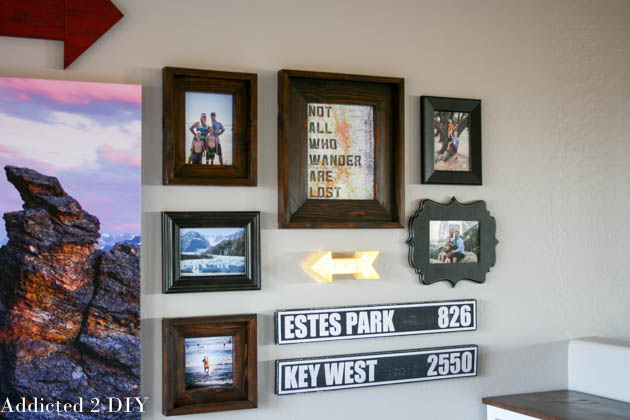
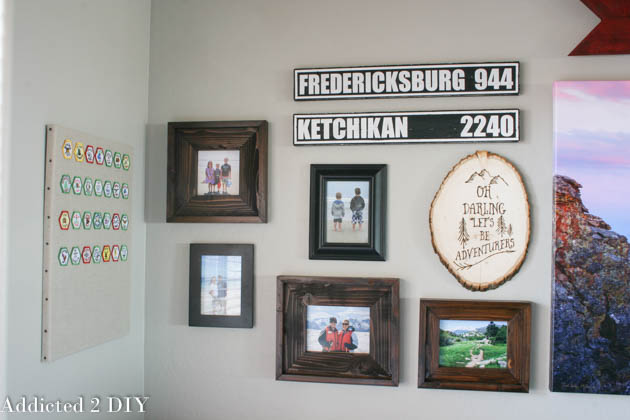
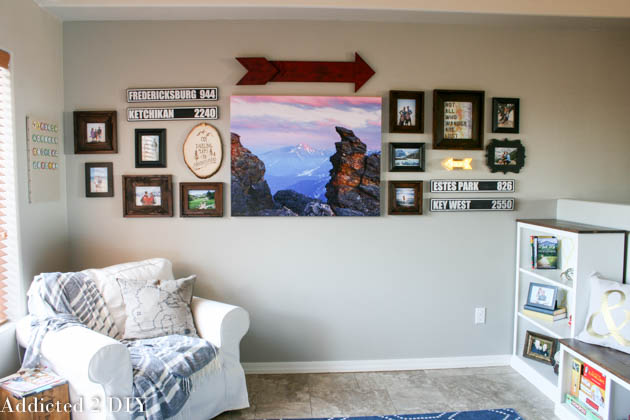
I flanked the large canvas picture with some of our favorite vacation pictures and also my wood burned wall art.
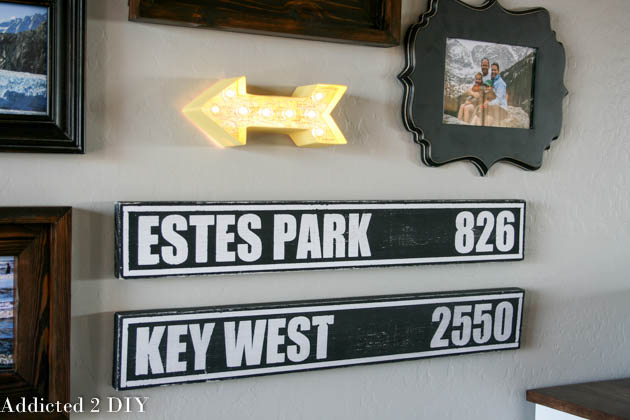
I couldn’t be happier with how the gallery wall turned out. Especially being able to display all of those favorite vacation pictures that we’ve kept on our computers over the years. I love the personal touches I was able to create, like the mileage signs of our favorite places. This is quickly becoming my favorite room in our house and I can’t wait to share the full reveal with you!

super super gorgeous!
Christine recently posted…Check Out My Mini Make Over Challenge at Amanda’s at Cultivate Create
Thanks so much, Christine!
Can you tell the size of the picture frames that you used? I am trying to copy your gallery wall on my wall haha
The purchased frames were 5×7. The rest of them I made and they all fit 5×7 pictures, except the larger one, which is 8×10. I used the barnwood frames plans from Ana White, but I changed some of them up to have a chunkier frame and used 1x3s. Hope that answers all of your questions! I’d love to see a picture of your finished gallery wall.
This is beautiful just what I was going to with office/ scrapbook room. I have several photos similar this that would work. Thank you for the inspiration
Thank you Kelli!
Everything ties together so well. I love the customized mileage signs. What is on the canvas on the left wall? Thanks also for the tutorial on your wood burning project!
Thanks Laura! The canvas on the other wall is a sort of work in progress of hiking patches we’ve collected from our hikes in the Rocky Mountains:)
How fun! What a great way to remember each hike. Be sure to post a picture of it when it’s done because I’d like to see it completed!
That looks really good. I’d be worried if I did something like that it would end up looking ‘wonky’. How do you ensure everything looks straight and neat? Do you have at ool that’s particularly helpful?
Joe recently posted…The Best Pocket Knife? Comparing the Best Pocket Knives on the Market
I put a level on every single picture frame to make sure everything was straight and level. The pre-planning and the paper layout really helped too.
Wow – totally love this room makeover! My favorite part is the gallery wall. Thanks for your tutorial on that and especially how you painstakingly planned it out. I love the travel them. And the DIY mileage signs are awesome! I would love to make some like that! Do you have the tutorial for that up yet? I also love those chairs from IKEA – they look totally comfortable, and I love the slipcovers! Did you make those, too! All in all – an amazing and inspiring project. Love the color scheme, too. I love everything about it! You are very talented.
Thank you so much, Laurie! I will be posting a tutorial for the mileage signs next week, so be on the lookout for that. Yes! Those chairs are SO comfortable. The slip overs are also from IKEA. I haven’t washed them yet, but I’m hopeful that they will be just as easy to put back on after doing so.
I’m looking forward to that tutorial next week. Can’t wait!
Lovely wall you have there! I am thinking of something similar for our living room. Do you keep changing photos as you travel to more places or do you keep adding more photos?
I haven’t changed out the photos, but you certainly can!
Looks Great! Do you have a template for the large arrow? Or the dimensions? So cute!!
Unfortunately I do not. I believe I made it from a 1×6 board and then used 1×4 pieces for the end of the arrow and cut the 1×6 at a 45 degree angle for the head of the arrow.