Over the summer, my husband’s brother and wife were remodeling their bathroom. They were trying to take their old vanity out to paint it and it fell apart on them. We offered to help them out and build them a vanity. We used these plans from Sawdust Girl and modified them a bit. They didn’t want to have the legs underneath and my brother-in-law wanted it to be a bit taller to fit his 6’2″ frame. That meant I had to do the thing I hate the most…MATH!
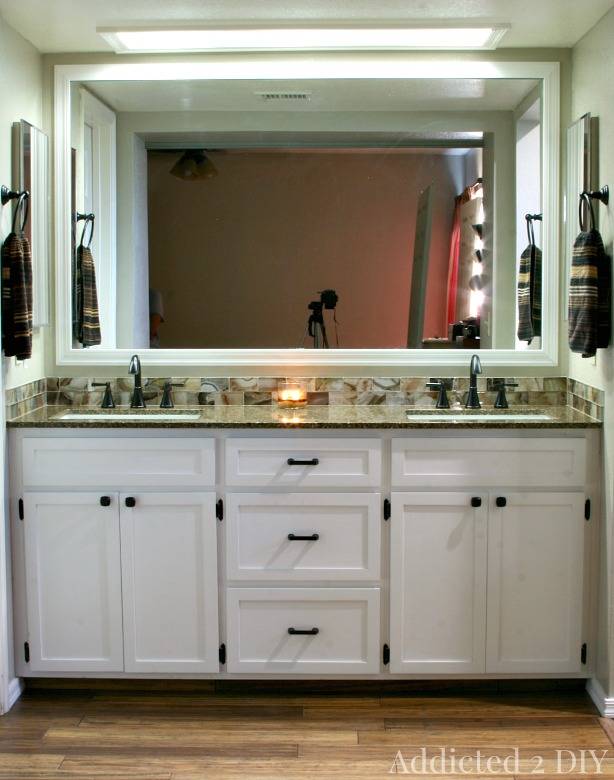
They recently added the backsplash to finish off the remodel and I finally got around to taking pictures of the finished vanity this past week. Here’s how we built it:
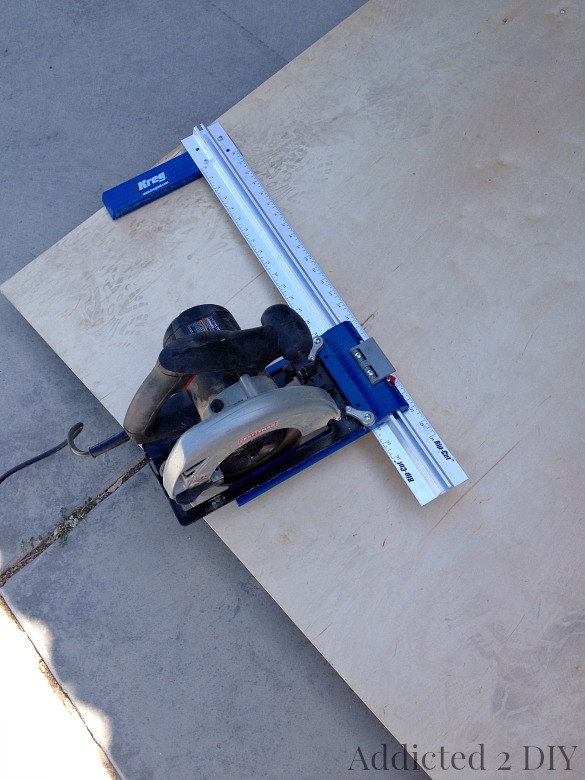
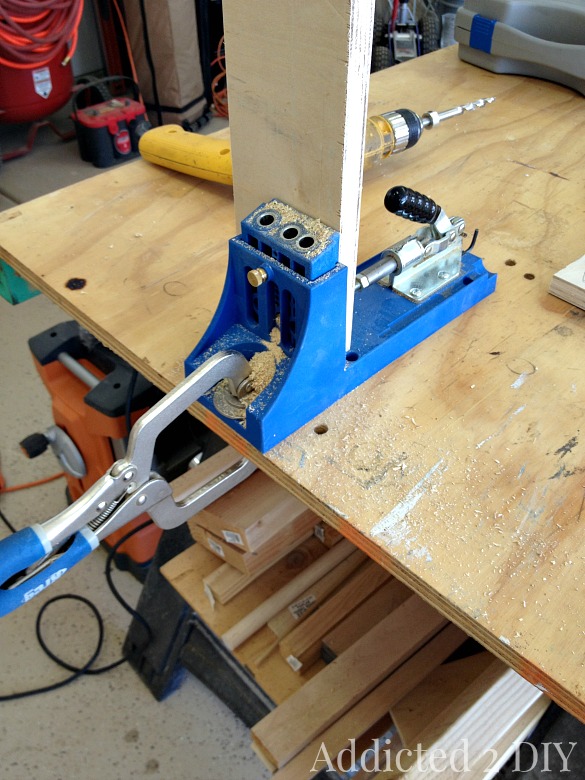
Once all of my plywood pieces were cut, I used my Kreg Jig to drill all of my pocket holes.
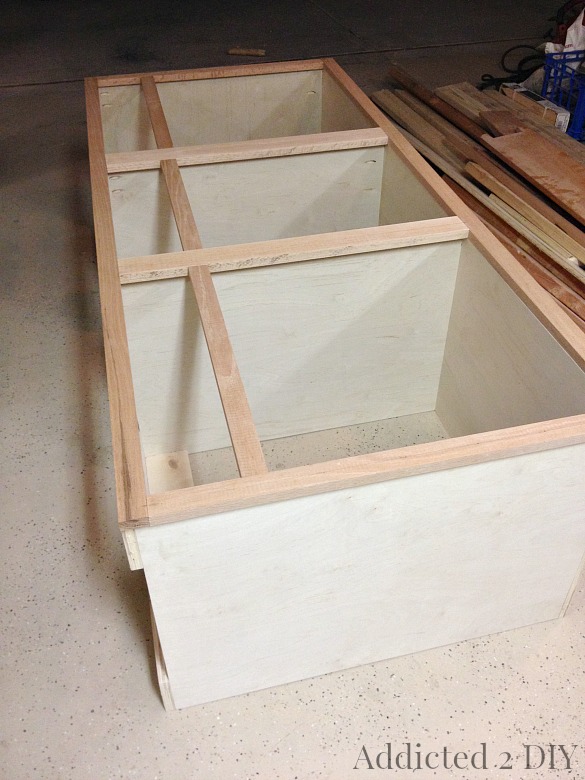
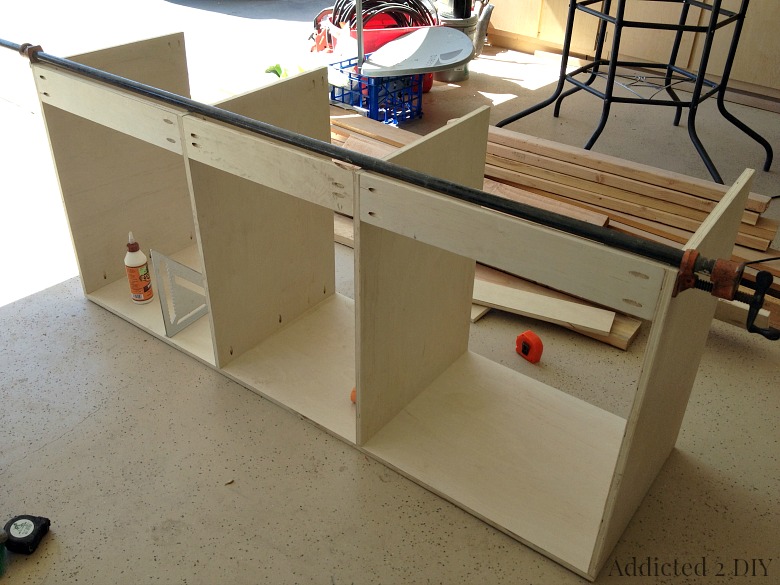
We assembled the main body of the vanity using wood glue and 1 1/4″ pocket screws. This is where having a healthy supply of bar clamps can make things run so smoothly.
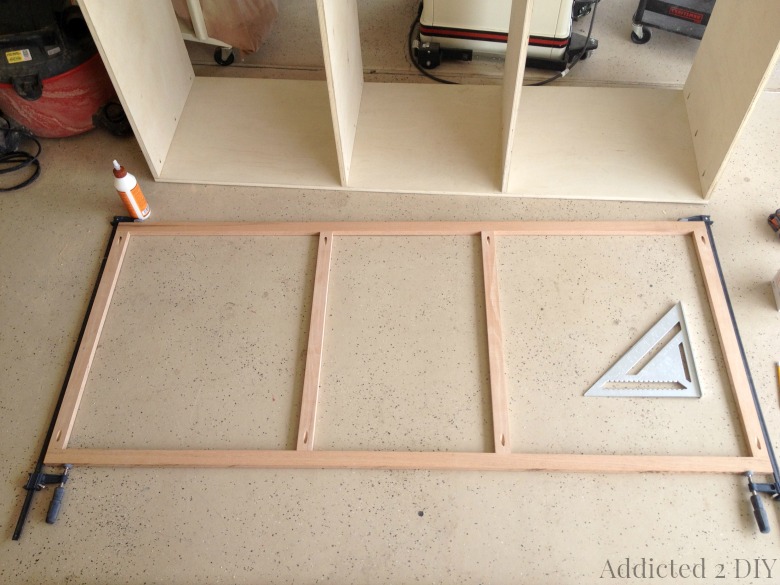
Once the vanity box was assembled, we built the face frame. My brother-in-law’s late father-in-law (are you following along?) used to be a woodworker and there were tons of 1×8 oak boards leftover in his workshop. We planed and ripped down those boards and repurposed them for this project. Since we were painting the vanity, the difference in the woodgrain and color of the wood didn’t matter. Plus, it saved a ton of money to use this wood that has just been sitting there. I drilled the pocket holes and glued and clamped everything together, checking for square often. Then everything was attached using 1 1/4″ pocket screws. This time, I grabbed the coarse thread screws since oak is a hardwood.
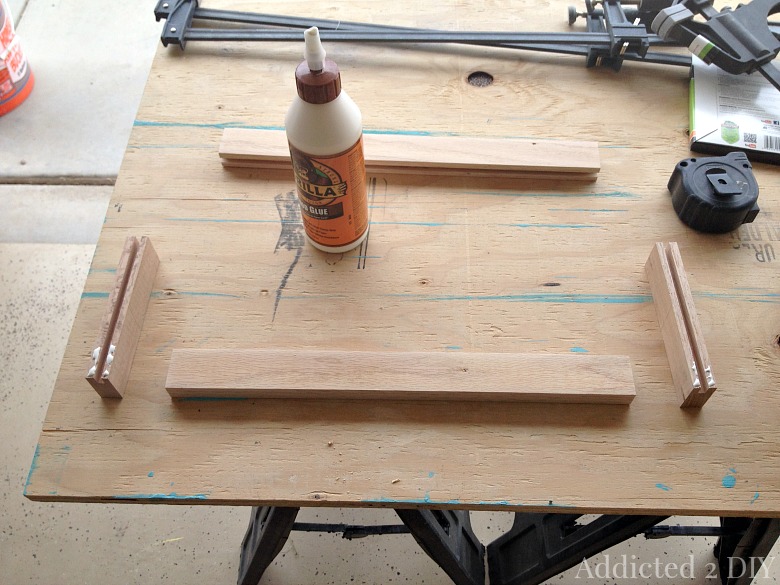
Once we figured out all of the cuts needed for the drawers, false fronts, and cabinet doors, we started assembling them. We used a dado blade on the table saw to cut the grooves so we could insert the 1/4″ plywood faces. We opted to only glue these together rather than use pocket holes that would have to be filled in.
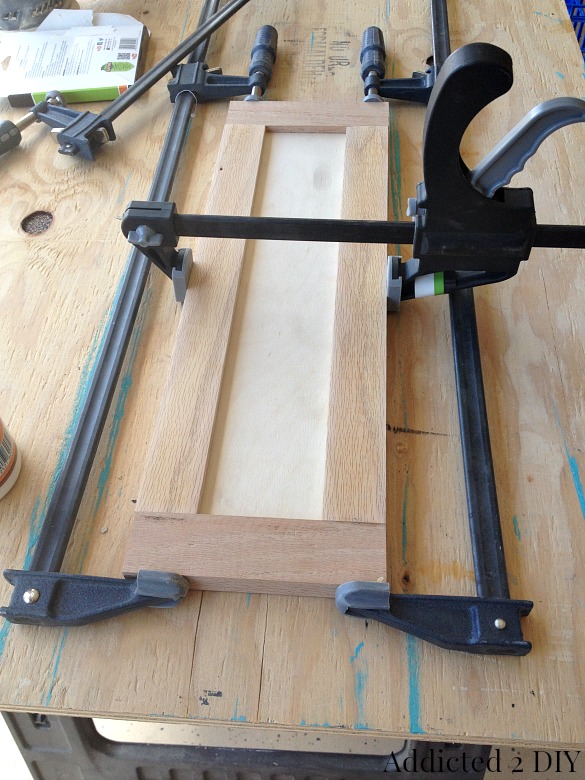
We ripped down pieces of 1 1/4″ veneer plywood to make the faces for each piece and then slid them into place. To secure the faces, we added glue into the grooves, then added the last piece of the frame (also with glue in all of the appropriate places) then clamped them end to end and in the middle.
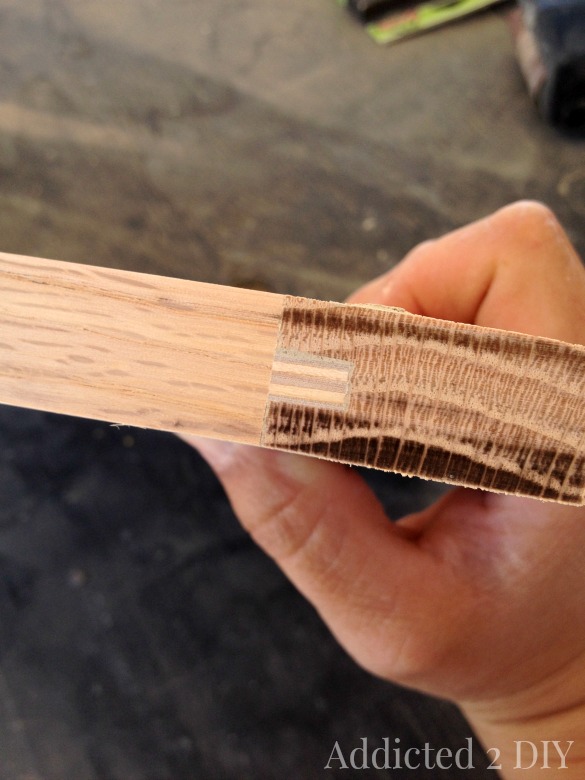
Because we made our dado cuts through the entire piece of the frames, we cut tiny pieces of 1/4″ plywood to plug those holes.
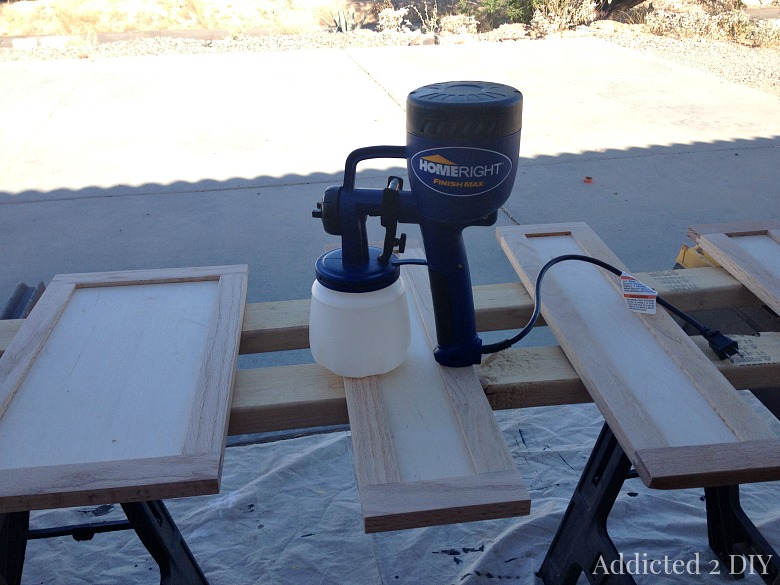
When it was time to paint, I grabbed my HomeRight Finish Max Paint Sprayer to paint the entire vanity. It made the painting process go so much faster than using a brush or roller. I wish I had taken a video of my husband and his brother fighting over this when they decided they wanted a turn at painting. It was like watching two little boys fighting over a new toy and it was hilarious!
When we were done building the vanity, my husband and his brother took it to his house and they built the frame underneath using 2x4s. They then filled any gaps with more wood and covered the frame on the bottom with the flooring they installed throughout their bathroom and bedroom. They added all of the hardware and then my brother-in-law hired someone to install the quartz top. He and my sister-in-law installed the gorgeous glass backsplash and the project was done!
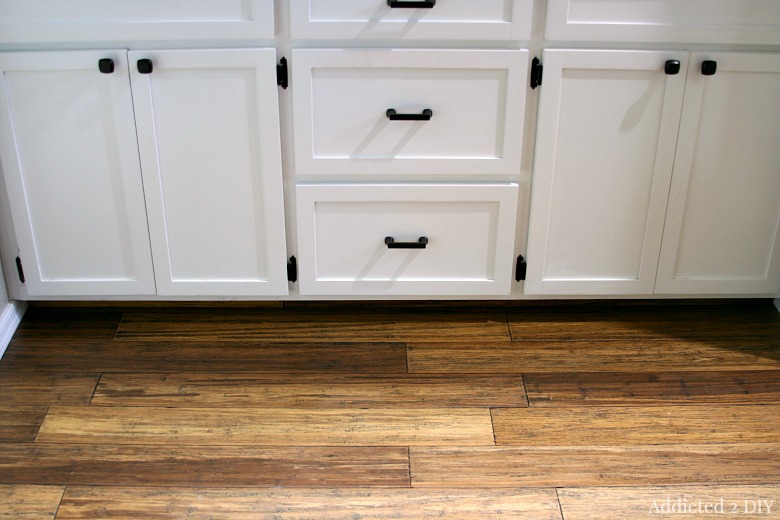
I love the hardware they chose for the vanity and the whole thing looks so awesome next to their gorgeous flooring. Would you believe this is bamboo? It looks like it came from an old barn!
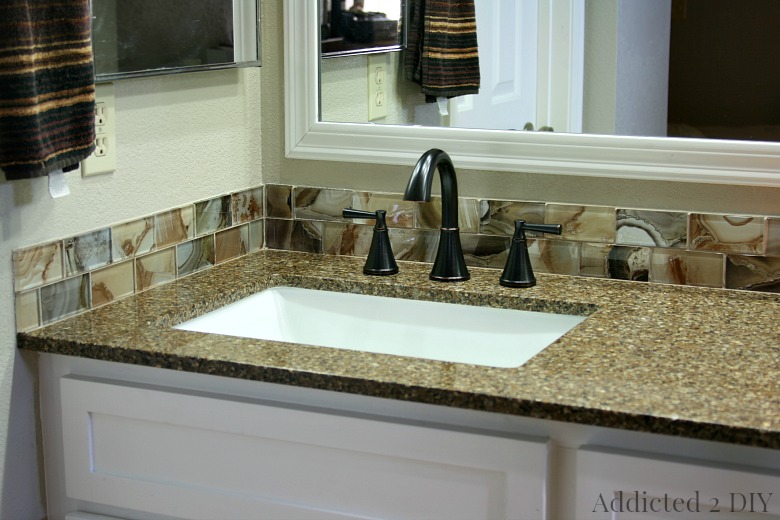
The glass backsplash is so pretty. It almost looks like slices of agate.
I am so thrilled with how this vanity turned out and even more thrilled that my brother-in-law and sister-in-law are very happy with it. Modifying the plans made building it more of a challenge, but I love a good challenge. I’m so glad they gave us the opportunity to build this for them and now I REALLY want to build one for our master bathroom that is in desperate need of a makeover.
Once again, you can find the original plans for this vanity on Sawdust Girl. She’s got tons of free plans and tips on her website and she’s seriously talented. If you want to build one of these yourself, I’d be happy to answer any questions you have about the building process.
DISCLOSURE: This post contains affiliate links. If you purchase an item from one of these links, I will receive a small commission at no extra cost to you.

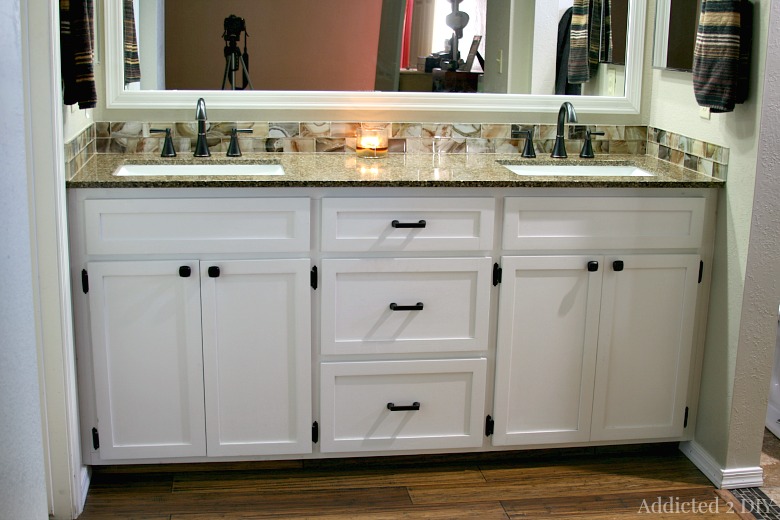
The math may have sucked, but you guys got all the proportions just right! It looks amazing and is probably way sturdier AND better looking than any they could have bought.
Melissa @ A Prudent Life recently posted…Favorite Things Room Reveal Edition {Happy Monday 11-10-14}
Thank you:). It was nothing a little arguing and lots of beer couldn’t fix. Not while using power tools though;)
Katie, this is amazing. I am looking to redo my bathroom vanity in the master and the 1/2 bath downstairs, this just might fit the bill. Love the drawers (the one I have currently has NO drawer space). I ordered a Home Right Paint Sprayer because of your recommendation. I build your parson chair a couple months back and love it. Can’t wait to get started on this.
Thank you so mich Cheryl! I truly love hearing when someone has built one of my projects! I would love to know how your vanity project goes!
I love the vanity! I know you used some wood that you already had….but how much do you think this would cost to build?
And do you know where she got her glass tile? So pretty!
Thanks!
Kay
Hi Kay, the tile is from Lowes. Going off of the original plans we followed, you would need 2 – 3/4″ sheets of wood veneer plywood, 1 – 1/4″ sheet of wood veneer plywood, 1 sheet of 1/2″ veneer plywood (for the drawers), and 5 – 1×2 boards at 8′ long. I wish I could give you a price, but I do know the 3/4″ plywood is around $50 a sheet at Home Depot or Lowes. Thanks so much for stopping by!
Can you explain the steps you took to paint it? I’m curious how you got it looking so smooth. Thanks! And great tutorial!
The paint sprayer I use gives a great smooth finish with the paints. I now use it on almost all of my painting projects.
Katie, this is amazing. I am looking to redo my bathroom vanity in the master and the 1/2 bath downstairs, this just might fit the bill. Love the drawers (the one I have currently has NO drawer space)
Wow, this is truly great work. I can’t believe in my eyes. I am looking forward to the guidelines step by step you made to follow doing with my house.
This is awesome! You didn’t say how you made the drawers, can you explain?
The drawers were built based on the plans from Sawdust Girl. The link for her plans is at the beginning of the post. If you do not have the tools to build them using her method, you can always build them like the drawers in the plans for this nightstand: http://addicted2diy.com/2015/08/22/pb-teen-inspired-nighstand/
The cabinet looks great, so much so that my master bath needs on just like it. I likewise hate math and have the same 6’2″ frame as your brother in law. Would it be possible to get your measurements for the adjusted height?
I’ll have to get the measurements from them. Thanks for stopping by!
Hi, I am planning to make a plywood vanity and laundry cabinet at present and I am at a loss to whether I need to use marine ply or or just cabinet grade standard ply? Any advice would be much appreciated. Love the article by the way, it came out great! Ah one more thing, if standard ply is OK would you need to seal it using a twopac lacquer or marine varnish?
Thanks for your help 🙂
I personally would use cabinet grade, veneer plywood. You will want to seal it with a good, water resistant sealer. I would use Waterlox sealer. I used it on a wood bathroom vanity recently after doing extensive research on the best quality sealer for wood counters.
Really like your 2 sink vanity and I will be building one this winter for a second home. I wonder how you slid in the completed vanity as it seems to be tight against each wall. Did you have to remove the molding from the door way on the left or what? Thanks for a good job.
Thanks Mike. The moulding actually didn’t need to come out. The vanity was just slightly narrower than the space, so it was shimmed with additional wood and painted to match.
did you built in the bathroom. and do we have to enforce the tp. my top is heavy.
We built it in our garage and then installed it in the bathroom. It’s a very sturdy vanity, so your countertop will not be a problem for it.
What size vanity is that length wise? I have a 57″ opening but would like to do exactly what you have. Sam sinks and everything
I can’t remember the exact length of the vanity; however, we did modify the plans to fit the length we needed. It takes a little bit of figuring, but it is definitely doable if you need to shrink or expand the original plans a bit.
DO you have any pictures of the 2×4 frames and how you attached it. Thanks.
Unfortunately, I don’t. Once I was done building it, my husband took it to his brother’s house and they built the frame for that. They didn’t take pictures of the process:/
Great Job!! Looks Terrific!! And those Floors—-AMAZING!
What is the Company and the color of the Bamboo —would love to know–it’s exactly what we’ve been searching for.
Thanks for sharing your beautiful project!
I don’t know for sure the color of the bamboo, but they did purchase the flooring from Floor & Decor