Hey everyone! Today, I’m so excited to share with you some progress in our kitchen! If you remember, earlier this year we found a roof leak which caused a MASSIVE delay in our remodeling plans for the kitchen. We finally made all of the necessary repairs and got the kitchen put back together, only for me to tear it all apart again. I must be a glutton for punishment. Today, I’m going to show you how we painted our kitchen cabinets. While there are oodles of tutorials out there on how to paint kitchen cabinets, this one is specifically about how to paint kitchen cabinets with knots.
I’ve partnered with DAP to show you how to fill all of those knots in your cabinet doors in order to give them a beautiful smooth finish for painting. It’s a bit tedious depending on how many and how deep your knots are, but it is so worth it if you are looking for ways to upgrade your kitchen cabinets on a budget. There are also a few affiliate links that I’ve included to products I used while working on the kitchen. If you purchase anything from these links, I receive a small commission at no extra cost to you.
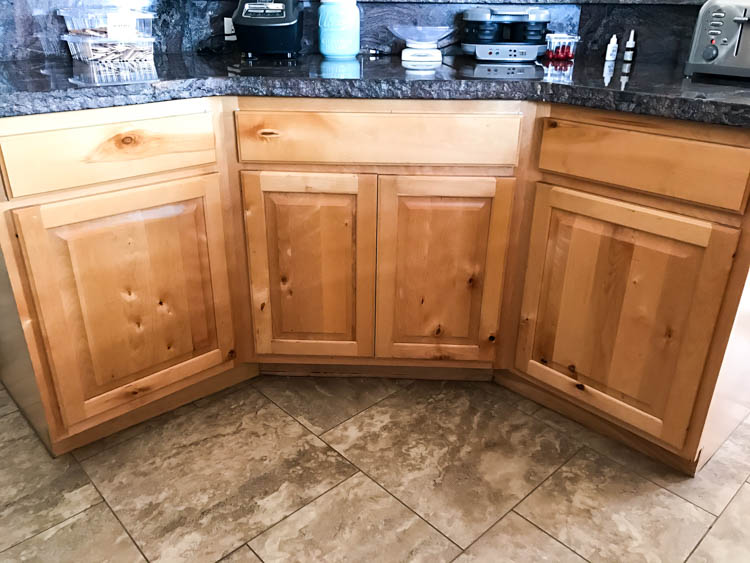
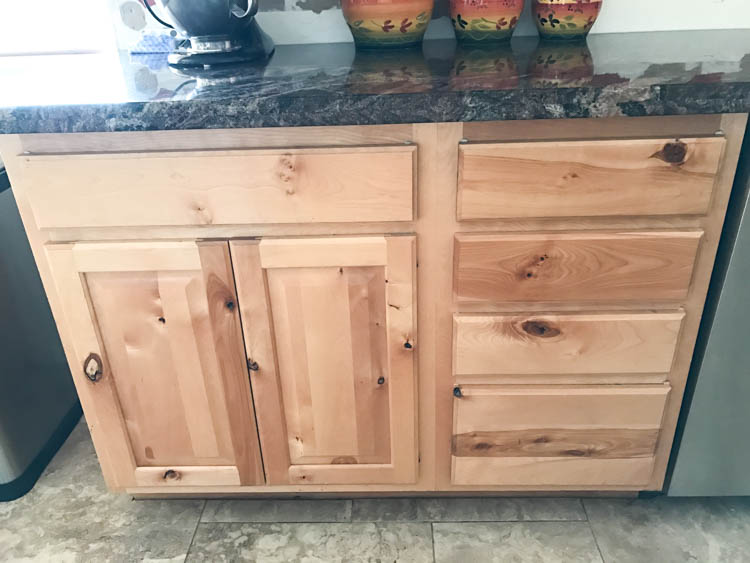
Here’s how our kitchen cabinets looked before we painted them. We aren’t entirely sure of the species of wood, but we’re leaning towards them being knotty alder. They were nice, but I wanted to be able to brighten up the house and the natural color of the wood paired with the dark granite seemed to just absorb all of the light, making the kitchen feel so dark and closed in.
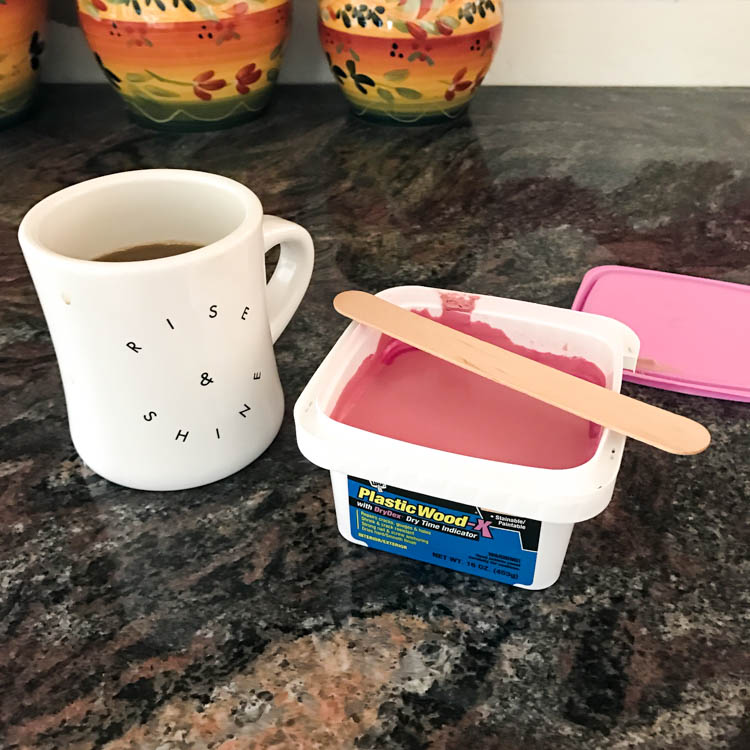
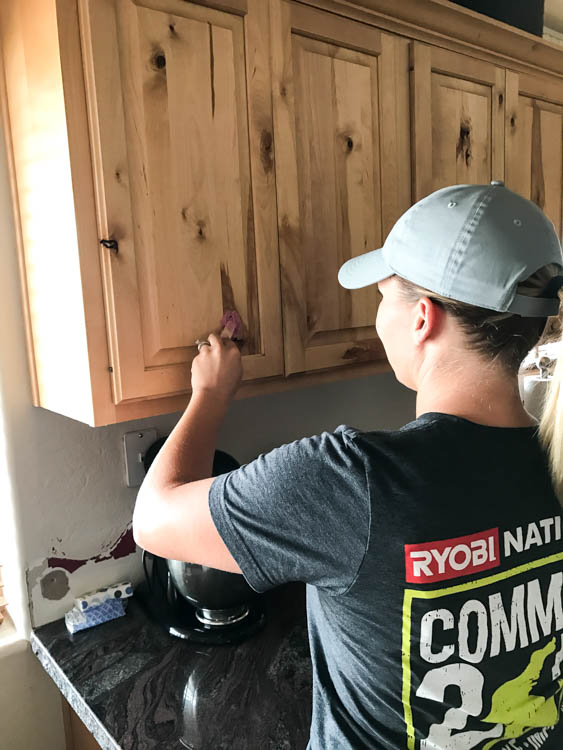
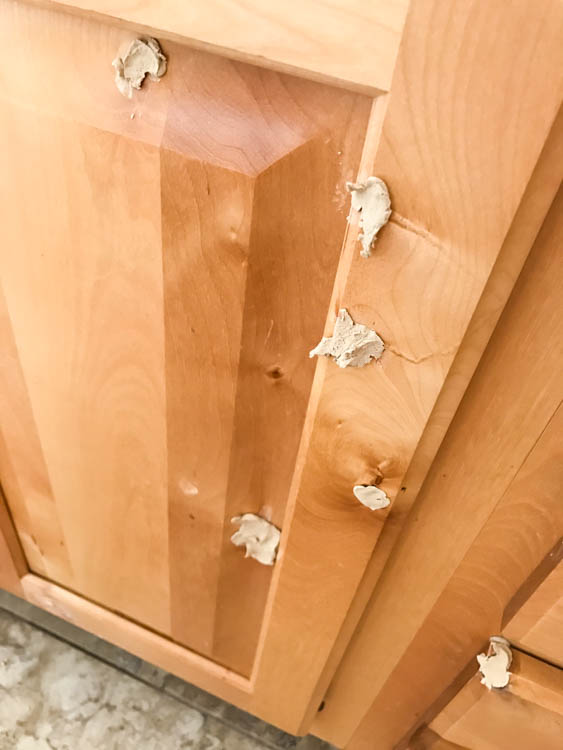
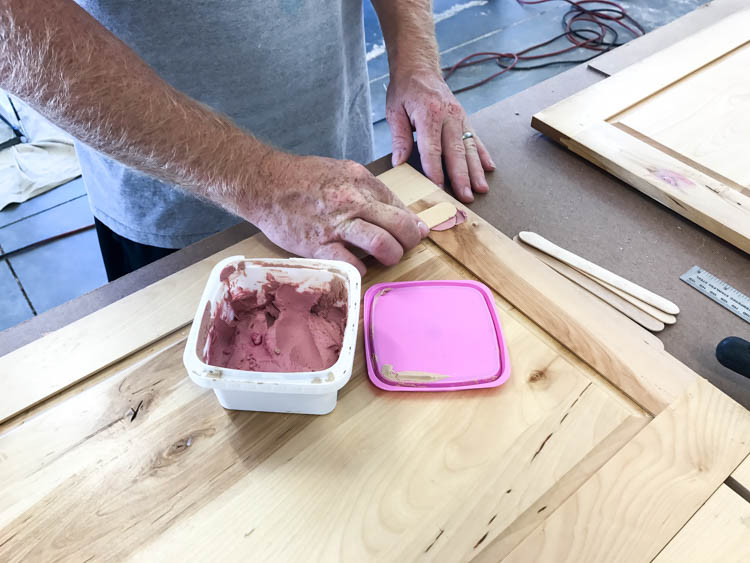
I got started with a fresh tub of DAP PlasticWood-X wood filler and a pot of coffee to keep me going. You can use a putty knife to apply the wood filler; however, I like to steal my kids’ craft sticks in order to apply it. My husband, on the other hand, prefers to just use his fingers. Whatever method you choose is entirely up to you.
I left the doors in place as I filled the knots, because it was just easier than taking ALL of them down to do it.
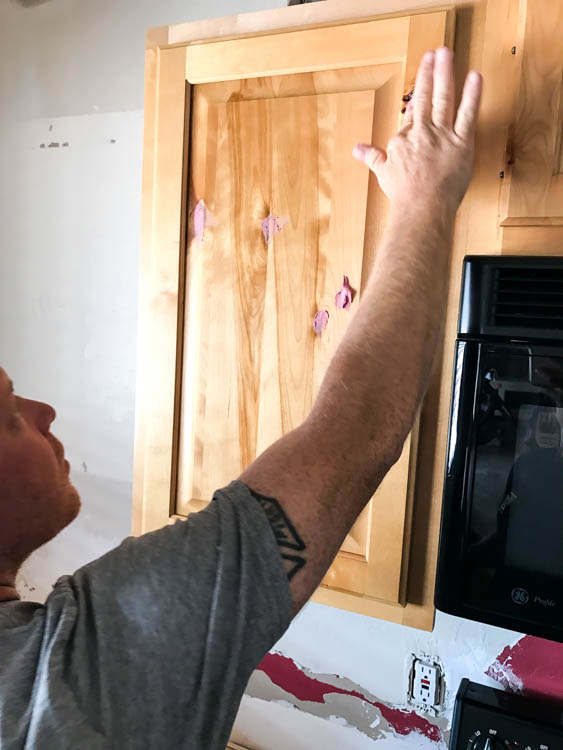
You’ll notice that the PlasticWood-X is pink when it is fresh from the tub. Once it dries, it turns a natural color, which means it’s dry and time to sand.
Some of the knots were really deep, and this is not a time to be stingy with the wood filler. Other areas, like the drawer in the bottom right corner needed to be filled and shaped because of the knot being in a corner. That required multiple layers of wood filler to build the area up to shape it just right with sandpaper.
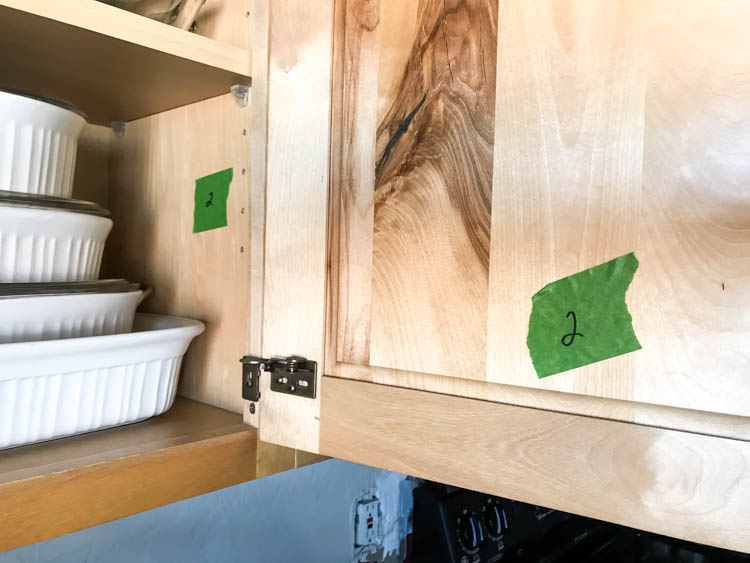
Once all of the knots were filled, we labeled the kitchen cabinets and corresponding doors so we could keep track of everything. This step is probably one of the MOST important steps when painting cabinets. You don’t want to mix doors up or waste time trying to put the pieces of the puzzle back together once you’ve painted them.
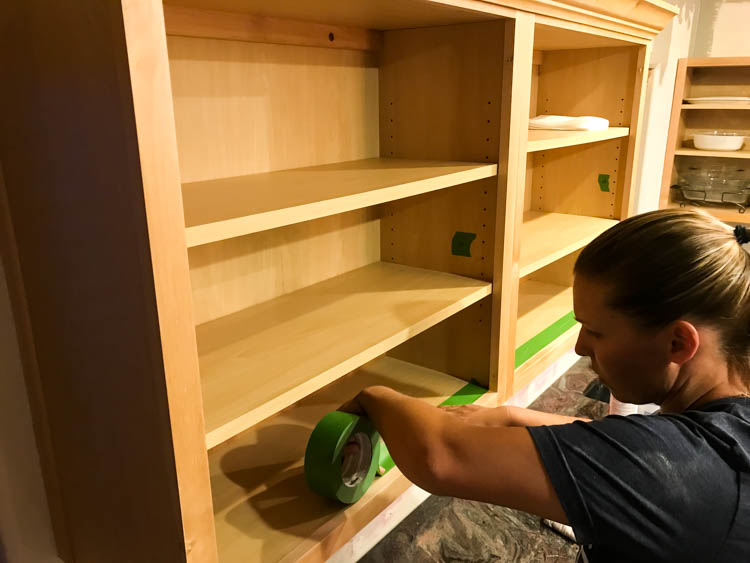
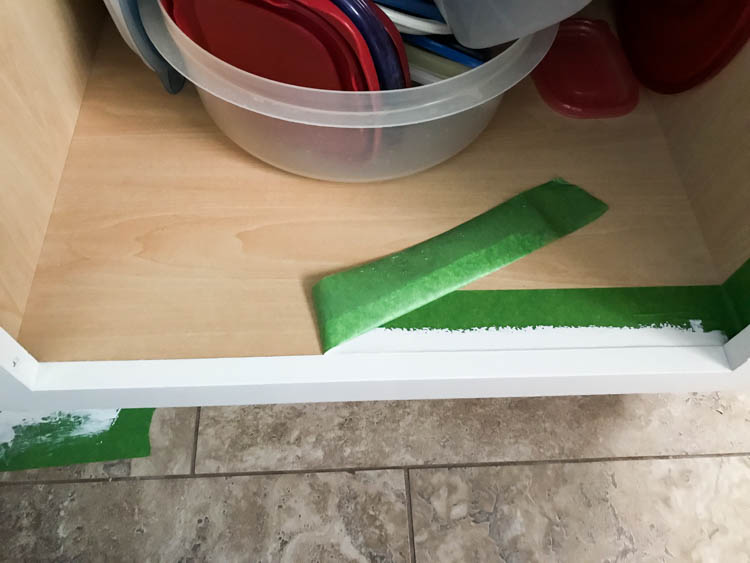
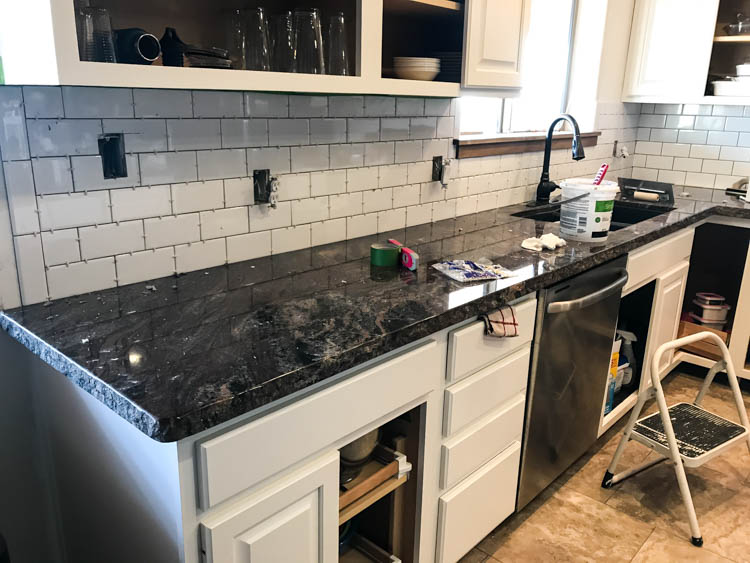
Since the insides of the cabinets weren’t being painted, I taped them off so only the face frames would be painted.
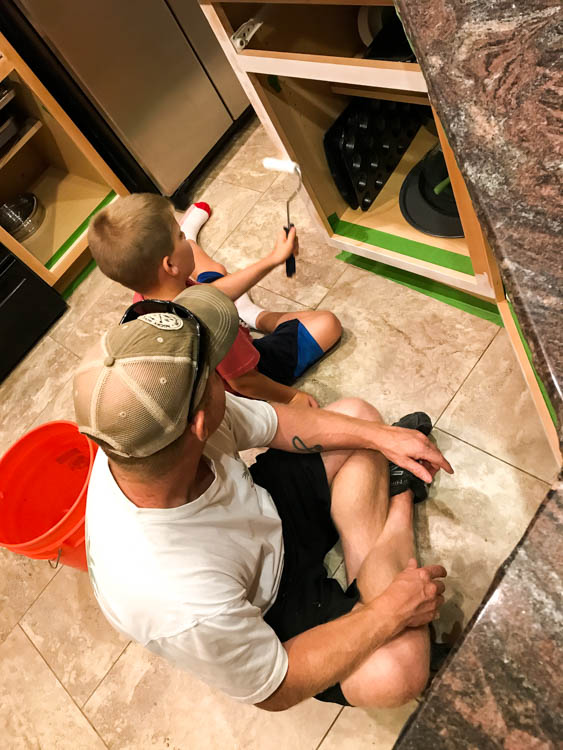
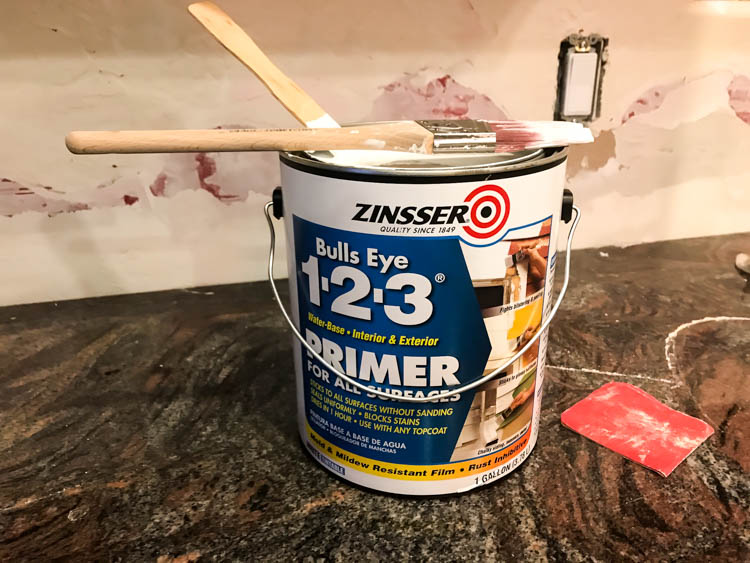
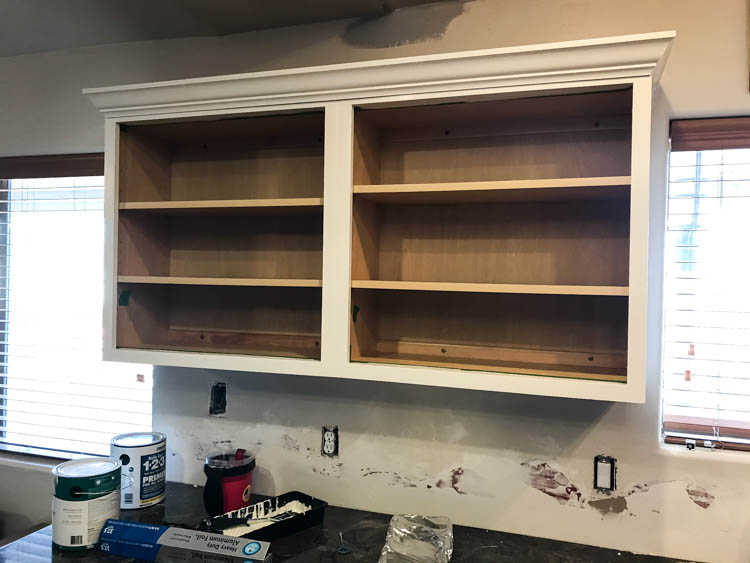
It became a bit of a family affair when it came time to paint. We primed the cabinets with two coats of Zinsser water-based primer to ensure even coverage and adhesion of the paint. You can use an oil-based primer, but the odor is pretty strong. I used oil-based on our dining room cabinets and my husband said “never again!” Cleanup is far easier with a water-based primer as well. Just soap and water, versus mineral spirits.
Once the cabinets were primered, we got started with painting. We painted three coats of semi-gloss paint in Swiss Coffee. It’s the same color as all of the trim in our house and it’s a great bright white color.
As soon as we were finished painting, we peeled up the tape on all of the cabinets. You want to make sure your paint is still wet when doing this. If it dries, it can peel the paint off of the cabinets. Paint takes over 20 days to cure. Until then, it’s still pretty fragile and prone to peel if you leave the tape on too long.
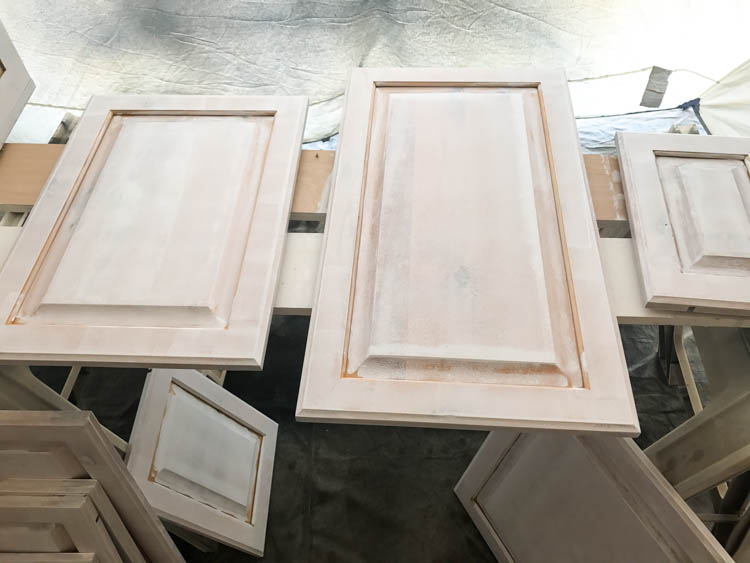
Once the cabinet boxes were painted, it was time to finish the doors. We filled the knots on the insides of the doors with more PlasticWood-X and also reapplied layers of it on some the deeper knots. All of the doors were sanded down with 220 grit sandpaper. We also cleaned them prior to paint with TSP substitute. It removes any grime and fingerprints off of the doors and allows the paint and primer to adhere without having to rinse the cleaner off.
Once all of the knots were filled on the cabinets, it was time for primer. It is a process when you’re painting a bunch of cabinets, but an absolutely necessary step to make sure your paint job stands the test of time. I used a roller and brush to apply the primer, then used my paint sprayer to apply three coats of paint to each side of the doors.
For the drawers, we decided it was easiest to paint them with a brush and roller. We did all of that in the house and immediately added felt stops to the corners to make sure they didn’t stick to the fresh paint on the cabinets themselves. In between all of the painting, we also installed a white subway tile backsplash.
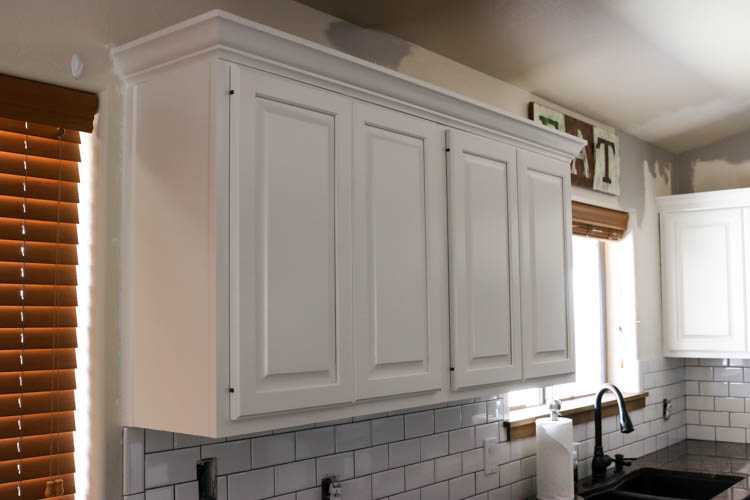
Once all of the doors were painted, we began installing them. Having the doors labeled made it so much easier to keep track of where everything went and made the process so much faster.
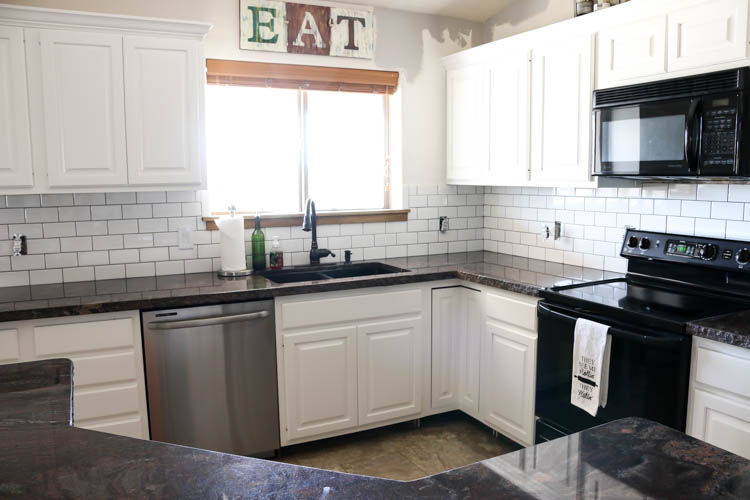
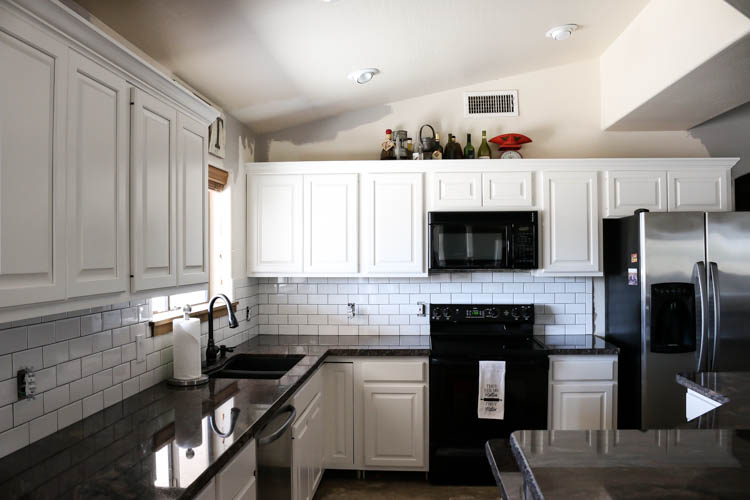
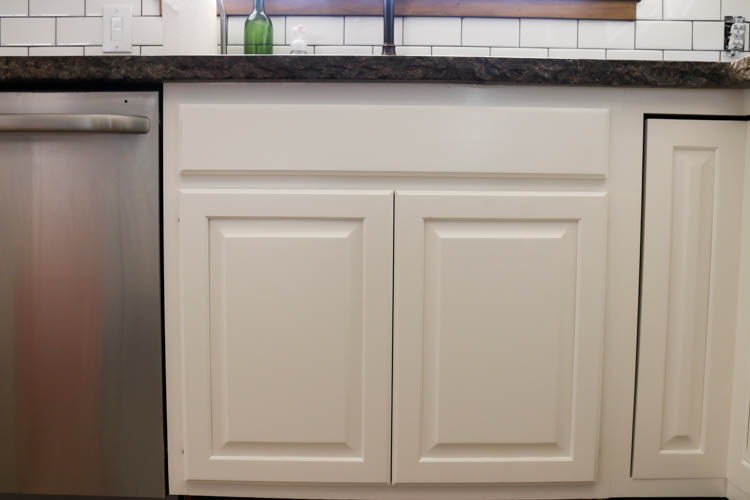
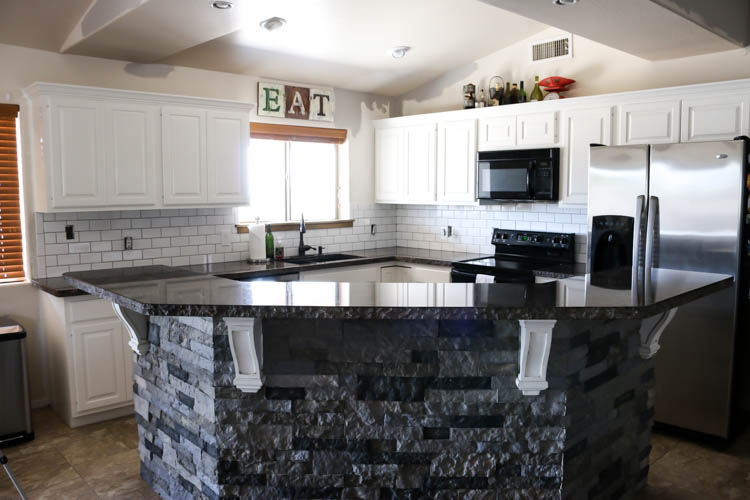
You wouldn’t even know after looking at the cabinets that they were once full of huge, deep knots! The wood filler gave us a perfectly smooth surface to work with and we are so happy with how the cabinets turned out. The kitchen felt instantly brighter and bigger with the new color. As you can see, the kitchen isn’t quite done yet. The walls of the kitchen are going to be painted in Mindful Grey and it will pair perfectly with the white cabinets and subway tiles. Hardware is also next to be installed so we can protect our hard work from messy little fingers. Even without the paint and hardware being finished, it is such a huge improvement to the overall feeling of the kitchen. It no longer feels dark and dingy, but bright and clean. I can’t wait to get it all finished and show you the end result!
DISCLOSURE: I was provided product and/or compensation for this post. All opinions and ideas of the products used are 100% my own.

Forewarned, I discovered that TSP and Zinsser primer do not play nice together! I discovered this a year after painting my cabinets and suddenly they started pealing up. I did some research and found out my issue was not uncommon with the TSP/Zinsser primer. Your cabinets look fantastic, I hope you don’t have the same issue!
Oh my! That is good to know! I will definitely keep an eye out and hope that we don’t encounter the same issue!
Thank you so much for sharing the details! I’m thinking about repainting my cabinets too and this will help me out a lot.=)
Glad I could help!
You and your family did an excellent job to your kitchen. Lovin it!
Thank you! It was a labor of love, for sure!
Hi Katie, I am crazy for colors as it shows decency. I always want a home with color touch. After reading your blog I will use your home decoration tips for sure. Thanks for the lovely blog.
Hi Katie, It’s almost a year later and I’m curious to know if the knots that you covered with the plastic wood filler are bleeding through? I just know from painting cabinets for the past 25 years, that this happens from time to time. I use a bunch of coats of B.I.N. Zinsser primer over knots, which is specifully used to kill tannin, and I still sometimes have an issue. So if this plastic wood filler, which I have never used, did the trick, well wouldn’t that be the best news EVER!!! Thank so much.
Hi Virginia,
That was a concern I had, but none of the knots are showing up. I’m thinking that the previous finish on the wood, combined with the primer managed to prevent the tannins in the knots from bleeding through. They still look great and I don’t regret it for a second;)
That’s great to hear…I think I have issues because I never fill the knots…which I never even thought to do. I have a big knotty pine kitchen project that I was going to decline because I don’t want the liability of those knots showing up, but I think I’m going to take it on and follow your method. Thanks so much 🙂
This is just what I would like to do to my cabinets. How long did the whole cabinet process take?
I’m trying to remember. I want to say maybe a week, but not a solid week. I was doing multiple things at once.
I was wondering if your cabinets have held up after a couple years? Is there anything you would do differently?
Yes! They’ve held up amazingly! The only thing I would do differently is wait for the cabinet doors to cure longer prior to hanging them. Because the paint was still really fresh when I hung the doors, so when some rubbed together, it peeled the paint. I had to touch them up. Once the paint cured, the cabinets are basically bulletproof (other than the Frank’s Red Hot that I found splattered on the cabinet under the kitchen sink. That stained. And “nobody” did it.)