Hey there, everyone! Today, I’m partnering with Rockler Woodworking and Hardware to bring you the plans AND video on how to build this gorgeous DIY rustic dresser! This is one of those projects that has been a long time coming. I built it for my youngest son who desperately needed a new dresser for his room. The problem was that I just couldn’t commit to a design that I loved and that would work for the rest of the plans I have for his bedroom. Well, I finally made a decision on what would work best for him and I’m finally sharing the full plans and tutorial with you guys! I’ve included affiliate links to some of the products that I used. Should you purchase one of these products, I will receive a small commission at no extra cost to you.
Be sure to click the video below to watch the full build and get some valuable pointers on the build process. Also, be sure to download the free printable PDF plans for this build. There you will find the full materials and cut list to assist you with this project.
Let’s get started!
I designed the plans using 2×2 select pine, which you can purchase from any home improvement store; however, I decided to experiment with poplar for the first time. I bought a huge 8/4 board months ago and ripped it down on my table saw to true 2×2 sticks.
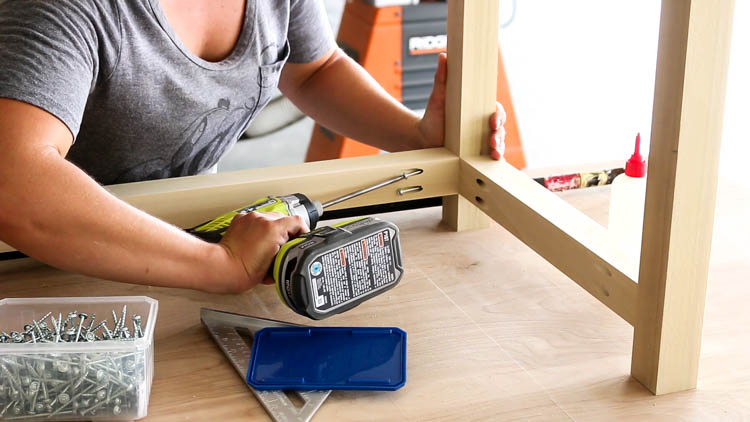
Once all of my 2×2 frame pieces were cut, I drilled 1 1/2″ pocket holes and assembled the frame with wood glue and 2 1/2″ pocket screws.
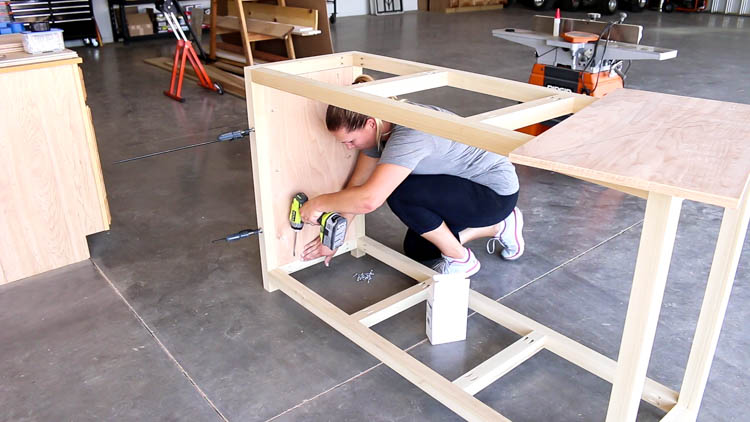
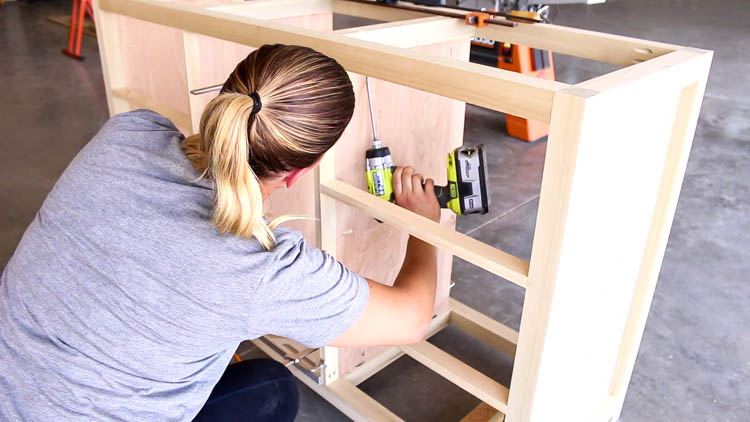
I used 3/4″ plywood for the side panels and attached them flush with the inside edge of the dresser legs. I used 1 1/4″ pocket screws and wood glue to secure them in place. I also added 2×2 stretchers to the center portion of the frame for added strength and a place for the walls of the center cabinet to attach to.
I used 1×2 select pine to build the face frame of the cabinet. The vertical pieces are spaced 18 1/2″ apart. I cut scrap wood blocking at 9 1/4″ to evenly space the horizontal frame pieces and attached them with 1 1/4″ pocket screws. Once the face frame was installed, I added the cabinet walls, attaching them with 1 1/4″ pocket screws.
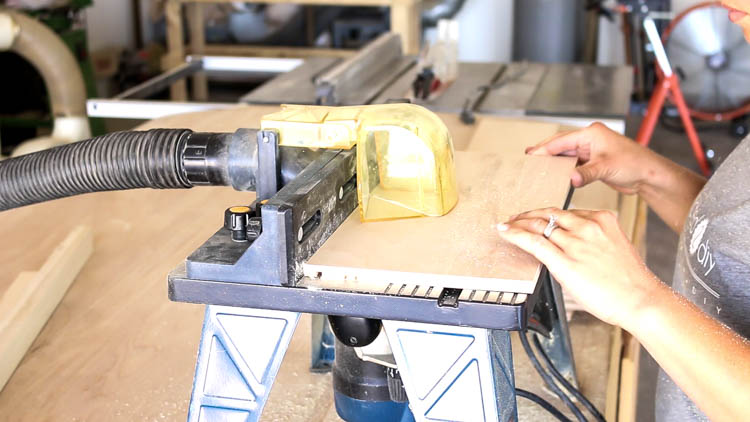
Once the dresser was assembled, it was time to build the drawers. I ripped down 8″ wide strips of 1/2″ plywood and cut them to size. I used my router to add dado grooves to the drawer sides to accept the 1/4″ plywood bottom. The true thickness of plywood does equal the thickness advertised, so Rockler sells undersized router bits that help to ensure a tighter fit for dado joints. For this, I used the 15/64″ straight bit.
I also drilled 1/2″ pocket holes into the 16 1/2″ drawer pieces.
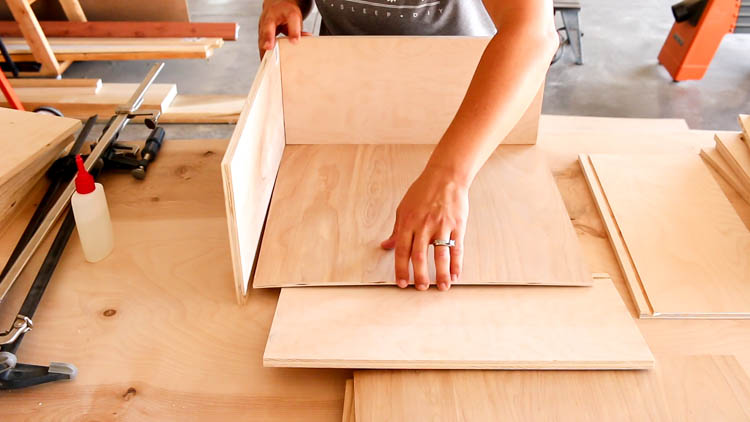
Once the dados were added, I assembled the drawer boxes, gluing the dado groove as well as the ends of the inset pieces. I clamped the boxes together and finished assembly with 1″ pocket screws.
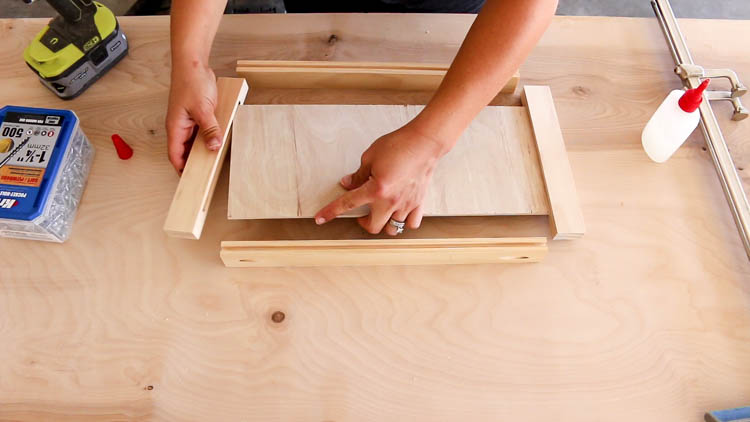
Next, it was time to assemble the drawer fronts. Again, I routered the frame pieces to accept the 1/4″ plywood face. I measured 1/4″ in on my router table and ran the 15 1/4″ pieces completely through the router for the dados. For the 6 1/2″ pieces, I dropped and lifted the pieces to make a shorter groove that would not reach the ends of the wood. You can see how I did this in my YouTube video.
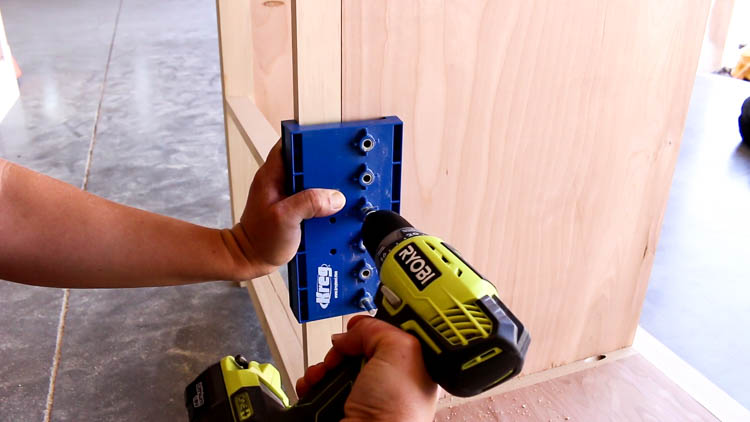
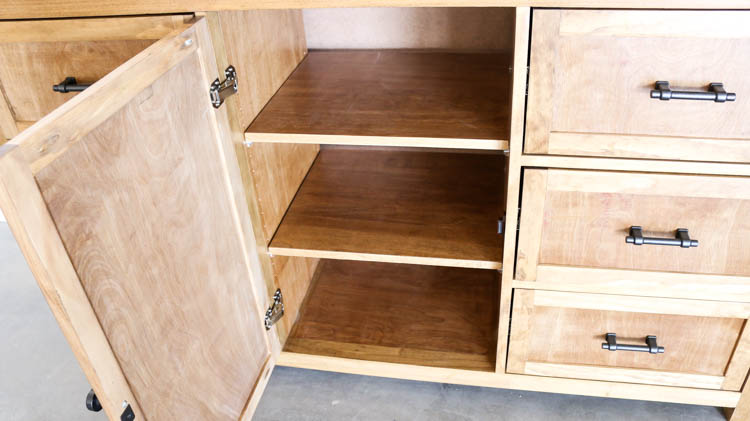
I drilled the holes for the shelf pins in the cabinet using my Kreg shelf pin jig.
The top of the dresser is 3/4″ plywood. To finish off the edges, I ironed on veneer banding. Once the glue on the veneer had cooled, I trimmed it using my band-it trimmer.
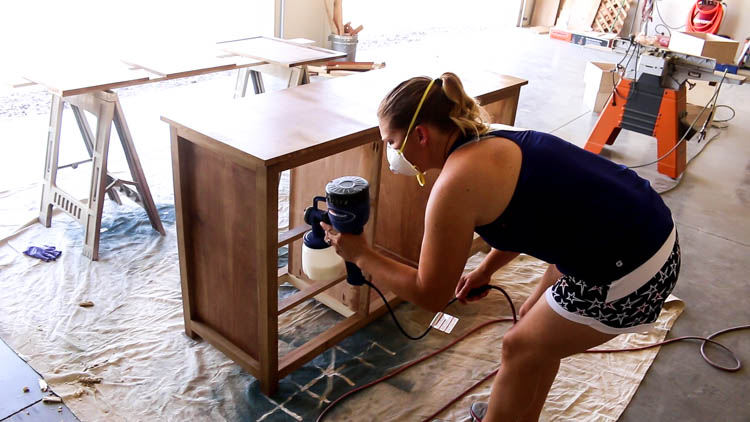
I sanded the entire dresser down with 220 grit sandpaper, followed by a coat of wood conditioner, 2 coats of Minwax stain in special walnut, then three coats of polycrylic, which I sprayed on with my Finish Max sprayer.
To install the drawer slides, I used my Rockler Universal Drawer Slide Jig. Because these drawers are inset, I needed to make sure the drawer slides also were installed in the proper position. I used a scrap piece of wood and set the drawer slide against it, then tightened down the jig. This ensured that the drawer slide would be installed 3/4″ in from the face of the dresser.
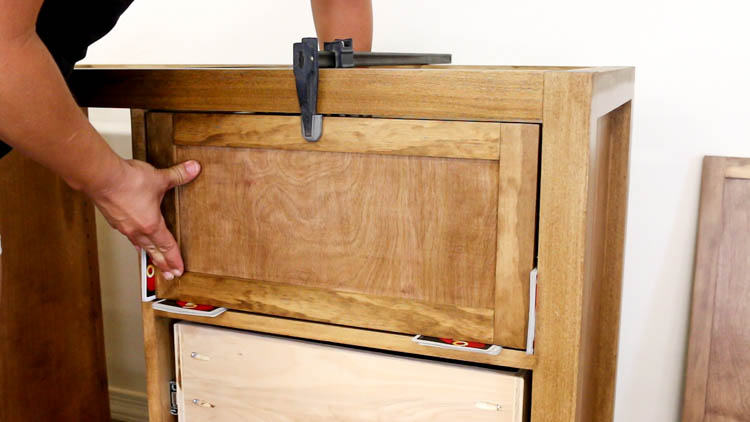
Once all of the drawers were installed, it was time to install the drawer fronts. I used even stacks of playing cards to create an equal gap all of the way around the drawer frame, then clamped it in place. From the inside of the drawer, I added 1″ screws to the corners of the drawer front.
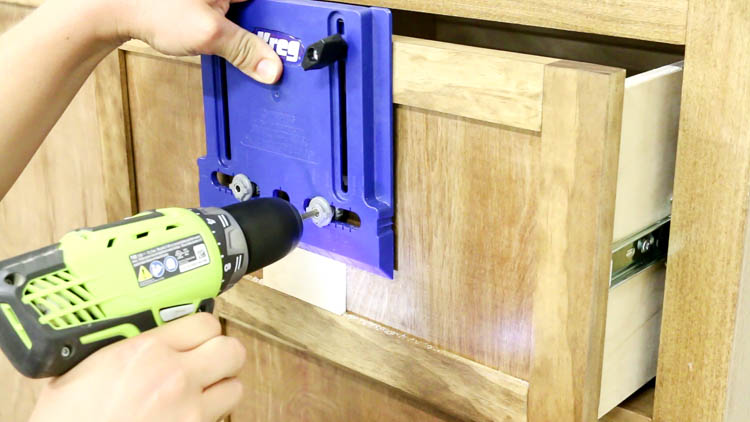
I added the cabinet hardware using my cabinet hardware jig. I chose Liberty soft iron cabinet pulls and knobs for the hardware.
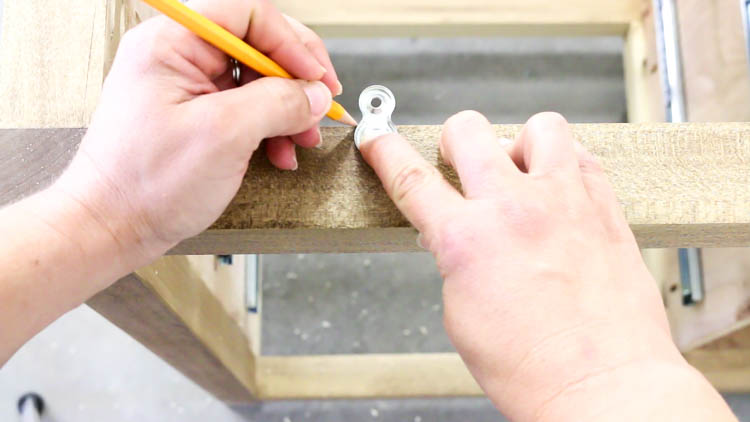
Once the cabinet hardware was installed, I installed the desktop fasteners to attach the top. I traced around the fasteners, then drilled a 1/8″ deep hole with my 3/4″ forstner bit. This allows the fasteners to sit flush with the top of the dresser frame. I set them in place with 1 1/4″ wood screws, then centered the top over the base and attached it with 5/8″ wood screws.
Once the top was attached, I added the hard board backing and secured it with 1″ narrow crown staples.
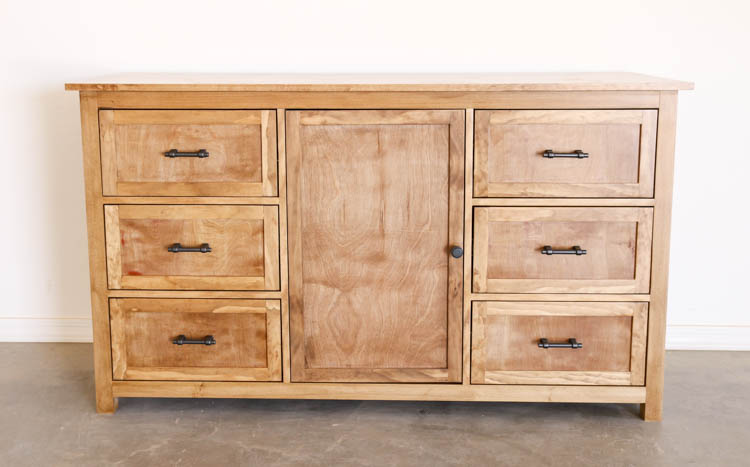
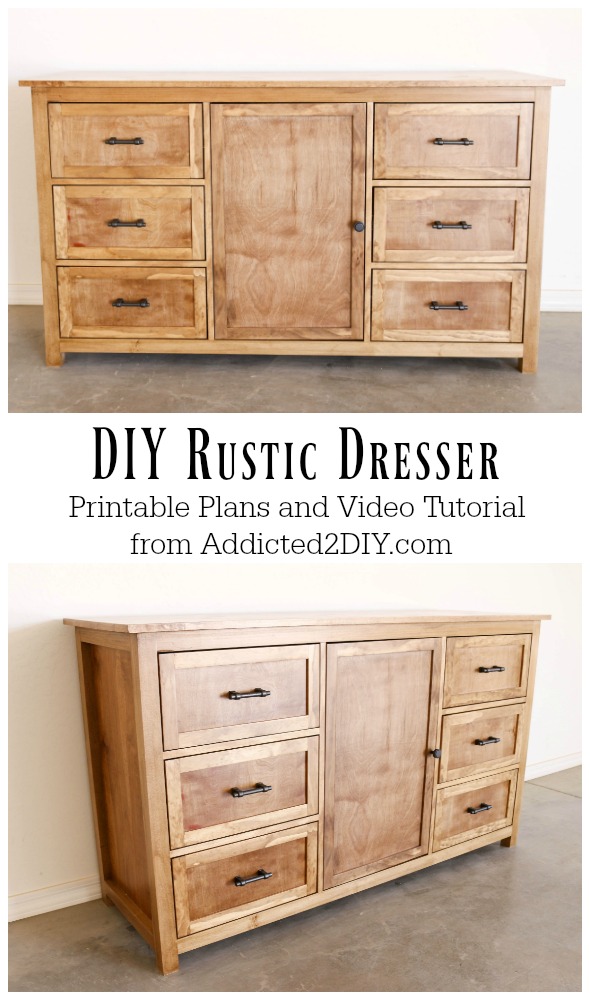
I couldn’t be happier with the end result! My son absolutely loves it and is so excited about having more room for all of his clothes. I’m excited to get rid of the dilapidated IKEA dresser he’s been using since he was a baby.
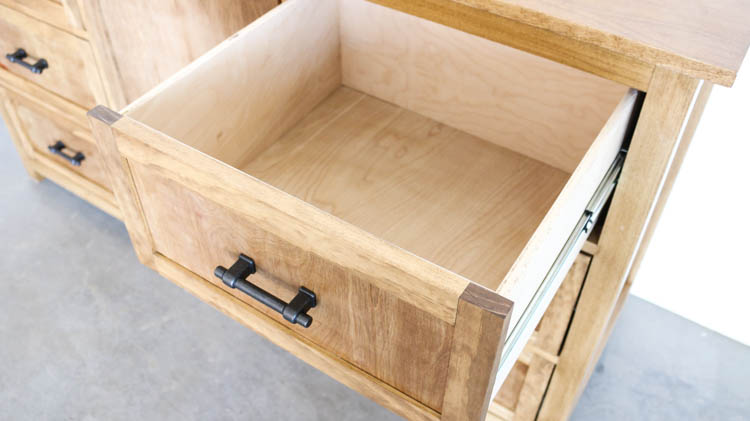
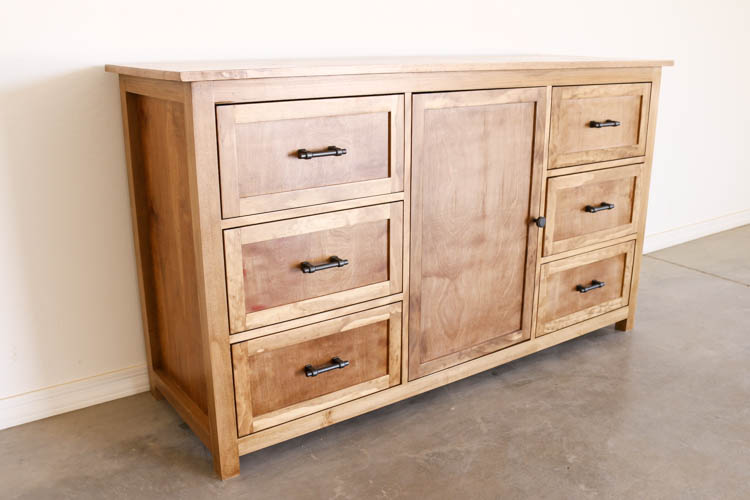
My boys wear uniforms to school, so I needed to build something that would hold not only his regular clothes, but also his school uniforms. The dresser is just over 5 feet long and has six deep drawers, plus the center cabinet has 2 shelves in it for TONS of storage. In fact, I think when he was planning where his clothes would go, we had an empty drawer or two!
Don’t forget to download the printable plans as well as check out the YouTube tutorial on how to build this dresser! I’d love to see your own versions of it, so be sure to tag me on social media or email photos and you could be featured!
DISCLOSURE: I was provided products and/or compensation for this post. All opinions and ideas are 100% my own. For more information, please read my disclosure statement.




That is gorgeous! Great job on a not-so-simple project!
Thank you Jerame!
That’s a hell of a craft! I’m definitely not skilled enough to pull it off haha awesome post though, with all the pictures and all the steps well explained. I’d be willing to try something less ambitious though, like a bedside table =D
Haha! I have plans for those available too!
Beautiful! Can you share a cost estimate for the materials, not including tools, stain and hardware? Thank you
Great work! Love how you put it all together. Looking forward to more creative output.
Thanks so much, Inah!
So impressive! This is just what I was searching… I am going to help myself with your plans 🙂
Thank you! I’d love to see photos of your finished project!
Thanks! I was reviewing the plans and I am unsure about the Euro-style hinges. Did you get the full overlay, partial overlay, or inset hinges?
I used the inset hinges.
For a woman doing that stuff is amazing salute to you Katie.You really did a great job and the finish product looks a pro did it.Thank you for sharing.
Thanks for the awesome plans! I just finished making it based on the plans and it turned out great. Just a heads up, the 1/4″ plywood bottoms for the drawers needs to be 15 1/2″ x 17″ to fit together, instead of the listed 16 1/2″ x 17″ listed in the plans. Thanks again, we are happy with how it turned out!
Thank you for catching my typo! I’d love to see photos of your finished dresser if you’d like to share them. Feel free to email them to me: katie@addicted2diy.com
Hello Katie, I love your design for the build. I plan to use it for a room renovation project in my home. Like you I have a DYI addiction as well. I’d like to purchase the software used to create your plans. What’s the name of the program?
Mike
I use Sketchup to design my plans. It’s a free program for personal use, and a paid program if you plan to use it for profit.
I really like this project you did. I plan on making an armoire. The framing concept is very promising. I just ordered a K4 Kreg pocket jig. I am pretty handy when i put my mind to it. So I have been drawing a lot. Thanks for the post. I will apply your concepts.
I just left a comment on YouTube about the drawers not fitting, but I saw someone else’s post here about that and it solved my problem. I’m on step 9 now, but looking ahead, did you miss putting the 1/4″ plywood face pieces on the cut list? If so, what are the dimensions and how many do I need? Thanks!
Thank you for bringing that to my attention. I’ll fix the plans. The 1/4″ drawer faces are 15 3/4″ x 6 1/2″. The 1/4″ plywood door face is 15 3/4″ x 26 1/2″. You’ll need six drawer faces and 1 door face.
Seems like the plans are still incorrect as mentioned above. Got pretty confused at one point! Also, the European hinges are a nightmare and did not work at all. I actually ruined the door by having to drill those large holes in it and then the fit on the hinges would not work, it never closed properly. Switching to a more traditional hinge was much easier, although the inside of the door looks terrible now unfortunately.
Agreed, for my next project, I’ll be using a mortised hinge rather than the European hinges. I will get to work on the plans today to correct them.
Thank you!
Just wondering what type of drawer slides you used?
I used centerline side mount drawer slides from Rockler.
Thank you for your video, tutorial and pdf plans. I just started working and needed to build a dresser. This was perfect, my wife loves it. Now i will be laying a tall dresser, end tables and headboard on the same style, design. Thank you again. Btw, can i send or attach photos?
Mike
Myakka city, fl
Hi Mike,
Thanks so much for sharing your success! I would love to see photos of your project! Feel free to email me: katie@addicted2diy.com
Hey there!
I plan on making 3 of these😳
Any chance you have a layout of the cut sheets to save me a bit of time? Thank you!
Hi there! I don’t have a layout of the plywood cuts. Sorry!
Great plans and great project, I built this for my daughter to double as a changing table while her baby is small. I chose to paint it and it turned out great. I didn’t have any issues with the plans or dimensions, but then I don’t follow instructions very well, so my wife says… Thanks again for sharing these plans.
Mike G.
So glad to hear you built it and that your daughter is enjoying using it! I’d love to see photos if you don’t mind emailing them. My email is katie@addicted2diy.com
It’s great to see a woman handling building projects. You have my dream shop, maybe soon I’ll have mine. Thanks for the free plans, they can be used in a lot of ways.👍
When you say “true” 2×2, you mean 2″ x 2″ or 1 1/2″ x 1 1/2″?
Hi Sean, For this I ripped the legs down to be a true 2” x 2”, not the nominal thickness of 1 1/2” x 1 1/2”.
I have long been looking for a step by step easy process of making one of these. And there
you are! Great information Katie! The cabinet is absolutely Rustic..Love it!
Very usefull for new house renovation with additional furnitures. Would love to see more
of these here. Keep it up!
I haven’t found true 2×2 lumber to use for this. Am I crazy thinking I could mill down some 4x4s to make 2x2s? Or do you think I should go with smaller stock and plan around it with the rest of the dimensions in the project?
You most definitely could use dimensional 2×2 lumber (1 1/2″ x 1 1/2″). No need to change anything per the plans. I designed them to utilize standard 2×2 boards.
Looks great. I want to design something similar that is about a 1.5’ longer and a little taller. Would the 2×2 frame be strong and sturdy still? I assume I’ll be adding a few pieces down the middle to help with absorbing weight on top.
It would certainly be strong enough, but with adding 1 1/2′ to the length, I would add legs to the middle as well. Just to prevent any sagging.
I took a shot at building this with some walnut. I didn’t follow the plans exactly but it gave me a ton of help in getting things started! Here are some pictures of my work. My wife is thrilled! https://photos.app.goo.gl/hJtQtbsgZzk28ZYTA
Wow! Beautifully done, Jon! Thank you for sharing your photos and my apologies for the very long delay to respond.