Hey guys! I’m FINALLY sharing the plans with this project with you all and I’m so excited! If you follow me on Instagram, I shared a sneak peek of them waaaaay back in December, but life got busy and it took me a while to build it. I’m sure you can all relate! I’ve been wanting something different in my entryway for a while, to replace our console table, but just couldn’t come up with the perfect idea that wouldn’t feel too imposing in this space. It’s a pretty narrow little wall space, and a big mudroom closet would have just felt way to “in your face” when people came in our home. When I saw this hall tree in the Pottery Barn catalog, I immediately fell in love with it! It had everything I was looking for and I knew that I could size it down to fit perfectly along this wall.
I’ve drawn up the free printable plans for you all to use to build this project, and they also include the materials list and cut list for you. It Is so easy to build and was so inexpensive to build. I was really ambitious one day and bought a ton of wood for a bunch of different projects, but I’d guess it probably cost around $60 or so to build. Including the bench! You can find the plans for the bench by clicking HERE.
Here’s how I built it.
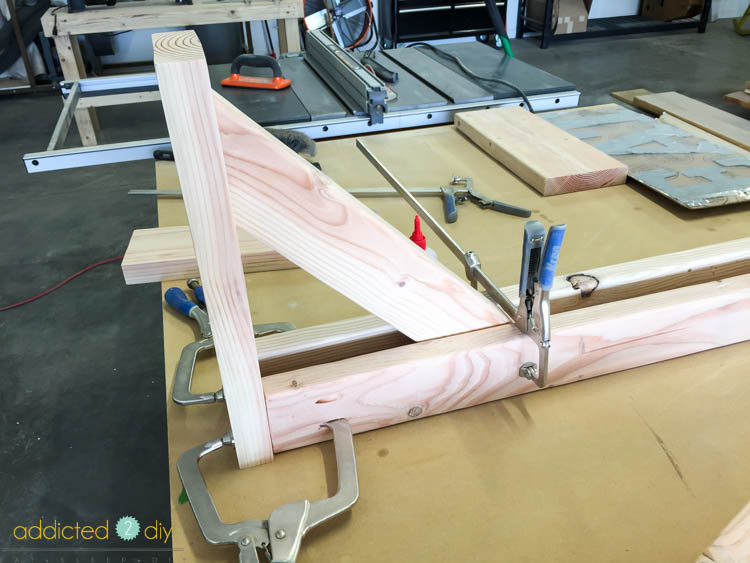
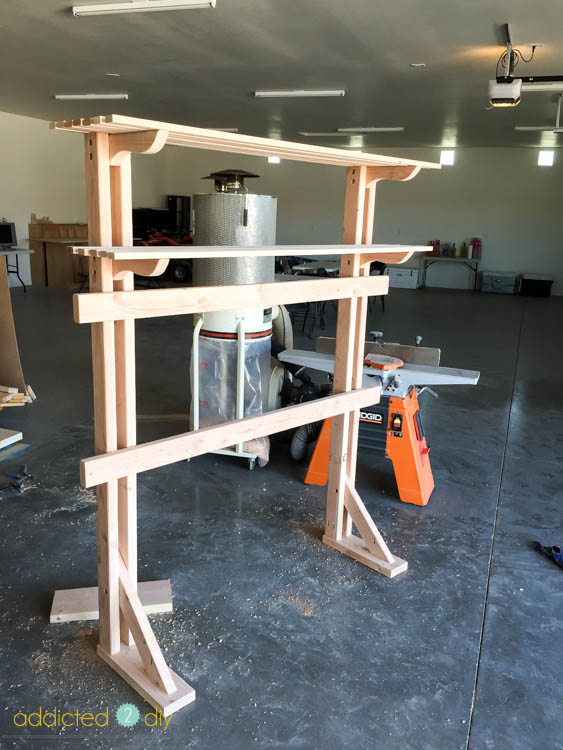
I began by assembling the legs and base of the hall tree. I ripped the base down from a 2×6 into a 5″ wide board and cut them to size. I laid the legs down flat on my work bench pieced everything together. The base pieces get centered under the legs, so there is about 1/4″ showing on each side of the legs. I clamped everything together and attached the pieces with 2 1 /2″ pocket screws.
The 45 degree angled support also was attached with glue and 2 1/2″ wood screws.
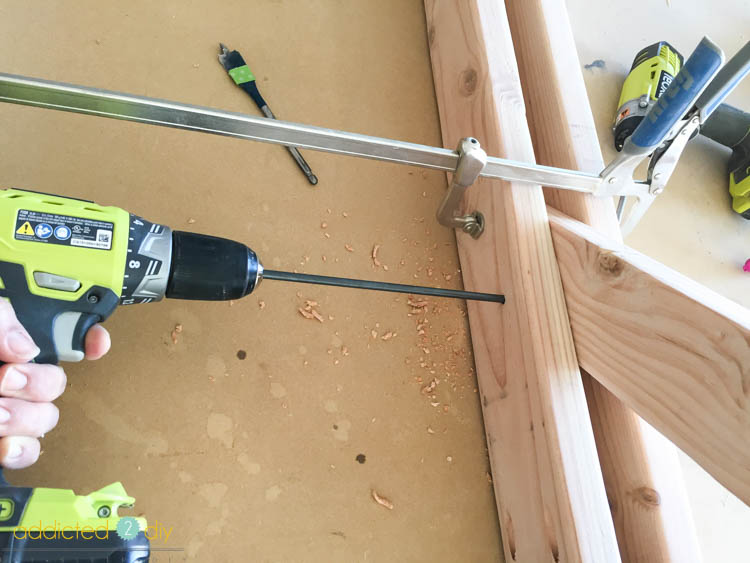
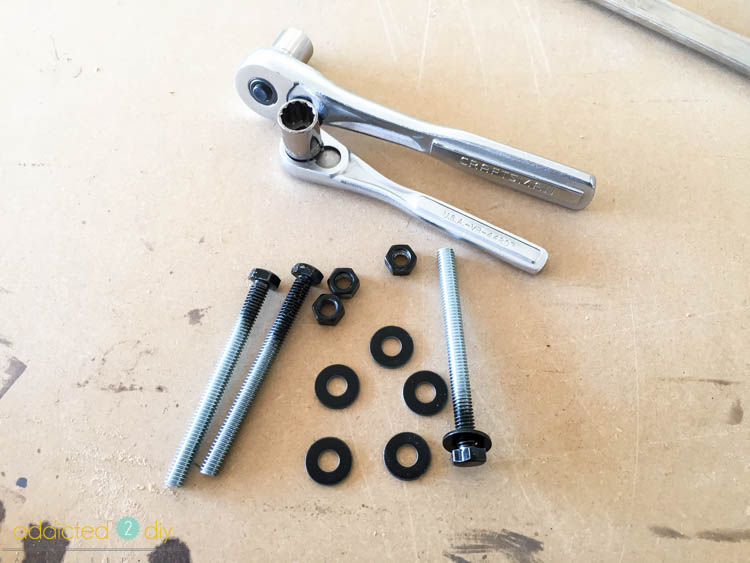
To secure the top portion of the 45 degree angle support, I used 4″ x 1/4″ bolts. Keep in mind that the 1/4″ measurements is the width of the threaded portion of the bolt, not the head. I used an extra long drill bit to drill clear through the legs for the bolts to slide in.
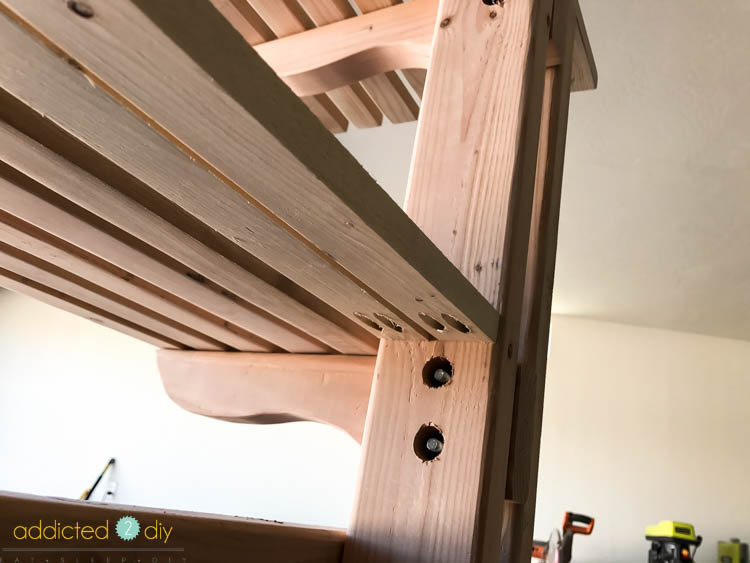
The bolts are countersunk into the legs, so I used a 3/4″ spade bit to drill about 3/4″ into the 2x4s on each side.

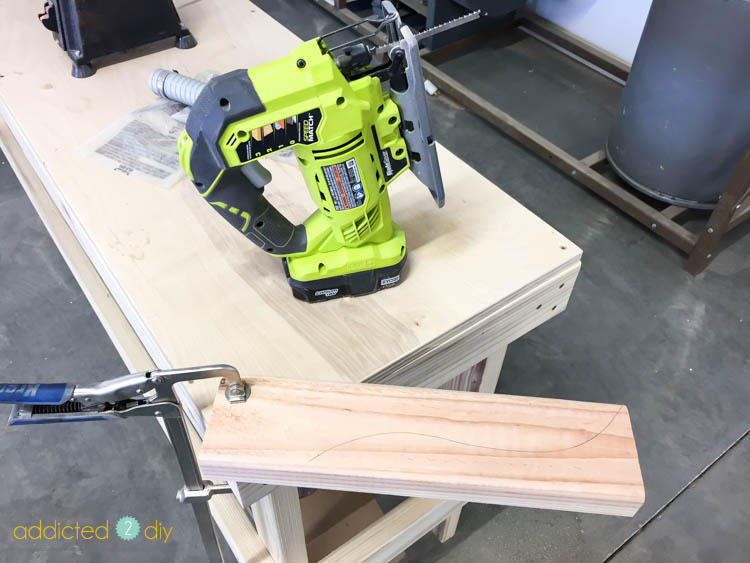
For the shelves, I liked the look of the original design with the curved supports and decided go with the same look for mine. I cut the supports to the length I needed, then determined where the curve should begin. I drew the curve with a pencil and cut it out with my jigsaw. I used the first piece as a template for the rest of the supports.
If this step is a little beyond your expertise, you can just leave the supports with a straight, 90 degree angle, or you can cut a chamfer into them to knock the bottom corner off and give it a little bit of a softer look. The beauty of DIY is that we get to make it look however we want!
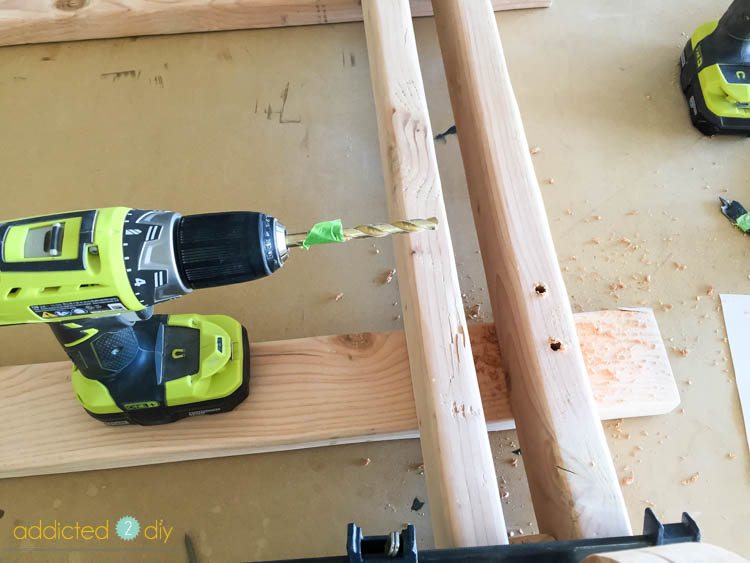
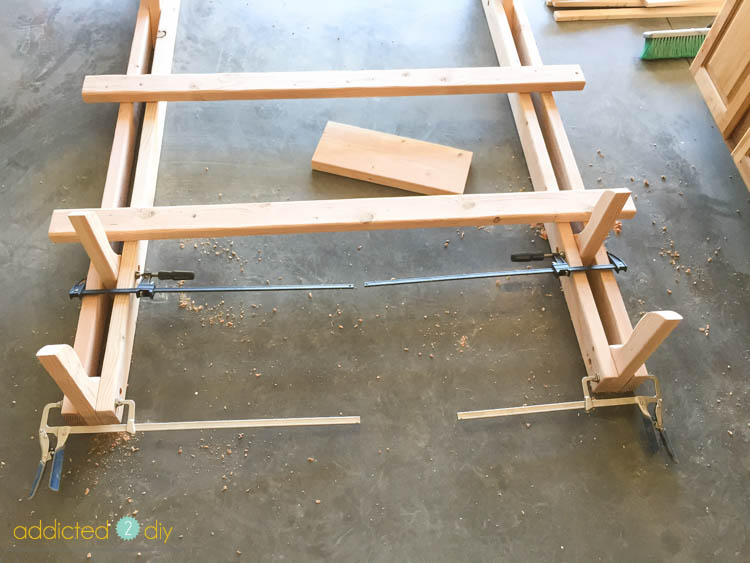
I clamped the shelf supports into place and followed the same steps for the 45 degree angled supports by drilling my 3/8″ pilot hole, then following that with 3/4″ holes to countersink the bolts. Each support gets two bolts.
You can choose to leave the bolts chrome, or spray paint them like I did. If you spray paint them, I recommend doing that a day or so before you plan to screw them in, to ensure the paint is fully dry.
With the shelf supports in place, I began attaching the 1×2 slats. Before attaching them, I sanded each of them down on all sides. It is far easier to sand them when they’re individual sticks than when they’re all attached to the hall tree.
I centered the slats over the hall tree and nailed the slat at the edge of the shelf support in first. I used this as my guide to make sure all of the slats lined up, then evenly spaced them out. I nailed them into place with 1 1/4″ brad nails.
I followed the same steps for the slats on the second shelf. For the slats that fit between the legs/uprights, I drilled 3/4″ pocket holes into the ends and lined them up level with the other slats. I clamped the uprights to secure them into place and then attached them with 1 1/4″ pocket screws.
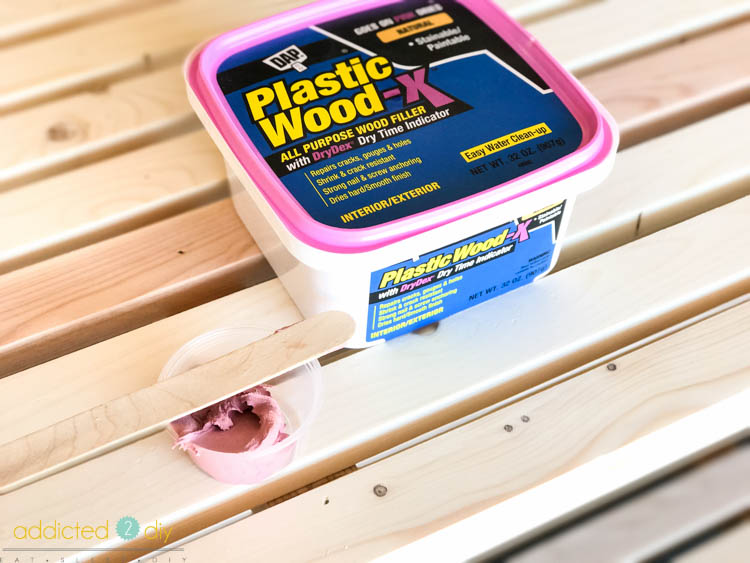
I filled all of the nail holes and pocket holes with wood filler and let it dry, then sanded down the entire hall tree to prep for staining.
For the stain, I chose the 3 color combo that I used on my diy coffee table and side table. I used Minwax Golden Oak, Weathered Oak, and Special Walnut, then sealed it with three coats of polycrylic. It seems like a daunting task, but I used my Finish Max (affiliate link) for the whole thing and it was actually really fast!
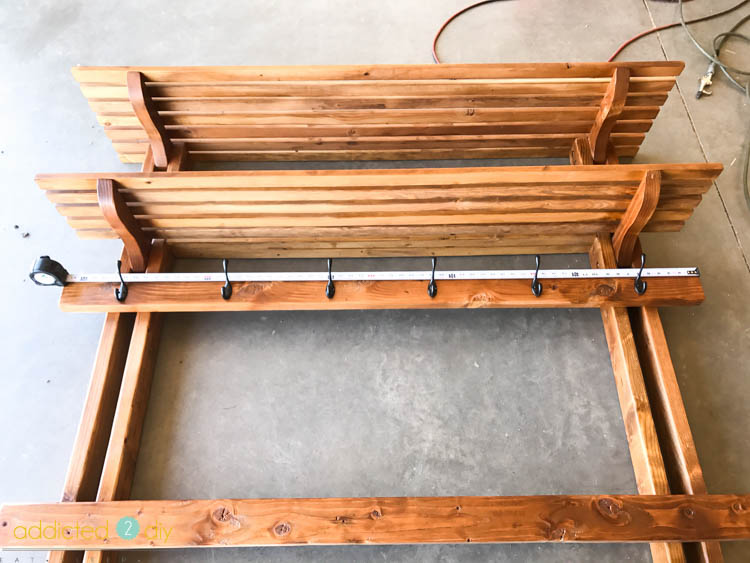
Once the polycrylic was dry, I lined my coat hooks up and attached them to the top crossmember. I had six coat hooks, so I set them 6″ in from each side and 10″ apart.
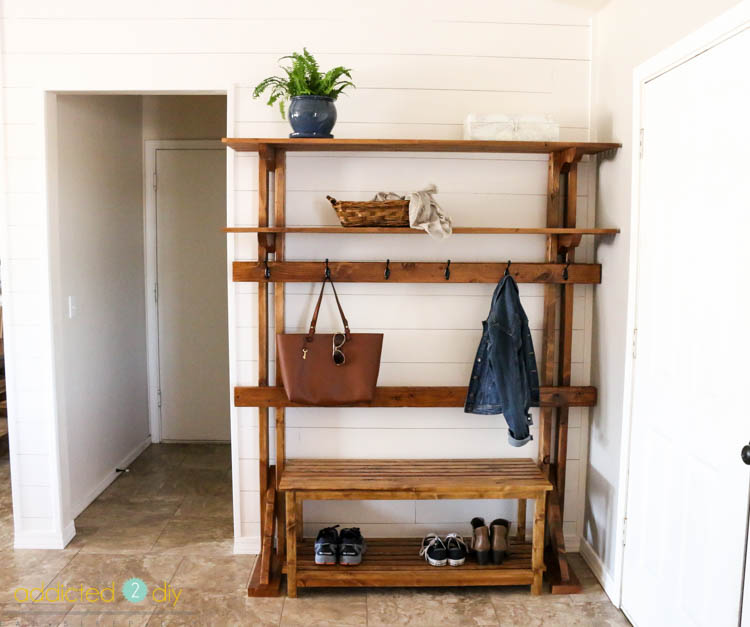
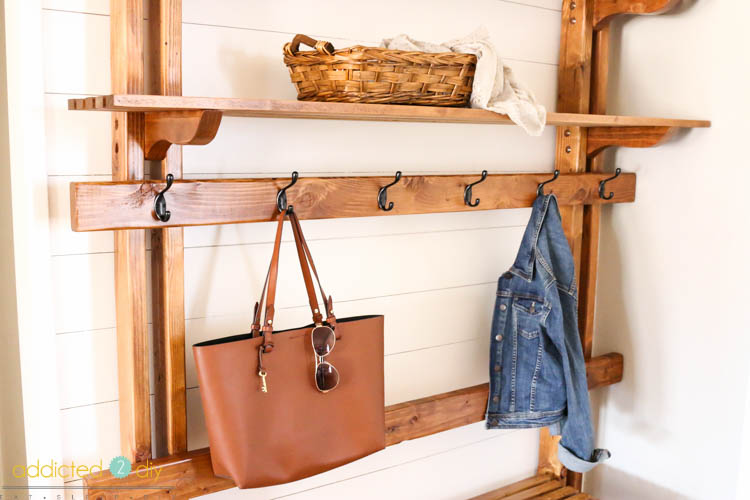

I can’t believe how much better this space looks with this new hall tree! My kids came home from school the day I finished it and immediately hung their backpacks up instead of flinging them over a chair. It was enough to make me want to cry! My youngest sat down on the bench and took his shoes off and set them underneath, so excited to have a place to put his things. The basket will serve as a catchall for my husband’s wallet, sunglasses, etc., and there’s plenty more storage for discreetly storing things away in pretty boxes. As I said, I’ll be sharing the bench plans with you in just a couple of days! In the meantime, don’t forget to download the printable plans and get started on your own DIY hall tree!

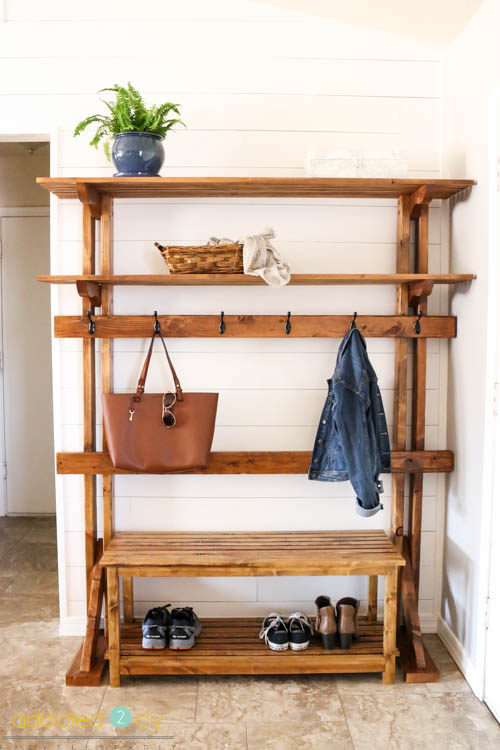




Wow that turned out so gorgeous! Your stain is so pretty and it fits so perfectly in that space.
Thank you, Amy! I’m definitely loving the lighter stain colors I’ve been using on the past few projects.
Katie, your hall tree is just beautiful! You are amazing with all the tools that you use, what an inspiration!
I just love all this.
Aarti recently posted…Ganpati Aarti: Top 10 Ganpati Aarti, Songs to celebrate this Ganesh Festival 2017
Thank you so much!