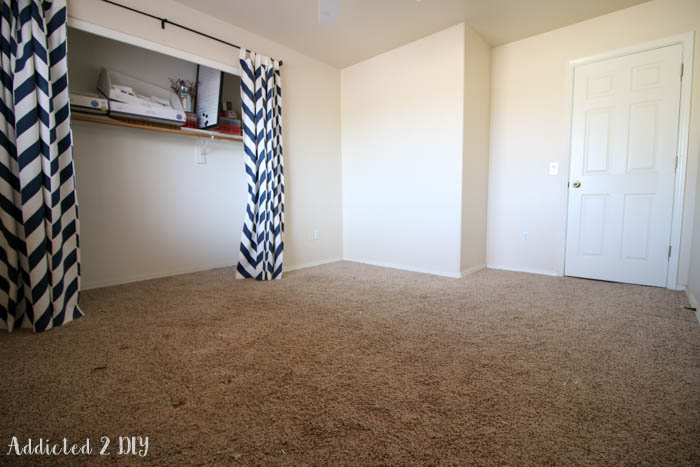
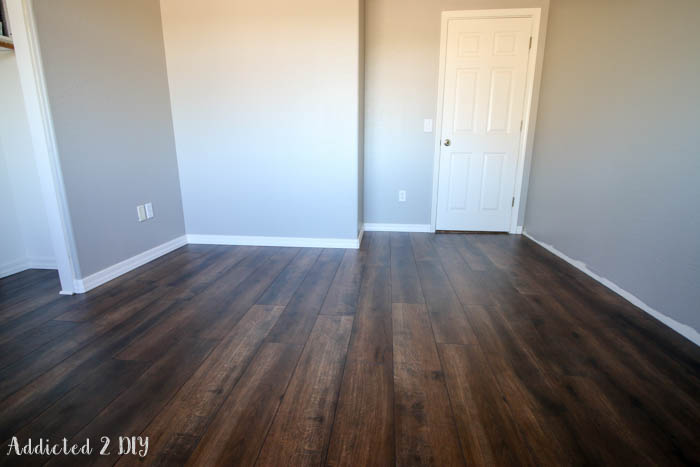
Hey there everyone! I’ve been working away at getting my office/craft room makeover finished and today I’m sharing what we chose for the new flooring. As I said in my plans for the room, new paint and flooring were going to be happening before we built the Murphy bed. Last week, I shared how I painted the room and added new baseboards. In between the paint and baseboards, we replaced the carpet with laminate wood flooring. With the Murphy bed I’m building being so massive, it was one of those situations where we knew it was now or never.
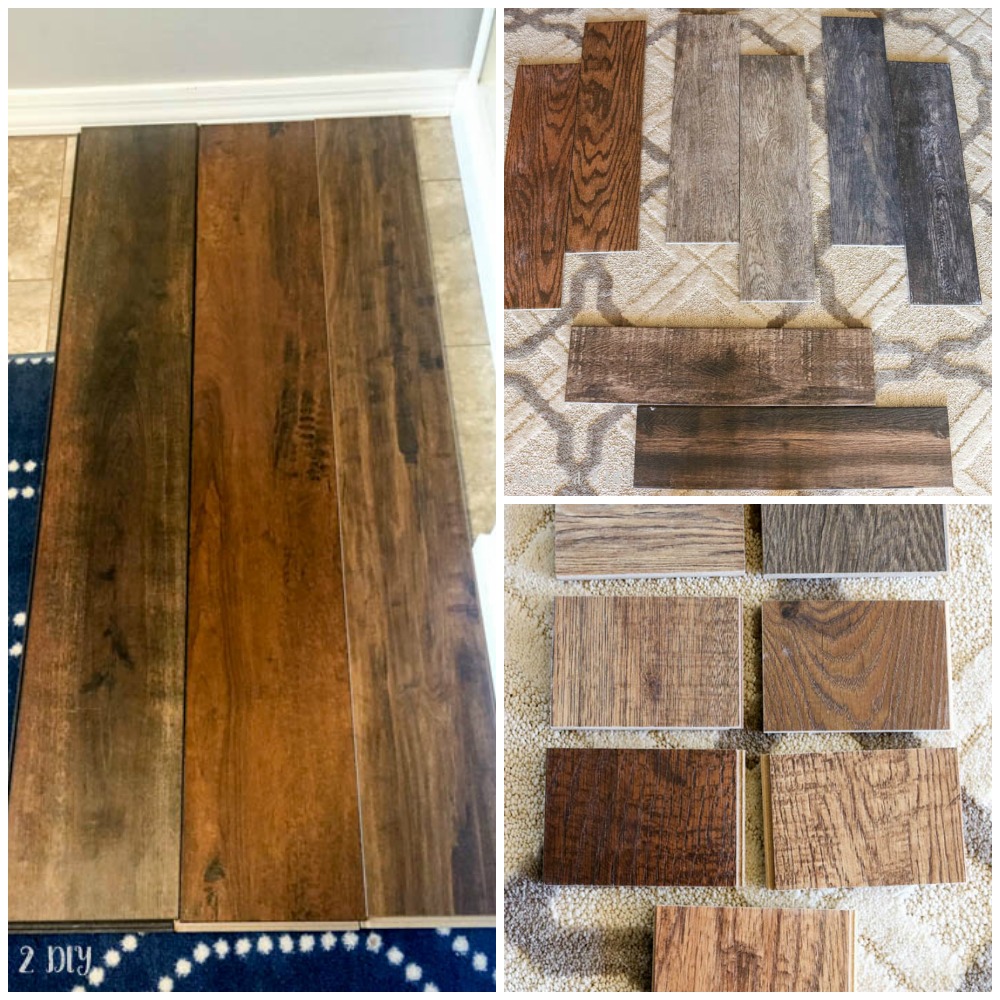
I was so thankful that everyone chimed in with their favorites. I know it’s our house and we should do what we want, but sometimes an outside opinion is a great way to narrow down your choices.
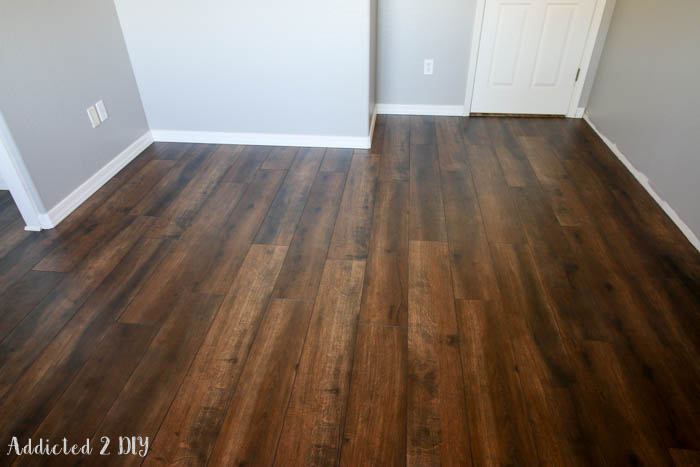
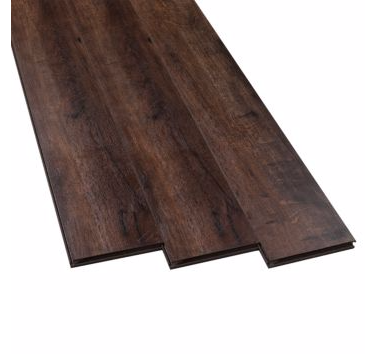
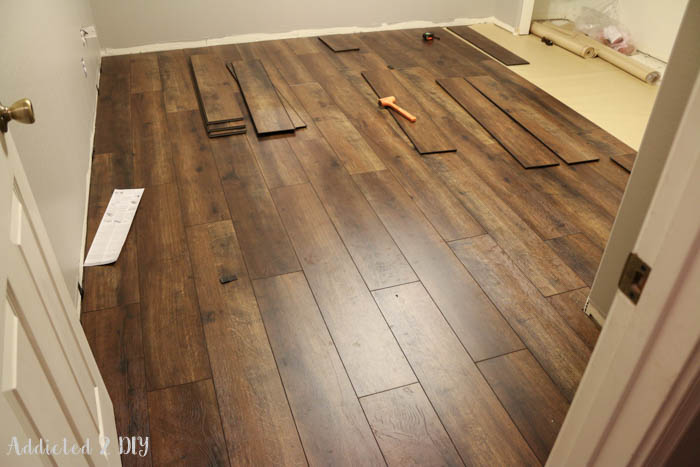
We ended up picking the flooring shown on the left side of the largest picture. It’s from Floor & Decor and it’s called AquaGuard. The color we chose is Cocoa. We’d never heard of this brand before, but we liked that it had the highest wear rating and that it could be wet mopped! The price was a little higher than we wanted to pay, but we knew we’d regret it if we tried to go the cheapest route. We really liked that this color was a good transition from the tile we have in the rest of the house.
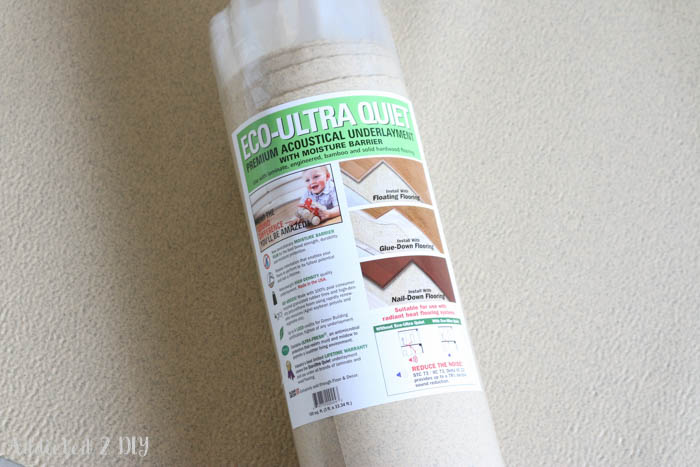
We needed to also buy underlayment material and we chose the Eco-Ultra Quiet underlayment. It also included the moisture barrier, which we needed for the concrete foundation. This was another one that was slightly more expensive ($5 more per 100 square foot roll), but they had a cool little display where you could bounce a golf ball off of the different types of underlayment and this one was by far the quietest.
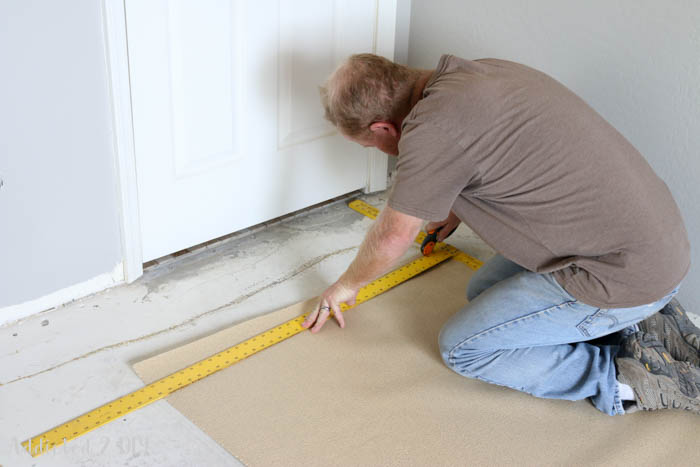
The underlayment was fairly easy to install. One edge of it was sticky, so we just peeled the backing and stuck it to the foundation. After the first row, the sticky edge then sticks to the excess moisture barrier on the non-sticky side of the underlayment. I’m fairly certain there’s a better way to explain it, but hopefully you guys are still with me!
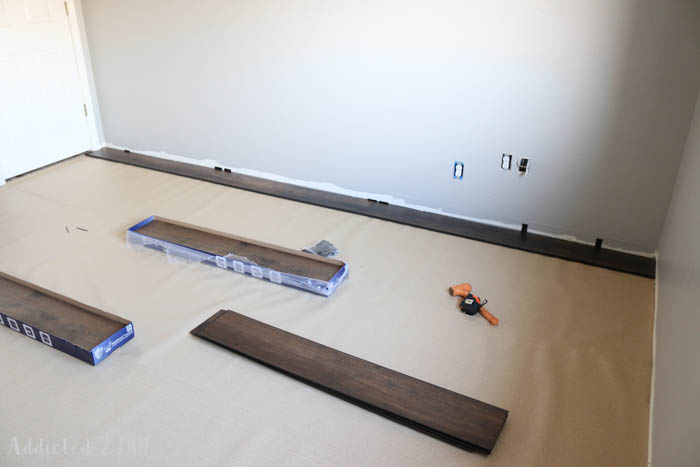
To install the flooring, we worked left to right across the room. We used 3/16″ plastic shims to give some space away from the wall for movement of the flooring. The laminate was able to fit underneath the drywall, so it actually has even more room for any movement that may occur. The flooring fits together with a tongue and groove, so it was simple to lay it all down with minimal effort.
My husband and I have a tendency to be a little high strung when it comes to certain things and how they should be. Thankfully, we usually aren’t this way at the same time, which is good. Usually it’s me that is freaking out when a project isn’t going well and he is having to calm me down. During the first two rows of laying the flooring; however, it was my husband’s turn to freak out. We broke a few of the tongues while laying the boards. This had my husband thinking we bought terrible flooring and he was ready to take it all back to the store and demand a refund. Needless to say, after some choice words, a little frustration, and me threatening to kick him out of the room, we finally got a groove going and didn’t break another tongue during the rest of the install. We just needed to use a little more finesse. The rest of the room went amazing. The cuts around the closet were tricky, but we got it done with minimal waste.
If you missed the first two parts of this modern farmhouse office makeover, you can find those here:

That is beautiful!
Thank you, Teresa!
we bought a few samples of this and love the look and color options. In putting a few of the samples together, we too broke a few tongues with little effort. Very concerning to us and wondering if we still want to get this product. Any secrets on installation should we still consider this? The product itself looks extremely durable but the lips on the 5 inch side break with very little effort.
We only broke a few of the tongues at the very beginning. I think we were just forcing things too much. After breaking a couple, we got the hang of it and finished the entire room without a problem:)
What did you use to cut the flooring?
We used several saws actually. The majority of the cuts were made with our miter saw. Some of the boards had to be ripped down on the table saw. If we were cutting notches, we used the jigsaw.
Yes, replacing all your flooring in your three bedrooms to match is a great idea. You will have more continuity of flooring in your home and since materials on the market place are always changing it would be a good move to buy up the existing flooring materials you like so much now (even if you can’t get around to installing new flooring in your home for many months). I like the contrast of dark flooring and soothing gray walls. It really is nice. It will sell well on the marketplace and it’s a solid return on investment design choice.
I’m looking at the same flooring, and am curious about whether you still like it, now that it has been a few months.
Absolutely! I am saving up to replace the carpet in the rest of the the bedrooms with this flooring.
Hey Katie, It’s Amazing!!! I’m really feeling happy to read this post. You shared a great info which is useful for everyone those who are looking to replace the old wood flooring. Keep up blogging…
Johny Roy recently posted…Flooring Options: Exploring the Magic of Wood
Your floor looks very nice. I am considering installing Aquaguard in my home. I’m just having difficulty selecting the color. I like the color you selected but it is probably too dark for my home. Plus, the Cocoa display at the store looked as if some of the planks had a white haze over them. I thought maybe that was just the style, but yours does not look hazy in the photos.
No, mine are not hazy. I wanted a darker color to contrast with the white Murphy bed, but I do love the Gogh color, as well:)
We are also considering this flooring. Are you still enjoying yours? Is it slippery?
Yes! We still love it! I’m going to put it in both of my boys’ rooms as soon as I have the time to do so. I don’t find it slippery at all, and it has held up really well to the abuse we’ve put it through in the office.
Really like this flooring being on the darker side but looks like there is a lot of contrast does it show dust etc?
It really doesn’t! It’s been just over a year since we installed it and I still love it!
I’ve seen a couple of reviews of Aquaguard flooring that mention an annoying clicking sound that has developed when walking over the planks, even after a professional (versus DIY) install. Is your floor quiet to walk on, and would you still recommend it after a couple years of use? It’s really hard to find customer reviews of this stuff!
Our floor is very quiet. I’m not sure what clicking noise they’re referring to. Unless you count my dog’s paws clicking on the floor, I’ve never heard anything. I even have two 200 pound heat presses on rolling toolboxes in there for running my Etsy shop. It’s been over a year and we still love the flooring. I’m looking forward to installing it in other rooms of our house very soon. We had friends who were interested in it and, after seeing ours, bought it for their entire house.
Aquaguard FLooring..
Cleaning wise?? What do you use? Is this a swiffer or mop cleaner upper?? What cleaning products do you use??
I use a mop. I use Mr. Clean all-purpose cleaner with water. The flooring is composite material, rather than mdf, so it doesn’t absorb the water like standard laminate.
Your floor looks amazing! We’re right in the beginning stages with our install of this flooring in the Calico color, and of course, have had our “choice” words moments already due to the breakage of the locking pieces. We’ve got 5 rows laid out already, but concerned about continuing on… did you ever have a situation where you had to put to cut ends together, and if so, how did you connect them?
Thank you again, for your post, as we too are of the mindset of taking up what we’ve laid, and returning it… but do love the color, and design.
So sorry for the delay in responding! We did not run into an issue of needing to put cut ends together. We would always just make sure to cut a new piece at the length we needed and try to use the remainder on the next row.
We installed this through our whole house … same color . Did in 1 weekend 600 sq ft. It’s beautiful ! I have 4 large dogs and Hey beat the heck out of it and it’s still beautiful ! Any tiny scratches are easy to cover with marker
That’s great! And yes, I agree. We have a large dog and she hasn’t done anything to ours:)
Hi! We are thinking of doing our whole house in aquaguard. Have you had any issues since you installed it a couple years ago? I’m wondering how it’s holding up? Thanks!
Not a single one! We still love it!
I am considering getting this flooring too. Was wondering if you have any very heavy furniture sitting in one place for long? I am worried it will dent? I also have a large glass door with lots of sunlight…will it fade?
Thanks
Hi Jill,
I actually did have very heavy items (industrial heat presses on rolling toolboxes) on it and didn’t have an issue at all with dents. The flooring is composite, so it’s very strong.
Do you happen to know which color is in the far right of your large picture? How has yours held up and can you see every speck of dust with the dark color? We had a dark laminate in our previous home and you could see every speck of dust when the light hit it just right!
The laminate color is called Cocoa by AquaGuard.
I can’t thank you enough for posting this! It has been sooo helpful with my flooring decision. Love seeing your pics and how well the Aquaguard coco goes with your mindful gray walls. I am in process of renovating my little country home and have chosen mindful gray and repose gray for my walls. I have been looking to replace all the existing flooring with Aquaguard, but having difficulty deciding on the color (darker colored floors look so beautiful with the mindful gray, but I did not want to go too dark because my home is small with little natural light). I am reading this four years following your original post, and decided I loved the coco based solely on your pics and comments. I expected this pattern to be discontinued by now, but followed your link anyhow, and Lo and behold, they still carry the coco, and my local store actually has plenty in stock! Problem solved. The color is so perfect, dark but not too dark with lighter tones mixed in throughout, and the texture is so rustic. Love it, it is exactly what I was looking for!