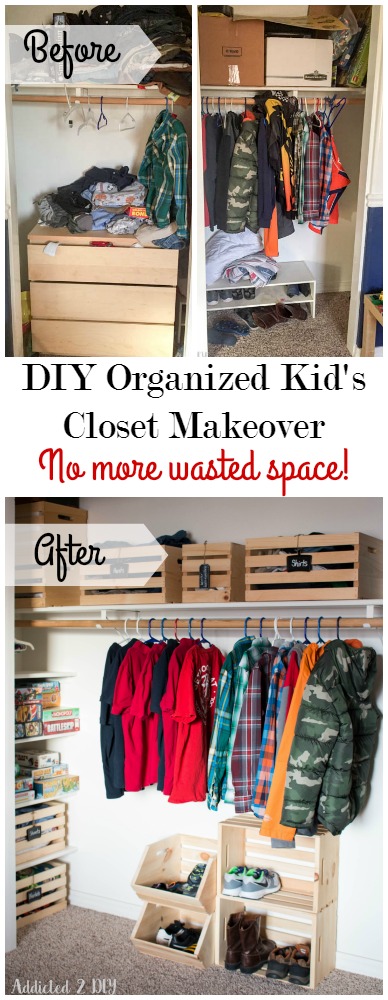
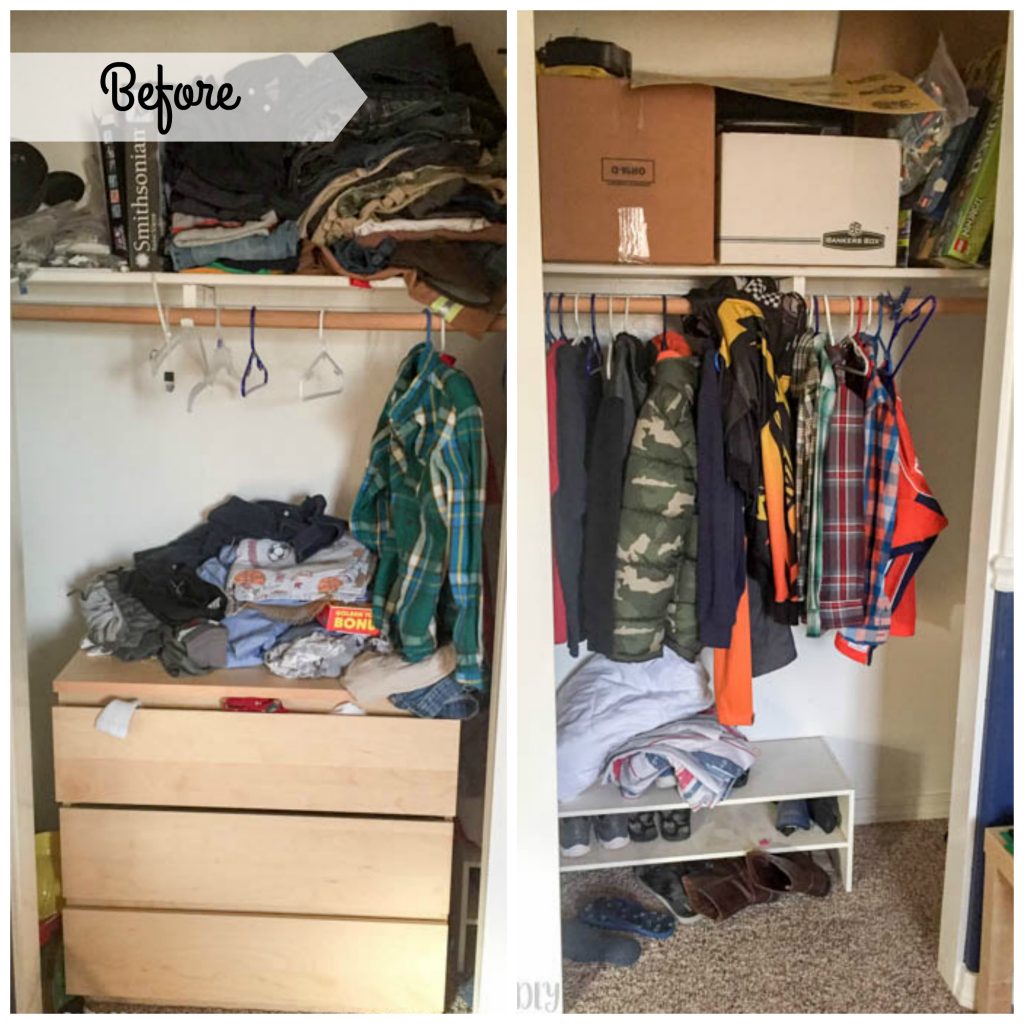
I’ve been working on giving my oldest son’s room a major facelift and one of the biggest thorns in my side has always been his closet. Here’s the scary before pictures of what his closet looked like. Even I’m a little afraid to look!
UPDATE! Enter to win a $50 Home Depot gift cart to use in stores or online! Look for the entry form at the bottom of this post!
It seemed that no matter how many times I would try to organize my son’s closet, a week later it would look like this again. His sheets and shoes would just be tossed around, his clothes that I asked him to hang were never hung up, because it was just easier to toss them on top of his dresser. Each side of his closet also had a good amount of space that was just wasted. It ended up becoming a black hole for things to fall down and never be seen again. His upper shelf was where I would fold and stack his clothes that were too small and just waiting for his little brother to be big enough to wear them. It also was a storage place for things that were temperature sensitive (pictures, mementos,etc.) that couldn’t go in the attic. This tiny little IKEA dresser was moved to another side of his room. I’ll be building him a new, much bigger dresser in the coming weeks and donating this one to Goodwill.
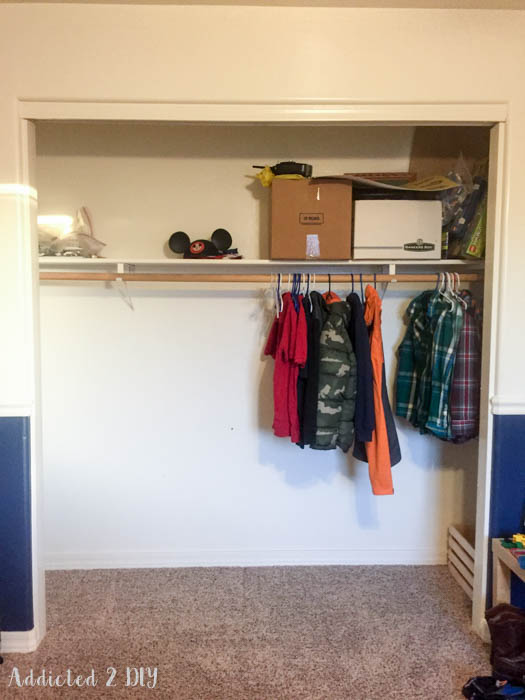
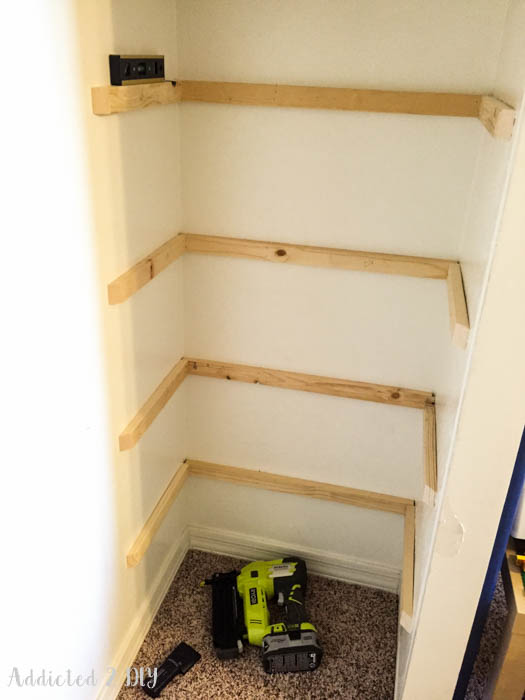
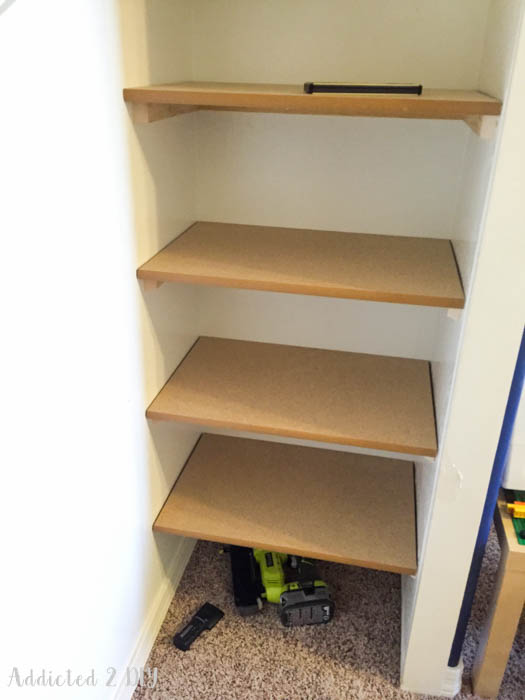
We found the MDF shelving at Home Depot for around $15 per 8′ section. We cut them down to size and then dry fit them in the closet. Of course, there were some bowed sections in the closet and it wasn’t perfectly square, so there were a few gaps. We knew we’d easily hide those later with caulk.
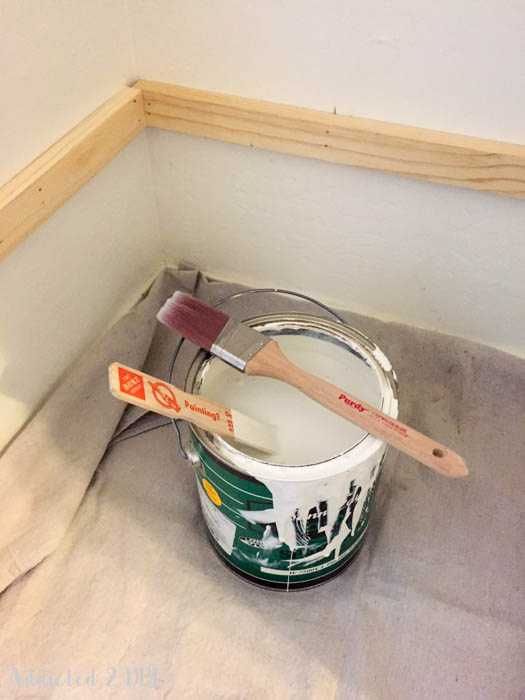
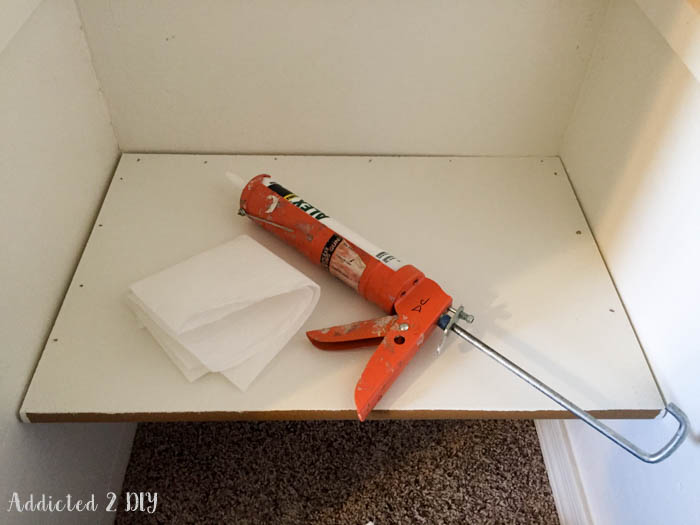
We painted the shelves and the cleats before permanently installing the shelves. Once everything was dry, we nailed the shelves down to the cleats with 1 1/4″ brad nails. We covered all of the nail holes and the gaps with caulk and touched up all of the paint once it was dry.
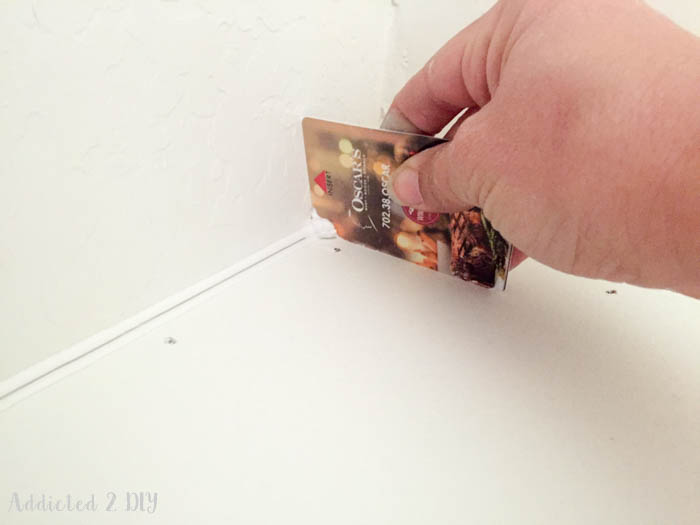
On a quick side note, if you happen to have old gift cards (or in our case, hotel keys) lying around, they make smoothing out the caulking so much easier and cleaner!
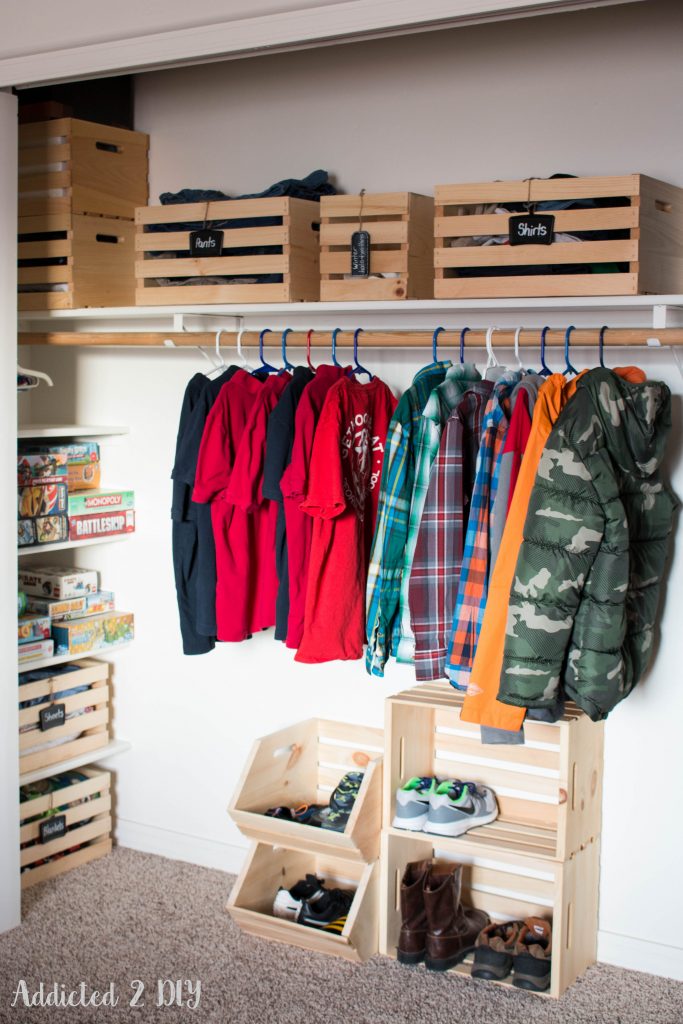
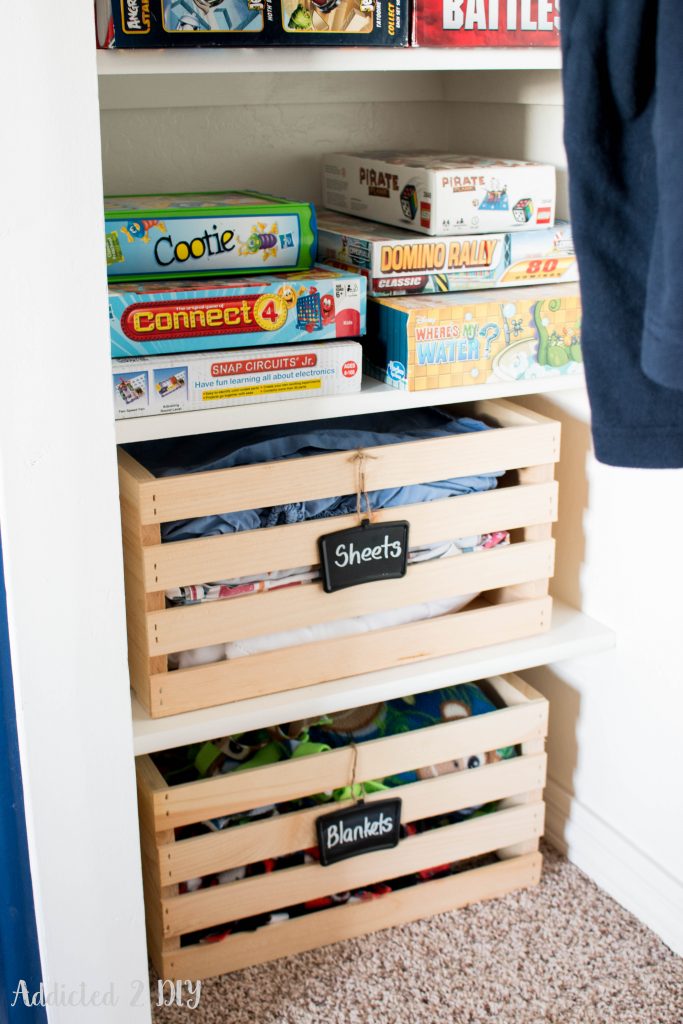
I could hardly wait for all of the paint to dry to start getting the closet organized. I used large crates from Crates and Pallet, which you can find in stores at Home Depot, to store blankets and sheets on the left side of his closet. The rest of the shelves became storage for board games. All of the games were once stored in an IKEA Expedit bookcase that will also soon be moved out of his room when his new dresser is built. I found the chalkboard tags at Target and they worked perfectly for labeling the crates!
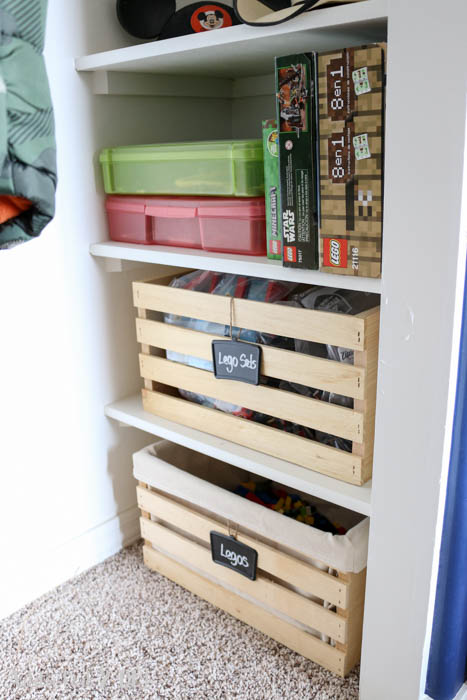
The other side of his closet is being used for Lego storage. Both of my boys have a lot of Lego sets, yet they always seem to stay in my oldest’s room. I wanted to make sure there was a place for all of them to stay organized and they boys could just pull them out when they wanted to. The bottom crate will hold loose Legos and the crate above it will be for Lego sets. I get a little crazy about Legos getting mixed up, so I use big zipper bags to keep the individual sets organized as long as I can. I’ll be sharing a tutorial later on how to make your own canvas liners for these crates. It’s so simple!
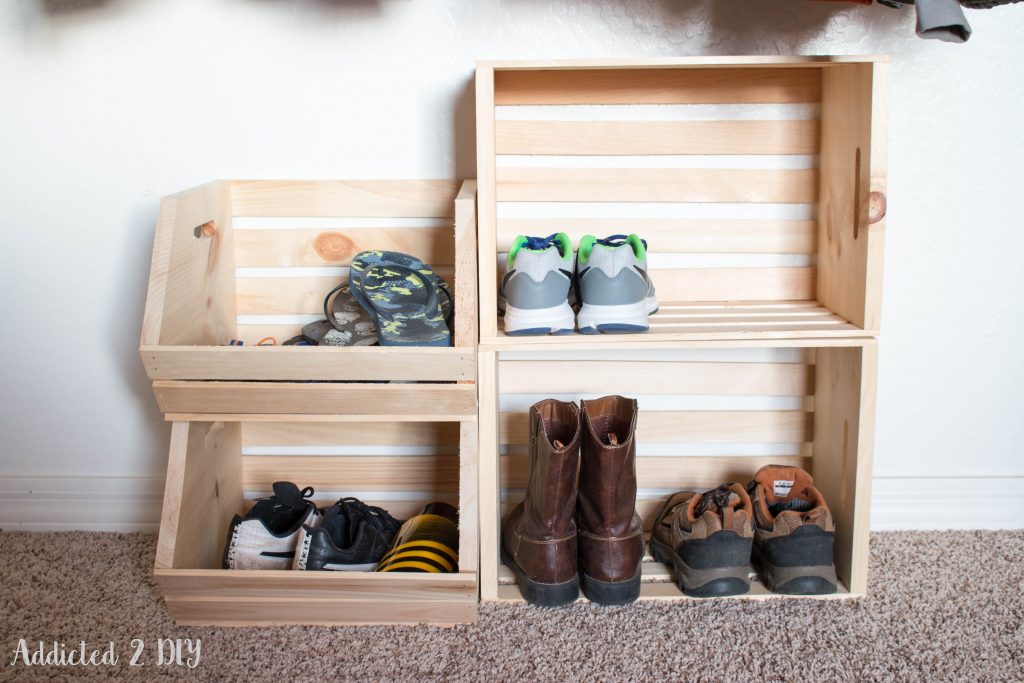
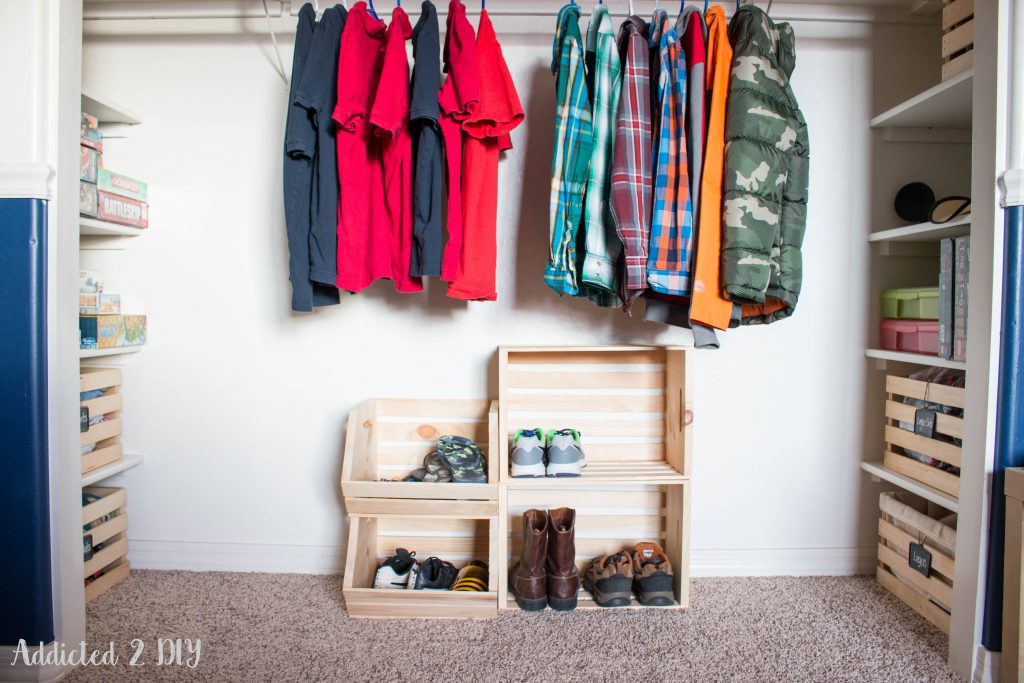
To keep his shoes organized, I used the Crates and Pallet vegetable crates and the large crates. The vegetable crates can be purchased online at Home Depot and they stack on top of each other nicely. It’s a perfect place to store his soccer cleats and shin guards as well as his flip flops, but there are so many possibilities! The large crates fit his other shoes perfectly. I love how easy it is to make storage with these crates and how a shoe storage system can be customized in so many ways by just stacking them differently.
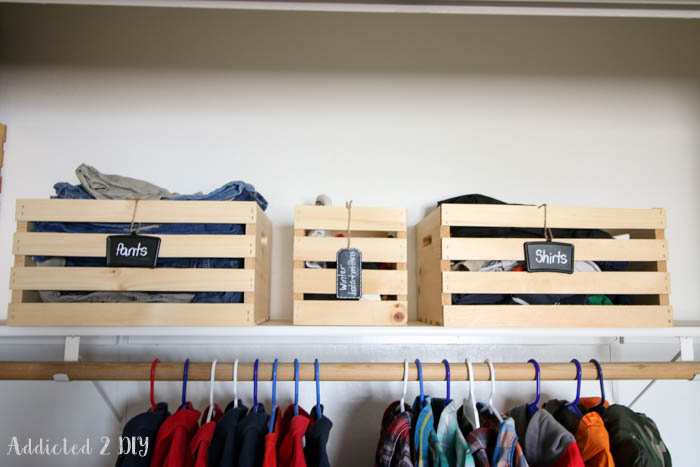
For the top shelf of his closet, I used large crates and a square crate for more storage. I’m able to neatly store and keep his outgrown clothes organized and ready to pass down to his little brother. The small crate works perfectly for keeping his mittens and beanies in one place. I’m loving that he’s now able to reach his shirts in his closet and also can hang them nicely without being tempted to just toss them on the little dresser that was in there.
If organization is on your to-do list for the year, or you have any other projects you want to tackle, enter to win a $50 Home Depot gift card using the Rafflecopter widget below!
DISCLOSURE: This post was sponsored by Crates and Pallet; however, all opinions and ideas are 100% my own. This post also contains affiliate links. Please read my disclosure statement for more information.

Oh WOW!!! This is the BEST idea for organization!! I LOVE the crates and pallets!!!! Soooo perfect and classy looking!!!! I LOVE IT
Thanks so much, Jennifer!
You know what’s sad? I looked at the before picture and thought it wasn’t too bad compared to my son’s! The new shelves in the recessed areas of the closet are a great idea. Love the new bins too!
Vineta @ The Handyman’s Daughter recently posted…Hooked on Coat Hooks
Lol! Is it bad that I feel a little better after reading your comment about your son’s closet? I don’t think either of us are alone when it comes to kids and their messy closets;)
Love this! Would be perfect in my 5 year old’s closet.
Love it !!
I love to wood work, so I would use the gift card to build a coffee table that I have been wanting to!
Great closet makeover:)
Michelle recently posted…Exciting news!
Great job Katie!
I’d buy some wood with the HD GC to build some storage shelves in my basement!
What a great way to get organized! Makes me want to pay a little more attention to my own closets 🙂
Looks great!! I would use the HD gift card to organize my own closets – great ideas! 🙂
I would use it to organize my house!
I love the way you are using crates for your organizing projects. I love the look and utility of crates. I also love the way you marked what was inside with those tags. Thank you for the inspiration.
I would rework my daughters’ closet to make it work for both of them.
Stephanie recently posted…Sofilantjes- New Pattern Release: Amare Top and Dress
I love the way you use crates – I’ve been online shopping for a good deal on them – I never thought of Home Depot – wow! That’s what I want!
Love the organization! Much needed in my kid’s rooms!
I love the combination of shelves and crates – more practical than shelves alone, easier to pull things in and out than with drawers.
If I won the gift card I would put it towards new curtain rods.
I actually already have a couple of these crates sitting in my basement. You’ve inspired me to do something with them.
Love the shelves…….definitely need to try….
Great ideas!. I no longer have kids in the house but always seem to have “stuff” that needs corralled.
I love your closet. The crates look great. I would love to do something like this with my pantry.
I would like to get under the bathroom cabinets and the linen closet organized.
I would do some closet organization! I love how you’ve used that dead space that normally just collects clutter!
cool!
Excellent kids closet DIY. If you love your kids, you must read this post and start thinking to do something like this DIY closet. It could be a great gift to your kid.
The after looks great! The added shelves add a lot of storage. I love the wooden crates.