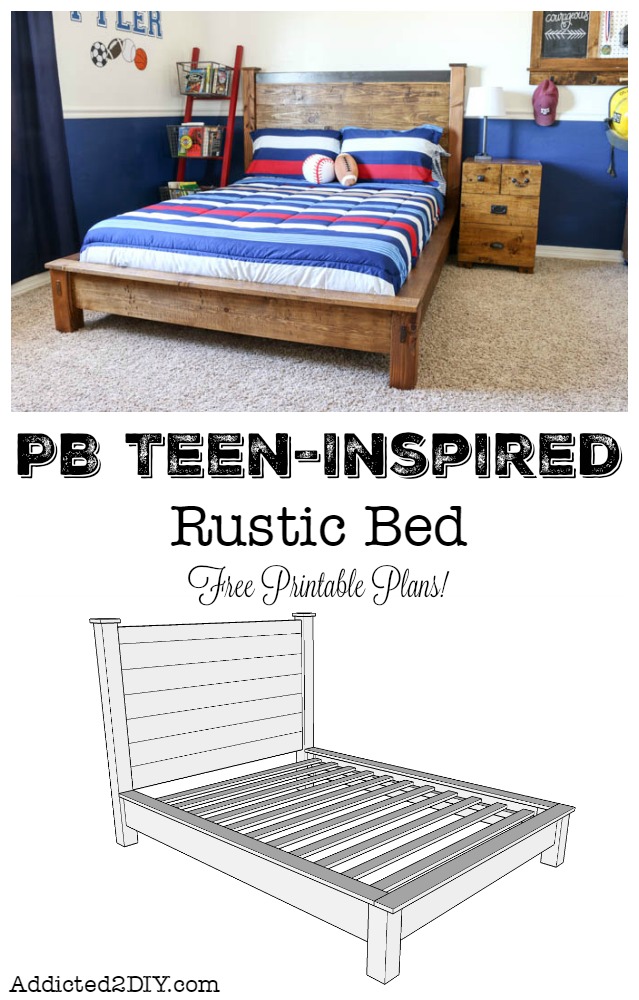
You guys, I can’t even begin to explain how excited I am to share this project with you! I’ve been very slowly working on my oldest son’s bedroom and finally decided it was time to fast-track things and get it done. A few months ago, I shared the plans and tutorial for this PB Teen-Inspired nightstand you see next to the bed. I’ve partnered up with Elmer’s and today I’m sharing the free plans and tutorial for this knockoff PB Teen Emerson double bed. Oh, and want to hear the best part? I built this bed for about $160 in materials (not including the mattress)!
Before we get started, make sure that you download the free printable plans for this project. It will contain your shopping list and cut list. Now, let’s get started!
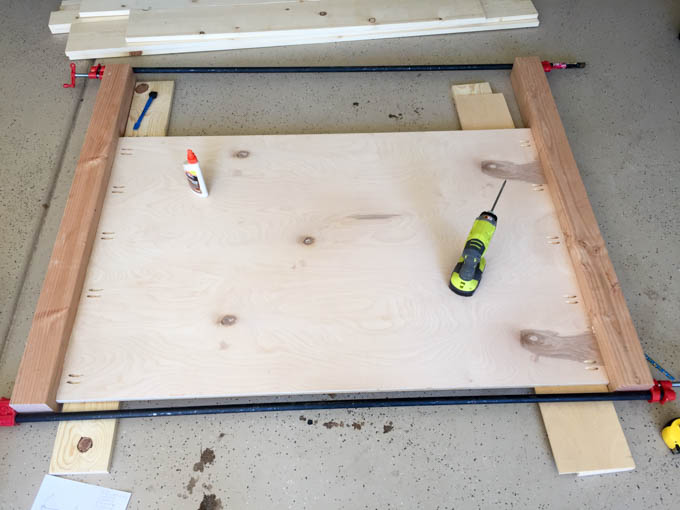
STEP 1: Drill pocket holes into each side of the 3/4″ plywood backing for the head board. I used my Kreg R3 for this (affiliate link). It made it a lot easier to drill the pocket holes into the plywood versus flipping the wood around to drill all of the holes. The backing needs to be inset 1″ from the back of the 4×4 legs. I accomplished this by setting scrap pieces of 1×6 boards and 1/4″ plywood on the floor, then setting the plywood on top of that. The plywood should be set 1″ below the top of the legs. Glue each side of the plywood, then clamp and attach to the legs using 1 1/4″ pocket screws.
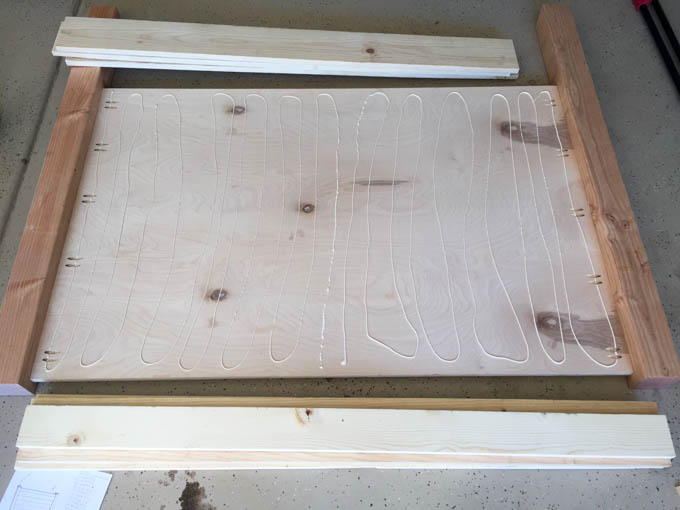
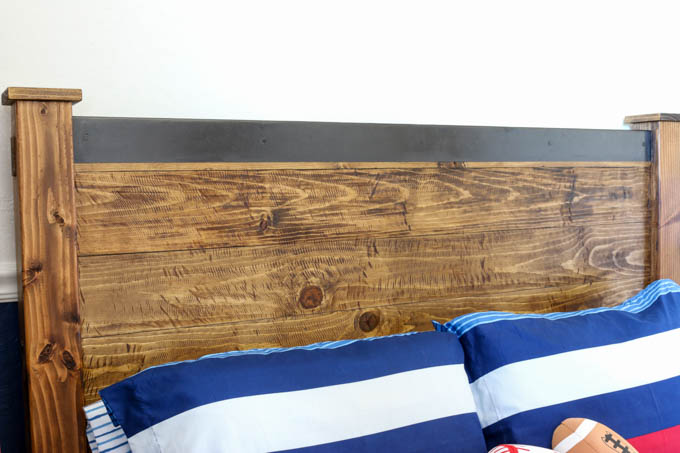
STEP 2: For the front of the headboard, apply a good amount of wood glue to the plywood, then place the 1×4 board flush with the top of the plywood. Continue down the plywood with the 1×6 boards, then nail in place using 1 1/4″ brad nails.
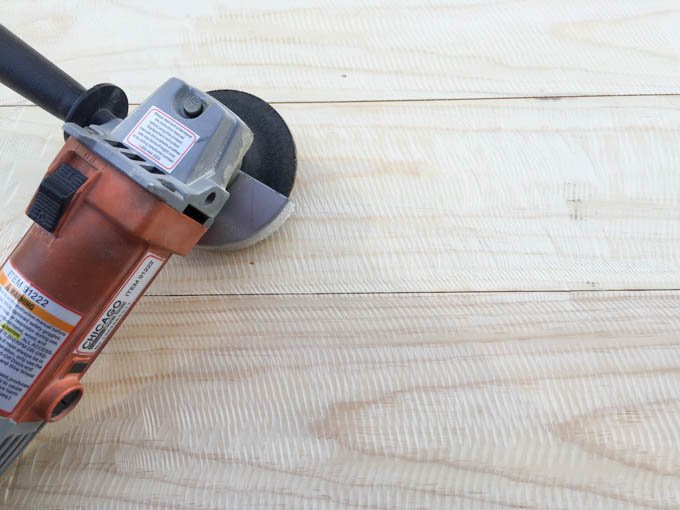
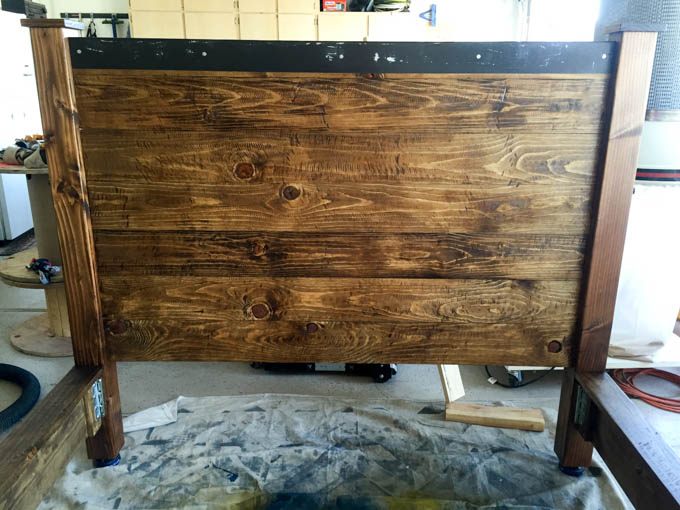
If you want to distress your wood to give it the look of sawmarks, you’ll want to do that with all of your bed rails, top rails, and headboard. You can see my tutorial for doing that HERE.
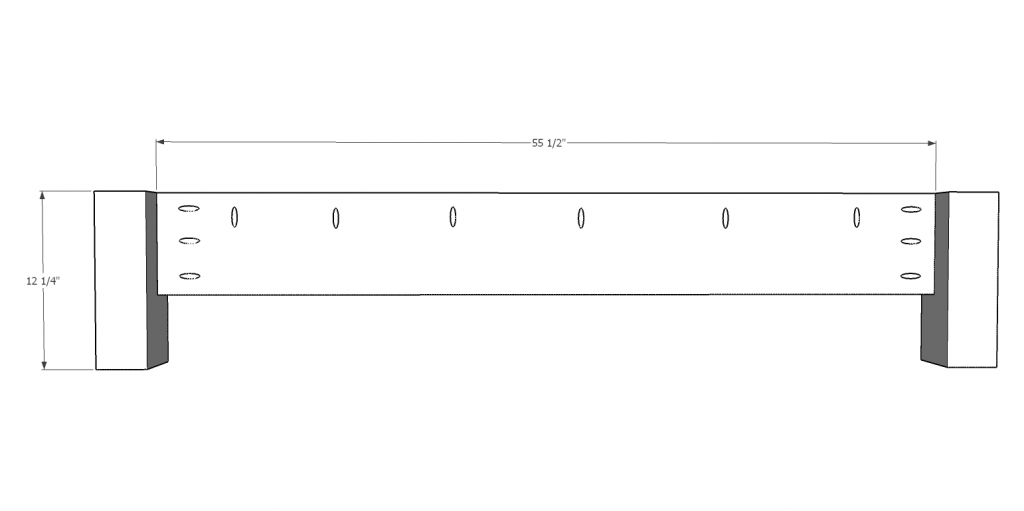
STEP 3: Build the footboard using the same method as the headboard, setting the footboard in 1″ from the front of the 4×4 legs. Glue and clamp, then use 1 1/4″ pocket screws to attach everything together. Make sure to drill pocket holes into the top of the footboard for a later step.
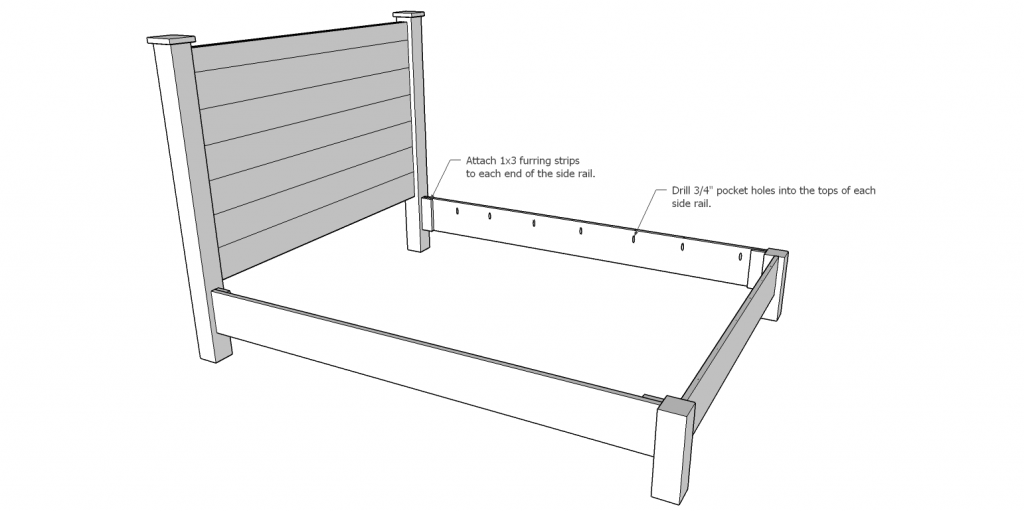
STEP 4: The side rails will be attached with brackets, rather than glued and screwed together. This way the bed can be taken apart to bring in the house or moved around. To give the brackets added strength, add 1/3 furring strips to each end of the side rails. Attach them using wood glue and 1 1/4″ construction screws. Drill 3/4″ pocket holes into the tops of each side rail.
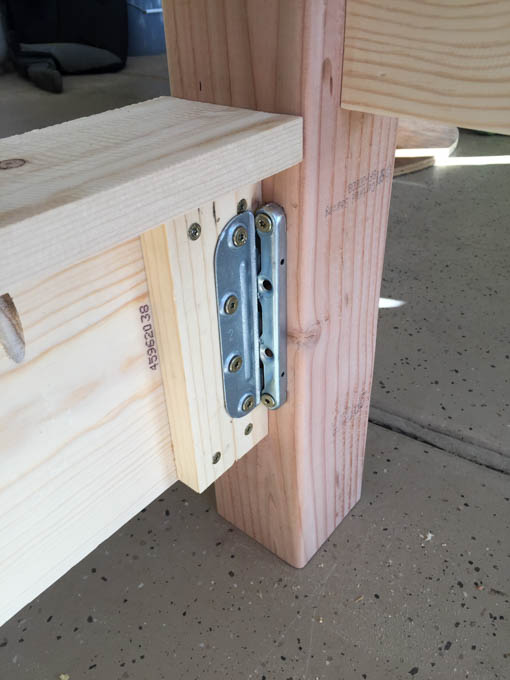
STEP 5: I purchased these bed rail brackets (affiliate link) on Amazon and they work great! They hold up to 500 pounds and come in a set of four for about $15. They’re easy to install and I used 2″ construction screws to attach them. The most important thing is to make sure they are all put on in the exact same spot so that your bed rails will be level and even.
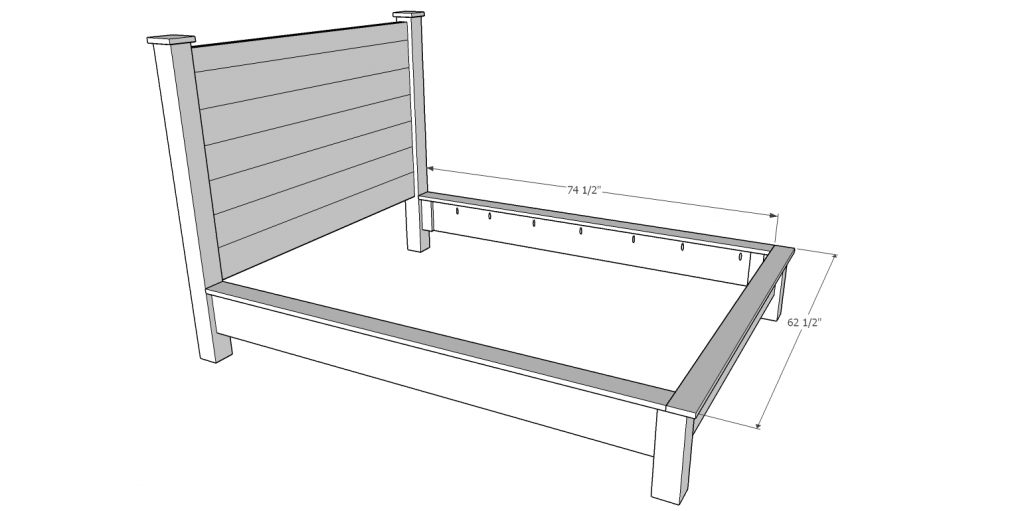
STEP 6: Attach the tops to the bedrails and footboard. Use wood glue and 1 1/4″ pocket screws to attach them.
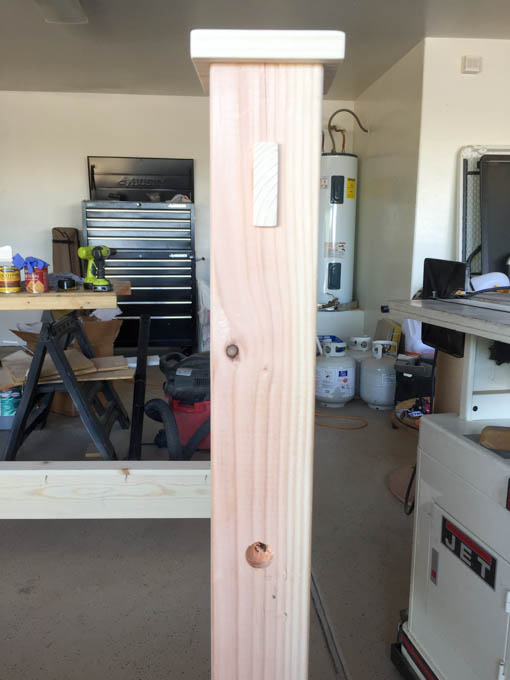
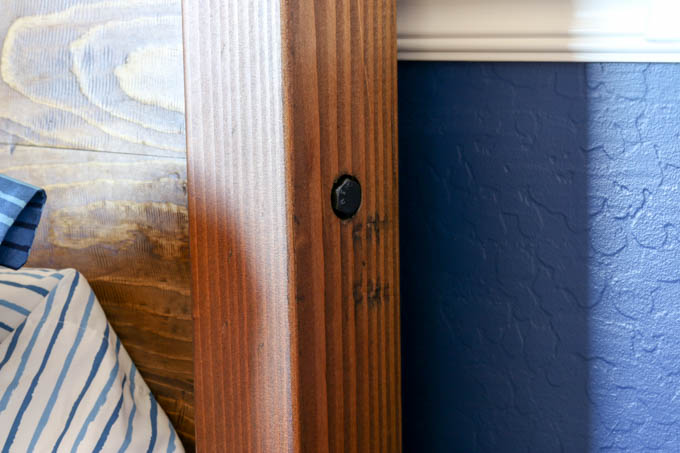
STEP 8: To make this knockoff match the original, I drilled 1″ holes into the sides of each of the headboard legs to screw 3/4″ lag bolts into. I also added 4 1/2″ x 4 1/2″ square caps to the legs. For the mortise and tenon look, I cut 1×3 boards into 1/8″ thick pieces and glued and nailed them to the front and back legs. I measured about 2 1/2″ down from the top of the legs and then attached them.
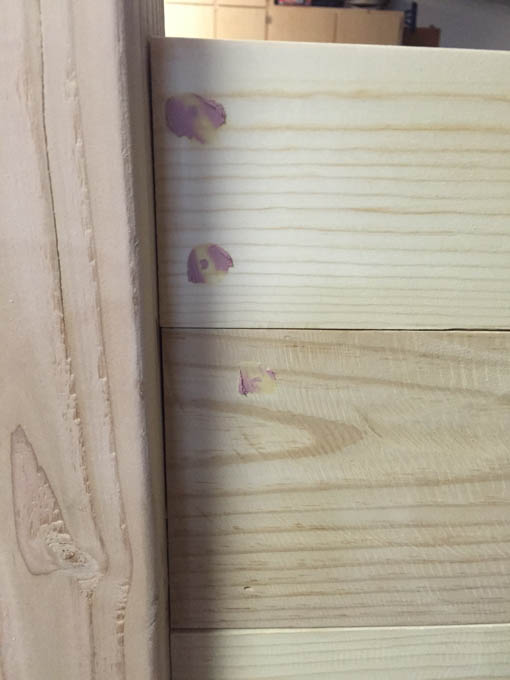
STEP 9: Fill all of the nail holes with wood filler. I used new Elmer’s color change wood filler to fill all of my nail holes. I have always used Elmer’s wood filler, but the color change was new to me. I really liked being able to tell when my wood filler was dry and when I still needed to give it a few minutes. The texture of it also made it so easy to work with. Once the wood filler was dry, I sanded the entire bed down with 220 grit sandpaper then stained it with Minwax stain in Provencial. I just wiped on one coat of stain so it wouldn’t be too dark.
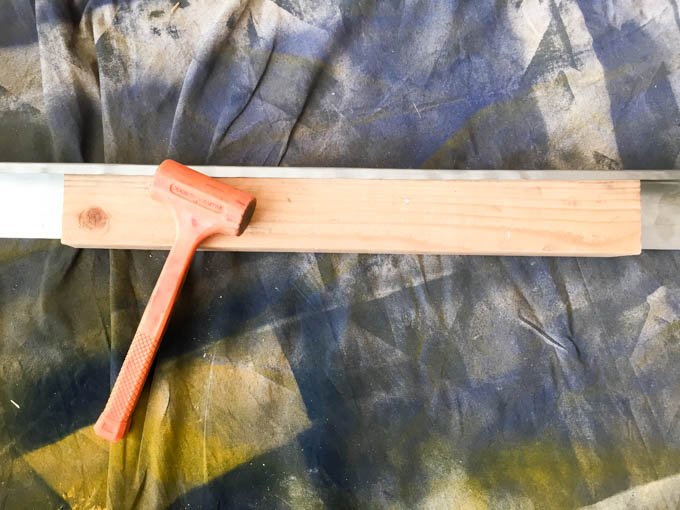
STEP 10: There are a few routes you can take when finishing off the top of the bed. The original bed is wrapped in metal at the top. Since I’m all about authenticity when it comes to details like this, I purchased a piece of 2″ x 3″ x 10′ roof flashing. I cut it down to fit over the top of the headboard and then used a 2×4 as my guide and pounded the heck out of it so the extra half inch overhang would wrap around the back. It took a while, but it was worth it in my opinion. The other option is to use more wood filler and smooth out the top of the headboard where the plywood and the 1×4 join up. Sand it down and then paint that top board with metallic paint so it looks like metal. I spray painted the flashing with Rustoleum oil rubbed bronze paint.
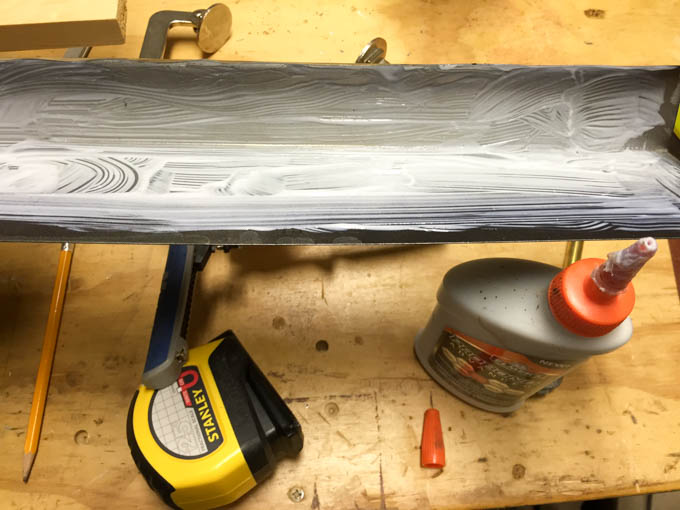
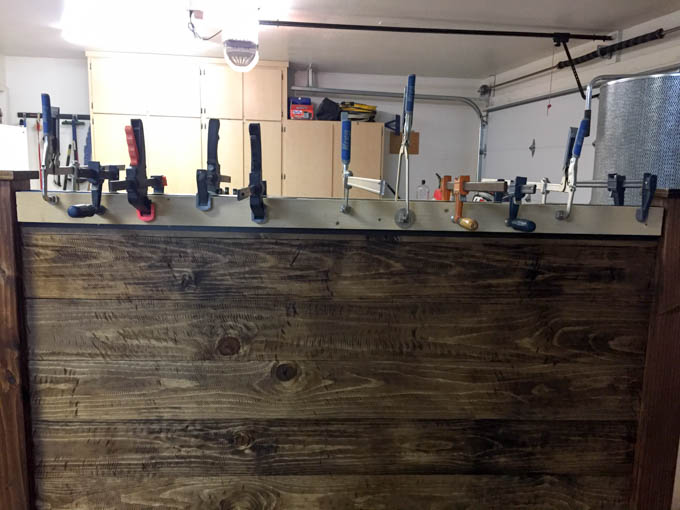
STEP 12: I was pretty sad the next morning when I pulled the clamps and boards off to find that the spray paint had stuck to the boards and peeled off. The metal flashing was glued on perfectly flat, but apparently 36 hours wasn’t long enough for the spray paint to cure. I had to move on though. Again, adding to the authenticity, I drilled pilot holes into the flashing and then pounded 1/2″ roof nails into the holes. The metal on the back of the headboard wasn’t cooperating and didn’t end up flush against the plywood like I had hoped, so I also nailed that down to keep it from bending up and looking weird. Once the nails were added to the front, I masked off the wood and touched up the nails and peeled paint with more spray paint.
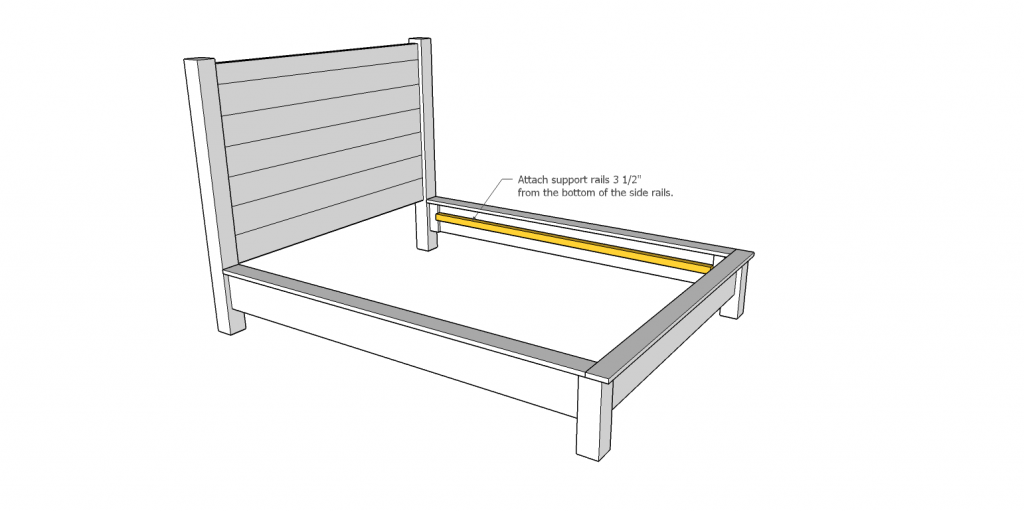
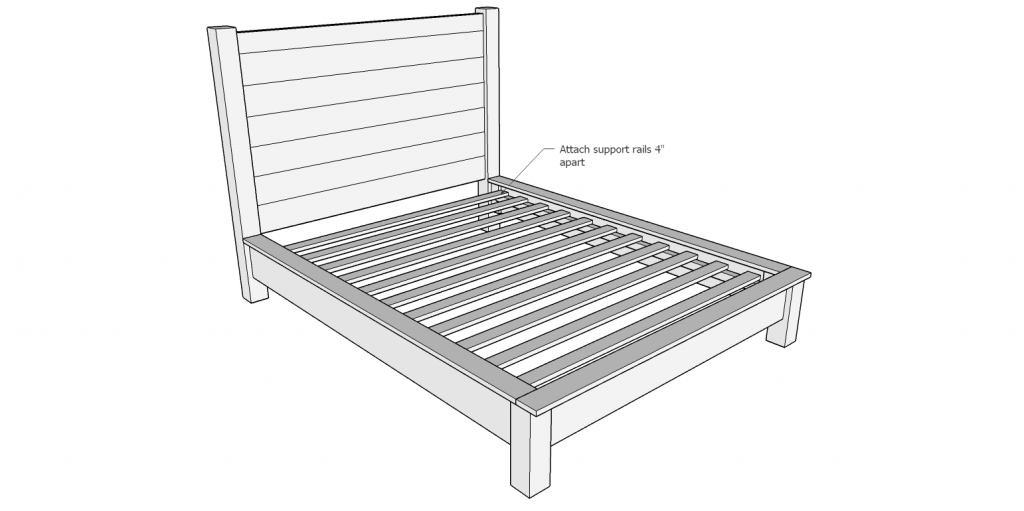
STEP 13: Once the bed is finished, it’s time to move it inside and attach the mattress supports. Cutting the 1x3s at about 58 3/4″ made them fit nicely into the bed frame. Space them about 4″ apart and then screw them into the 2×2 support rails using 2″ screws. I used self-tapping screws, but I recommend drilling pilot holes to avoid any wood splitting. I got lucky and didn’t have any splitting occur. After the slats are in, you’re ready for the mattress!
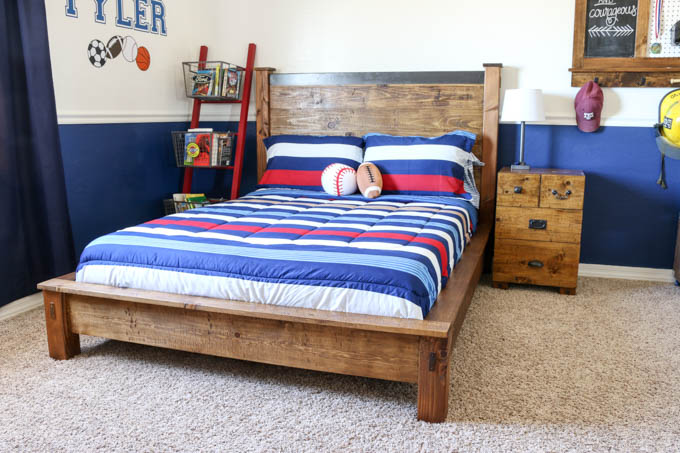
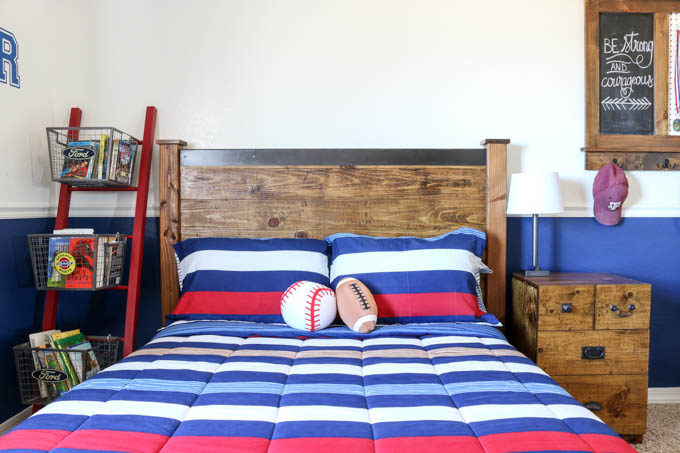
The bed turned out even better than I imagined! I love the rustic look and my son loves it too! He couldn’t wait to see it when he got home from school the day I completed it. All of the little details made it look just like the original PB Teen version, but for a fraction of the price. The dresser is the last piece of furniture that I need to build and his room will be complete! Well, except for the closet. That’s another project for another day.
As I said, I teamed up with Elmer’s Products to share this post with you all today. The plans, project, and opinion of all of the products used are 100% my own. If you want to get more project inspiration using Elmer’s products, be sure to sign up for their DIY newsletter!
If you decide to build this bed, or any of my projects, I’d love to feature your work on social media! Be sure to email me pictures or tag me on Instagram using the tag @addicted2diy or the hashtag #addicted2diy. Happy building!


Your son’s new bed looks amazing! I love how you distressed the wood, and the metal accents give it a great final touch. I’ll be saving this for when my son starts asking for a bigger bed!
Vineta @ The Handyman’s Daughter recently posted…Front Porch Update Part 2 – Spray Painting the Door Hardware
I agree with Vineta as he says “Your son’s new bed looks amazing!”. This bed is transformed in a stunning one.
Thank you so much, Catherine!
What size is this, queen?
This is a full-size bed.