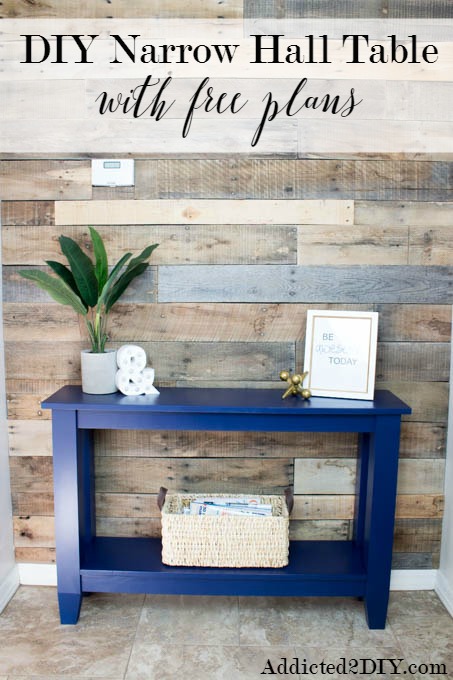
at the end of this tutorial, so stick around!
Make sure you download the FREE printable plans for this project. It has the cut list and all of the materials you need to get started!
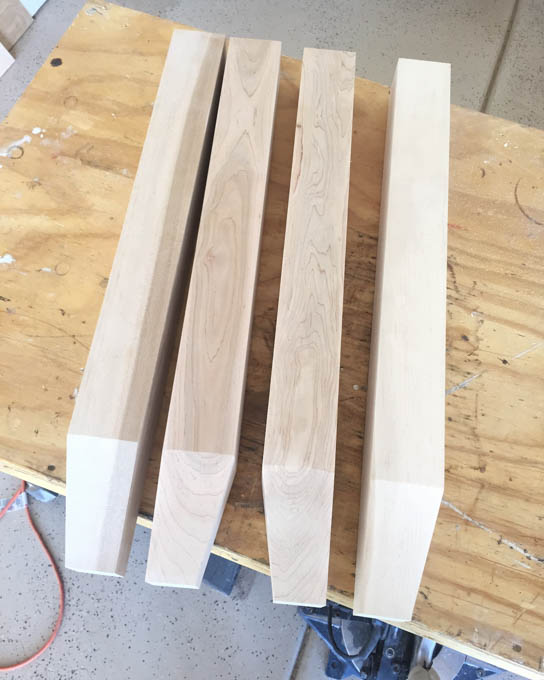
Before you begin this project, you’ll want to order your table legs. These gorgeous legs came from Osborne Wood. They’re made of soft maple, and I love their simplicity They fit right in with the modern farmhouse look I’m striving to achieve in my home. Whether or not I’m actually succeeding in that is another story.
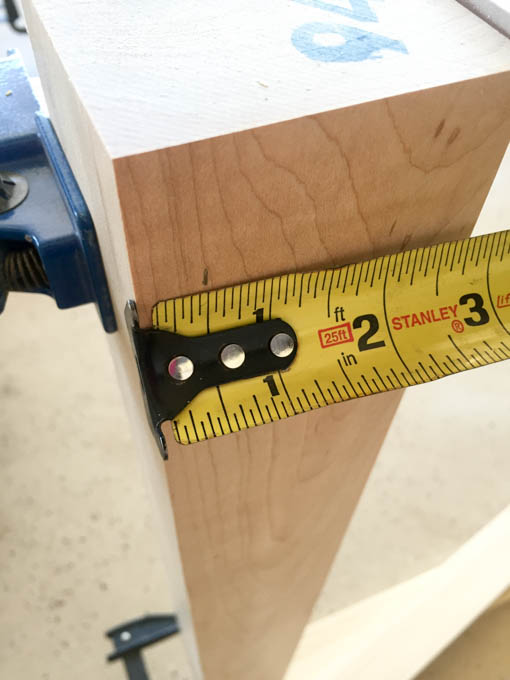
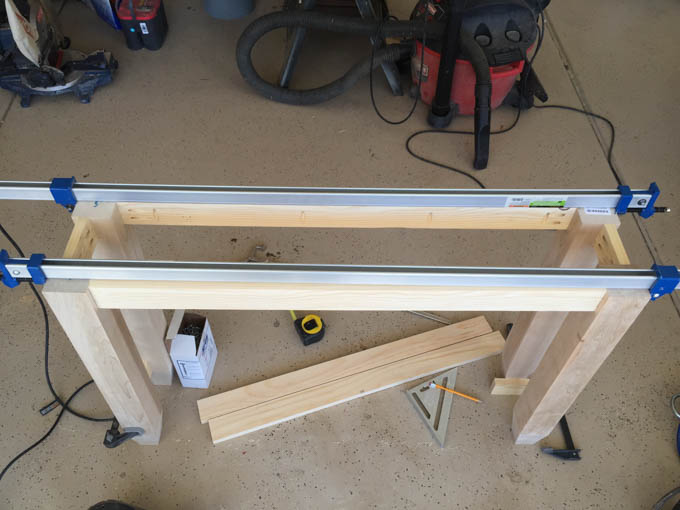
The first thing you want to do is mark each of the legs 1/2″ in from the edge. This is where the 1×3 pieces will go. Also mark 5″ up from the bottom of each of the legs. That is where the bottom of the 1×3 pieces will be placed for the bottom shelf.
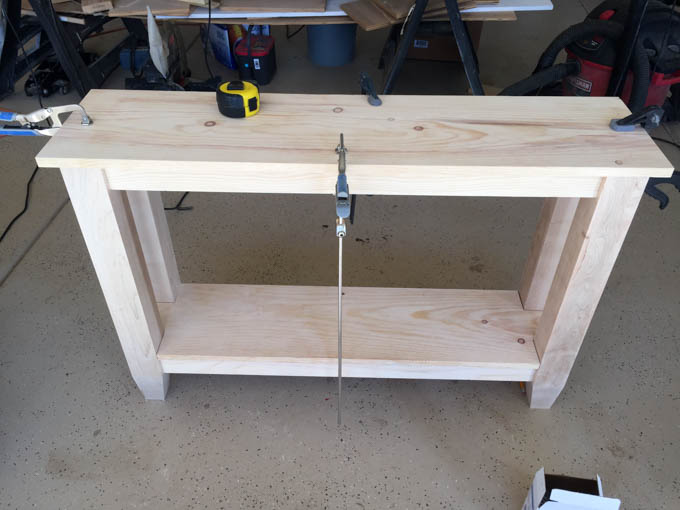
I built the top of the table first, attaching everything with wood glue and 1 1/4″ pocket screws. Projects like this are always interesting when you’re building them by yourself. You pretty much turn into a contortionist trying to keep everything in place while you clamp.
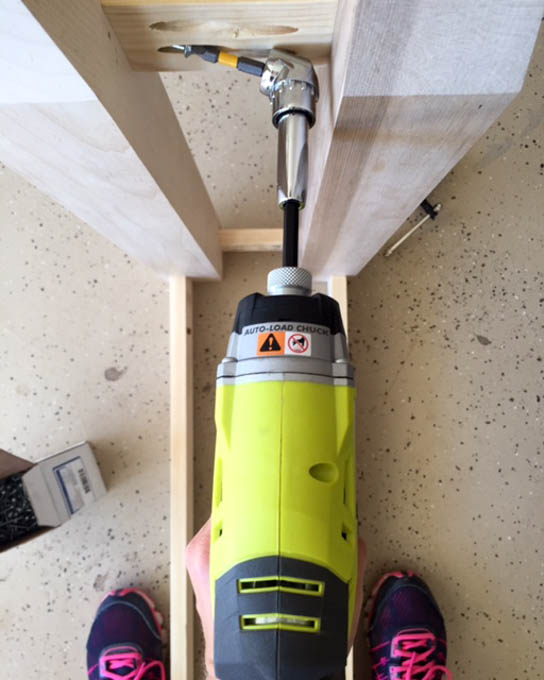
Driving the screws into the 4″ side pieces was a bit of a challenge. My impact driver obviously wouldn’t fit, so I tried a ratchet. That was taking forever and I was losing my mind. Then I picked up this off-set adapter and it was exactly what I needed to get the job done. It fit perfectly into the narrow space between the table legs. If you don’t have one of these, I recommend getting one!
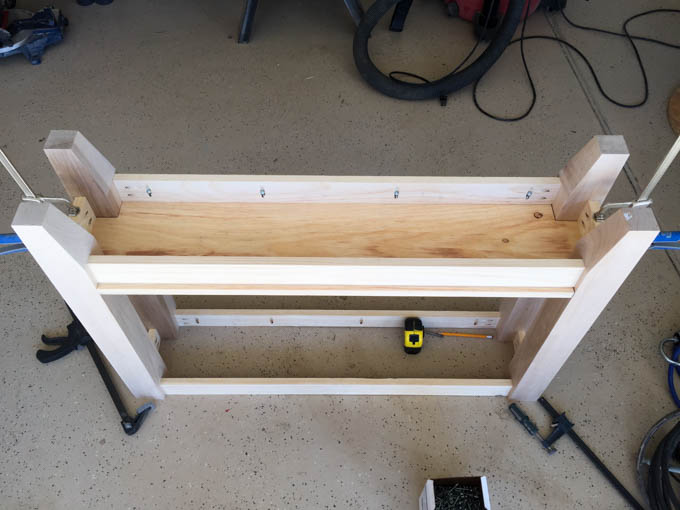
Before installing the bottom shelf, I cut the corners out to allow it to fit between the legs. You can use a jigsaw, but I love using my Blade Runner for stuff like these types of cuts. Attach the bottom shelf using 1 1/4″ pocket screws.
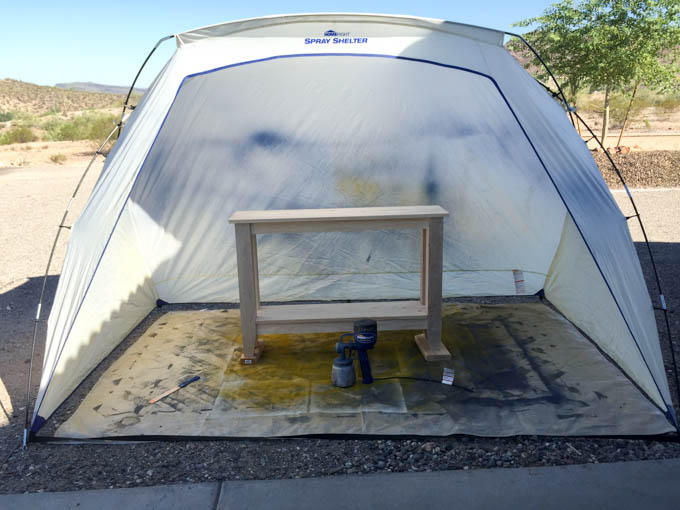
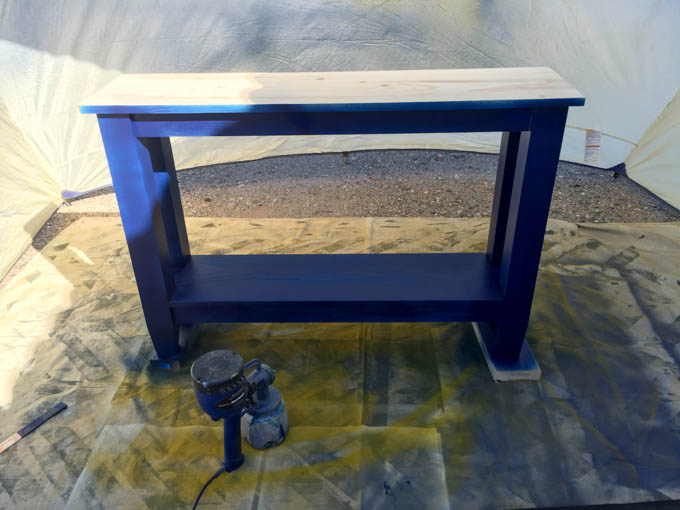
I didn’t know at first what color to paint the table, but thankfully my blogging girlfriends came to the rescue and helped me decide. The color I chose is called Indigo Ink. It’s part of the Behr Home Decorators Collection at Home Depot. It is such a pretty navy color. To finish it, I set up my spray shelter and grabbed my Finish Max.
Typically, I spray the underside first and then flip it over, but I apparently wasn’t thinking straight on this day. I sprayed two coats on the base, avoiding the top, and then flipped it over to spray the underside. Not painting the top just yet helps to prevent it from sticking to the drop cloth or the wood I place underneath. Once I was done with the underside of the table, I flipped it back over and sprayed two coats on the top.
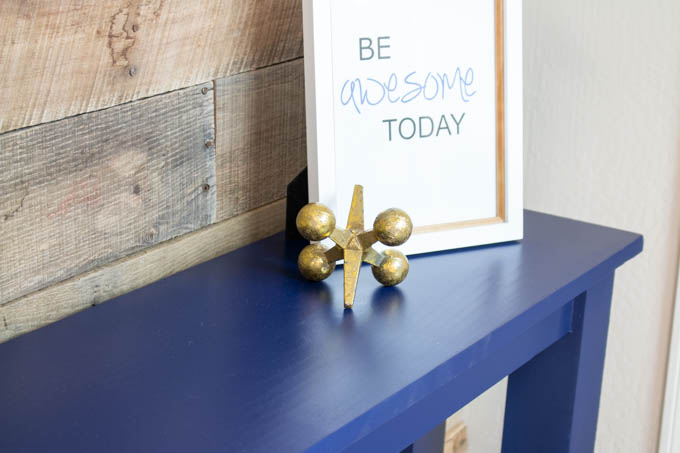
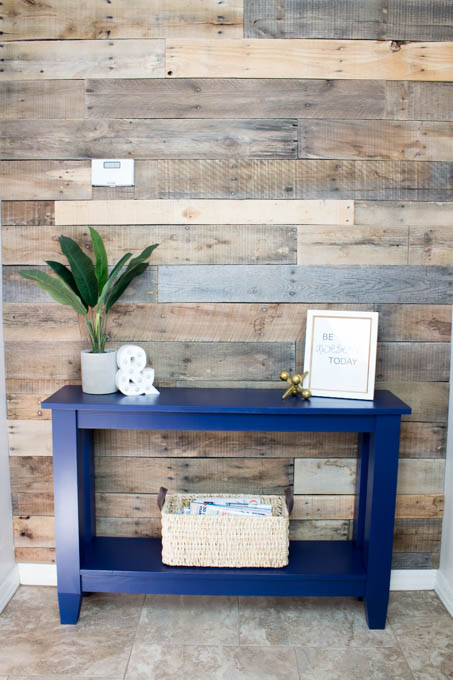
Just look at that finish! No brush strokes! Ever since I got my Finish Max last year, I hardly ever seem to put it down. The time it saves me is priceless and the finish is just amazing. By the way, I bought this cute printable from WifeInProgressBlog Etsy Shop. It’s a great reminder for my boys each morning when they walk out of their rooms. The gold jack, plant and ampersand marquee came from Target. My husband has been wanting more plants in the house, but this hallway doesn’t get a lot of natural light, so I thought a faux plant would be better. Plus I won’t kill it!
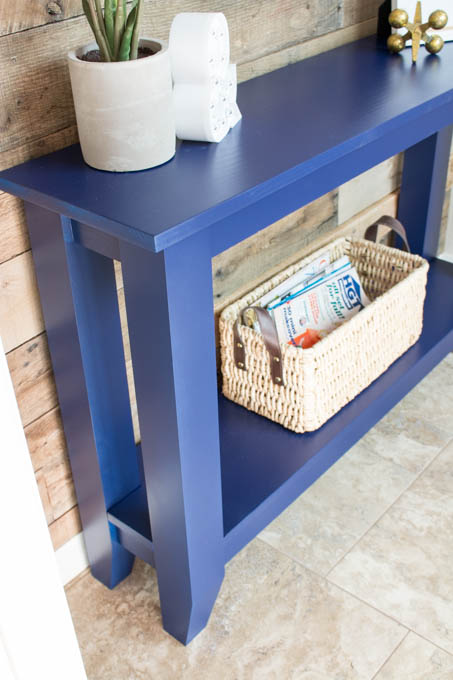
And those legs! I want to build a thousand more projects using the gorgeous table legs from Osborne Wood. By the way, these are called House Of Wood Tapered Legs. They’re named after my friend Jen’s blog. You should see the beautiful writing desk she built using these legs.
I am so happy with this table! The color and design are just right and It fits perfectly in this narrow space. This area is still a work in progress, but it’s getting there. Slow and steady wins the race, right? Or at least it prevents me from making too many decorating mistakes.
As promised, it’s giveaway time! One lucky reader will win a HomeRight Finish Max and Spray Shelter to take on their own painting or staining projects! This giveaway is open to U.S. residents ages 18 and over. Void in Alaska and Hawaii. To be qualified, entrants must follow HomeRight on at least one form of social media. A winner will be selected at random from the verified entries and will be notified via email. Winner has 48 hours to reply to the email or a new winner will be chosen. Good luck!
DISCLOSURE: This post has been sponsored by HomeRight with products also received by Osborne Wood. All opinions and ideas in this post are 100% my own. Affiliate links have been added for your convenience. Please read my disclosure policy for more information.

I absolutely love everything on this wall. Love the plank wall and love how sticking the blue is against it! Great job Katie
Thanks Janet!
Swoon, I absolutely love the blue… such a fresh fun color against the awesome plank wall. Also, I had no idea that something as amazing as the spray shelter even existed! I’d love to win one, but will absolutely buy one if I don’t… thanks for bringing it to my attention!
Beautiful, great instructions. I have narrowness to deal with, ugh. 😉
Thank you Mary! Yes, I have this nasty habit of running into things. You should have seen my legs when I had a foot board on my bed that had sharp corners! This is just narrow enough to fit in the hallway and nobody bangs their hip. You could always make it narrower as well, though attaching the 1×4 pieces on the ends would be quite a bit trickier.
You really did a great job.I just love that color blue.
Thanks so much Kaye! And congratulations on winning the giveaway!
Love, love, love the blue colour! It looks great against the pallet wall.
It’s never occurred to me that you can order table legs. I usually just get whatever is at the hardware store, or whatever I find from some furniture someone is chucking out. I’ll have to look into this option in Australia.
Very beautiful table. I’m going to do something very similar to this. Have the two shelves cracked or popped their screws yet? With the way you mounted them (pocket screws) there is no room for natural wood movement. I would do a figure 8 bracket instead of pocket screws on the top and bottom shelves.
No. It looks just the same as when I built it. No movement or warping at all.
I made this plan using the larger island legs in the same tapered style to make a 35 3/4 final height. I also flipped the legs around which I think modernized it just a touch. To fit my space I widdened it out to five feet and with my baseboards I raised up the lower shelf to 12 inches.
I used the Behr Agave paint which is a Joanna Gaines knock off or vice versa.
First project very pleased!
It turned out beautiful! Great work!