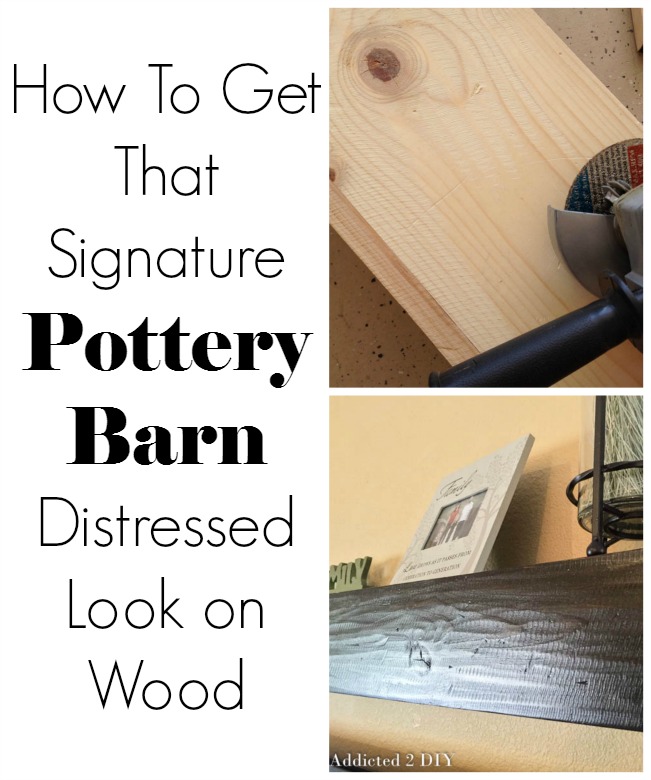
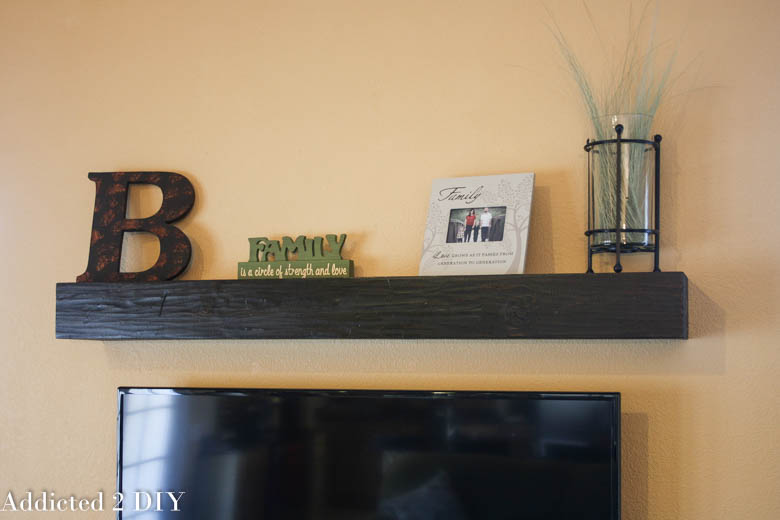
To give you an idea, the picture above is the PB version. It’s a big sturdy shelf and it’s just gorgeous!
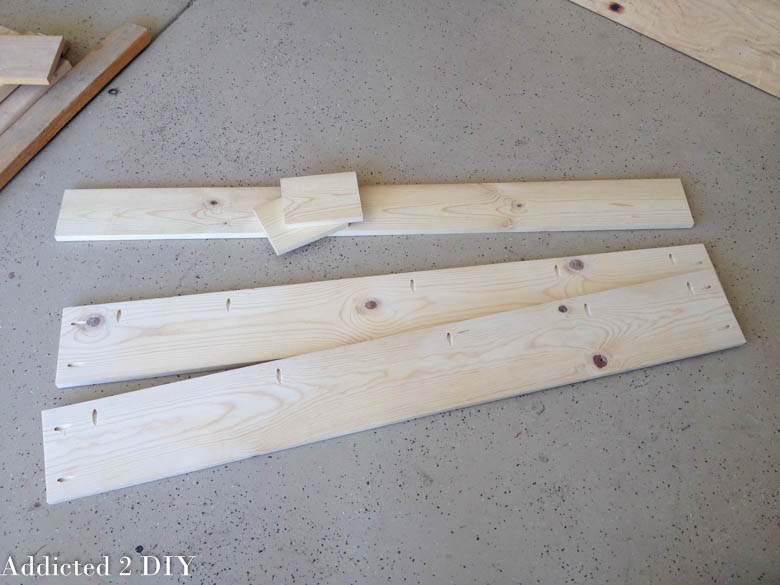
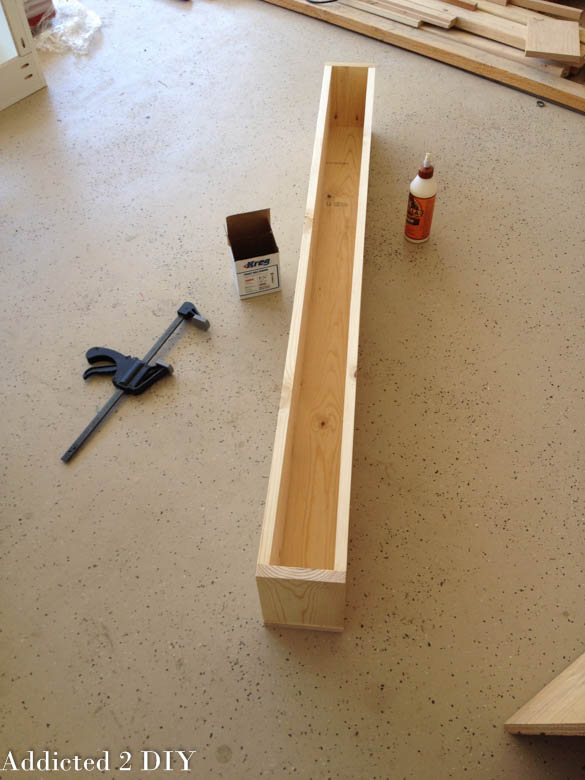
To start off, I built the shelf using 1×8 and 1×6 boards. I cut two 1×8 boards at 58 1/2″ long (top and bottom), one 1×6 at 60″ long (front) and two 1×6 pieces at 7 1/4″ (sides). I drilled all of the necessary pocket holes with my Kreg Jig and started assembling.
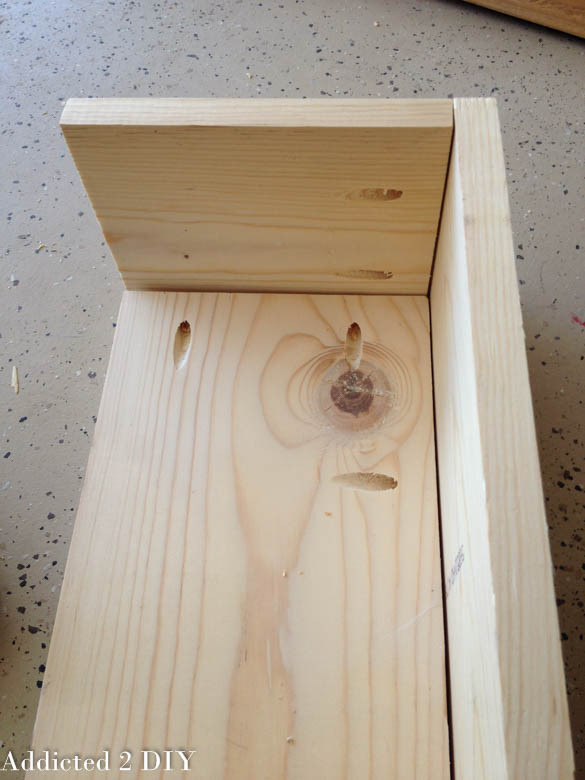
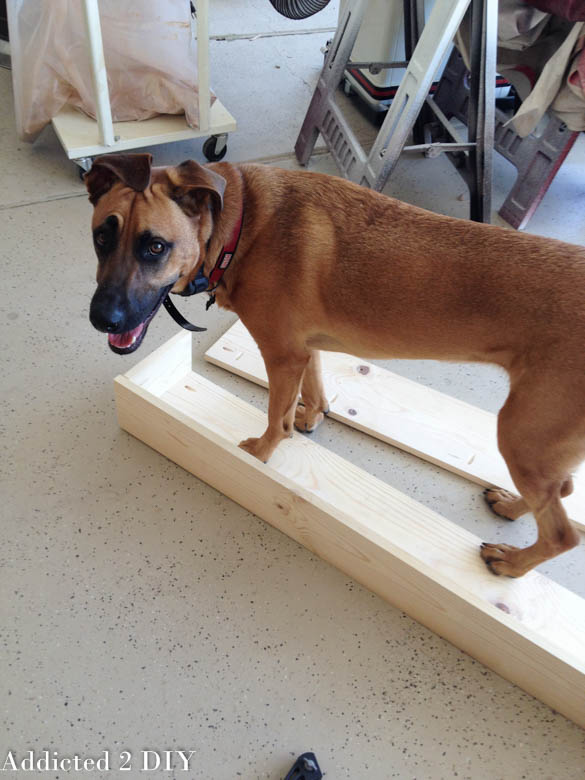
I attached the final 1×8 piece to the shelf to basically make a big box.
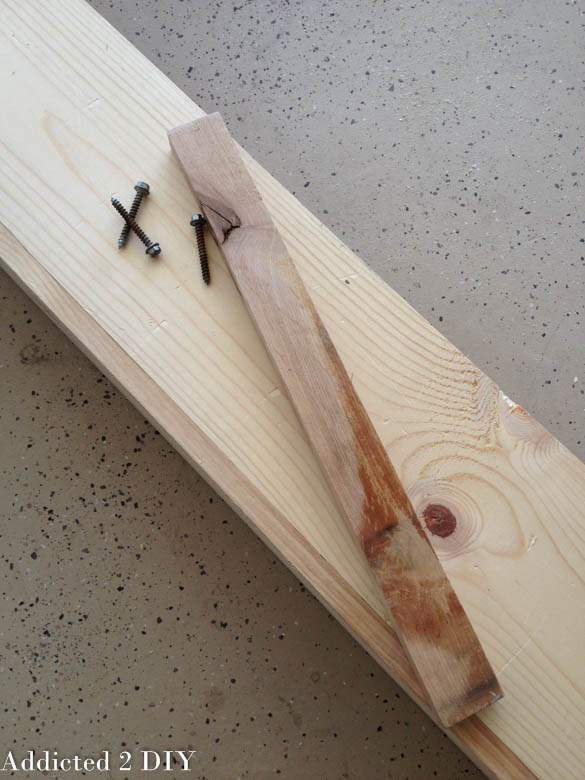
Then it was time to distress the wood. I was still trying to come up with possible ideas to mimic PB’s look. I tried beating it with a piece of wood, throwing big screws at the wood. Finally, after searching through all of our tool boxes and cabinets, the idea hit me!
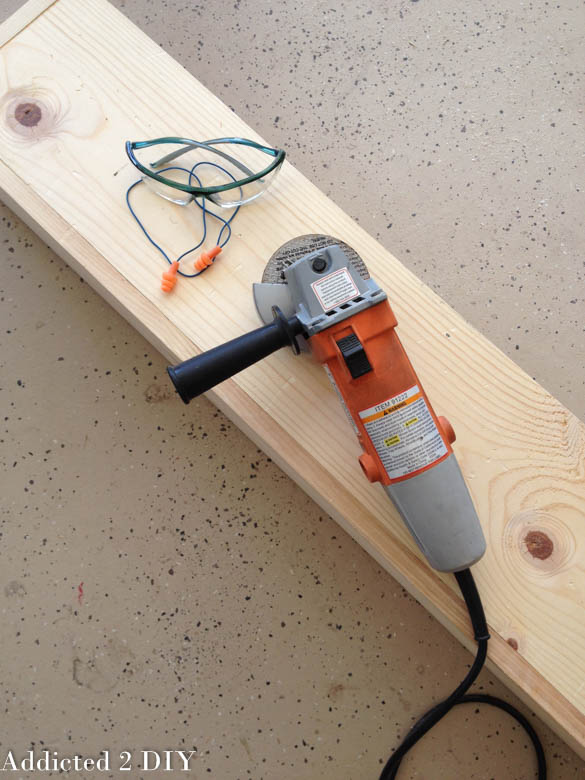
I grabbed our grinder with a cutoff wheel and tested it on a scrap piece of wood. It was one of those moments when you want to yell “Hallelujah!” The idea worked!
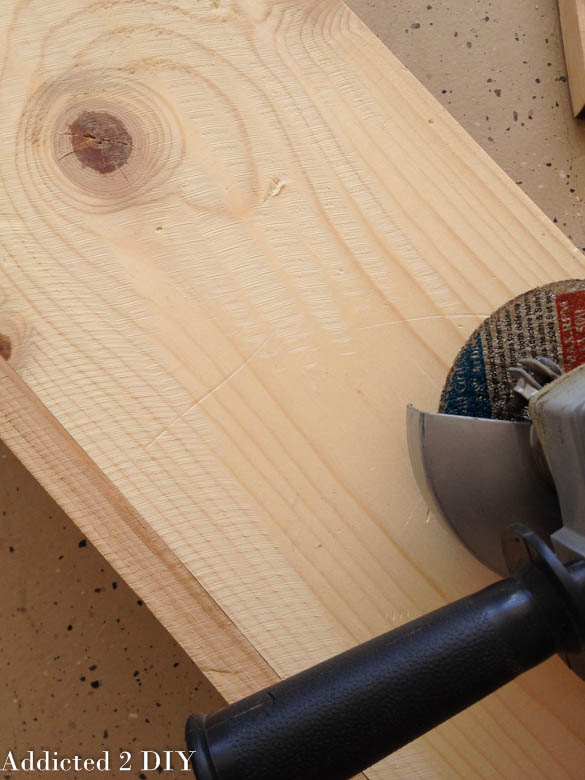
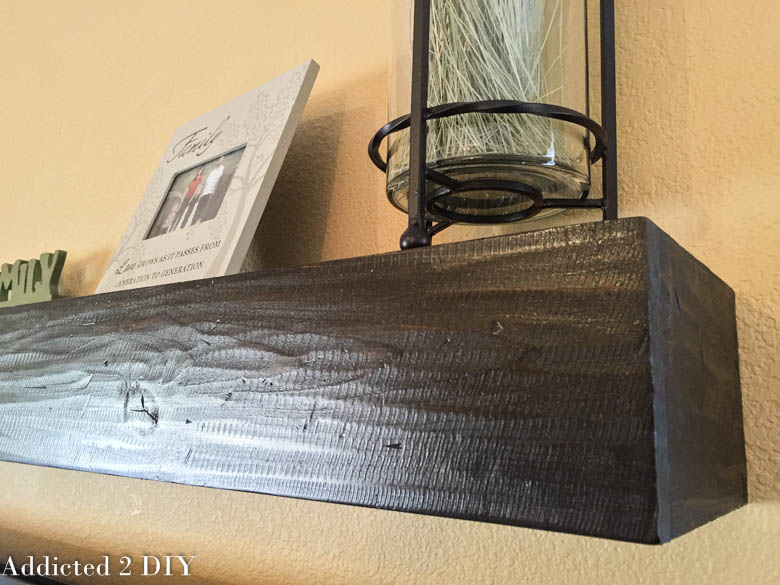
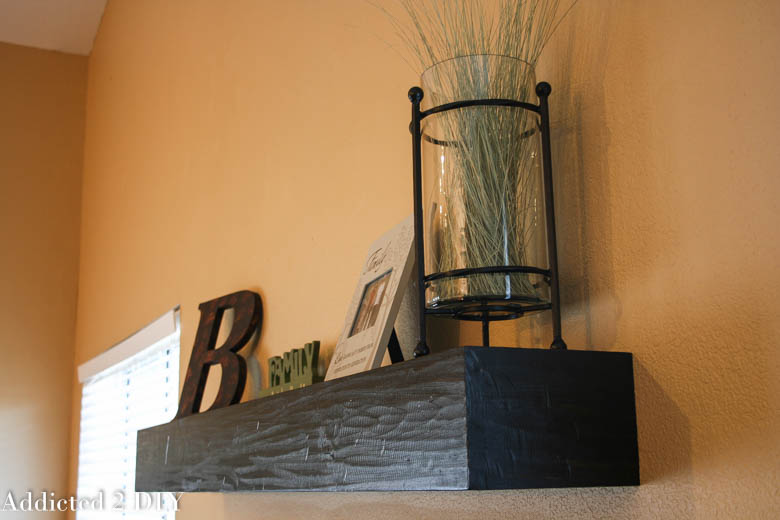
I lightly ran the grinder over the entire surface of the shelf. You can see how it made those neat little ridges. Sometimes I pushed a little hard with the grinder and it would make a tiny little gouge in the wood, but that just added to the distressed look. Once I was happy with how the whole shelf looked, I stained it with Minwax stain in Espresso and then gave it a few coats of polyurethane.
I absolutely love how the shelf came out and my friends love it too! I may make a scaled down version of these for our master bathroom. They’d be perfect for storage! I am so glad I figured out how to get that signature distressed look of Pottery Barn. I only wish I’d figured it out sooner! It would have been great on our media console. I’d love to hear what you think! Would you give this method a try?


I love that look. I have been thinking of trying it using large wood carving gouging tools. The grinder would probably be easier. Makes me want to run out to the shop and try it…..thanks!
I love the look of this. Will you be posting how you hung the shelf?
What is a grinder and what is a cutoff wheel? Where to find? I love the rustic look of your shelf.
You can find inexpensive grinders at stores like Harbor Freight. The cutoff wheel is actually designed to cut metal, but it happened to work great for adding the ridges into this shelf.