Have you ever worked with concrete? I helped my late stepdad out with a few things when I was a teenager, but never any decorative projects. I had been wanting to get my hands dirty and try something for a while, though, so I contacted Buddy Rhodes about working on a project with them. They were at the Haven Conference in Atlanta this year and I spoke with one of their reps about what made their concrete special. You can check out my first post about Buddy Rhodes Concrete HERE.
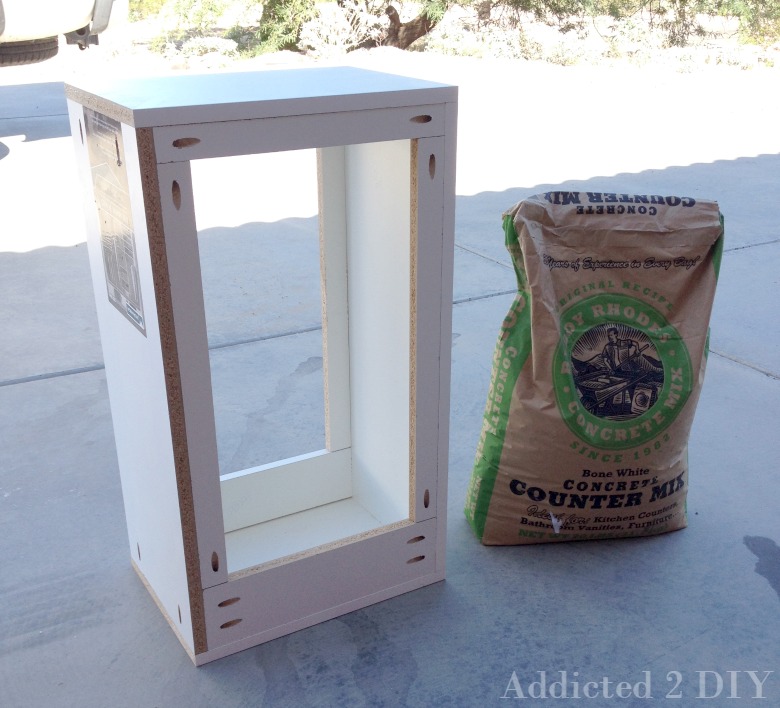
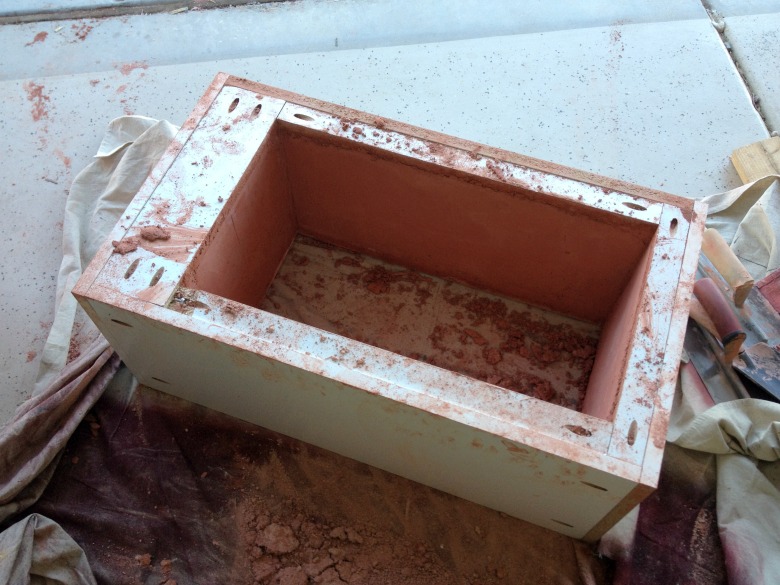
Before I could get started with my project, I had to build a mold. My new friend, Jeremy French, over at Buddy Rhodes helped me pick out a design and I created a mold based on that out of melamine shelving. It was really simple to build and I’ll be sharing that tutorial later this week.
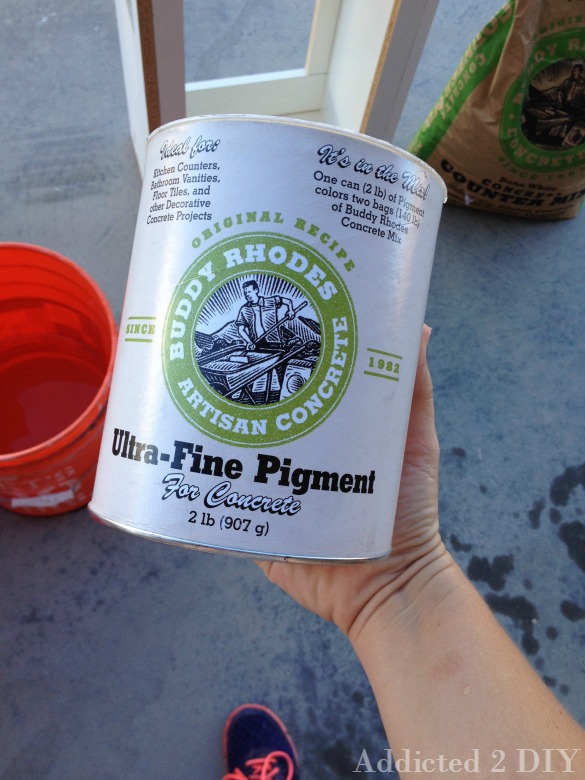
The concrete mix is naturally a white color, but Buddy Rhodes has great pigment colors you can add to create your own custom color. I chose for the body of the table to be an earth color. I mixed my concrete according to all of the directions I was given and added my coloring as well.
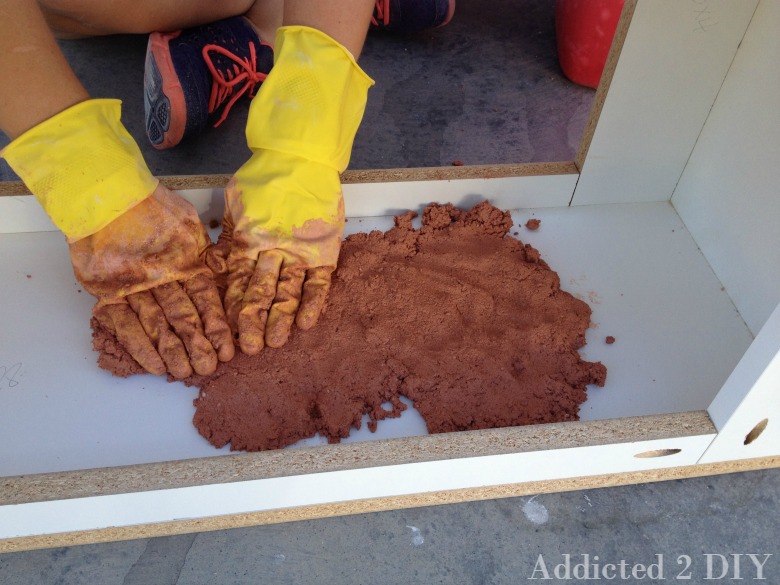
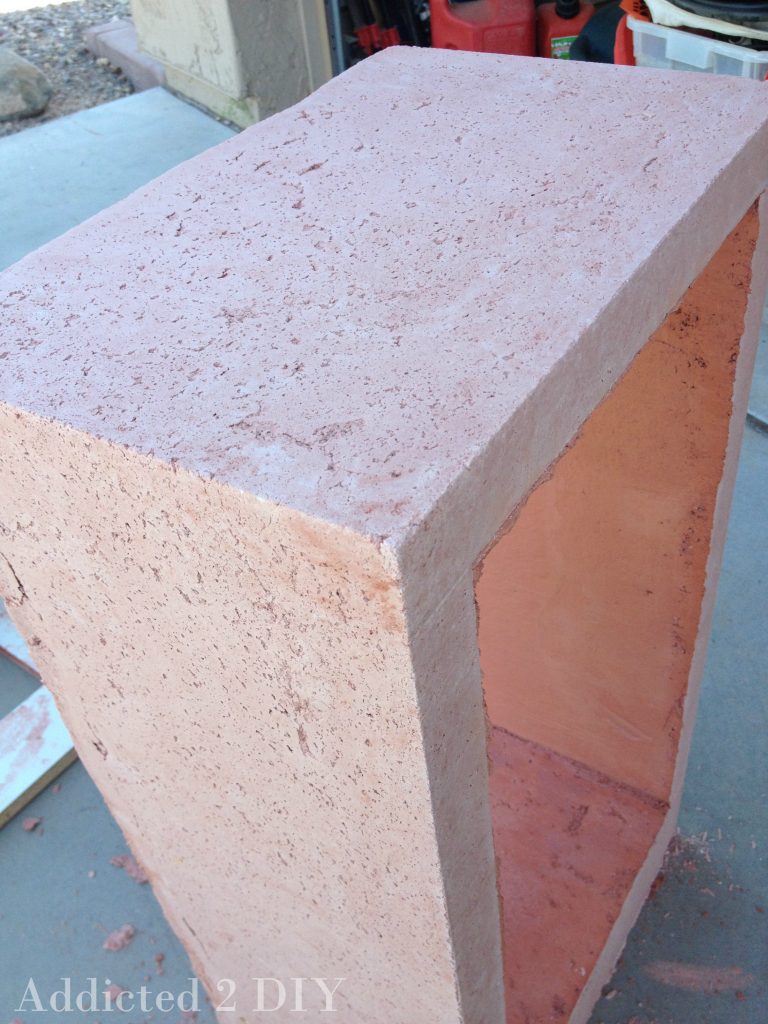
Once everything was mixed up, I started pressing it into my concrete mold. I ended up turning the mold onto it’s front and pressing the concrete up the sides, bottom and top. This technique is the pressed method. What it yields is a smooth finish with tiny little holes. Those later get filled in with bone baste slurry to create a gorgeous finish. Since this was a 3D project, the concrete needed to be reinforced. Rather than using mesh to reinforce it, I used GRFC (Glass Fiber Reinforced Concrete). What that means is that we mixed a portion of the concrete mix with special glass fibers, sold by Buddy Rhodes Concrete. I pressed a thin layer of the regular mix into the mold, then followed that with a thicker layer of the GRFC mix. That was followed by another thin layer of the regular concrete mix.
When I had my mold filled and pressed, I needed to trowel the inside portion of the mold. At this point, I was feeling fairly certain that I was doing everything wrong and it was VERY tempting to quit. Things just didn’t seem to be working the way I had planned and I was sure I had ruined the project. I ended up calling Jeremy to find out what on earth I was doing wrong. He coached me through the remainder of the process and it was a huge weight off of my shoulders to know that I hadn’t completely screwed up the whole project. It just needed to be fiddled with a bit. Concrete can be very forgiving, which is always nice.
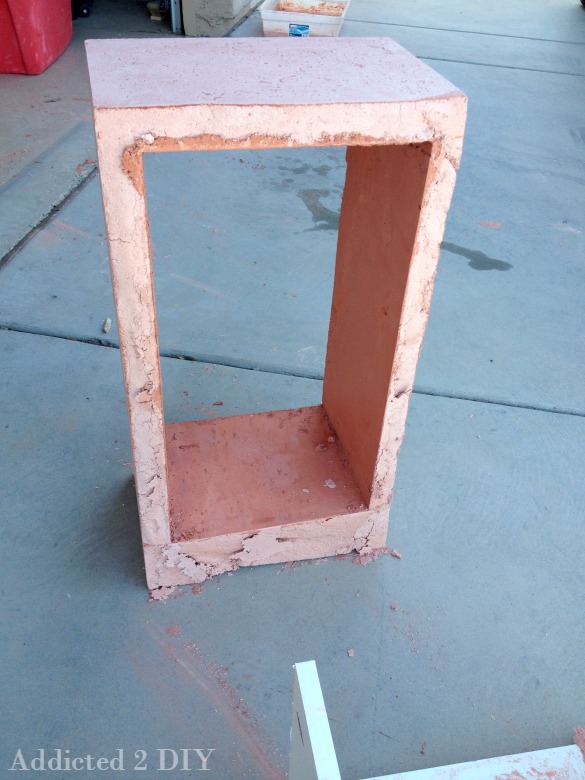
Most times, you can break the mold off of your project in just 24 hours. I wanted to be conservative and waited 48 hours. The front and sides of the piece looked amazing! I couldn’t believe that I had done that! Then I looked at the back and it wasn’t as amazing. The concrete settled a bit, which meant I didn’t have a nice smooth finish back there. I emailed Jeremy and sent him pictures. He said it was fixable and that I probably needed my concrete mix to be slightly wetter in order for it to stick to the mold.
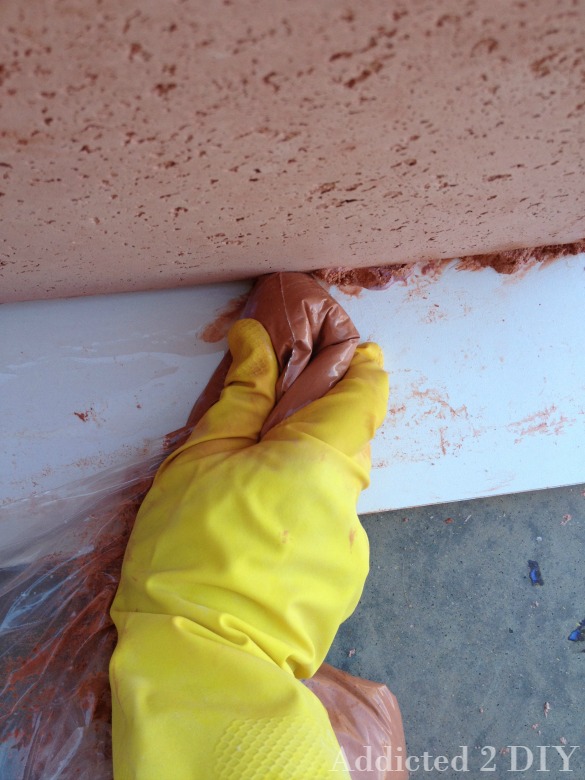
To fix it, I mixed up a small (wetter) batch of the concrete mix and filled in the gaps in the back. I laid the piece onto one of the melamine sides from the mold and “piped” the concrete mix into the gaps. I let that sit for another 24 hours before standing the piece back up. For the most part, it worked out great. There were just a few places that needed some extra TLC, but I was happy that I could make it work.
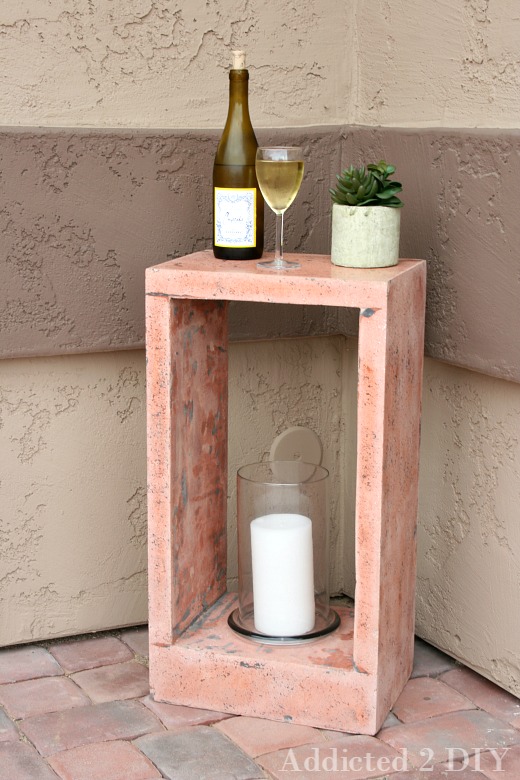
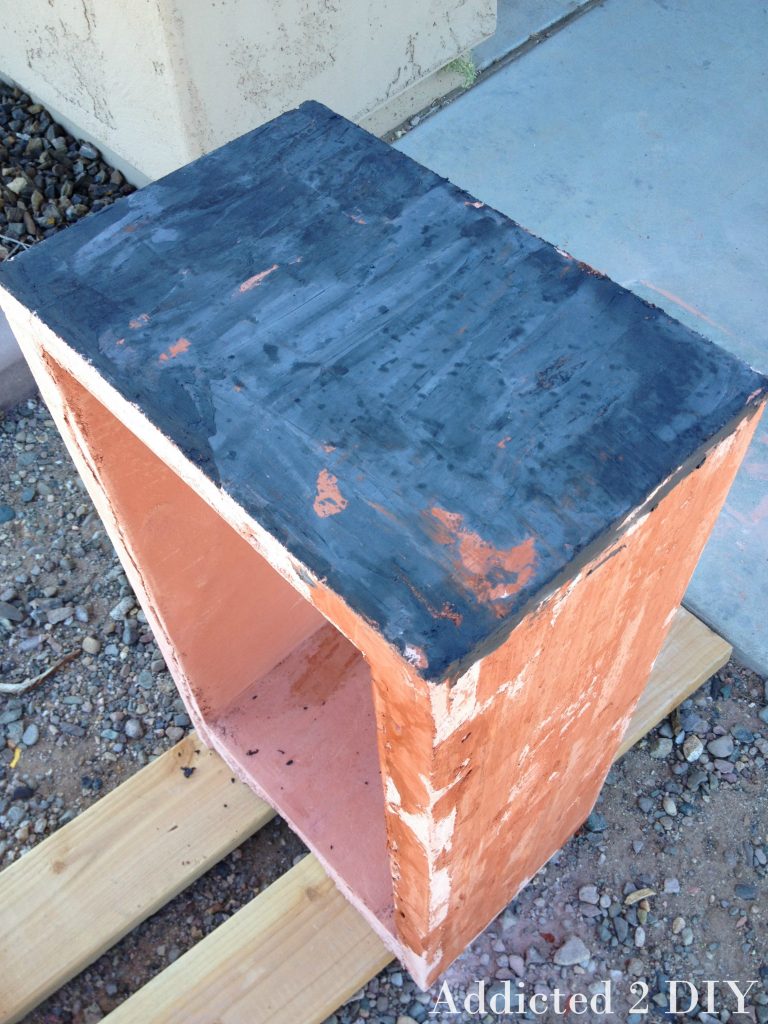
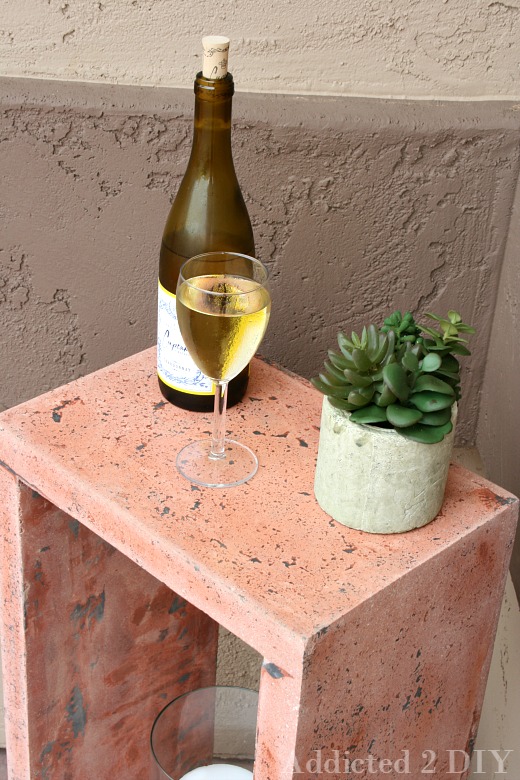
My favorite part of this project was the bone paste slurry. It’s one of Buddy Rhodes’ signature methods and it yields a gorgeous finish to pressed concrete. It almost looks like granite when it’s finished. I mixed up two colors or the bone paste to give the piece some added dimension. One was the Earth color, only I made it darker to stand out, and the other was an Ash color. The whole process is like icing a cake. I used a putty knife and applied a very thin coat of the earth slurry paste, then added the ash on top.
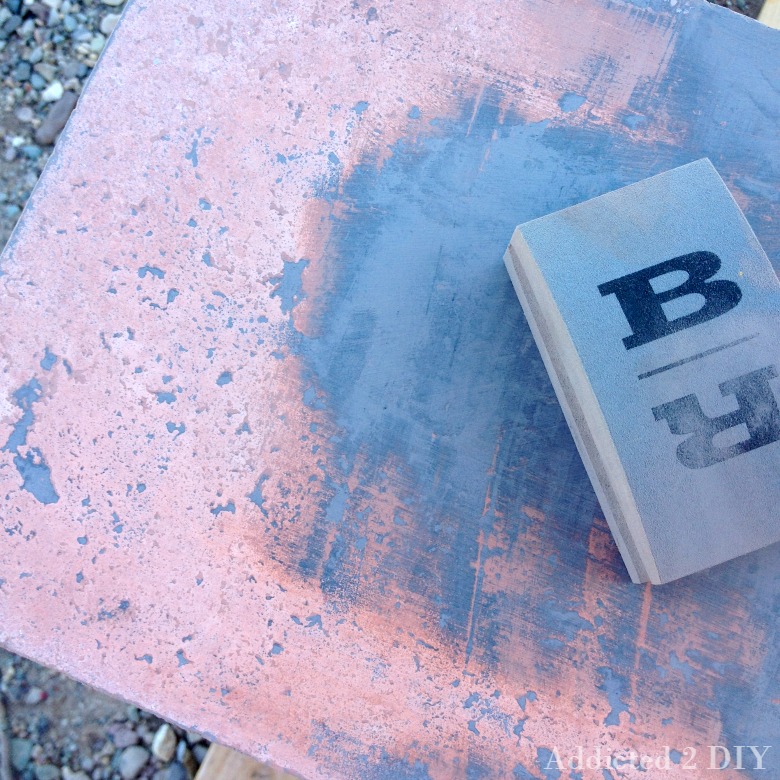
About an hour later, it was completely dry and ready to be sanded off. I used a 60 grit diamond sanding pad to start. It’s a workout, but I was so excited when I saw the gorgeous finish underneath. After hours of sanding, my husband took pity on me and managed to find a buffing pad that would fit our grinder. I was able to use a 200 grit diamond sanding disc to sand the remainder of the bone paste off.
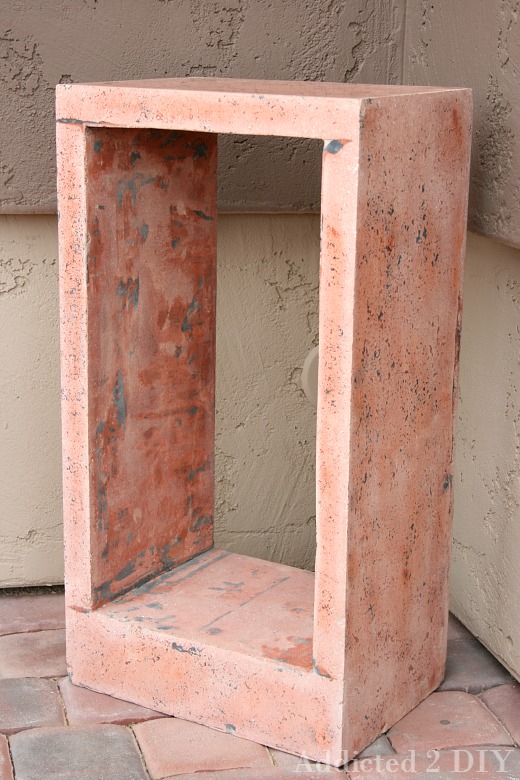
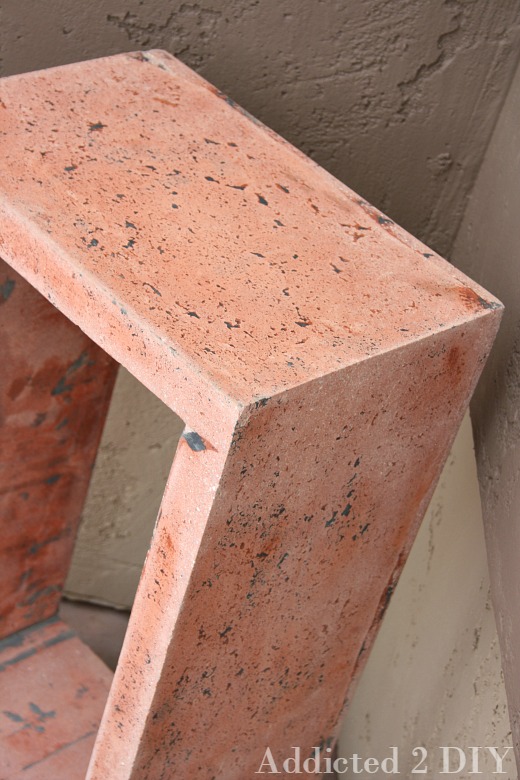
Once all of the bone paste was removed and everything was sanded to my liking, I polished the entire piece with a 400 grit diamond sanding pad. It is amazing how smooth the finish is. I kept finding myself running my hand over the top in amazement.
The inside portion of the side table didn’t turn out exactly as I had wanted, but I keep telling myself that it’s my first project and the entire thing isn’t going to turn out perfectly. It takes practice and patience.
Overall, I am so happy with how it turned out and glad that I kept going. It was a great experience working with Buddy Rhodes Concrete products and the customer service and coaching that I got from Jeremy was a huge help!
If you have ever thought about working with concrete to make your own custom project, I definitely recommend it! I decided to write a list of things that I learned from this project. Hopefully it helps you to pursue your projects that you’ve been dreaming up!
What I Learned from My First Concrete Project
1. Start simple. This project was not a simple project. Unless you’re feeling like challenging yourself, don’t try a complex project for your first project. This project wouldn’t be complex for someone who works with concrete a lot, but Jeremy and I both agreed after I got started that this may have been a bit technical for the first go around. That being said, sometimes starting with a tough project will make all of those other projects seem like a piece of cake!
2. Don’t give up. Depending on what you are making, it may be tempting to throw in the towel. I was about to do that many times while molding the concrete. My husband kept me going and encouraged me to stay with it.
3. If you realize you hate concrete, you’re not alone. One of the first questions Jeremy asked me when I called him was if I hated working with concrete yet. I was hesitant to tell him the truth, but I ended up saying yes. He said everyone hates it during this process, which made me feel so much better. That stopped me from cracking open a beer at 10 a.m. and throwing in the towel (see Lesson 2).
4. You’ve got some time to play around with the concrete, but don’t wait too long. The most frustrating thing about my project is that the inside is not a nice, smooth finish. I was letting the concrete set up a bit before I started troweling it, but I waited a bit too long. It’s a lesson learned for next time.
5. Have fun. Once I spoke with Jeremy and got over the initial stress of thinking I was doing EVERYTHING wrong with this project, I started to actually enjoy myself. I really loved sanding the bone paste slurry off and revealing the gorgeous concrete underneath. Plus it’s one hell of an arm workout!
All of that being said…Would I ever do a concrete project again? Absolutely! My husband and I are thinking that a concrete top for our new BBQ Island would look amazing. Now that we got it painted last weekend, we’re itching to get started on the top!
DISCLOSURE: I was provided products from Buddy Rhodes Concrete to create this project; however, all ideas and opinions are 100% my own.
Linking up at these parties:

You guys are so amazing with DIY furniture! I never would have thought about working with concrete for furniture, but this makes it tempting even though it sounds like I might cry once or twice in the middle of the project. Your table was definitely worth the perseverance though!
Melissa @ A Prudent Life recently posted…Halloween Hayride {DIY Art}
Thanks Melissa:) I was definitely tempted to cry a few times, but I do love a challenge!
Katie! You know I love a good concrete project and your table is AWESOME! I am so impressed! Will be pinning and sharing for sure!
What a cool project. I love the shape of your table. I have made small things with concrete before and really enjoyed it. I made an industrial vase with concrete poured in a waxed paper milk jug (that could rip away when done) with plumbing pipes to hold flowers. I’d love to do more and will check out this concrete, especially if it can be made in colors and sands so nice.
Deb recently posted…Stenciled Moleskine Travel Journal
Thank you! I have a little leftover, so I may do some smaller concrete planters/pots using that method too:)
I deal with concrete everyday – though not a in a fun, creative way like this. I agree with your point of don’t give up. Your project looks great and I think if you keep in mind it might not be what you envisioned to start with but the end project looks great – then you won’t get discouraged. Keep up the good work!
Thank you. I’m about ready to take on my next project and do a concrete top for our BBQ island. After watching the pool decking company form the cantilevered edge on the pool, I told my husband we could do that pretty easily.
This concrete side table seems like a great object that you can place other small things on. If it were sturdy enough, you could put a lamp on it. Maybe my wife would love to have a custom made night stand. I could totally put my alarm clock on something like this concrete side table.
I like your thinking!
Time was that I had 100s of concrete projects happening – pavers, leaf molds, and such. When the weather got too cold for good outside curing. I put a tarp down on my kitchen floor and continued my insane addiction. Thank you for reminding me of how much fun I had!!!!!!
Wow! That is a lot of projects to tackle at once!
Wow! The table turned out great. Are you sure this was your first big concrete project? 🙂 Thanks for providing some tips, too!
Nice nice nice I’ll be checking out your supplier! Great Job
Hi. This is the best article I have read so far. I started to make small concrete potplanters but after the 10x time not succeeding, I thought to quite. I tried all different kinds of cement and mixture but still struggle.