 Hey everyone! Today I’m going to share with you a project that is very high on my husband’s list of favorites. We have a huge bay window in our master bedroom and, during the summer especially, a lot of light comes past our blinds. For me, it’s not really an issue. I can sleep any time anywhere. My poor husband, on the other hand, struggles with sleep on a good night. When the sun comes up at a little after 5 a.m., it wakes him up and he hates it. He’s also a firefighter, so a solid night of sleep when he is home is something he craves after being up multiple times a night at work. I usually get an eye roll when I bring up yet another project, but this one he actually requested.
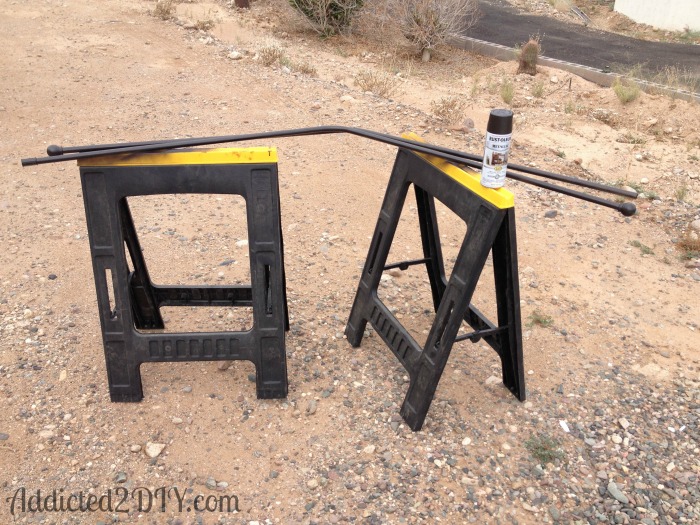
I struggled for a while trying to figure out how on Earth to put a solid curtain rod in a bay window. I even thought about running a rod across the front of the window opening and just blocking off the entire thing. I saw some beautiful Martha Stewart curtain rods and angled connectors at Home Depot, but there is only a few inches of space between the ceiling and the top of the windows, which meant those huge, wood curtain rods and brackets would never fit right there. They also cost a pretty penny, and I’m all about trying to save money on DIY projects. Thanks to Pinterest, a lightbulb went off and I figured out that I could just make my own with a few simple tools and some pipe.
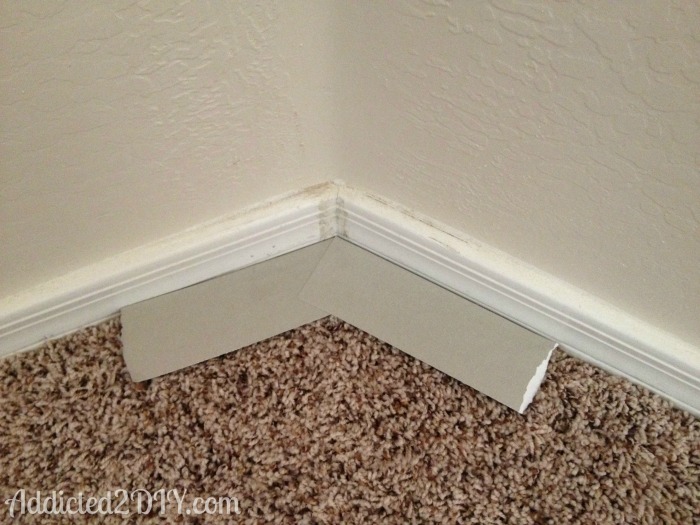
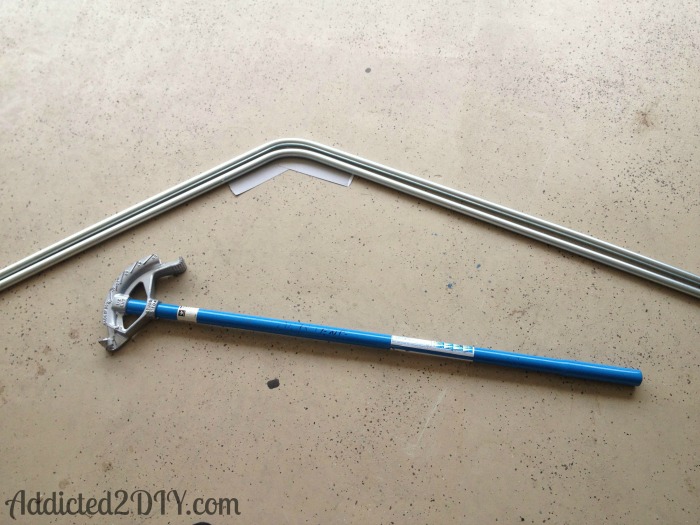
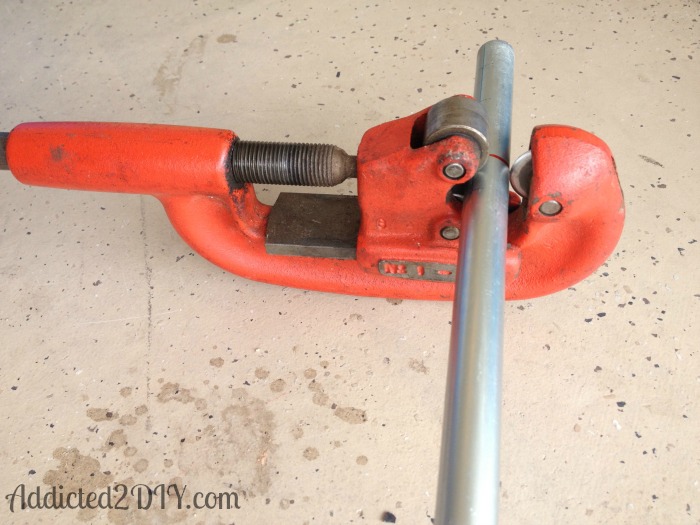
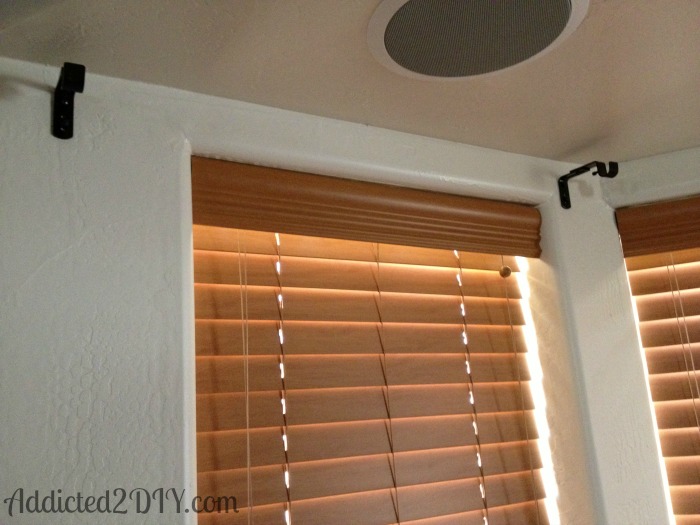
I picked up some curtain brackets at Lowes for a little under $5 each and mounted them at each end and each corner.
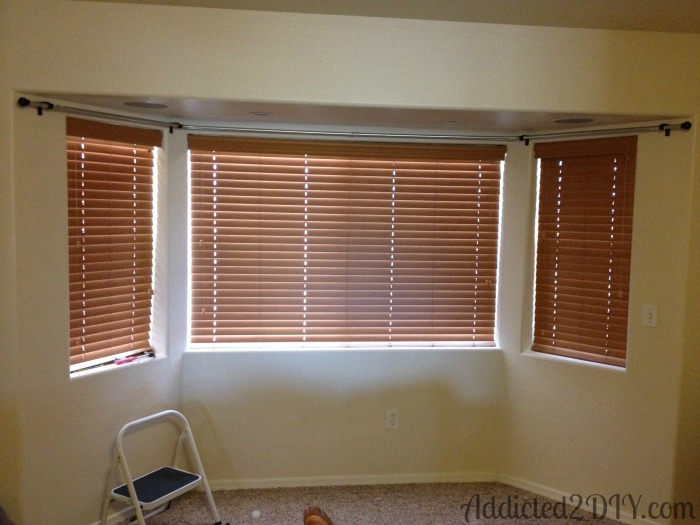
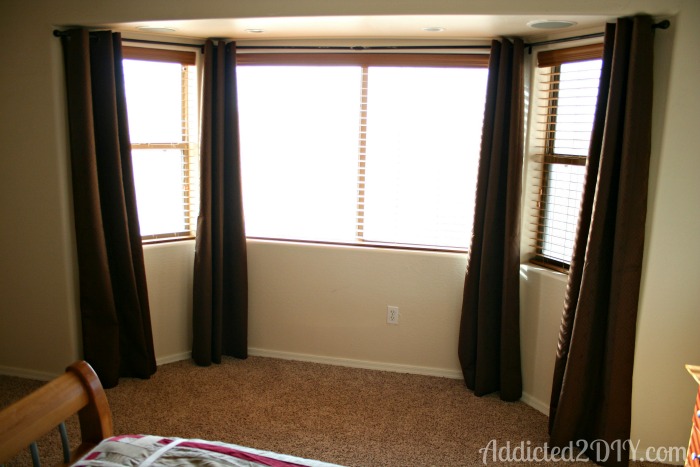
I purchased the blackout curtains online from Target. I’m not in love with the color, but until I can find or make curtains that I do love, these will certainly do. Our bedroom is like a cave with the curtains and blinds closed, which my husband absolutely loves. Especially for those rare occasions when he gets to take a nap during the day. It also helps to keep our bedroom cooler in those sweltering summer months. If you’ve got a bay window that you’ve been meaning to add some flair to, or darken a room, I hope you find this tutorial helpful. As always, I love when you pin, like, and share with your friends!
~Katie
Linking up at these parties:



What a great idea! I’m glad you found a solution that still shows off the big bay window – it’s gorgeous!
Melissa @ A Prudent Life recently posted…Valentine Chalkboard Art
Thanks! Now I need to build a nice window seat there:)
That’s a great solution, and I love those bay windows! The summer sun is awful, and I’m still looking for some nice curtains, but the blackout ones are pricey and don’t have the colors I want. 🙂
Dee recently posted…Rustic Valentine’s Day Mantel
These weren’t too bad, but I do know what you mean. I wanted to make my own, but couldn’t figure out exactly what I wanted just yet. I want to change something’s up in my bedroom anyway, so once I get some new bedding,etc., I’ll probably have a better idea for curtains. I may even just do painted drop cloth curtains and sew blackout fabric to them:)
So clever! I am working on an industrial bookcase and there are so many ideas floating around in my head about how to use pipe. It looks perfect Katie!
Amanda Michelle recently posted…My Favorite Rubbing Alcohol Cleaning Tips
Thanks Amanda!
Genius! You are so smart! I would have never thought of bending the pipe! Gorgeous! I can’t wait to see your window seat too 🙂
Angela (Life in Velvet) recently posted…Drink Station for Two
Aww, thanks Angela! The difference is truly amazing now that we have them up. With our lack of extra closets (none), the window seat is definitely high on my list. It will be nice to get all of our spare blankets and towels out of our master closet and use the window seat as storage.
I have been debating doing this instead of ordering a pre made one. You made it look and sound so easy. Our window is similar but I am going to have to use ceiling brackets because our windows go to the ceiling and touch so no wall to work with.
Great job. Thanks for sharing.
The hardest part of it was trying to hang a super long curtain rod with four curtain panels on it all by myself;) Other than that it was a piece of cake. I just wanted to surprise my husband and have it done when he came home from work, so I didn’t wait for his help:)
Well done! You did an amazing job! I can’t wait to see your window seat!
Thank you!
Such a smart solution! Thanks for linking up at the “Get Your DIY On” link up party! Don’t forget to come back on March 2nd with your trash to treasure projects! 🙂
Thank you and thanks for hosting this great link party!
Very creative and handy! You have a new fan, great blog!
Kari Ann recently posted…3 Free Months to Shoppers Monthly Magazine!
Thank you for stopping by!
Hi, Katie. I love this idea, and it seems pretty simple and straightforward. I want to do the same thing with the bay window in our living room. This will be my first DIY project; so I’m very nervous. In your post you say that you “used a half inch coupling with locking screws to secure the two pieces together.” Did this require drilling holes? I’ve looked at pictures of the coupling, but I’m unsure about the screws and how that would work.
Thanks so much for posting this!
Nope! No drilling required. The coupling came with screws that tightened around the conduit.
These are so well done! I have been looking for the perfect curtain solution for my bay windows.
Thank you, Rachel!
Thanks for the detailed instructions! They make the project seem very doable. My challenge is that my windows go right to the top of the soffit. Any ideas on how to mount the rod to the underside of the bay window soffit?