I’m pretty sure all DIYers can relate. You’ve just finished with a project and you’ve got scraps of wood leftover that you just can bear to part with. Those scraps that you know you’ll find a use for someday, so you stockpile them until inspiration strikes. That’s where the sCrap Wood Challenge comes into play. Sandra, better known and loved as Sawdust Girl, came up with this genius idea for a challenge. The rules are simple. Grab whatever scraps you have lying around in your garage or workshop and get building. You can’t use any new/purchased wood. Fasteners and finishing products are okay. Since Christmas is just around the corner (how did that happen?), I decided to create some Christmas decor with my scraps. I’m pretty darn excited about the end result too!
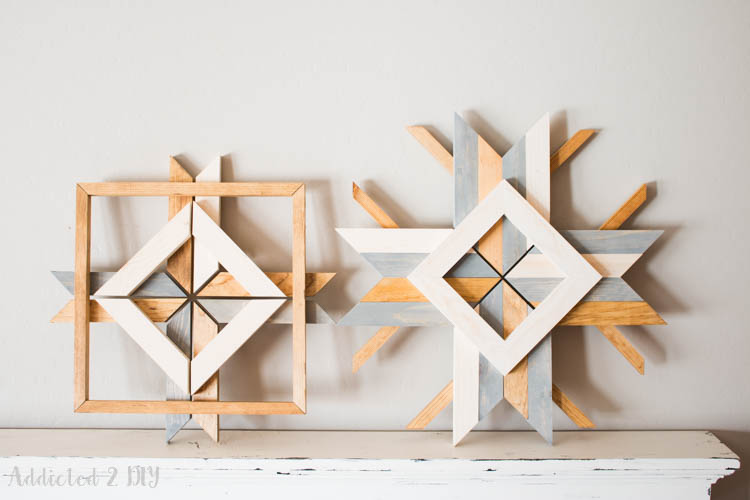
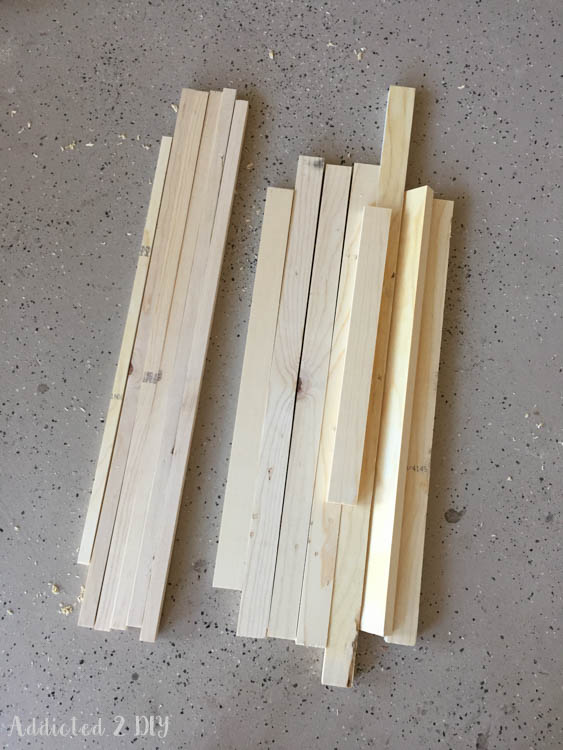
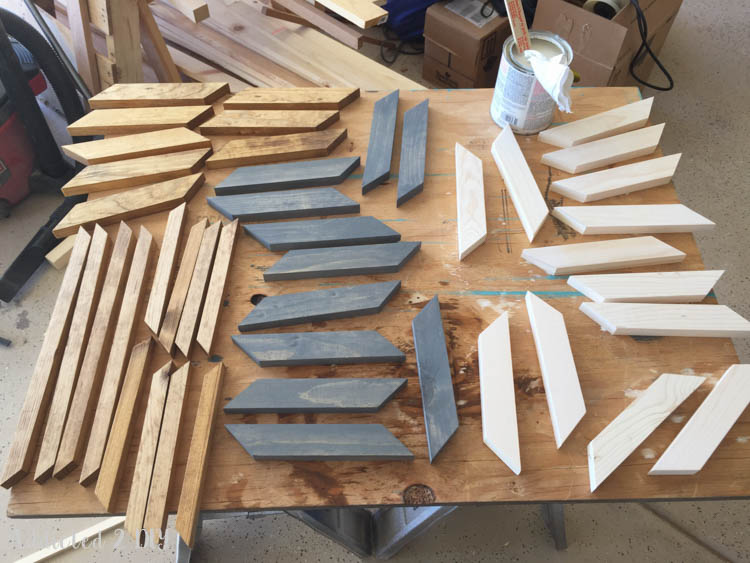
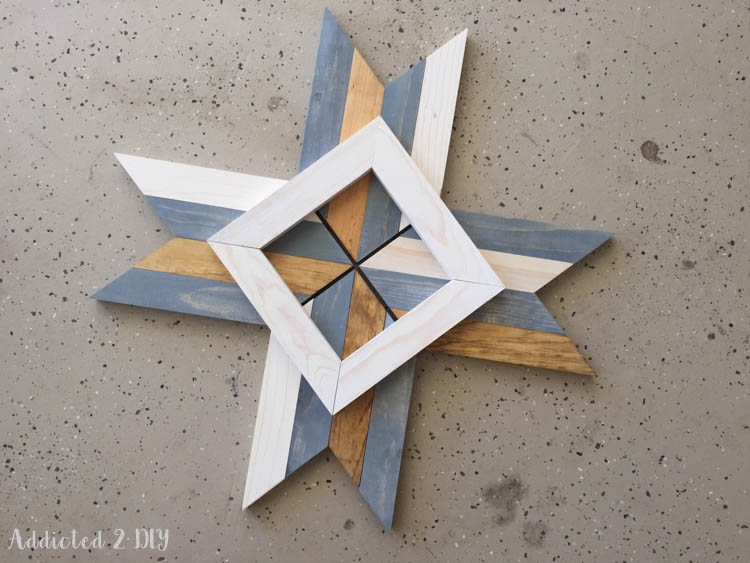
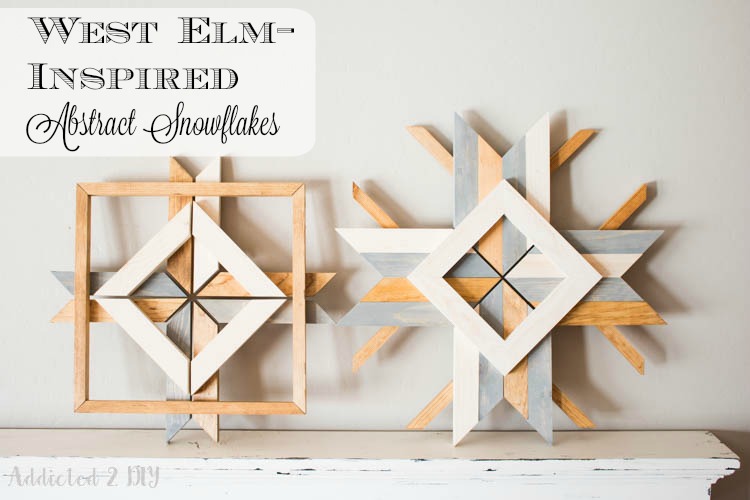
I had seen these abstract mid-century modern snowflakes on West Elm and thought they were such a cool look. I’d been wanting to knock them off for several weeks and the scrap wood challenge was pretty much the perfect opportunity. It meant that I was able to build these $100 apiece snowflakes for virtually nothing! The only thing I needed to buy was a can of stain because I didn’t happen to have one particular color in my gigantic stockpile. Since I built these using scrap wood, I can’t really give you an idea of how much would you would need to purchase to build your own. Hopefully you, too, can get creative with your scrap pile if you’d like some for yourself! For the pieces, I ripped down scrap 1×6 and 1×8 boards into 1×2 and 1×1 dimensions. Accurate measurements would make the pieces 1 1/2 x 3/4″ and 3/4″ x 3/4″. I also made these a little smaller than the actual West Elm size. I thought 27″ was a little large for me.
Here’s the cut list for the snowflakes:
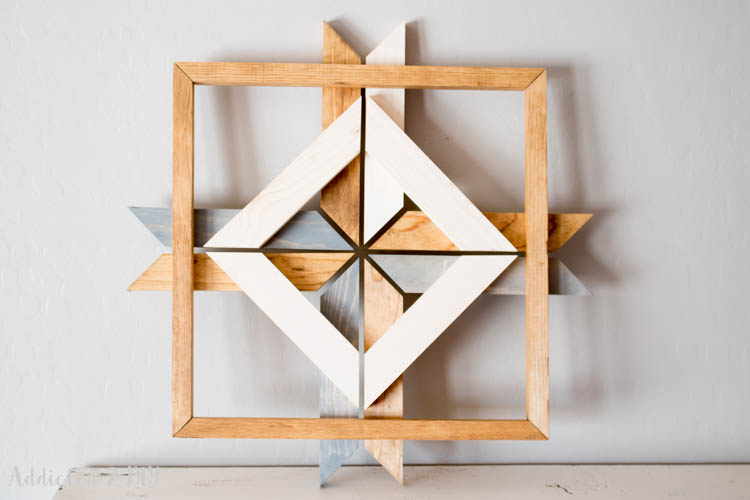
Diamond Pattern Snowflake:
- 4 – 1×1 pieces cut @ 14 5/8″ long with 45 degree perpendicular angles. Measurement is on the long edge.
- 8 – 1×2 pieces cut @ 9″ long with 45 degree parallel angles.
- 4 – 1×2 pieces cut @ 8 1/2″ long with 45 degree perpendicular angles. Measurement is on the long edge.
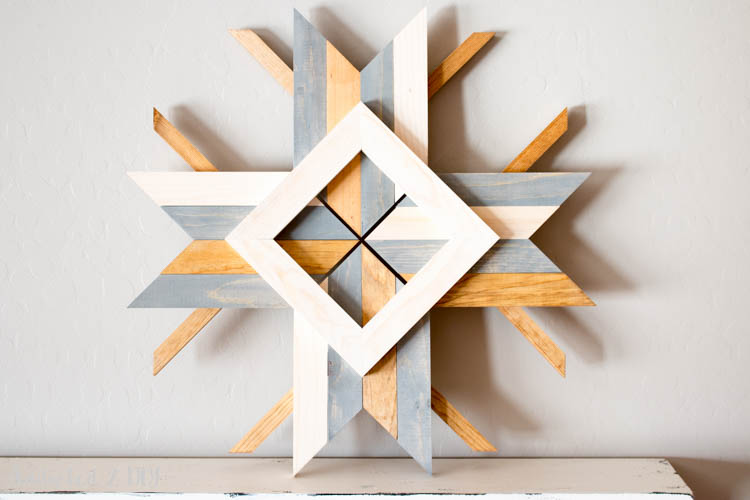
Sunburst Pattern Snowflake:
- 16 – 1×2 @ 9″ long with 45 degree parallel angles.
- 4 – 1×2 @ 8 3/4″ long with 45 degree perpendicular angles. Measurement is on the long edge.
- 8 – 1×2 @ 8 3/4″ long with 45 degree perpendicular angles. Measurement is on the long edge.
Once all of your pieces are cut, you’ll want to stain them. I used Minwax stain in golden oak, and Varathane stain in weathered grey and antique white. I wanted to tone down the weathered grey stain a little, so once it was dry I wiped on some of the antique white stain.
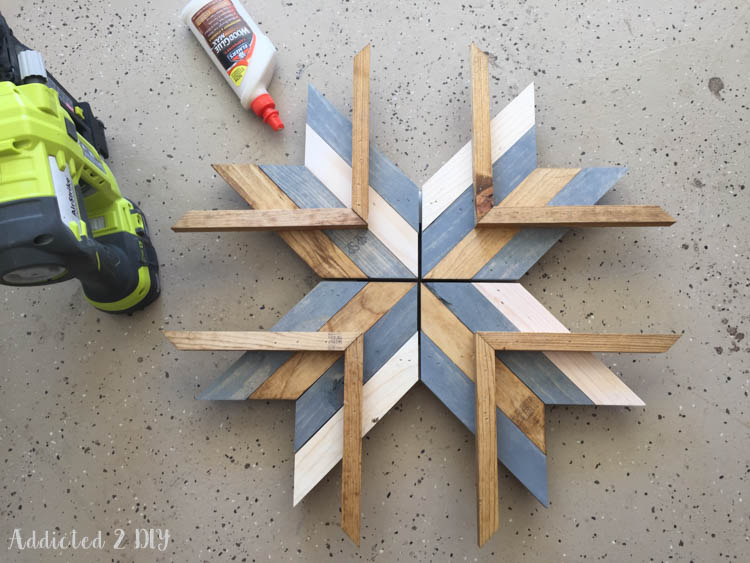
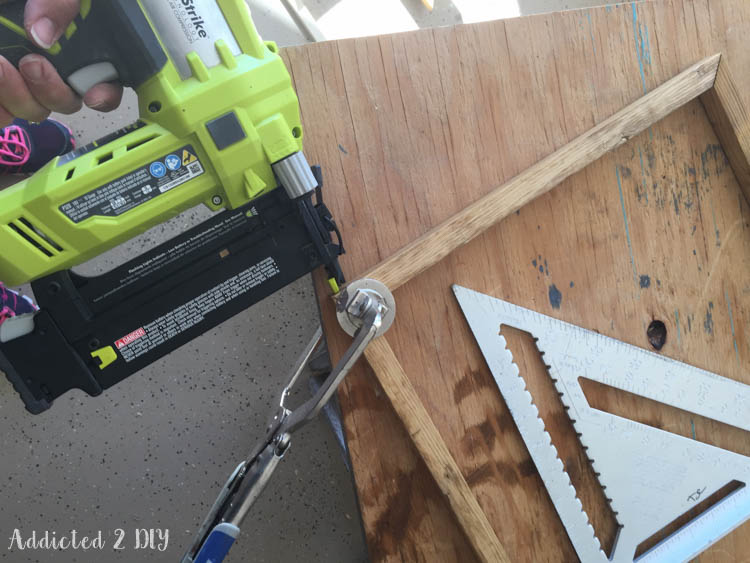
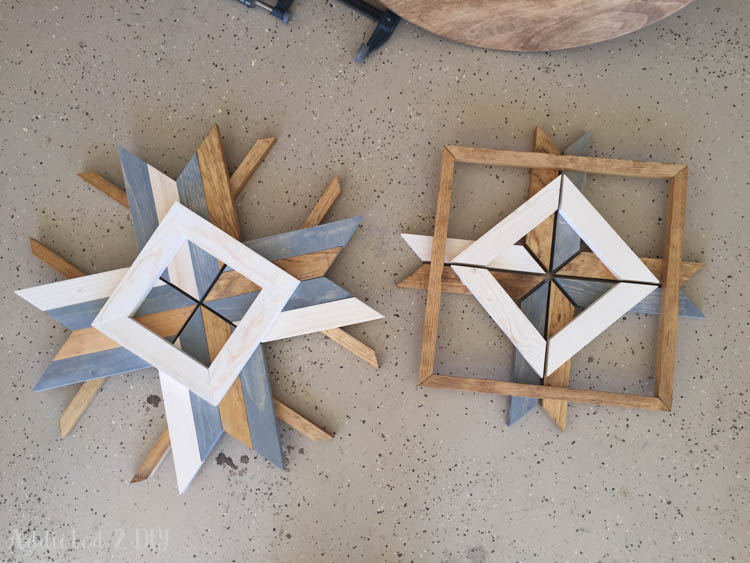
Once the stain is dry, it’s time to start piecing them together. I totally just winged it with putting everything together, so hopefully my tutorial and the pictures will get you through the process. Start by placing the bottom pieces of the sunburst design together as shown, four pieces for each side. The pieces sit flush together and meet in the middle with about a 1/4″ gap. Then you’ll glue and nail the square frame pieces using 1 1/4″ brad nails. I nailed into the tops of the square pieces as well as nailed the corners together.
I also nailed from the bottom to make sure everything was extra secure and then glued and nailed the 1×1 pieces onto the back. The 1×1 pieces are set approximately 3″ from the inside point of the sunburst. I flipped the finished snowflake over and added wood filler to the visible nail holes on the front then sanded and restained them to blend everything in.
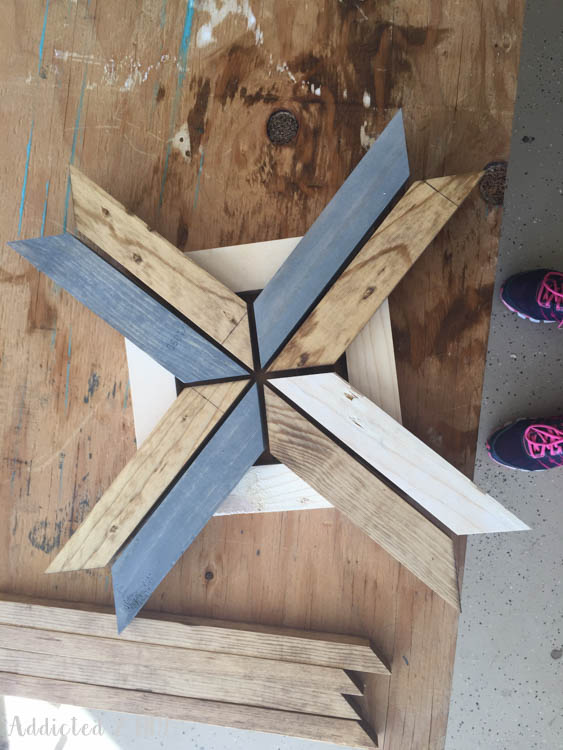
I build my 1×2 square separately by gluing and nailing the corners together with 1 1/4″ brad nails. I somehow forgot to take a picture of the final step, but I placed it on the assembled pieces of the snowflake and nailed them down from the back (again to hide the nails).
I then had two completed snowflakes!
The diamond snowflake design measures 18 1/2″ at the longest points and the sunburst design measures 21 1/2″ at the longest points.
I couldn’t be happier with how these turned out! Normally mid-century abstract design isn’t really my thing, but these were just too cool not to make. My husband (who does like a more modern style) has mentioned several times that “they are pretty cool.” I have barely begun to decorate my house for Christmas, so these don’t quite have a permanent winter home yet, but I’ll be sure to share pictures when I’ve got them hung! In the meantime, head over to the other participants in this challenge and see what they created from their “sCrap” piles! Their links will be added throughout the week, so check back regularly. If you’d like to join in on this challenge, feel free to do so! Just use the hashtag #scrapwoodchallenge. I’d love to see what you create! Just add your projects to this linkup! It ends on Friday.

I love these Katie!! And your spaces look perfect…without even measuring, wow!!
Mindi recently posted…sCrap Wood Challenge Link Up
Thanks so much, Mindi!
Katie, these are crazy awesome! I’ll take 50! The designs are so cool!
Thanks so much, Donna!
Love these! Great job.
Sarah @ The Ugly Duckling House recently posted…DIY Scrap Wood Magnetic Bottle Opener