Turn an ordinary bedroom closet into a multi-functional, ultimate gaming closet, complete with LED lights and wall organization.
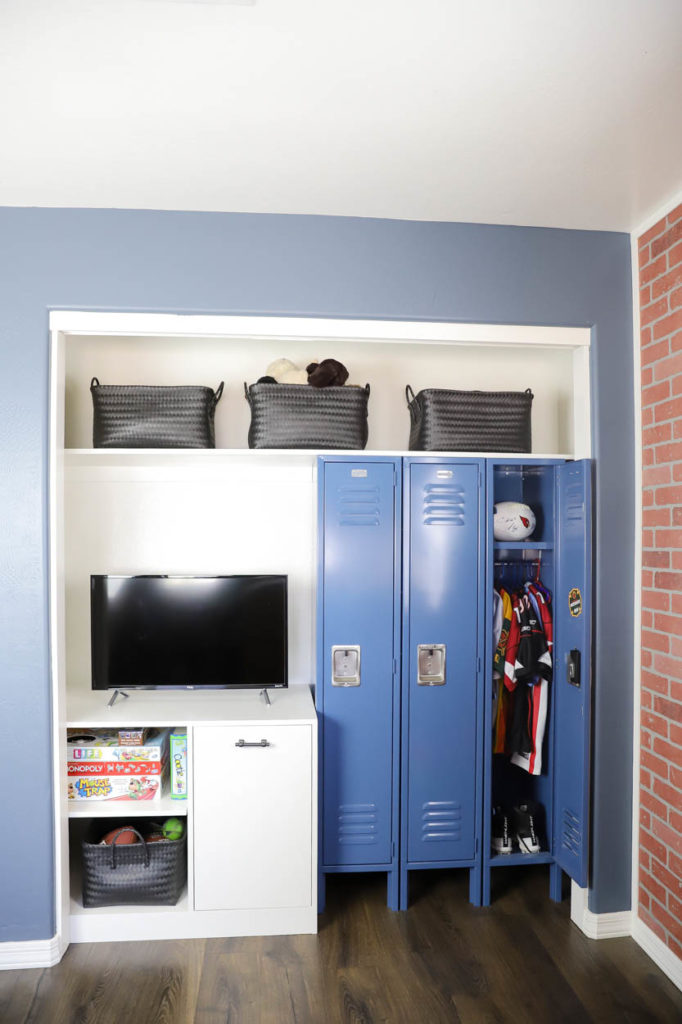
A few years ago, I gave my youngest son’s closet a makeover. I took off his doors, added lockers to hang his clothes and store his shoes, then added storage for his clothes hamper, games, toys, etc. Fast forward 3 years and the once awesome closet that he loved was not really working out for him. He didn’t like the lockers anymore for hanging his clothes and felt there wasn’t enough room for everything. His gaming setup was a disaster, and we decided that some changes needed to be made. I’m partnering with DAP Products to show you how I put it all together to build him the ultimate gaming closet.
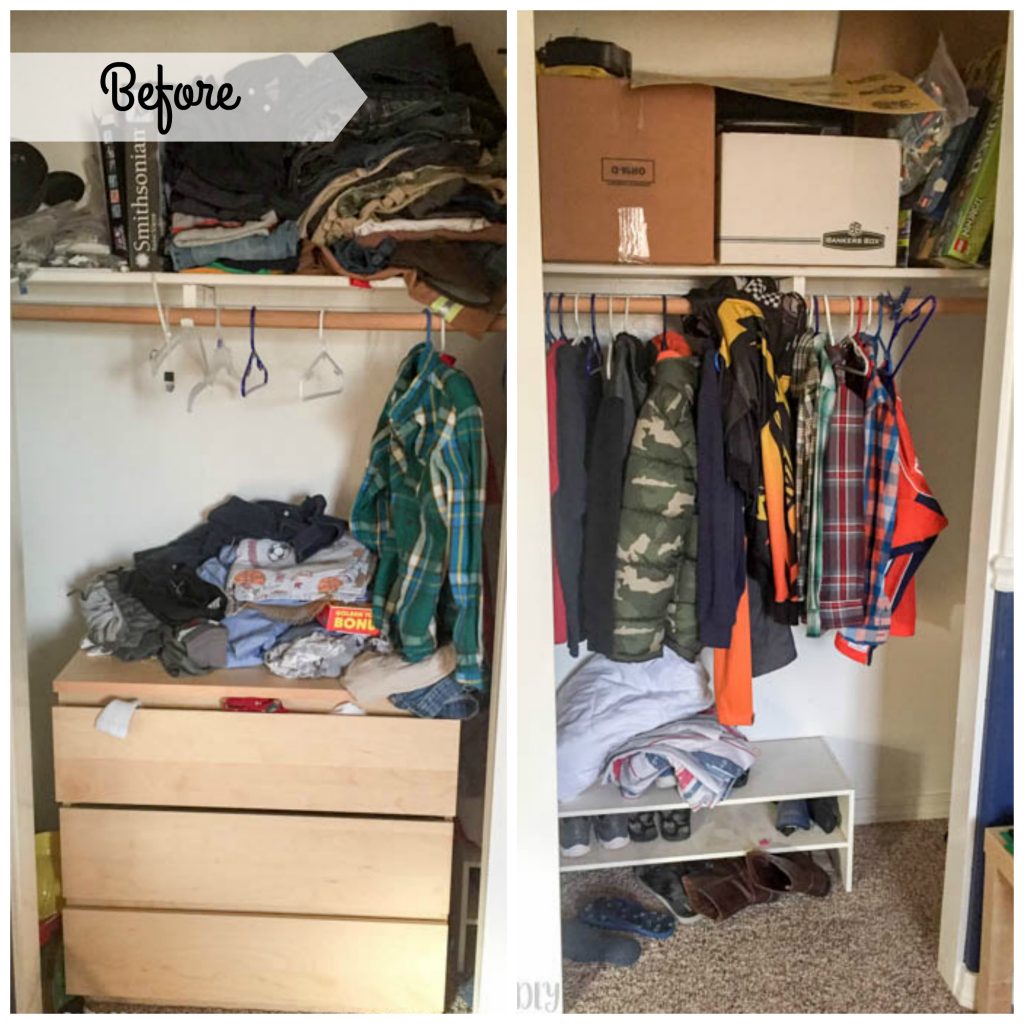
To give you an idea of where we started, here was the initial “before” of his closet. It was an absolute disaster and not at all functional.
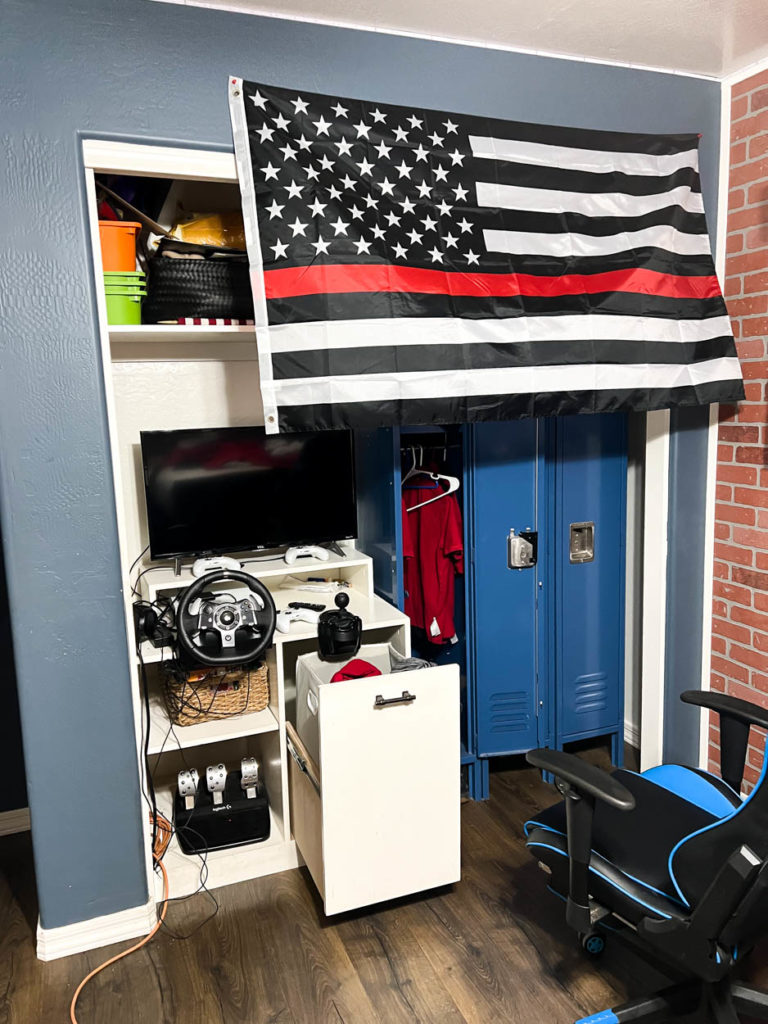
And here is “before” 2.0. Once again a disaster and not at all functional. He had essentially already turned it into a gaming closet, saved up and purchased himself a steering wheel and accessories for his Xbox and there was really not a good place to put any of it. The gear shifter made it so he couldn’t even close his laundry hamper drawer. There were wires everywhere, and he didn’t actually have an outlet in his closet, so he had been using an extension cord to power everything.
He and I talked things over and came up with a plan that would give him both the gaming space he wanted, and the closet space he needed.
WATCH THE YOUTUBE VIDEO
I’ve put together a YouTube video of the entire process that you can also watch to see how I built his ultimate gaming closet!
Building the Ultimate Gaming Closet
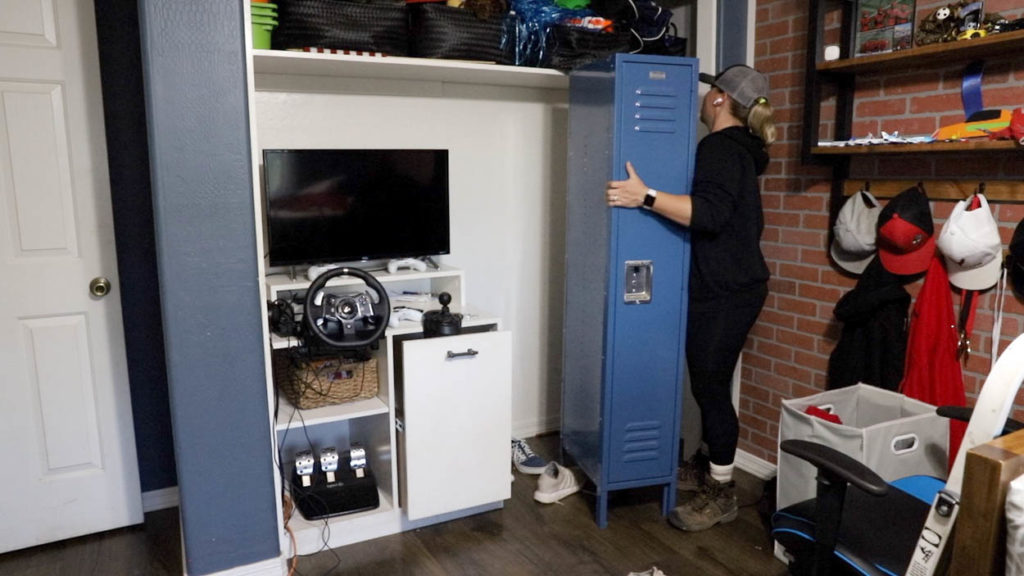
I started by clearing out his entire closet. I emptied his lockers and had him go through everything that was in them to figure out what was staying and what was going. I removed everything from the closet and got it ready for what was to come.
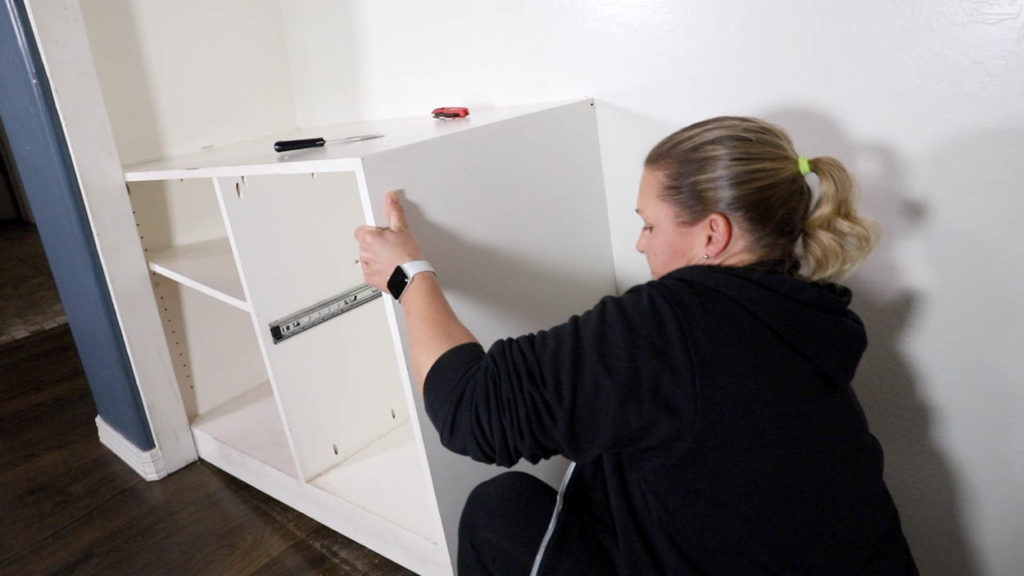
The cabinet I had initially built in there also needed to go, but with wood prices being what they are lately, I decided to keep it and I’ll be repurposing it very soon.
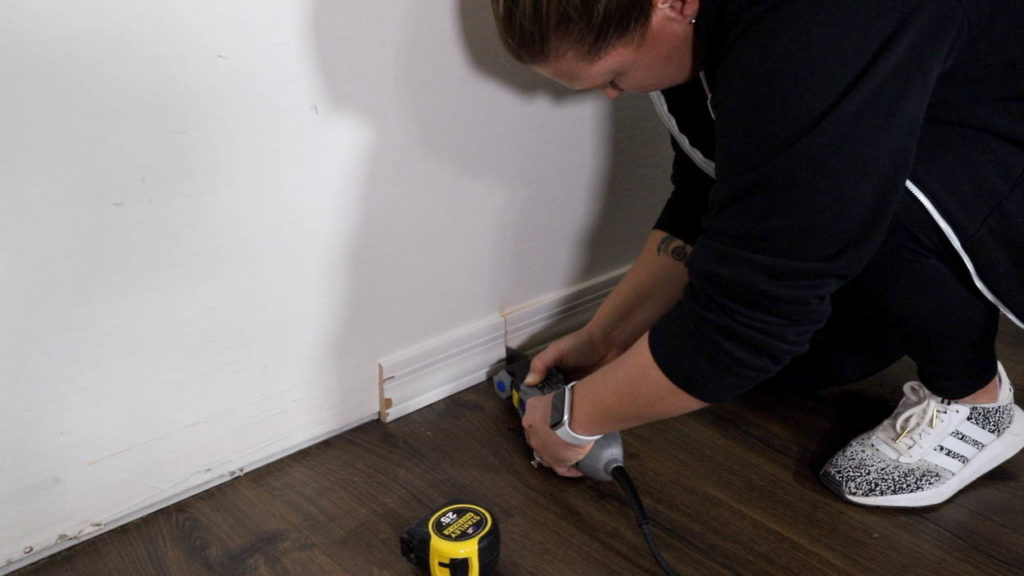
I measured out where his new clothes hanging space would be and cut the baseboards to allow for the divider to be installed against he wall.
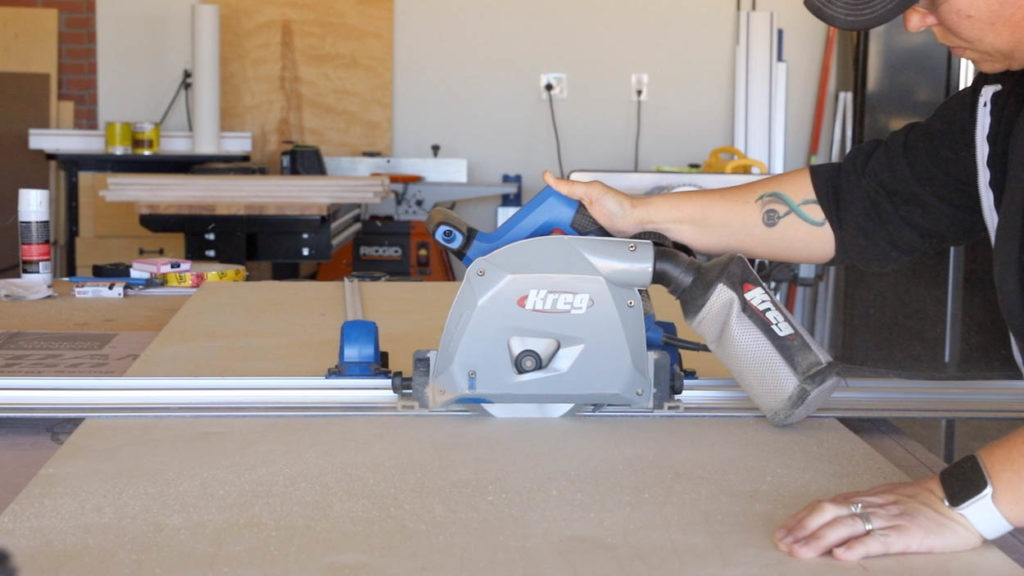
Out in the shop, I started cutting down a sheet of plywood. One piece would be the long divider from the floor to the shelf to separate his clothes from his gaming area. Another piece would be the desktop.
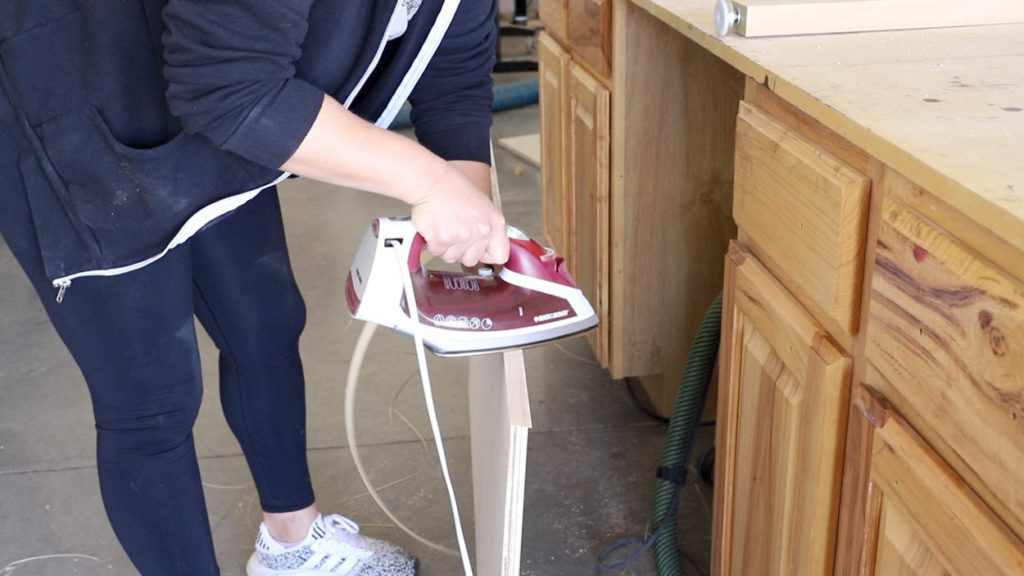
I sanded everything down, added some pocket holes where the divider would attach to the upper shelf in the closet, then added some edge banding. I used pre-glued birch veneer edge banding that I ironed on and then trimmed up with my banding trimmer.
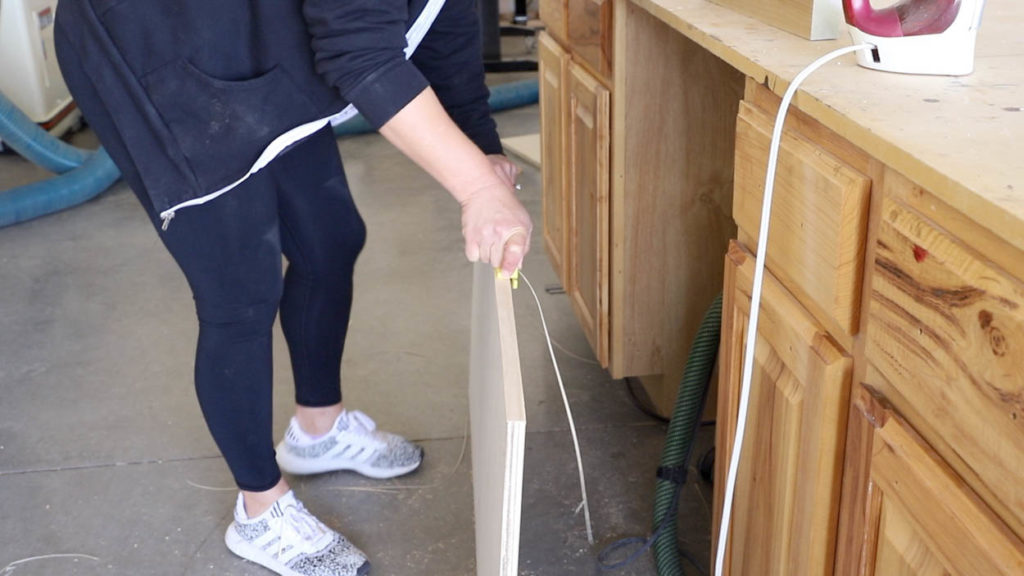
When the banding was attached and trimmed, I gave the edge another sanding to clean it up, then did the same thing with the desk top.
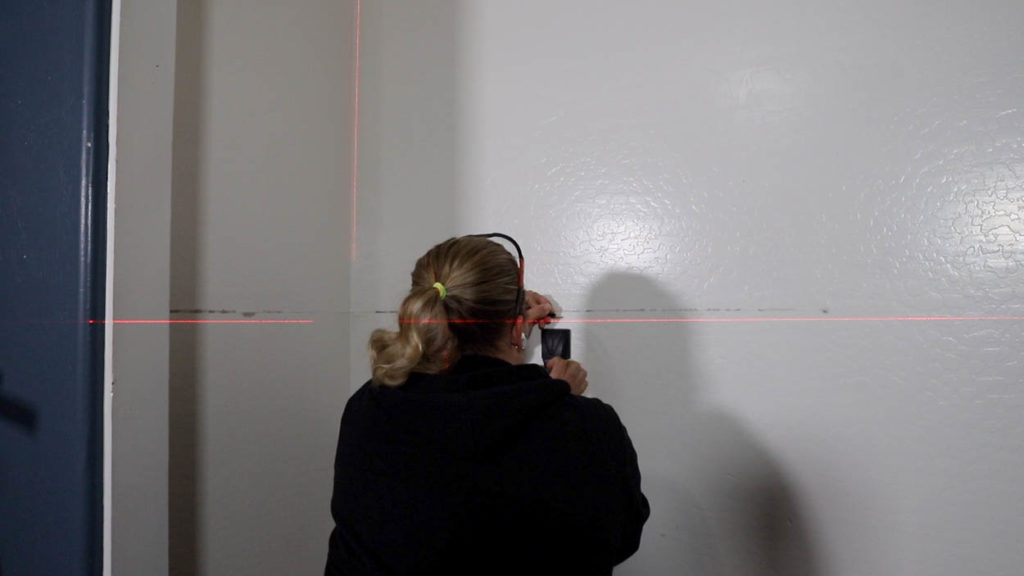
Back in the closet, I used my laser level to help me set the height for the supports I’d be adding to the walls. Once I had the height and level set, I marked out the studs.
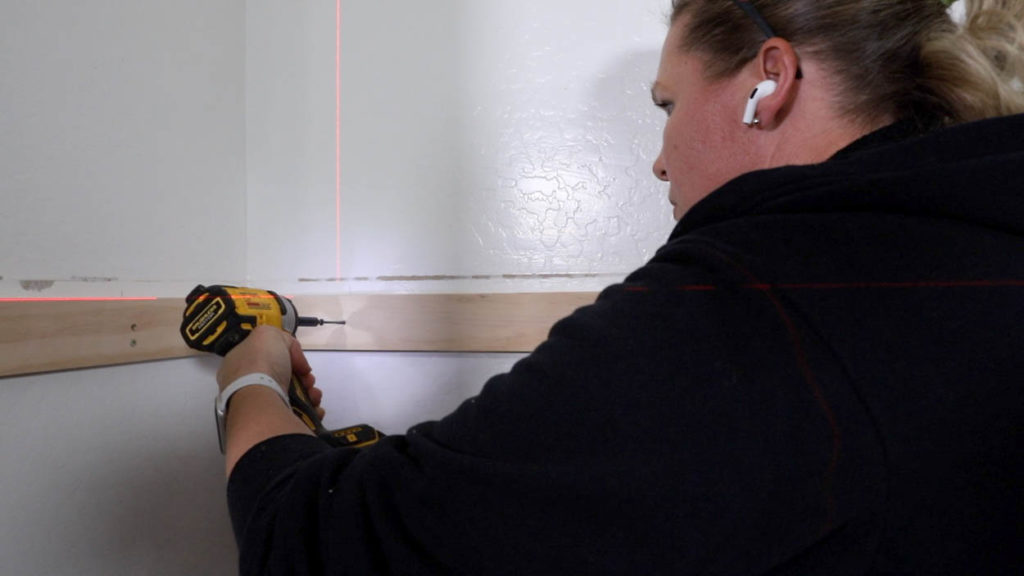
I ripped down a pine board into 1×3 pieces, cut them to size, and then installed them with 2 1/2” screws into the studs.
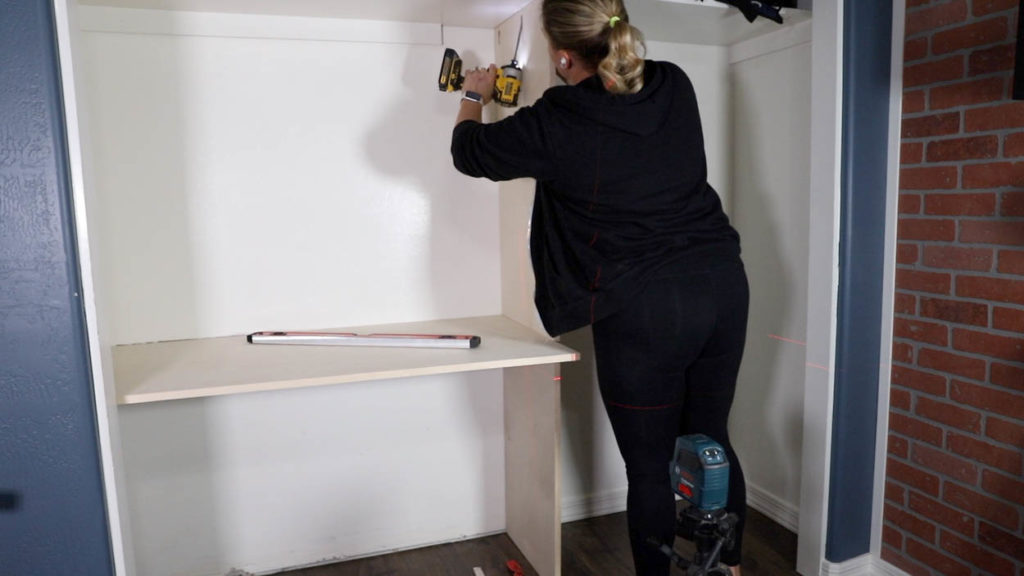
I then got to work installing the divider. I set the desktop in place to determine where the divider would go and then made sure it was level. Once everything was set, I attached the divider to the upper shelf with 1 1/4” pocket screws.
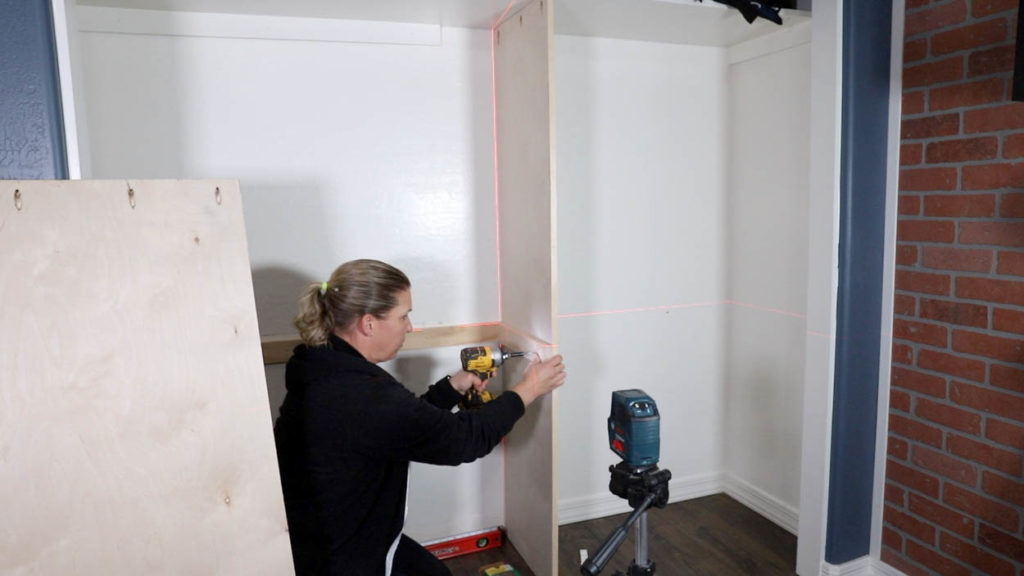
I needed to add a support to the divider for the desktop, so I trimmed it down to size and cut a 45 degree angle onto the front end of it so that it had a more blended look to it, then attached it with 1 1/4” wood screws.
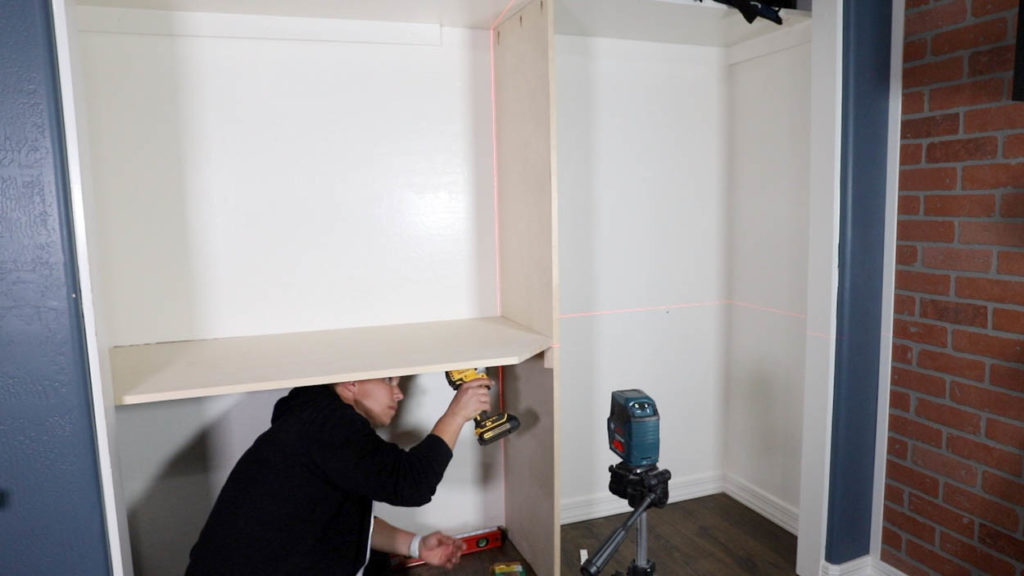
On the desktop, I also had trimmed the front corner and added some more edge banding. I liked the cleaner look of this rather than just leaving a sharp corner there.
I attached the desktop first to the divider using the pocket holes I had drilled. I then attached it to all of the supports with 1 1/4” brad nails.
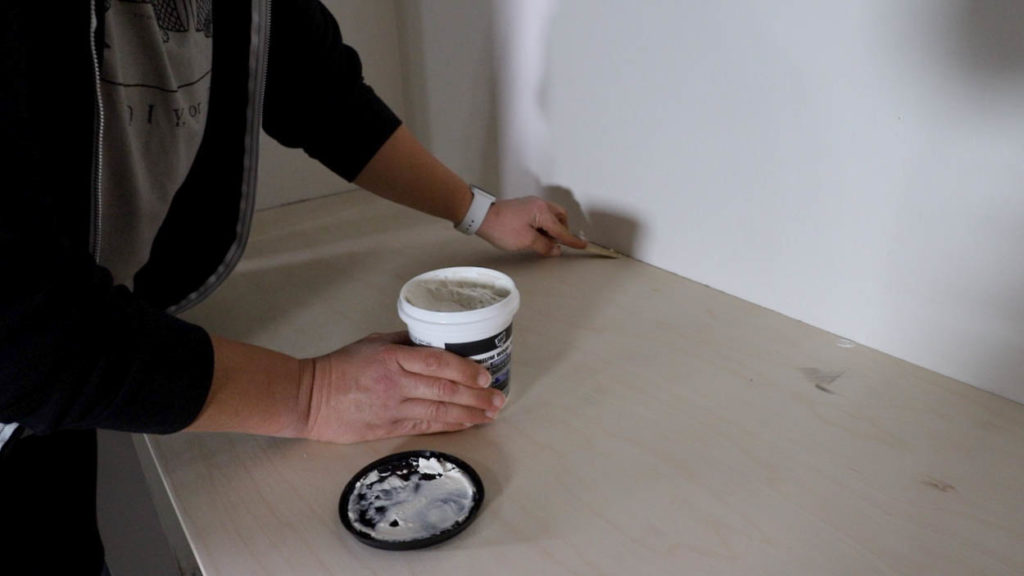
Next, I used my DAP Premium Wood Filler to fill all of the nail holes, as well as the pocket holes on the divider. I absolutely love using this wood filler for nail holes and filling pocket holes. With deep fills like pocket holes, you’ll want to let the filler dry completely, then add a second and maybe even third layer to really make sure it is filled and you don’t end up with any pockets when it is sanded smooth. This will give you a beautiful, smooth surface to paint over.
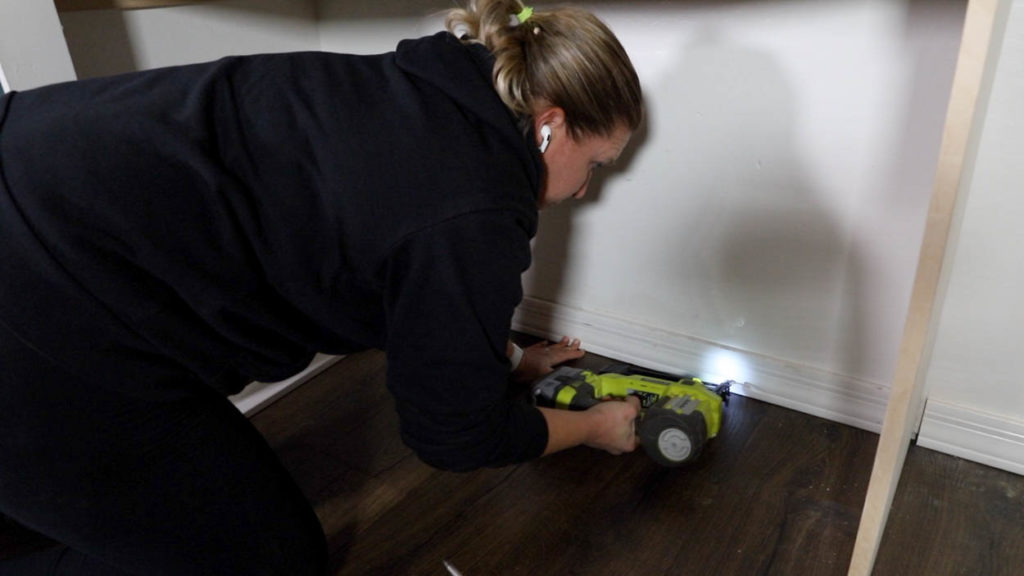
While I waited on wood filler to dry, I installed the new baseboards under the desk area. I also patched in the baseboard on the other side of the divider where I cut a little too much off of it.
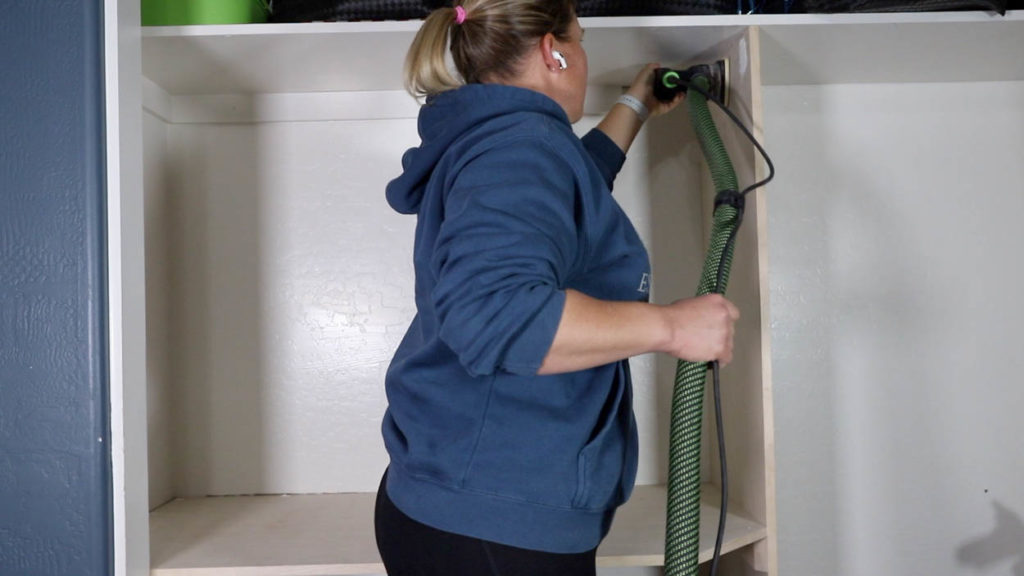
When the wood filler was dry, I sanded it all down smooth. If you can, I highly recommend using a sander that you can hook up to dust collection to keep the mess to a minimum.
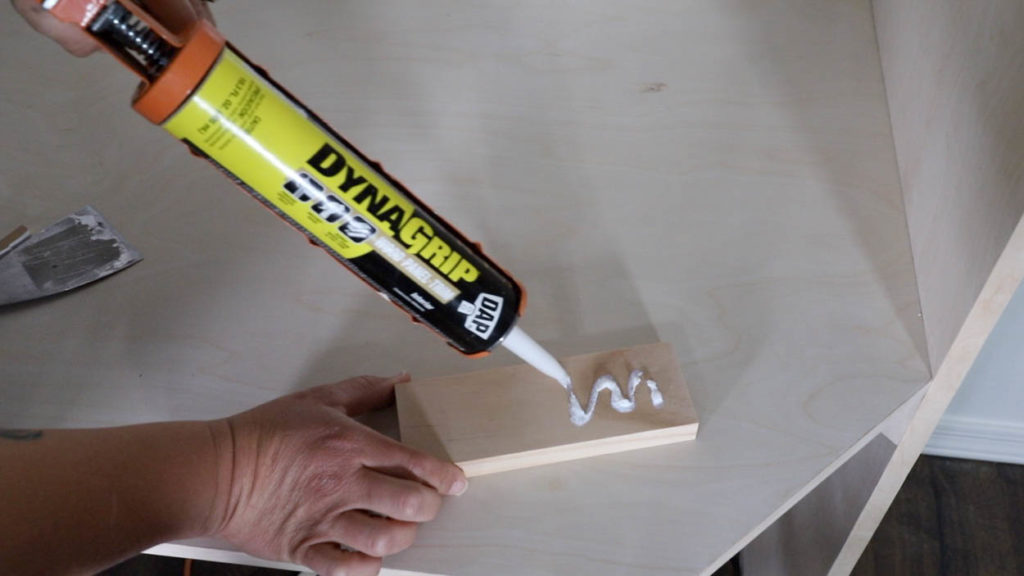
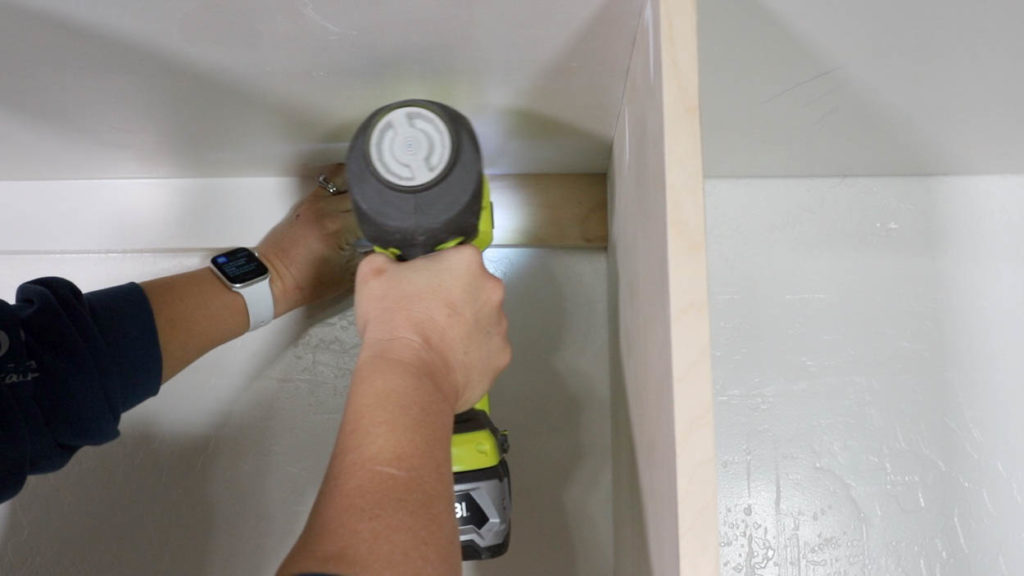
I needed to patch in a 1×3 underneath the upper shelf where the old closet divider used to be, so I cut one to size. There isn’t a stud behind this area, so I used DAP DynaGrip Wood, Panel, Trim Construction Adhesive to adhere it to the wall and then secured it with brad nails. The DynaGrip will ensure that this piece of wood won’t be going anywhere, and the brad nails hold it in place until the adhesive dries.
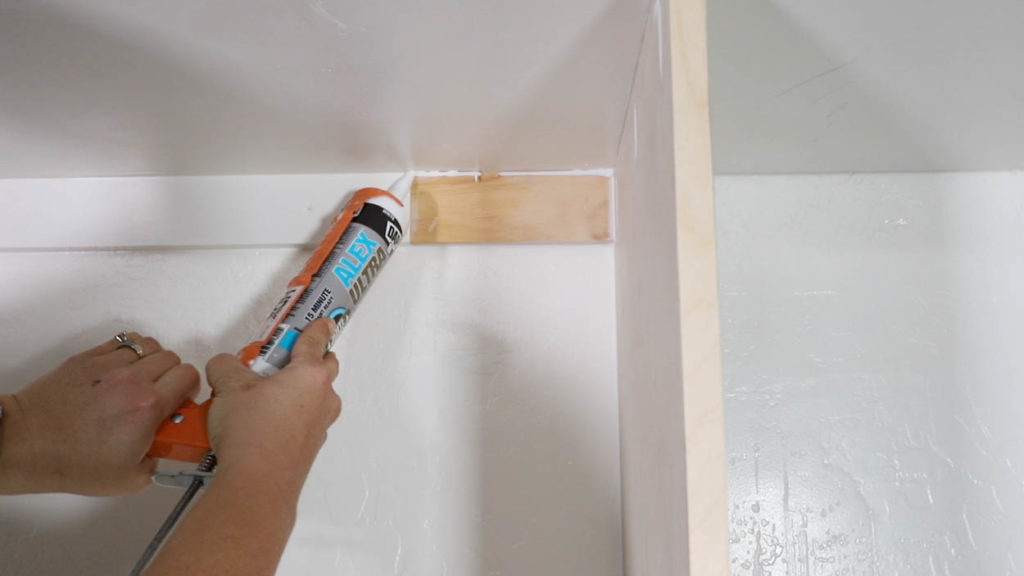
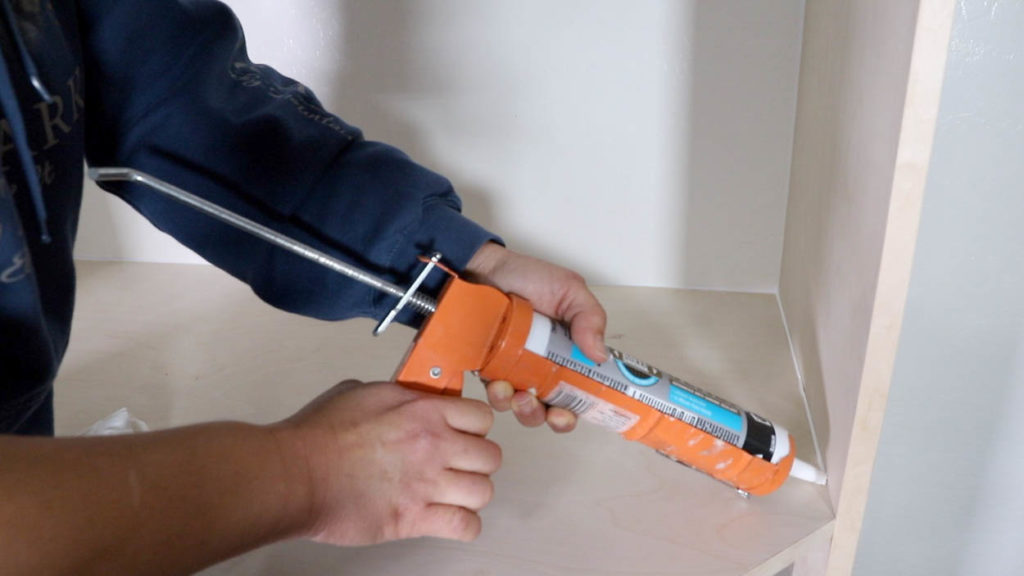
To clean up all of the seams and corners, I used DAP Alex Ultra Advanced Latex Sealant. It’s flexible, anti-shrink technology means that I can rest assured I won’t be seeing any cracks show up over time. It’s paintable in 15 minutes, which also means I don’t have to wait long after applying it to move on to the next step.
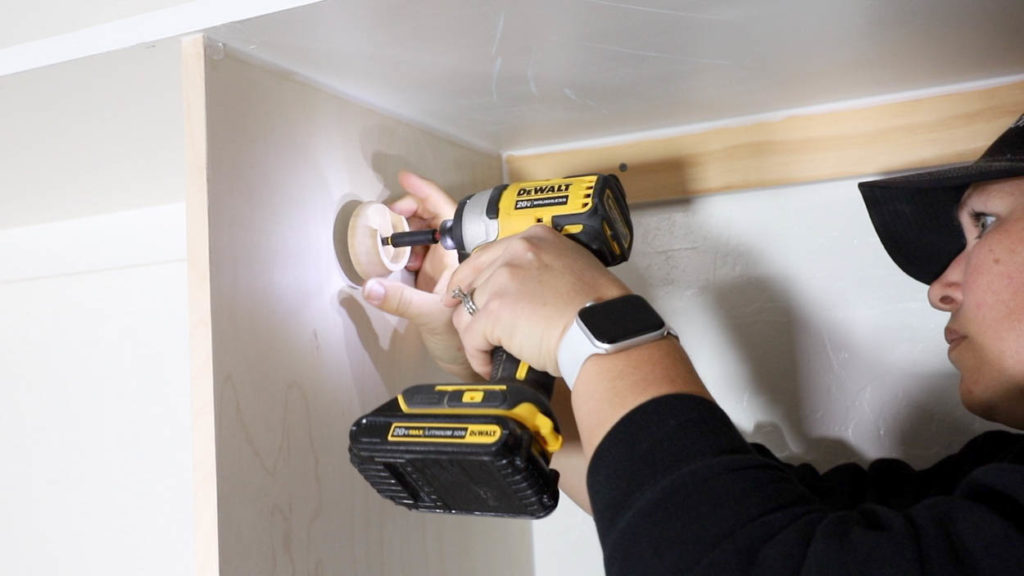
Originally, I was going to spray the closet with a paint sprayer, but decided to just roll it by hand. Before doing that, I installed the closet rod holders. When doing this, you want to make sure that you have them positioned so that you can get the hangers on and off the rod and that there is enough room for the hangers to hang on the rod and not hit the back of the wall.
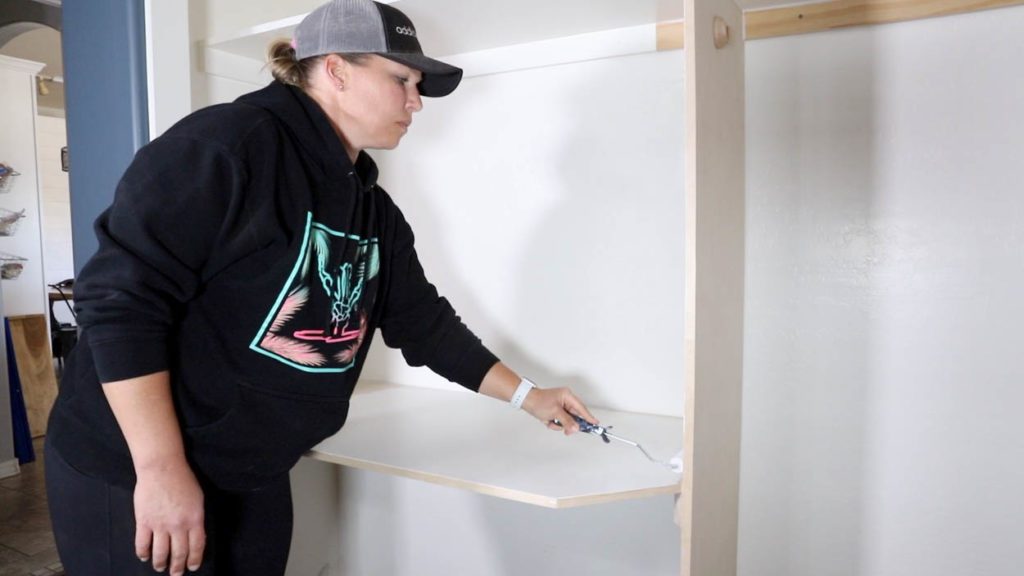
I painted the new closet additions with 3-4 coats of semi-gloss paint to match the rest of the closet. I say 3-4 coats, because I lost track after a while, but I know it was at least three.
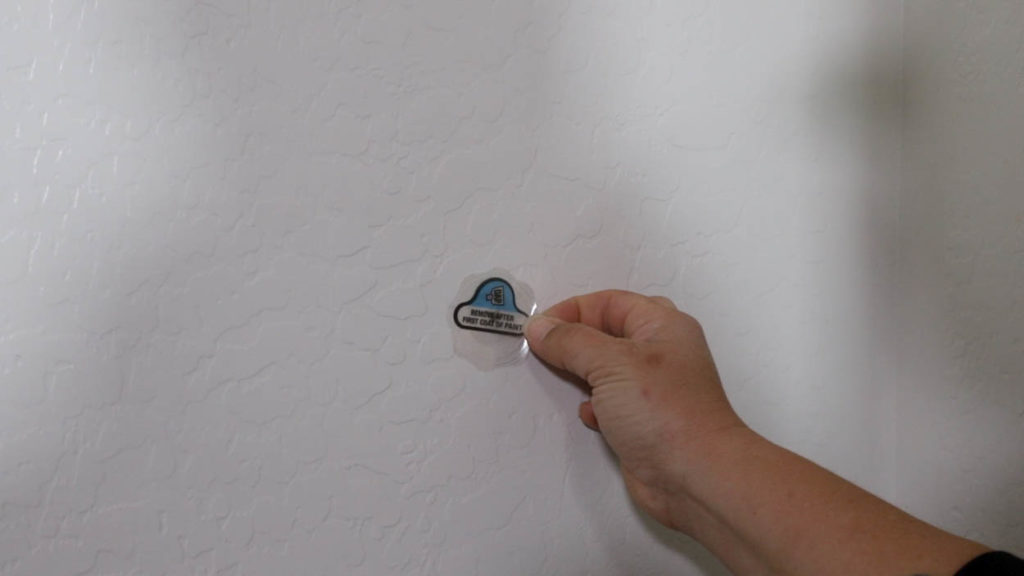
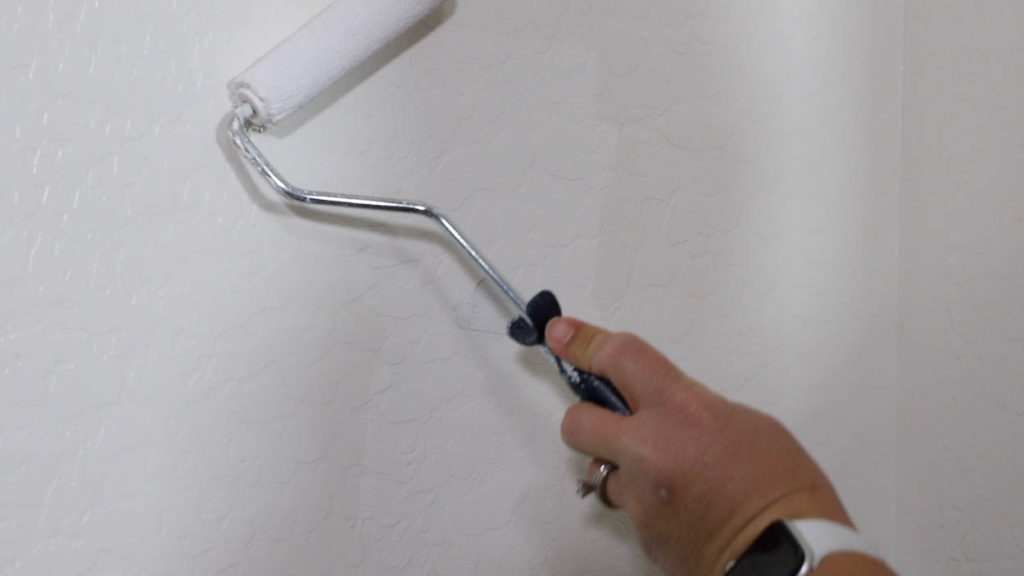
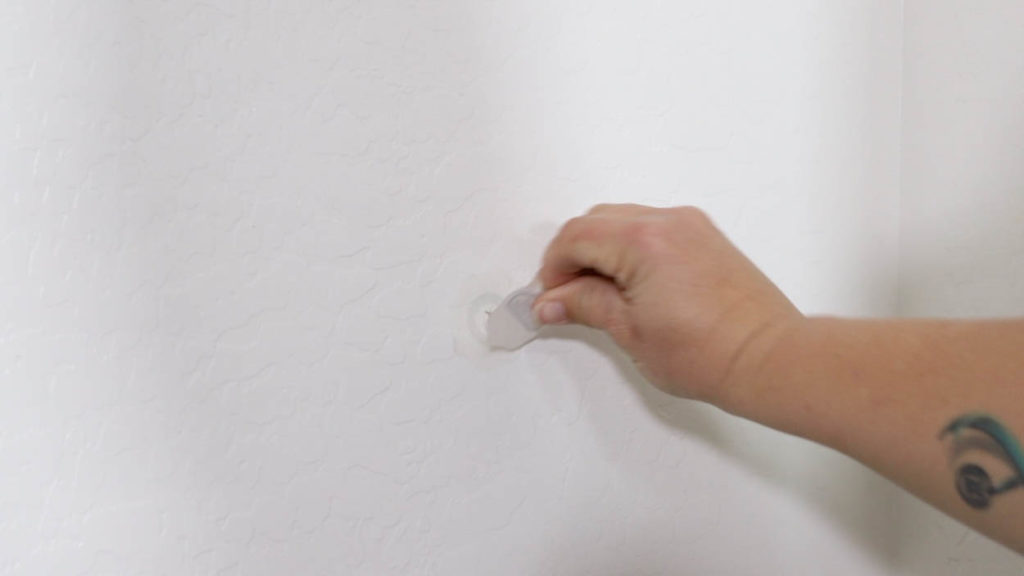
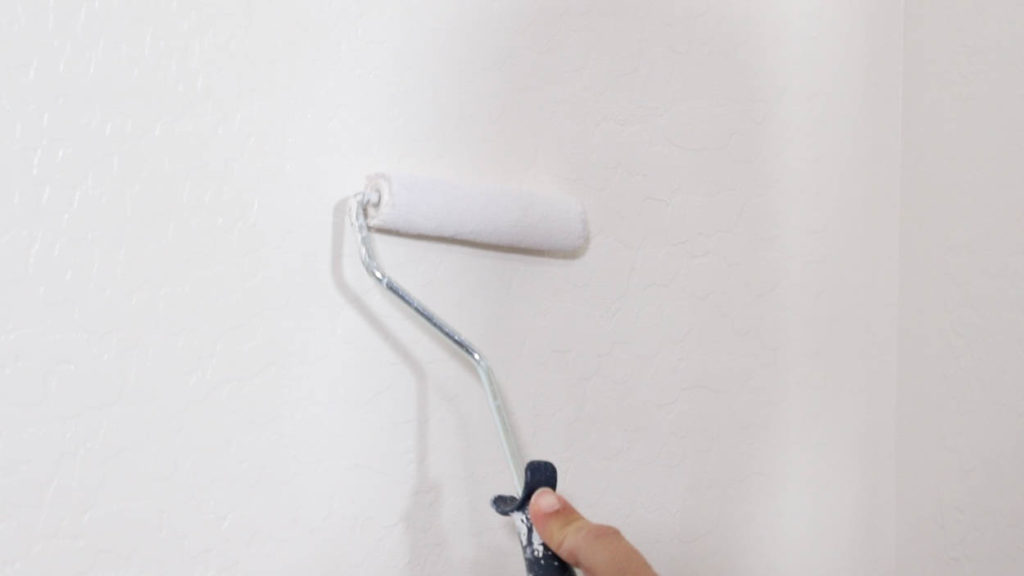
There was a small hole on one side of the closet that needed to be patched and my new favorite trick for this is using Eclipse Raid Wall Repair Patches. You just stick it to the wall, paint a coat of paint on it, then let it dry a bit and peel off the applicator. Paint over it with a few more coats of paint and it’s like there was never a hole there.
DAP recommends that after removing the patch’s protective layer to immediately apply texture using aerosol spray textures or textured paint rollers to match your existing wall surface. This way your patch is completely camouflaged and blended into the wall.
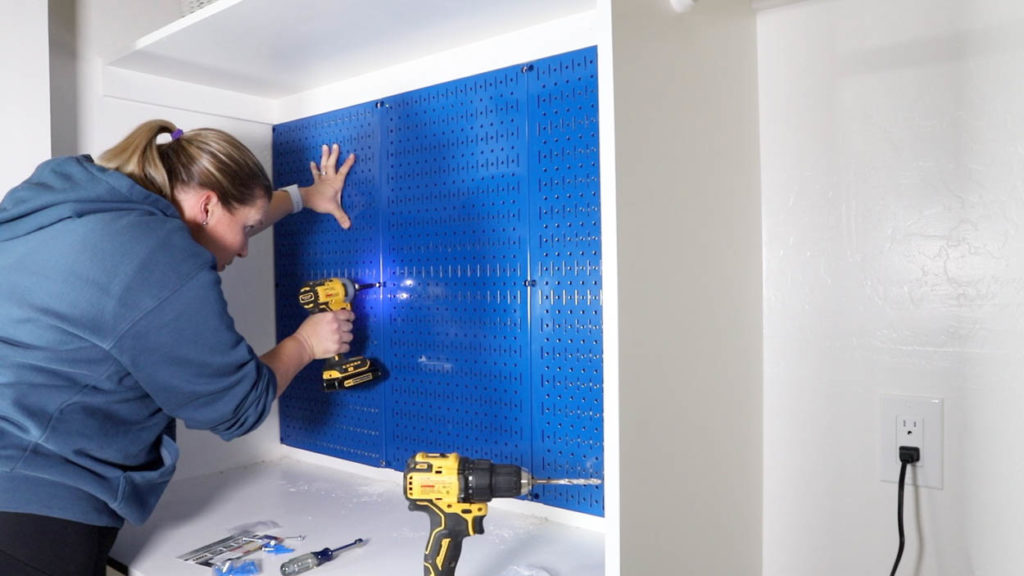
With one side of the closet being a gaming area, I wanted to take advantage of the wall space so I installed wall control panels to the back and side walls. My son’s favorite color is blue, so he chose that color for the panels.
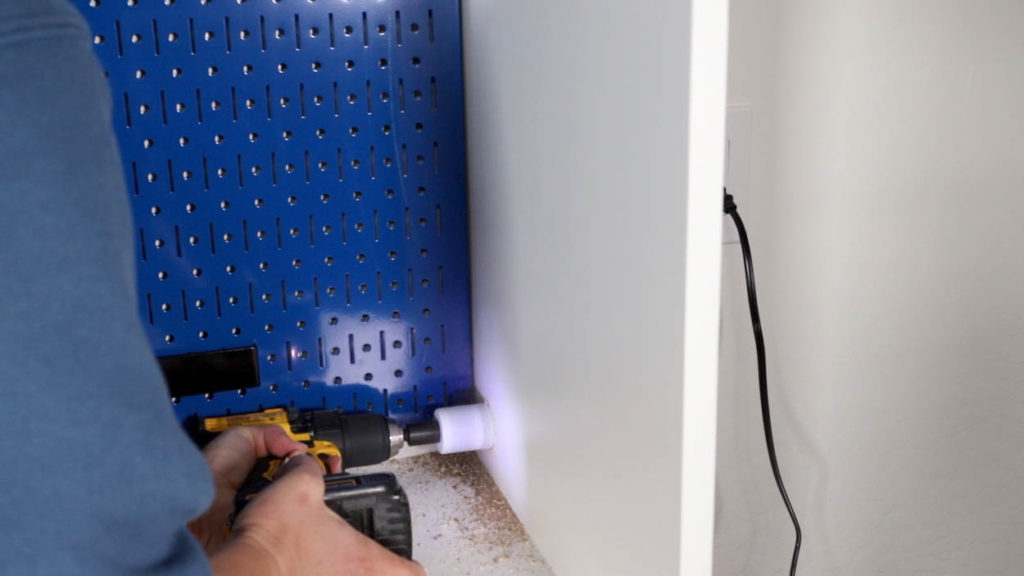
There are a ton of different organizer accessories and hooks that you can get with the wall control system, and one of them is a power strip that can attach to the panels. I ordered one with 6 outlets and had an electrician install an outlet in the closet. I drilled a hole through the divider panel to pass the cord through and touched up paint where needed.
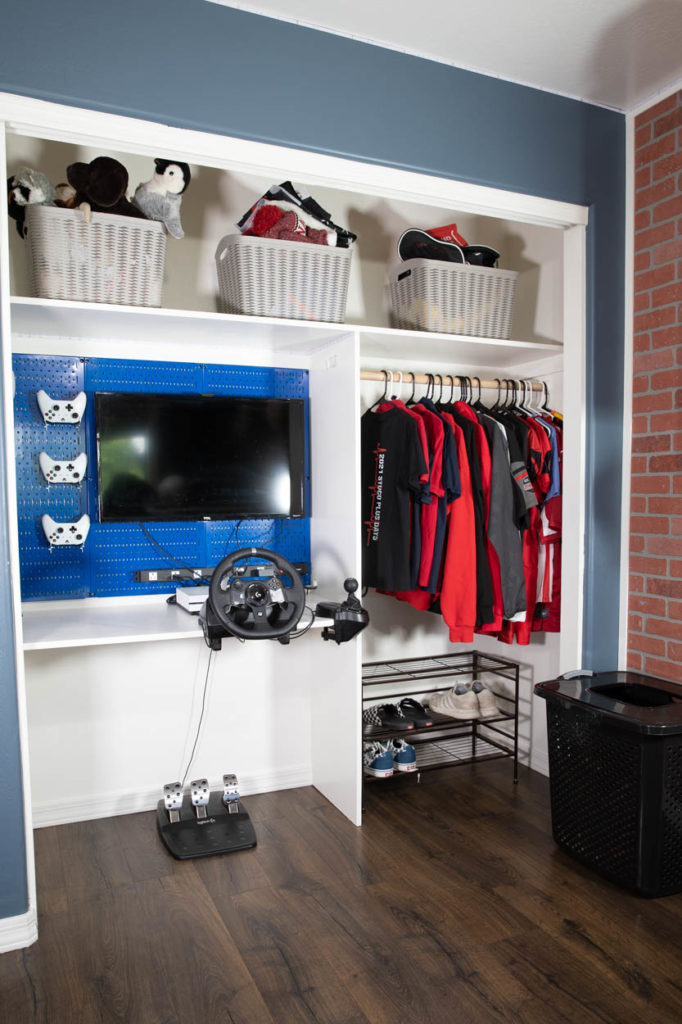
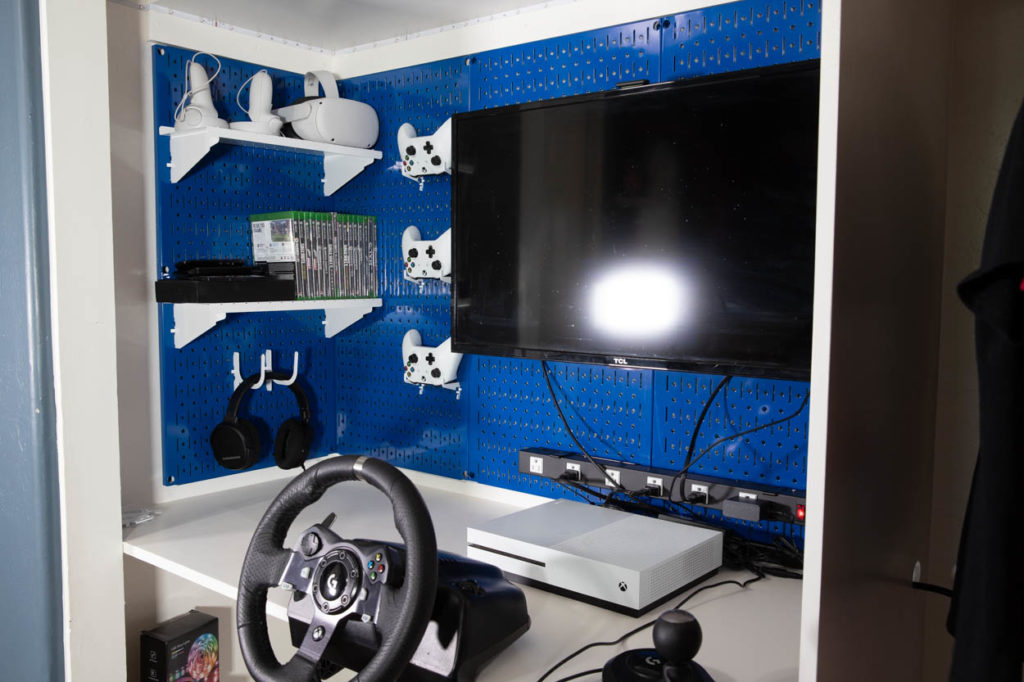
After that, I hung his TV up and added some shelves and hooks to store all of his gaming accessories. I also installed LED light strips around the upper and lower portions of this area of the closet. My son isn’t the most animated with his excitement, but the fact that he couldn’t get his stuff installed fast enough meant that this gaming closet made him one happy teenager.
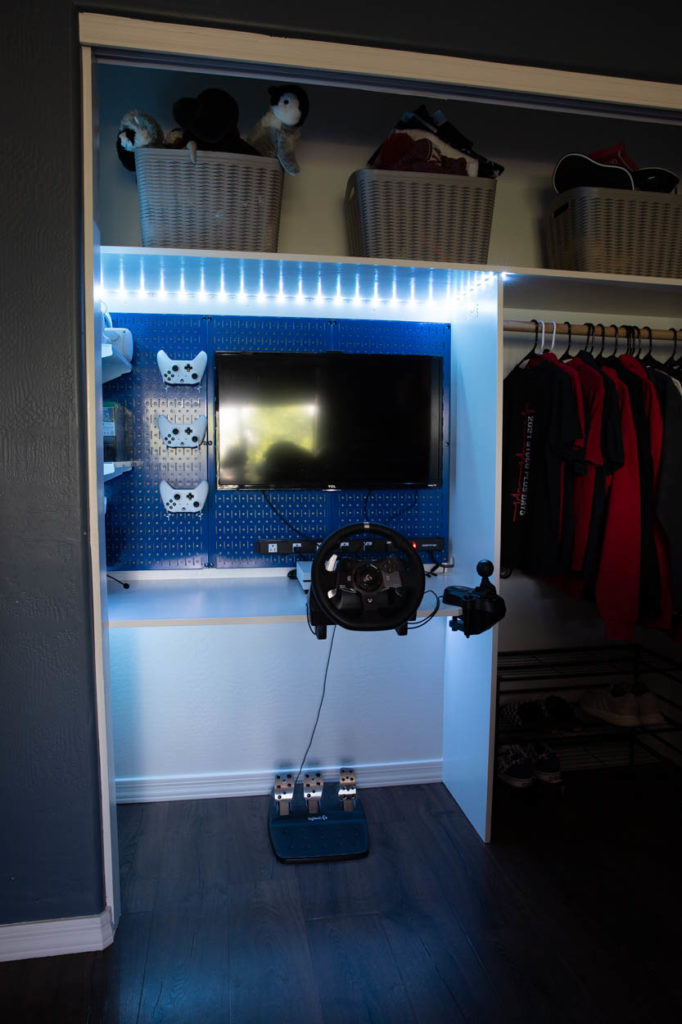
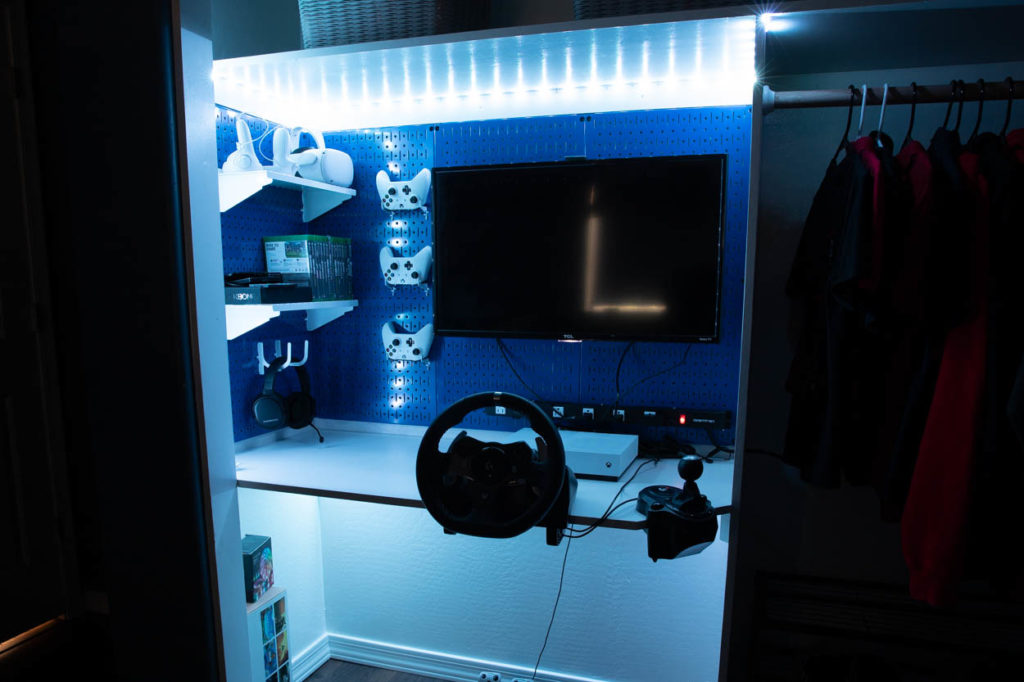
Now he has a place for his clothes to hang nicely, his shoes to stay organized, and his gaming area no longer looks like a hot mess. Hopefully this will be the last time I need to remodel his closet. At least until he’s old enough to move out.
DISCLOSURE: I was provided product and/or compensation for this post. All ideas and opinions are 100% my own.

Leave a Reply