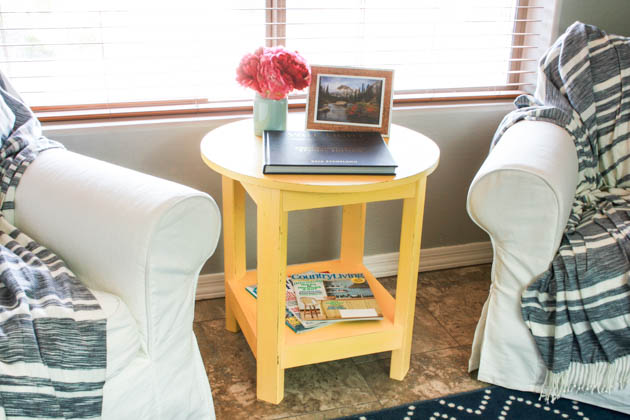
 Hey there everyone! I’m pretty excited to share with you my latest addition to the den! And with this, it means that the den makeover is virtually done! I’ll have a full reveal for you all soon. I’ve mentioned a few times how the den has become my happy place to sit and relax. The one thing missing was a great side table to set my coffee on, or store my magazines. I spent weeks trying to decide what would be the perfect table to go between the two armchairs and finally decided that these plans from Ana White for a Pottery Barn-Inspired side table would be perfect! At first, this table gave me a few headaches and it was about to get tossed in the dumpster when I was about 1/3 of the way through it. Then I figured out a few tricks that made the entire thing SO much easier to assemble.
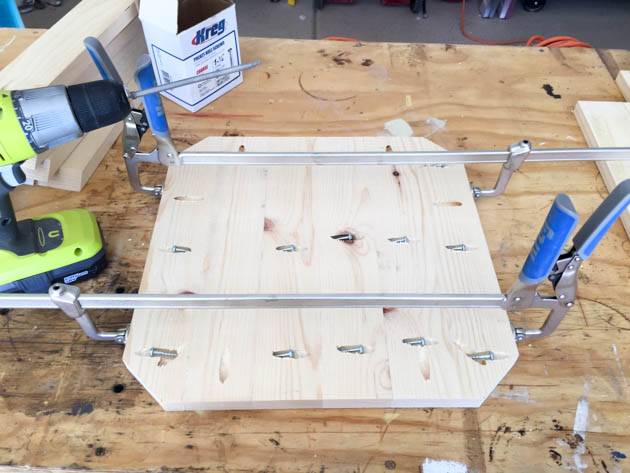
I assembled the bottom shelf per the plans, but also added pocket holes to each side of the bottom shelf so that I could attach the trim pieces a little easier. Once the bottom shelf was assembled, I attached the legs with wood glue and 1 1/4″ pocket screws.
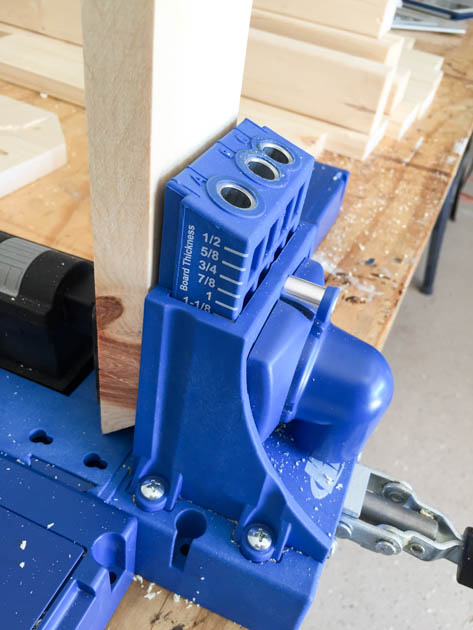
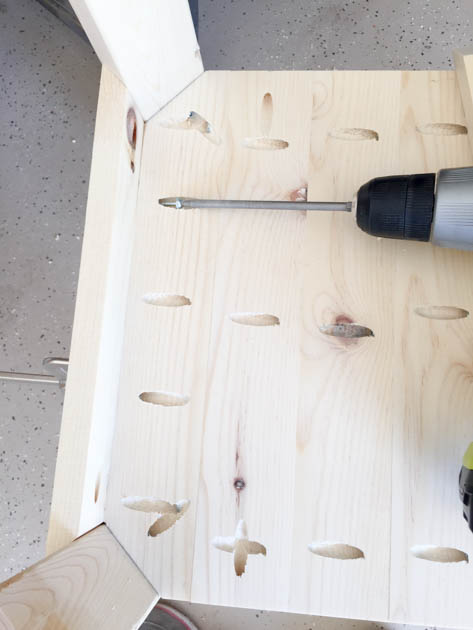
Many people left comments on the plans about trying to find the proper depth for the pocket holes in the trim pieces, because of the 45 degree angle. I found that for these pocket holes, setting the depth to 1 1/8″ and keeping my drill bit depth set at 3/4″ enabled me to drill the proper pocket holes.
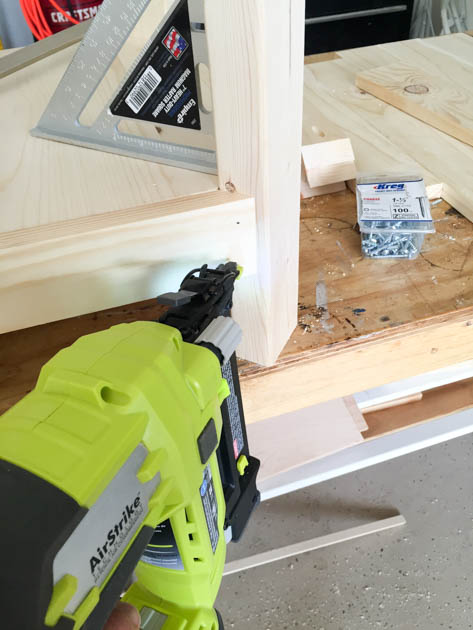
The trim pieces wanted to move around a lot and the legs were not yet braced enough to prevent them from wobbling. I found that the easiest way to secure everything was to glue and nail the trim pieces in place.
Once they were set, I screwed everything together from the underside of the table.
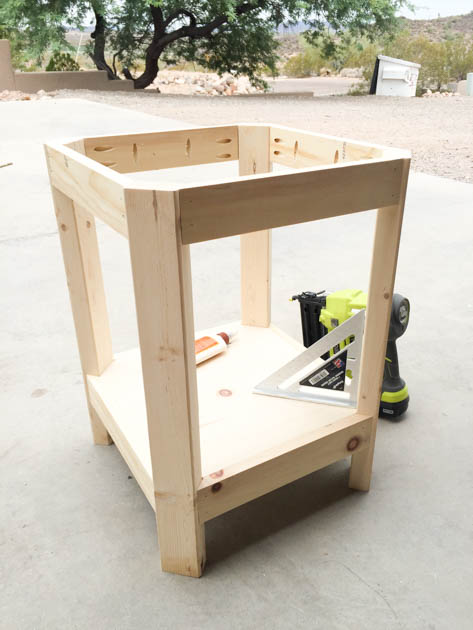
Once the bottom trim was in place, I used the same method for my top trim by gluing and nailing them into place before finishing off with pocket screws. You’ll notice that I forgot to add pocket holes to the table legs to attach the table top. I did; however, add them to the trim pieces, so the table top is held on securely.
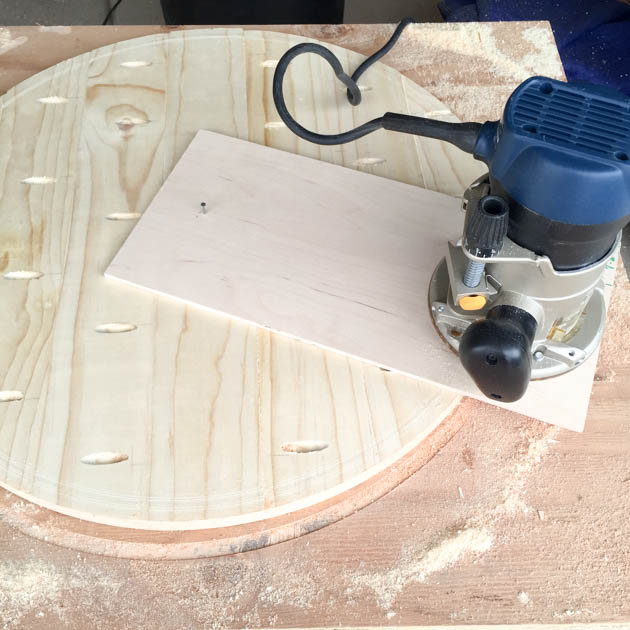
For the table top, I opted to use my router instead of my jigsaw to cut it. I grabbed some scrap 1/4″ plywood and made a quick little jig. This gave me a perfectly round table top. I was completely covered in sawdust when I was done, but the end result had me so happy!
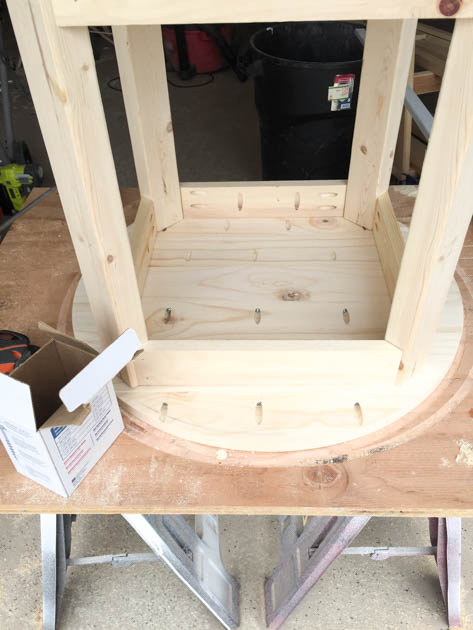
I attached the top using wood glue and 1 1/4″ pocket screws, then filled my pocket holes with wood filler. Once it was dry, I gave the entire table a good sanding.
 I wanted the table to have a rustic/distressed look, so I stained it, then topped that with homemade chalk paint. I used my HomeRight Finish Max for this job and I can’t even begin to explain how much easier it makes the entire finishing process. Believe it or not, you can use both stain AND chalk paint in it! I used espresso colored stain from Minwax and then topped that with Behr Yellow Jubilee homemade chalk paint. It’s the same color I stenciled onto my IKEA Billy bookcase hack.
I created this video showing all of the steps in the process and how easy it makes everything.
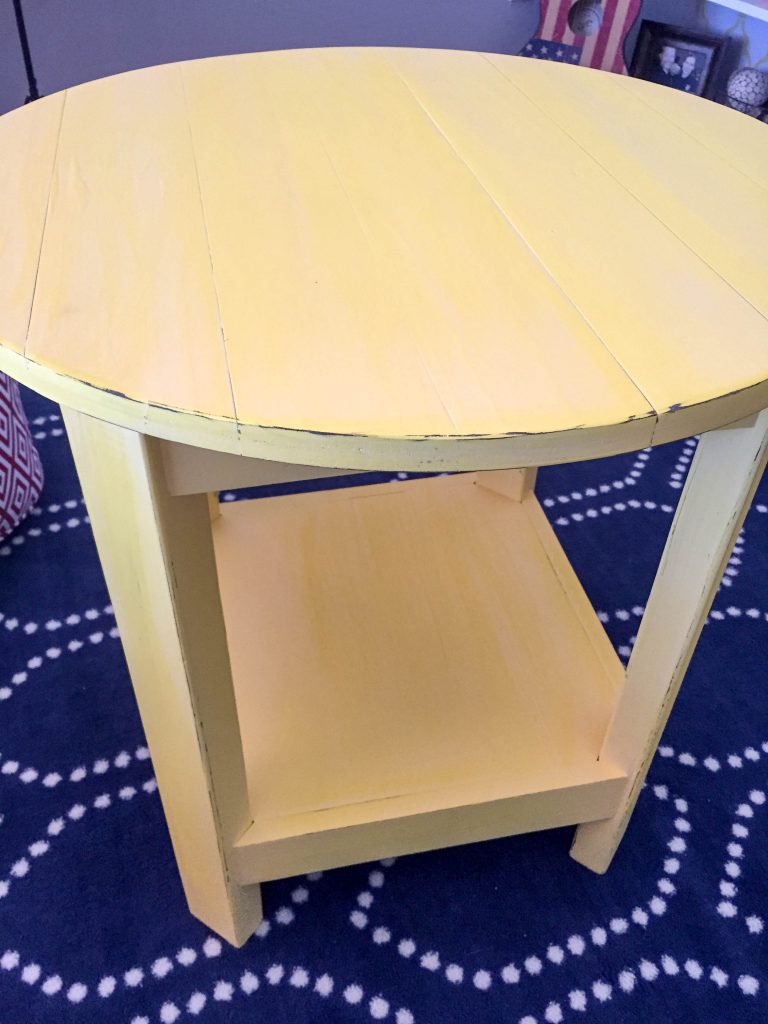
Once the table was finished, I sanded it down a bit to distress it and show the stain underneath, then I gave it a coat of clear wax. The finish the wax gives it is so silky smooth and it has the perfect satin sheen.
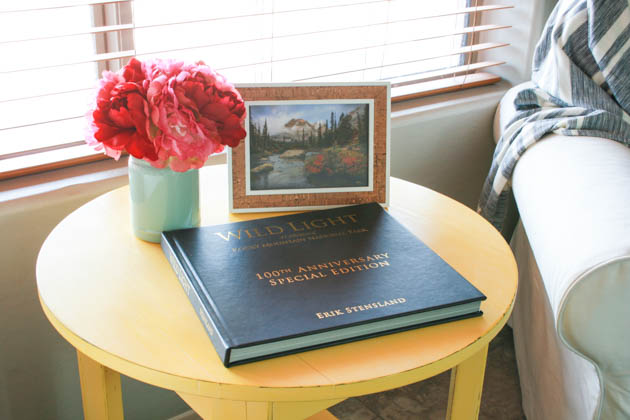
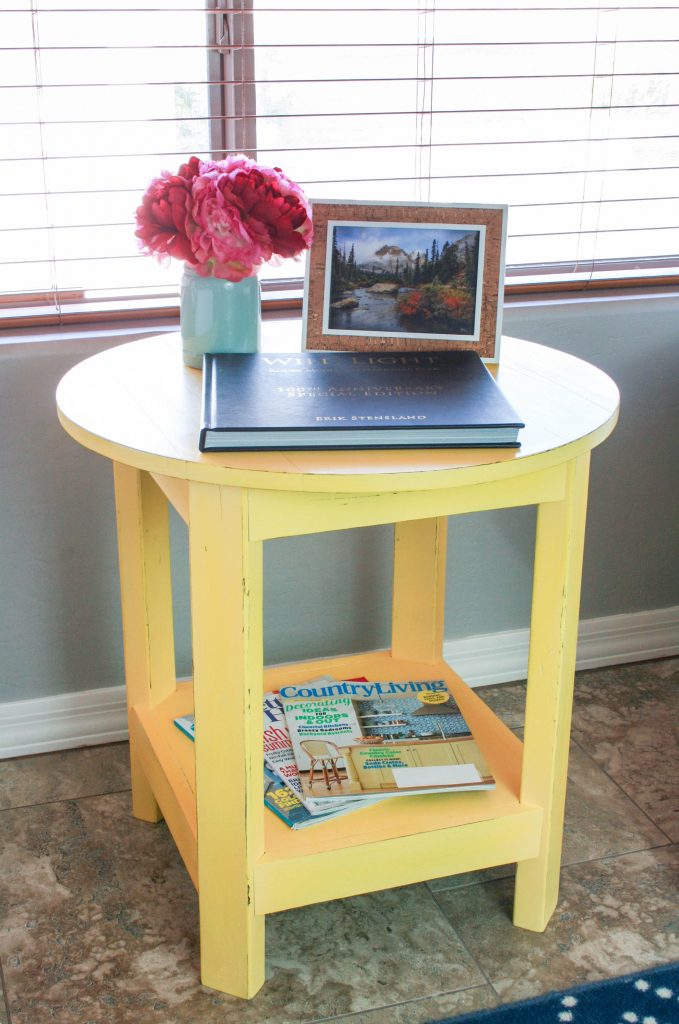
I bought this book for my husband a few weeks ago while we were on vacation. It’s filled with gorgeous photos from our favorite landscape photographer. The framed photo behind it also came with the book, which made it a great addition to the table top. 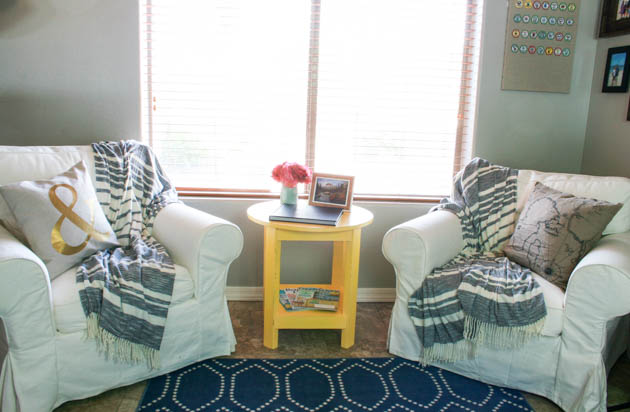
The table is 24″ in diameter and fits so well between our two armchairs. I had debated on building a square table, but my husband made the point that a round table would fit better and look nicer between the two chairs. After seeing the table in the den and envisioning it being square, he was definitely right! Of course, he was also calling it the “yellow monstrosity” before I had everything finished, so you can see I don’t always listen to his opinions;)
The yellow is a bit of a bold step for me, and I almost abandoned the idea altogether, but I’m so glad I didn’t! Even my husband changed his tune and thinks it looks great! All in all, we have a gorgeous table that cost about $25 to build. Compare that to the hefty $400 price tag in the store and it’s quite a huge savings! If you want to make this table for yourself, be sure to download the free plans from Ana White!
I love seeing your projects, so be sure to share on social media using the hashtag #addicted2diy and I may feature you on social media!
DISCLOSURE: I was provided compensation and/or products for this post. All ideas and opinions of the products used are 100% my own.
Very cute!! I love this. It would actually look great in my living room if it was a light sky blue color. Thanks for sharing!
Thank you Laura! It would definitely be great in any color. I actually almost painted this one turquoise, but thought white would fit better with everything else in the house:) My opinionated 7 year old; however, still says he would have rather it be painted turquoise;)
nice work you are doing
Thank you:)