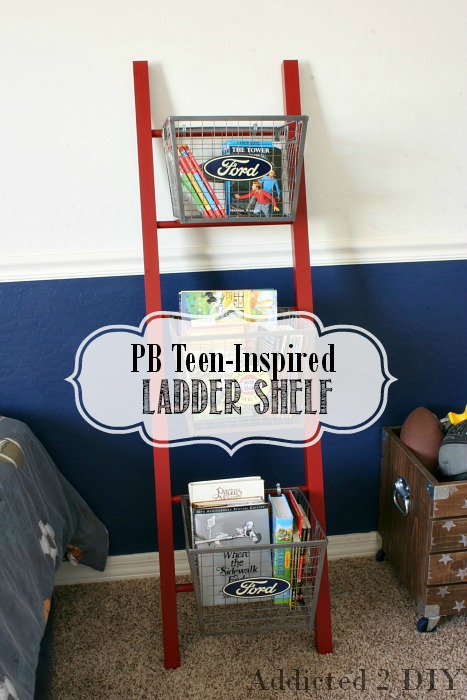
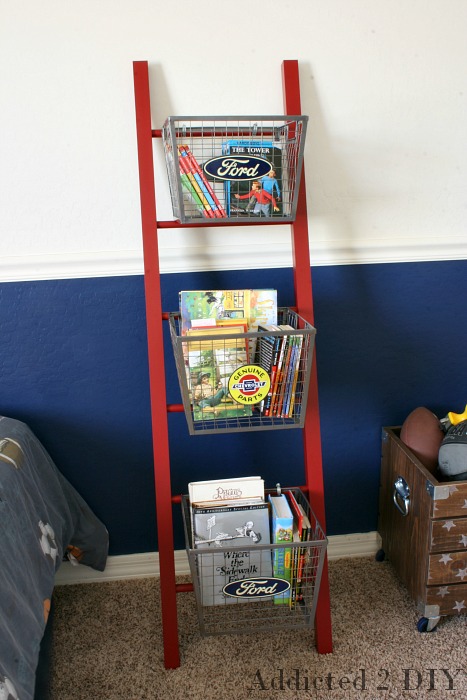
I’m making some progress in my oldest son’s room. Last week I shared this DIY #1 Shelf that I made for his room. This week, I’m sharing this PB Teen-Inspired Ladder Shelf. I’ve been planning to make this for a while now and I am so glad that I finally got a chance to get it done! I bought the baskets for it over a month ago and they’ve just been sitting in my craft room waiting for me to build this.
I was inspired by this Ladder Shelf in the Pottery Barn Teen catalog. It is no longer available for sale, but it originally retailed for $249! My version (including the baskets) cost me around $85. It may sound like a lot, but about $50 of it went to the wire baskets. Those are not cheap, but I managed to get them on sale at Hobby Lobby for $17 each.
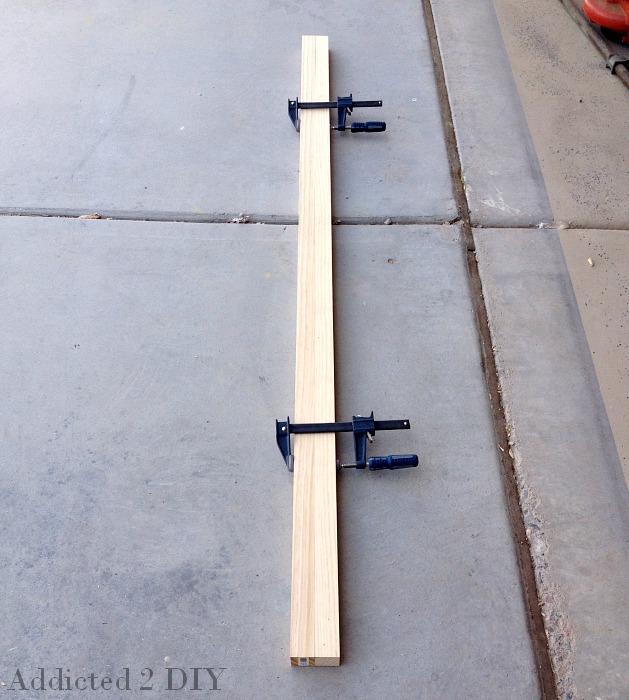
I purchaed two 6′ long select pine 2×2 boards from Home Depot. I could have used regular 2×2 boards, but I liked the squared edges vs. rounded edges of the select pine. I cut the boards down to 5′ long.
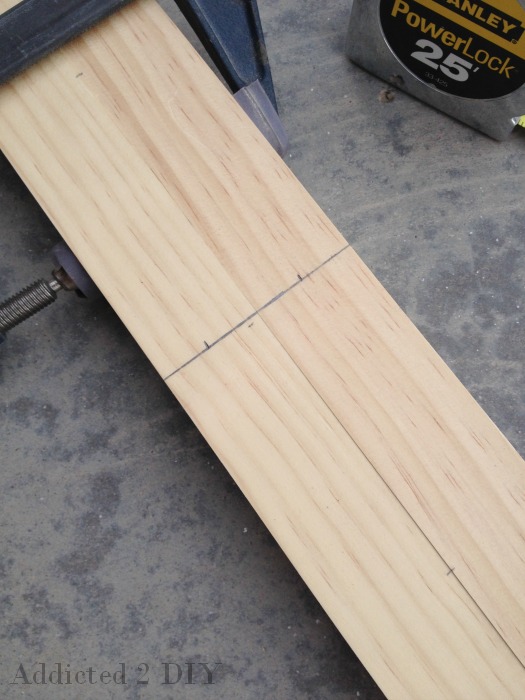
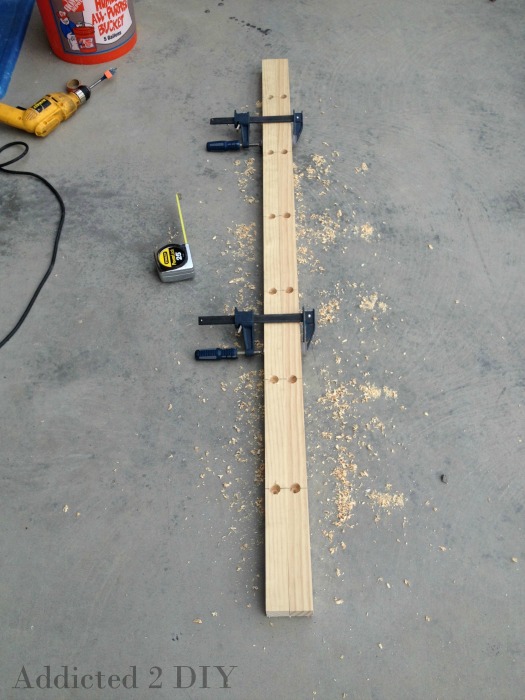
My baskets are 9″ tall, so I made my ladder rungs 9″ on center apart. I needed 6 rungs, so I did the math and figured out that I could get this to work by marking my first rung at 8″ on center from the bottom of the ladder. I then marked the remaining 5 rungs at 9″ apart. I measured and made a small pencil mark at the center of the boards where each rung would go.
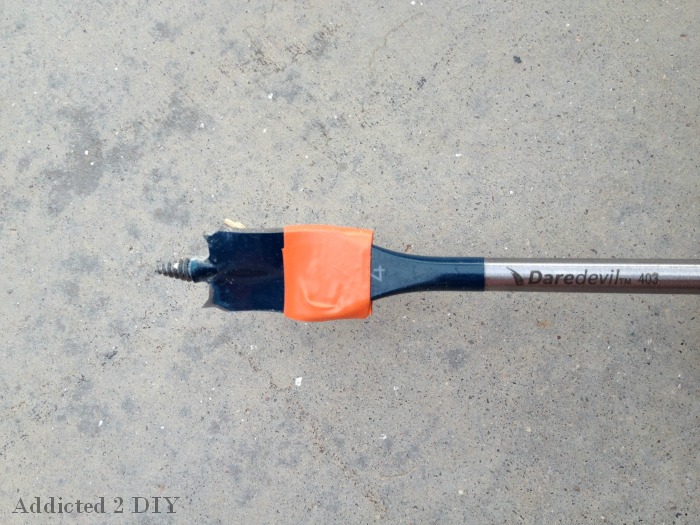
I bought 3/4″ wooden dowels for the ladder rungs, so I used a 3/4″ paddle bit to drill the holes. I wanted the holes to be 3/4″ deep, so I grabbed some electrical tape to mark my depth.
I clamped my boards together so that there was no movement when I was drilling the holes. I was able to make them even with each other and save myself a big headache later on when I glued the dowels.
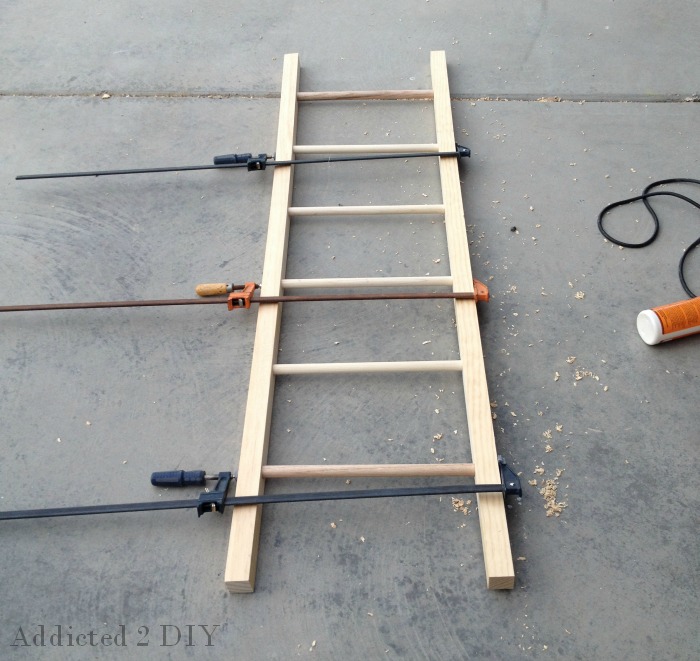
For the rungs, I purchased 6′ and 3′ wooden dowels. I factored in the width of my baskets (12″) and the depth of the holes I drilled and I cut the dowels at 14 1/2″ long. I didn’t take a picture of this step, but I squeezed glue into each of the holes on one side of the ladder and placed the dowels in the holes. I then grabbed the other ladder rail and squeezed glue into each of those holes. I lined them up with each other and then clamped the ladder together to dry for 24 hours.
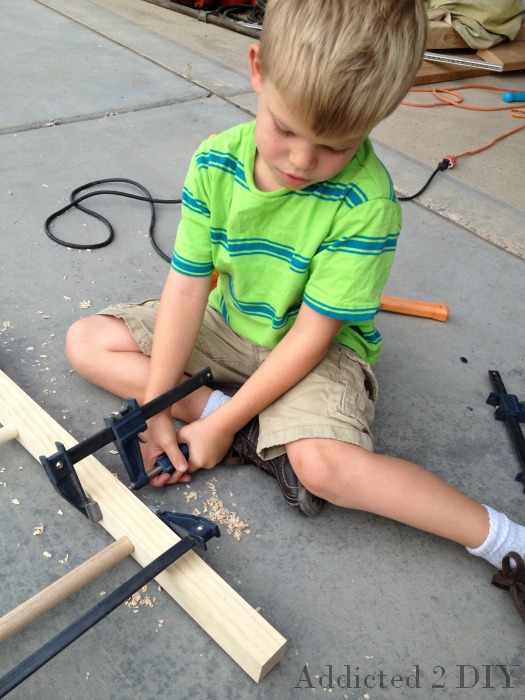
My little guy helped me out with big brother’s project too:) He thought it needed a few extra clamps.
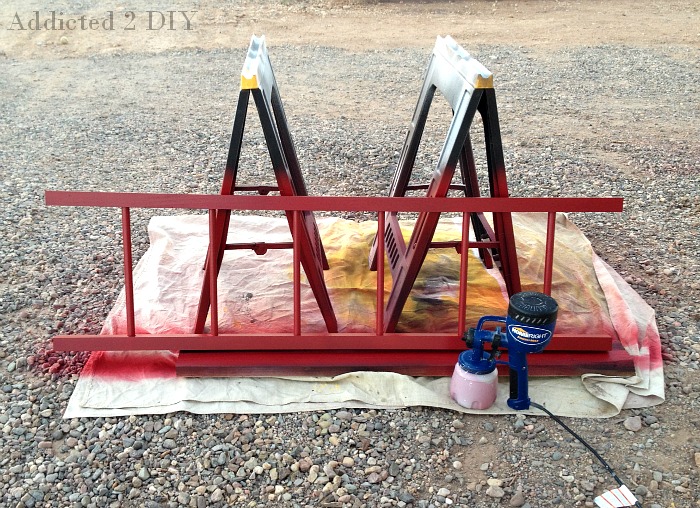
I painted the shelf with Behr Enamel paint in Red Delicious (a Glidden paint color). I used my new favorite tool to paint it, my Homeright Finish Max Fine Finish paint sprayer. Since I have had this sprayer, it has saved me countless hours of work. Anything that saves me time, especially with painting, makes me so happy!
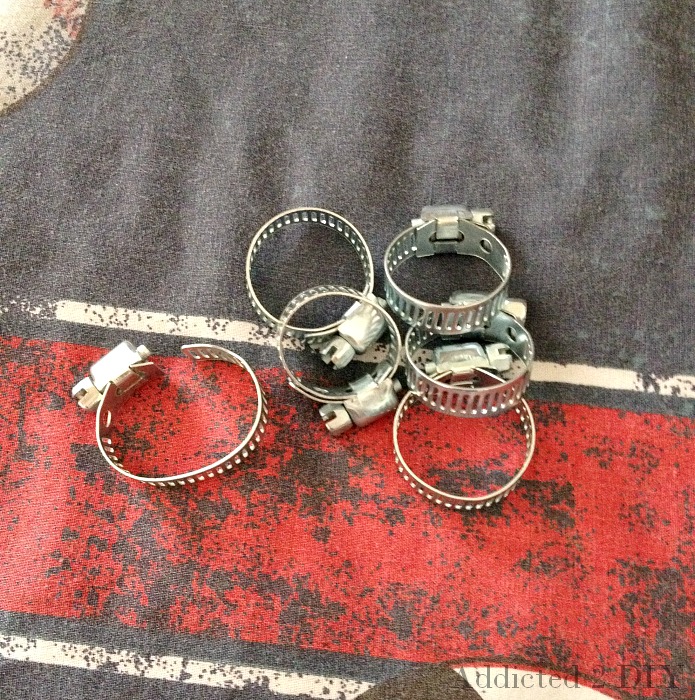
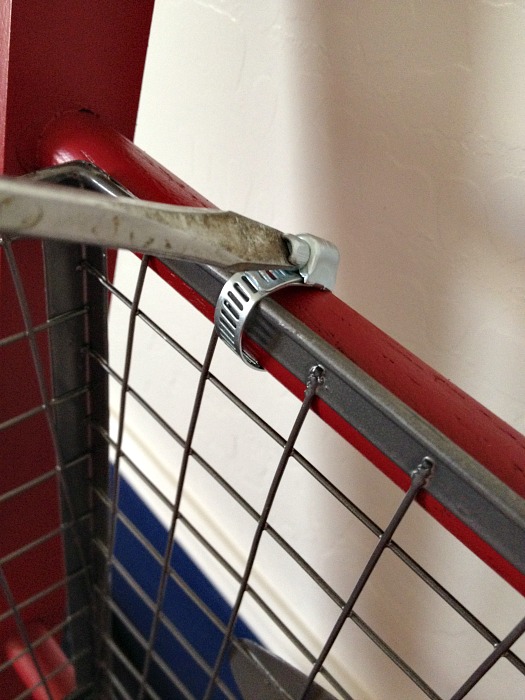
Once the ladder was dry, I sorted through our stash of pipe clamps and grabbed six of them to secure the baskets.
I attached the top basket tightly with the pipe clamps and made my way down the ladder with the other baskets.
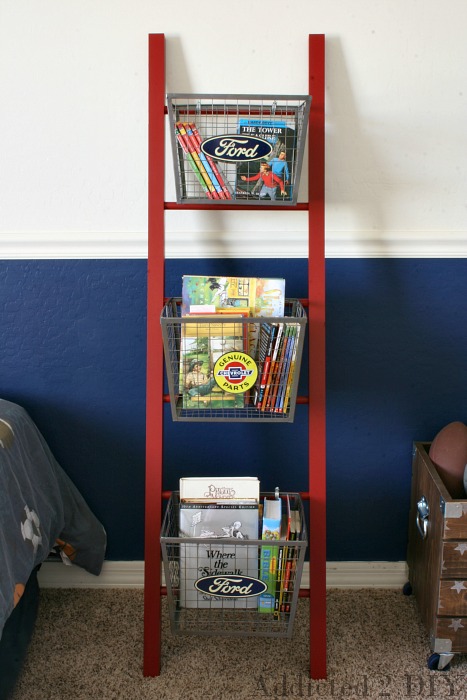
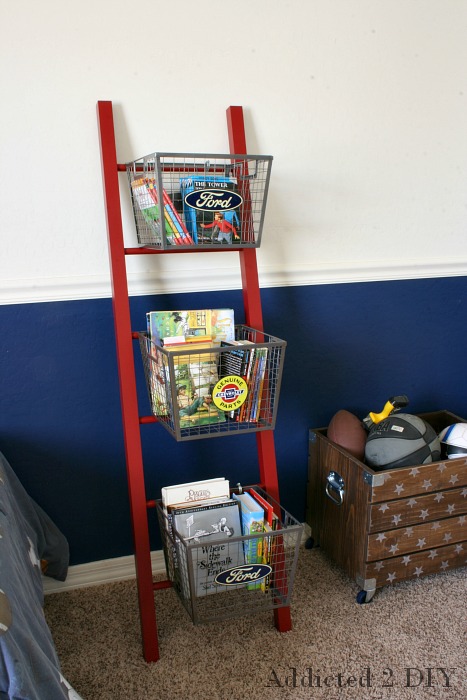
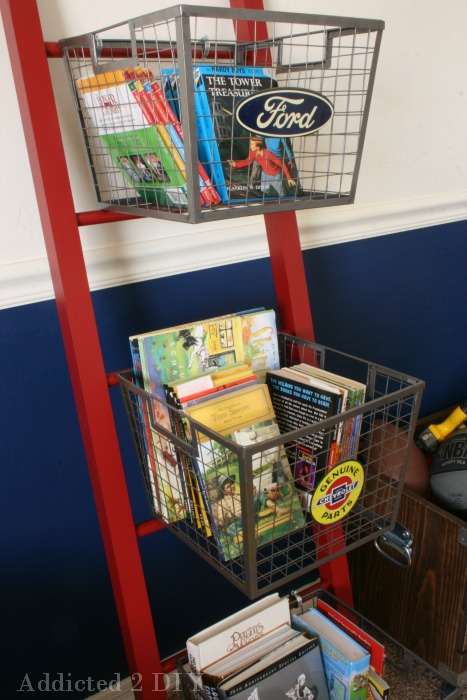
My son loves reading books, so we grabbed his large stash and filled the baskets with his big collection of books. His room is an all-star themed room, so the metal car emblems don’t quite go with his room. I told him we could paint them with chalkboard paint and number them, which he liked. My husband; however, is trying to convince him to keep them by saying that racing cars is a sport, so they fit in. Tyler disagreed and said racing isn’t an athletic sport. Hopefully my dad (an avid NASCAR fan) doesn’t read that;) Right now, the debate over whether to paint or not to paint over the emblems is in limbo. Ultimately, it’s up to Tyler:)
I am so happy with how this project turned out. Tyler loves it too, which makes me even happier. I love when I can challenge myself to recreate something in a catalog and it actually comes together the way I had hoped. I also love that I can keep his book collection reined in a bit more now that they are in baskets and not falling off of the Ikea bookshelf he has.
By the way, remember how I said how much I love my Homeright Finish Max paint sprayer? Well check back tomorrow, because I’m hosting a giveaway and you can win one of your own!
Linking up to these parties:


I’m with your husband on this one. I think the baskets look amazing with the emblems! But, it would look cool with chalkboard paint too. What an awesome piece for your sons room!
Melissa @ A Prudent Life recently posted…Sweet & Spicy Rib Street Tacos
I said this on Google+ but wanted to drop by with a comment. This is really fantastic! You did a great job 🙂
Leigh Anne recently posted…The Blog Hobnob
Thanks so much Leigh Anne!
Cover with vinyl and add stickers….. Then when he is into cars, just peel them off.
That is a great idea. I could just use chalkboard vinyl:)
This is so adorable! I love the Ford and Chevy signs and that your little one helped. So cute!
Amanda Michelle recently posted…Hand-Lettering
I love this ladder! it’s such a cute and unique storage idea for a little boys room!
Katie @little house of four recently posted…The Vintage Market and New Dining Room Server
Thanks Katie!
This is so cute! I think I love yours more because of those cute little car decals on the front of the baskets!
Jessica recently posted…Daily Schedule Free Printable
Thanks so much, Jessica! My son loves it, and I love that his books aren’t spilling out all over his floor anymore;)
What an awesome project! I’d love it if you’d link up to my Look for Less Design Challenge! By linking up, you’re entered to win a $60 Target Giftcard too! http://homecomingmn.blogspot.com/2014/07/diy-x-leg-ottoman.html
Kayla @ Home Coming recently posted…DIY X-Leg Ottoman & the Look for Less Challenge!
Thanks Kayla! I’ll do that:)
I really love this… but I can’t see any of the images except the inspiration one from PB… it tells me that they don’t exist. Just thought I’d let you know. Thanks for sharing at the Remodelaholic party!
Lorene
Lorene @Remodelaholic recently posted…Best Colors For Your Home: Yellow
Hi Lorene, I’m in the process of fixing it all. I recently switched web hosts and lost all of the images in my posts for July. I am trying to go through and fix them all. Sorry!
After reading how and why you made this, my brain started coming up with more ideas of where this could be used. Laundry room to sort clothes, girls room for stuffed toys, kitchen for smaller items, bathroom for toilet tissue, towels, wash cloths, etc. So many different uses. My brain just won’t stop coming up with different ideas. Let your imagination run with this awesome idea.
Tha ks Frieda! Those are all awesome ideas!
Wow, you really saved a lot with this project! I love the attached baskets, that makes storage even easier! Thanks for sharing!