Hey there everyone! Can you believe there’s just one more week left in the ORC??? I can not wait to get my dining room finished up and share the big reveal with you all! If you’ve been following along with my plan, you’ve already gotten a little peek at how the room is coming along and I can tell you that as of today, it looks NOTHING like it did in the before pictures.
This week, my goal was to finish painting the kitchen cabinets and get the doors painted. I also needed to get the walls painted. I’ve partnered with DAP Products this week to share with you how I fixed some holes and cracks in my walls to prep them for a flawless paint finish.
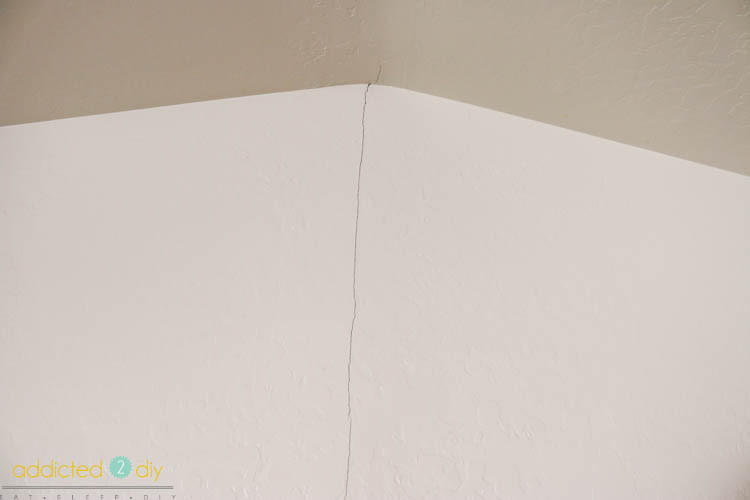
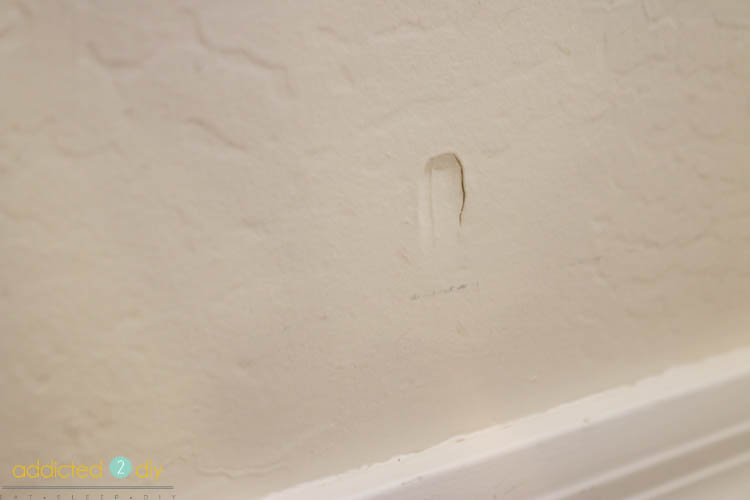
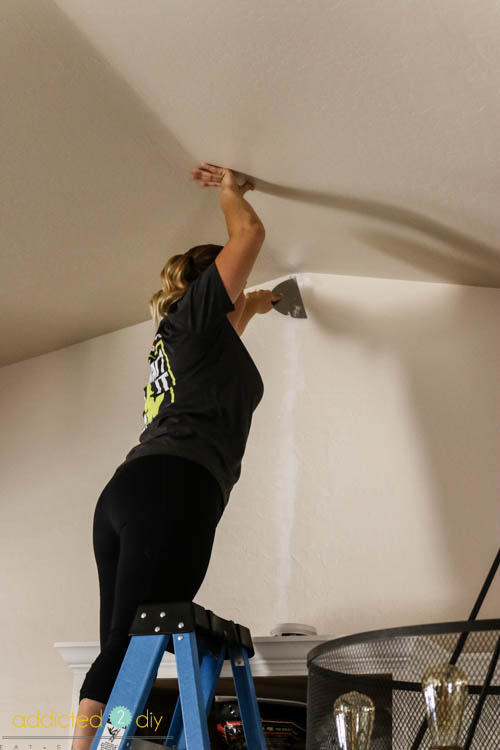
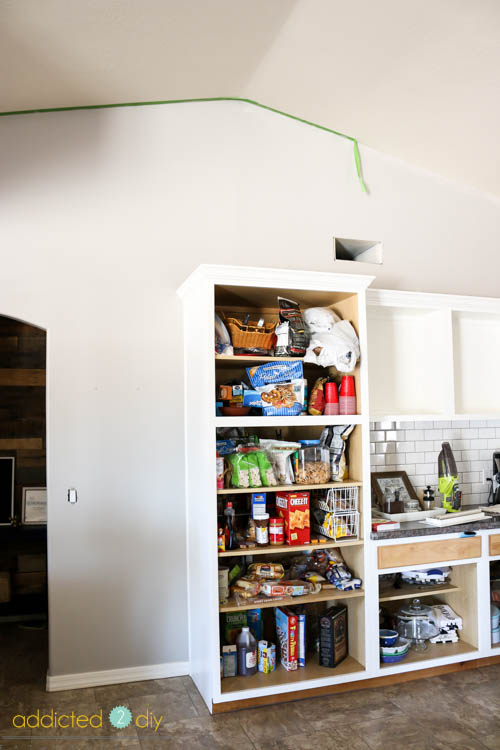
We have vaulted ceilings and right at the peak of the ceiling, above our dining room cabinets, we had a big crack. Our house is nearly 20 years old and for all I know, it’s been there since we moved in 6 years ago…eyeing me…judging me for not fixing it. We have been busy working on other areas of the house and yard, so the crack had to wait. We also had a few tiny pinholes and a small dent in the wall that I know happened after we took ownership of the house. They were from the moisture meters and from Servpro prying off our baseboards when we flooded half of the house in another fateful remodeling incident.
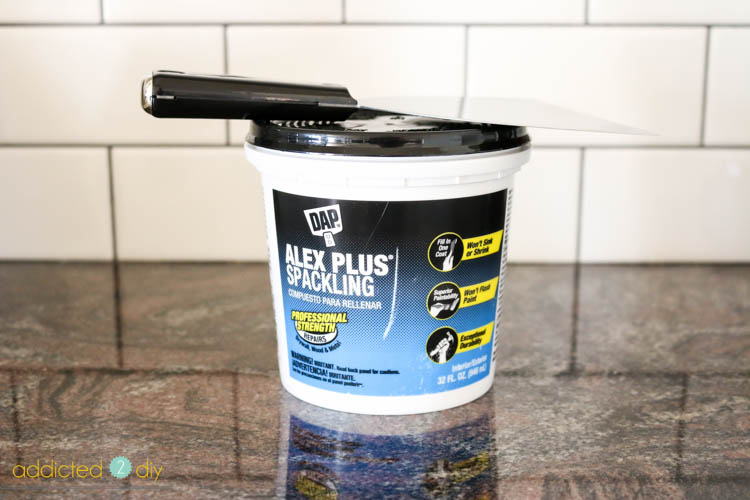
DAP Products was kind enough to send me some of their brand new spackle to help fix the problem. They have two brand new spackle products out for fast fixes just like this. One is Alex Plus spackle and one is Alex Flex spackle. Both are ready to use, super easy to apply and give you a smooth finish that won’t sink or shrink, and can be painted over without needing primer. The difference is that the Alex Flex spackle is as the name says. A flexible compound for repairs where you are worried about further expansion of something like a recurring crack in the wall. As I said, our crack wasn’t getting any bigger and had been there for years, so I chose to use the Alex Plus spackle for all of my repairs on the walls.
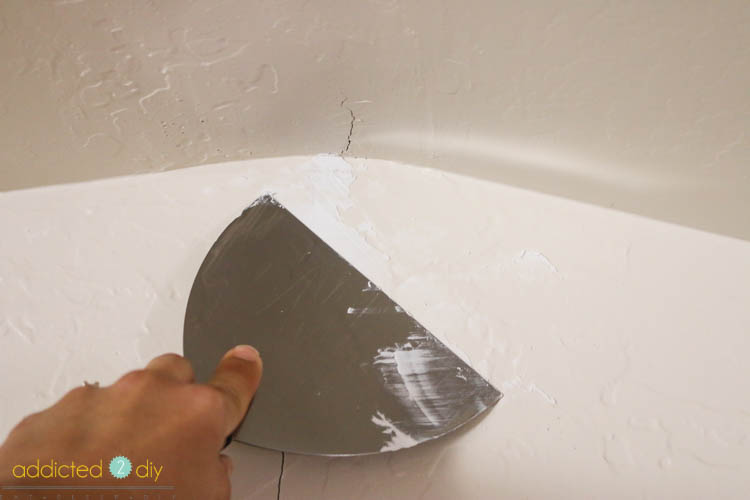
As I said, the Alex Plus spackle went on super fast and easy. It also dries quickly, so within an hour of beginning all of my wall repairs, I was able to go back and knock down any rough spots with 220 grit sandpaper and I was ready to paint! By the way, being at the top of an 8′ ladder and trying to lean over 24″ deep cabinets to reach the peak of a ceiling is definitely not high on my list of fun things to do. This is probably why I let that crack in the wall go for so long.
Once I was done with the repairs, I was able to quickly paint the walls my favorite neutral greige, Mindful Grey by Sherwin Williams. I had Home Depot color match it for me in Behr paint in a satin sheen. I’ve got a little confession to make. I accidentally bought the wrong sheen when I purchased the paint. I forgot that the rest of our house was actually an eggshell sheen! Rather than let a gallon of perfectly good paint go to waste, I came to the conclusion that I’d just make it work. Afterall, none of the walls being painted in the satin sheen would actually be touching the walls with the eggshell sheen. Plus, it will be much easier to clean up after my 9 year old who loves to grab the corners to whip himself around a turn faster.
SIDENOTE: Aren’t you super jealous of my organized pantry? Someday I’ll get that disaster under control for good. It’s a never-ending battle when you have kids.
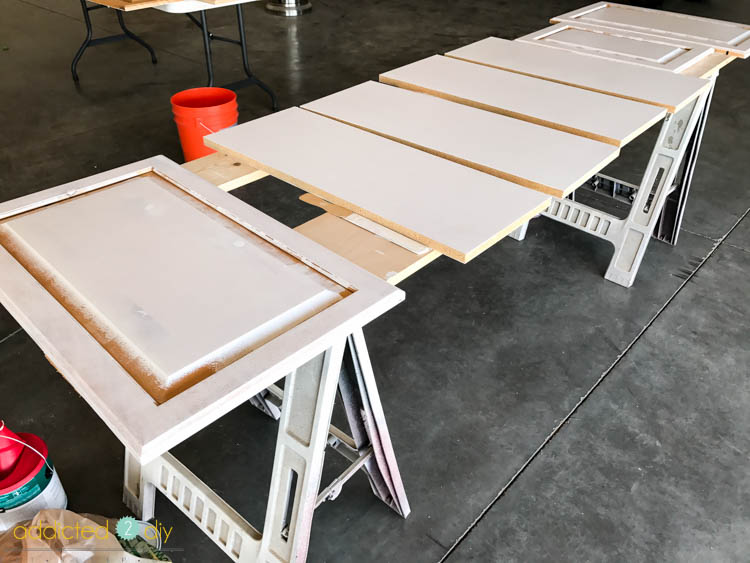
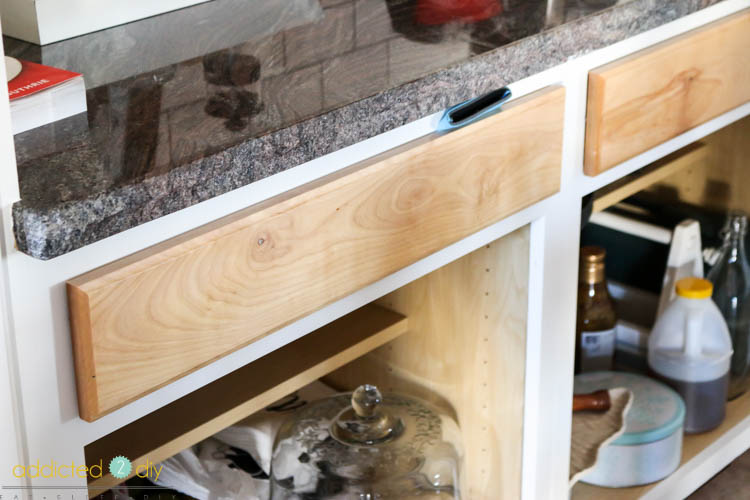
Once the walls were painted, I was able to get started on the cabinet doors. Just like the cabinets themselves, you can’t skip steps if you want a long-lasting paint finish. I cleaned the doors with TSP, wiped them down completely, sanded them with 220 grit sandpaper, wiped them down again, then primed and painted them.
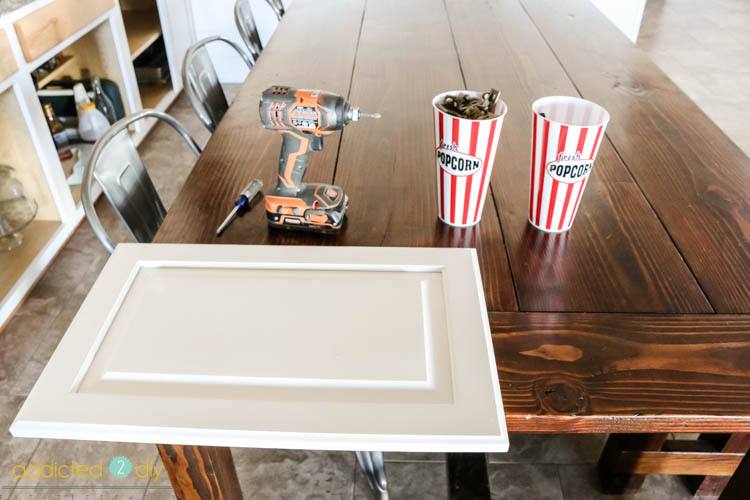
I feel like I got a ton of stuff accomplished this week and I finally feel like I’m in the home stretch and can get this room done! I’ve got a few more things to tackle before the big reveal next week. One of them is to finish installing the cabinet doors and also install the hardware.
I also need to paint the drawer faces and also the toe kick. I keep wishing these would just magically paint themselves, but it hasn’t happened yet, so it’s up to me to finish them. After that, I’ll install the glass fronts in my upper middle cabinets and that should be about it!
I hope you’ll tune in next week for the big reveal. Also please be sure to check out all of the incredibly hard work that my fellow bloggers have put into their ORC transformations. You’ll be amazed at their incredible talent!
Here’s A Weekly Recap:
Week 2 – When Your Kitchen Remodel Comes to a Screeching Halt
Week 5 – A Light At the End of the Tunnel (this week!)
DISCLOSURE: I was provided product and/or compensation for this post. All opinions of products used in this post are 100% my own. Please see my full disclosure statement for more information.


It’s looking so great, Katie! And I have so many cracks I need to fix around the house… thanks for the info on DAP’s new spackle! Now if I could just get over my dislike of ladders!
Thanks, Angela! It was so easy to use. I definitely recommend it!
This is going to be a great makeover! We are also doing our kitchen for the One Room Challenge and painted our cabinets too! Yours are looking great!
Thank you Kristen!
Love the painted cabinets, and just ordered the Homeright paint sprayer to help! Question~ if you number the cabinet doors and paint both sides, do you move the tape with the cabinet number to the opposite side so the door remains numbered?
Yes. I just lightly put the tape on the opposite side once it was dry.