Hey everyone! It’s week #3 of the ORC and things are still moving along at a bit of a turtle pace after the water damage discovery in the kitchen. The good news is that we found out this week that our homeowner’s insurance is going to cover it! Unfortunately, that still leaves us a bit stuck until we hear from them on the amount they’ll cover and what will happen when/if the rest of the granite breaks on the counter when the granite guy comes to repair it. It’s caused me to have to switch gears a little with my ORC goals. Instead of remodeling the kitchen AND dining room this series, I’m just going to focus on the dining room.
If you remember, the dining room had the same lovely backsplash as the kitchen. I can’t even begin to tell you how good it felt to rip that out.
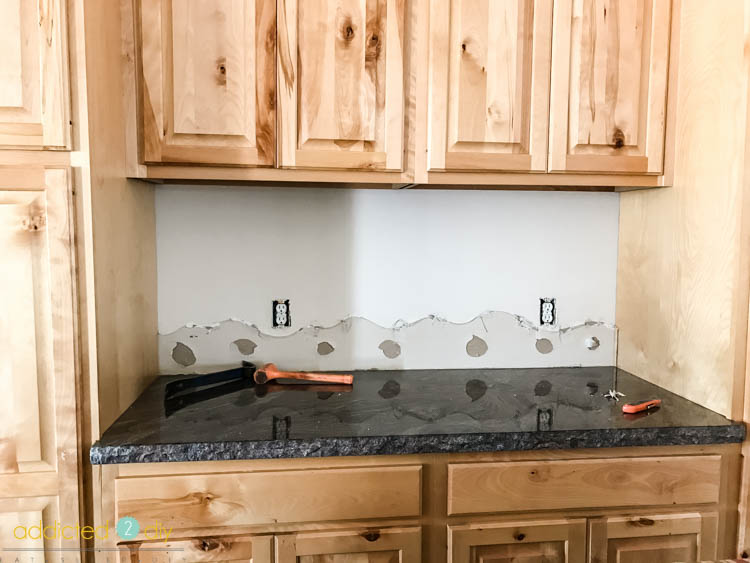
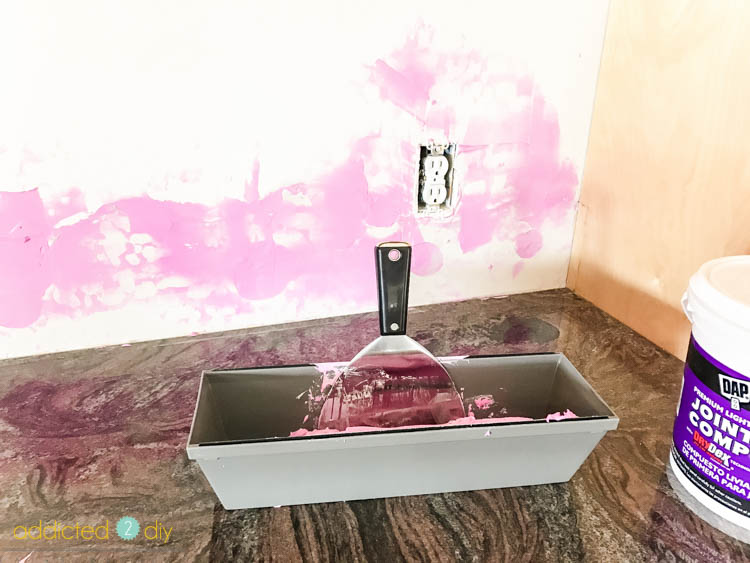
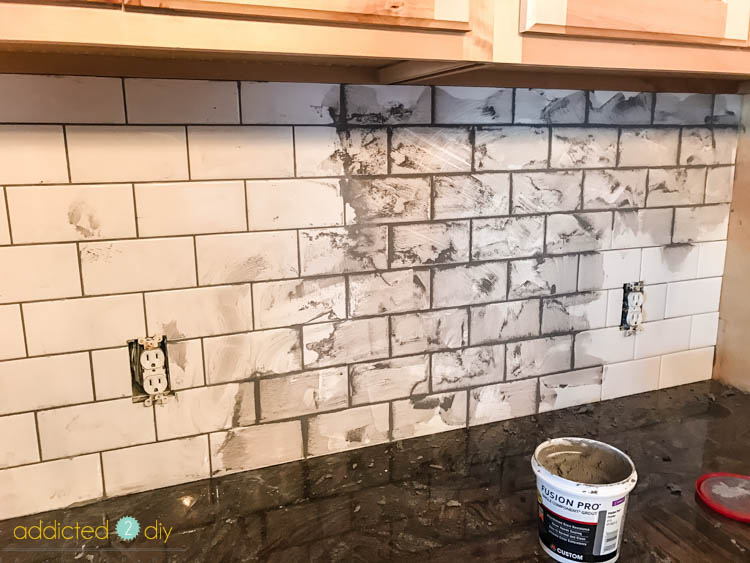
After I removed the backsplash, there were a few holes and divots that needed to be filled to ensure that the subway tiles would sit flat against the wall. I bought some DAP joint compound from Home Depot and used a 6″ putty knife to float the wall and make sure everything was flat and level. The joint compound went on a purplish pink color, but dries white, so I knew when I could get started with tiling.
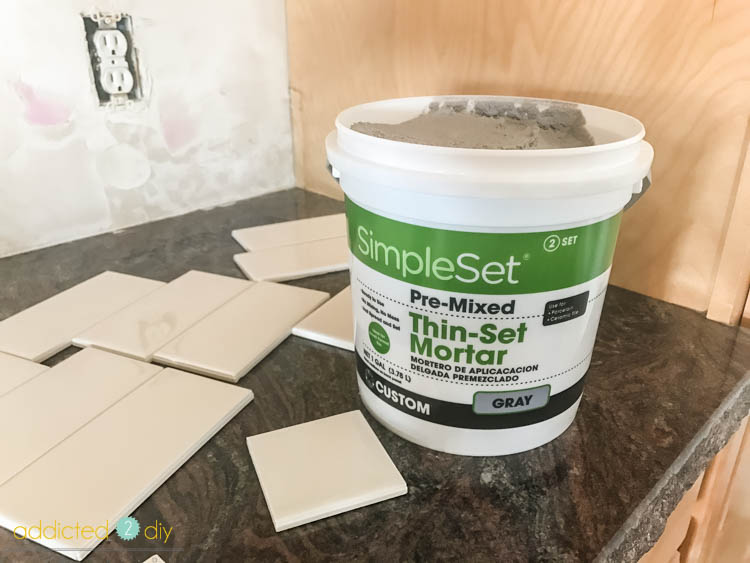
I decided to buy premixed thin-set for the backsplash. Partly Mostly because I was feeling lazy, and also because I was only doing this small area at the moment and knew I’d have a lot of waste if I mixed my own. According to the bucket, it should actually be enough to do the backsplash in the kitchen as well. I bought 4 boxes of subway tiles from Home Depot, which actually was a great deal at $88 to tile the whole kitchen and dining room backsplash.
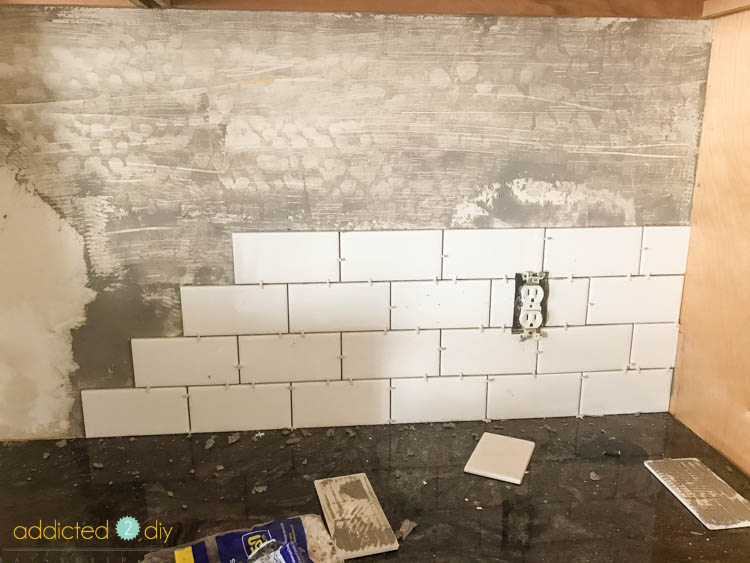
I’ll be honest, my tiling experience is EXTREMELY limited to vinyl tiles and a teeny little mosaic backsplash in my mom’s guest bathroom. This is my first ever “big girl” tiling job, so my anxiety level was a little high when I got started. Especially since NOTHING in our house ever goes according to plan. I got a little overzealous with the thinset and thought I could spread it over the entire area and get the tile up quickly. I realized that was stupid and scraped a lot of it off and worked in small sections. I wasted a few tiles when I was working around the first outlet, but once I realized what I needed to do, it went smoothly. I used 1/16″ spacers for the tiles to get a thinner grout line.
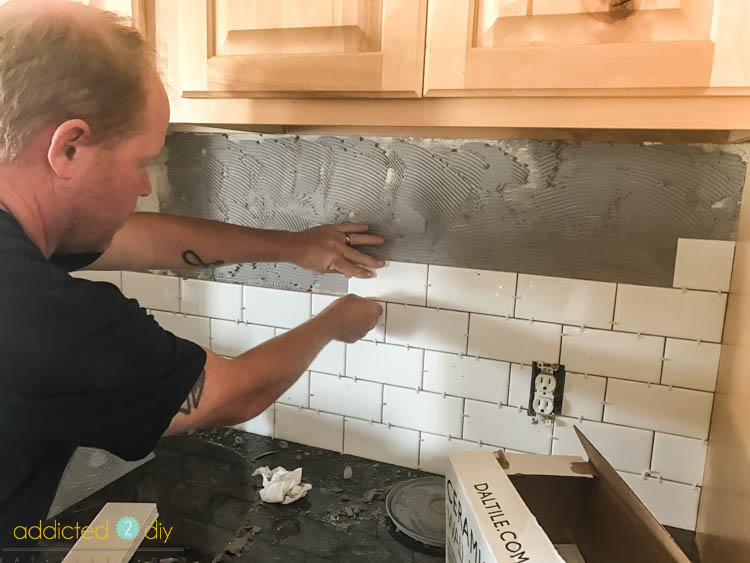
Once I was about halfway done, my husband decided to join in on the fun. It definitely made the rest of the backsplash go a whole lot faster. I could focus on cutting down tiles while he set them.
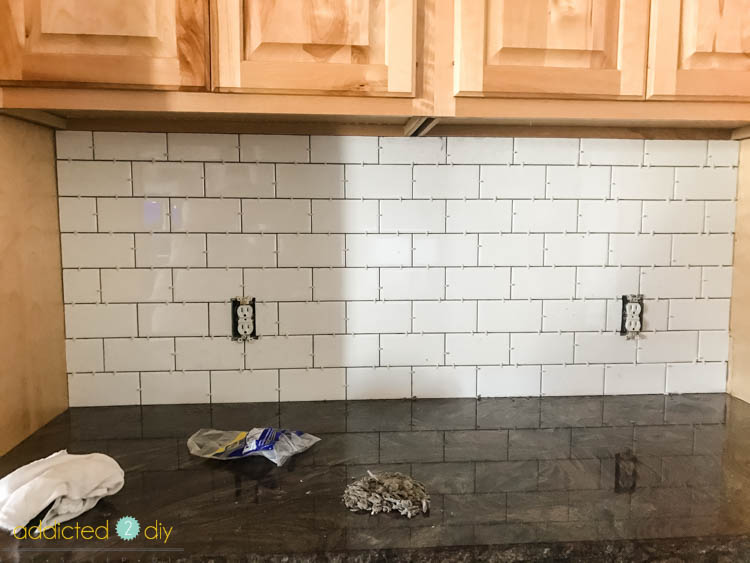
Remember how I said that nothing in our house ever goes according to plan? This might be the first time it ever did! It’s like angels were singing from the heavens when we finished installing the tiles. The rows were perfectly spaced so that we didn’t have to make any weird cuts at the edges. Just alternating whole and half tiles with each row. The only real cuts we had to make were around the outlets and I had to rip down the tiles for the top row. Super easy!
For the grout, I again chose a premixed grout in Pewter. The Fusion Pro brand was a lot more expensive than other brands, but it has the sealant already premixed in, so we don’t have to seal the grout later.
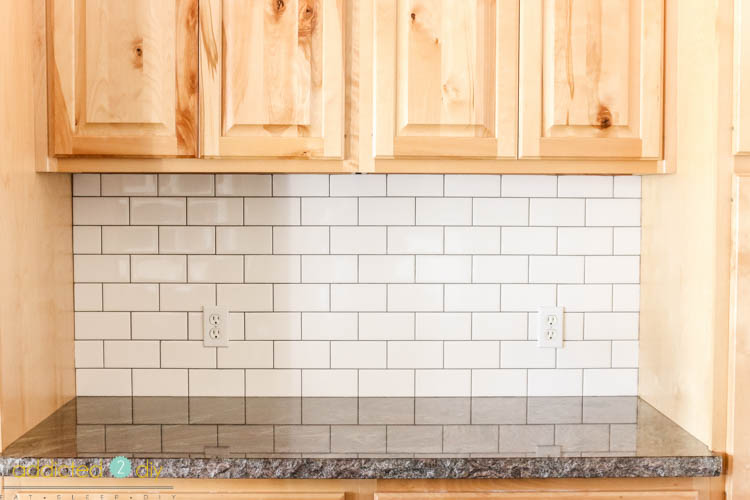
Finally, some forward progress in this remodel! The subway tile makes my heart so happy and it has such a bright, clean look! I seriously can’t wait to install it on the rest of the kitchen! Next up on my list is the cabinets. I’ll be filling in all of the knots and then painting them. I’m hoping to have that done by next week, so wish me luck!
If you’re just tuning in to my ORC updates, here’s what went on during the first two weeks.
One Room Challenge Week #1 – The Plan
One Room Challenge Week #2 – When Your Kitchen Remodel Comes to A Screeching Halt


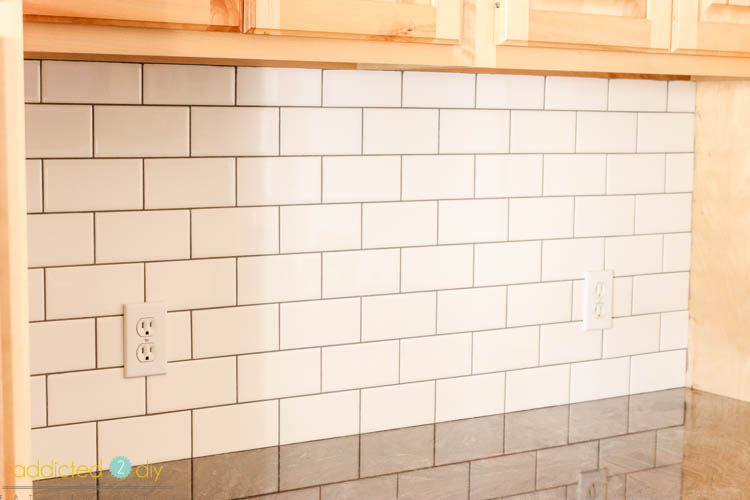
Love seeing that big wall full of gorgeous subway tile…super dreamy! (and a big improvement from the original mountain inspired backsplash). It’s going to be GORGEOUS!
Lol! HUGE improvement! It feels so bright and clean now. I can’t wait to get started on the cabinets!
Love the darker grout – great job!
Thank you! It was so stressful trying to make sure to find the right color of grout. Or I put too much pressure on myself. It could go either way;)
Wow, what a beautiful difference, it really brightened up the space. I have never been brave enough to tile anything, you made it look like a breeze!
Did you rent a tile cutter or do you guys own one? That’s the only thing holding me back on trying this On my backsplash is how do you cut the tiles, I wasn’t sure if there’s a trick or if you have to have the cutter
We have a RYOBI tile saw and really like it. We’ve used it quite a bit on projects.
Hello Katie. Thanks for taking the time to write this article. I have a problem and I hope you can help me. You see, I and my wife decided to renovate our house. One week ago we bought new granite countertops. The company installed them, black granite looks beautiful. But granite is hardly sealed. After renovating we have a low budget so we can’t afford resealing by installing company. I decided to seal granite by myself, I think it isn’t rocket science. Actually all I need is great granite sealer. What would you recommend? Many web resources say that Tuff Duck or StoneTech are trusted brands. https://graniteprotect.com/ was the most helpful. Hope for your help.