Learn how to modify a steel router table base to include storage and organization for all of your router tools and router accessories using this easy to follow tutorial and accompanying YouTube video.
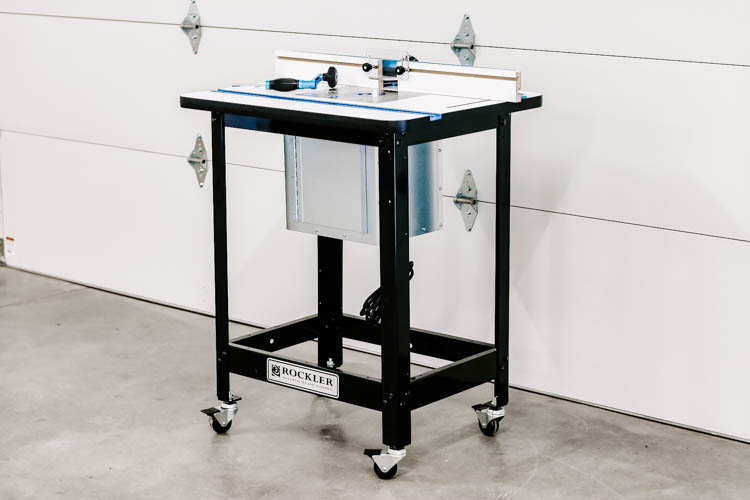
Every year, I set goals for myself to learn new skills or work to hone the skills I’ve already learned. There’s always ways to improve or learn something new. This year, I wanted to step up my skills with a router, but I knew that would take a bigger, better router with a more accurate lift and a larger table. That being said, I didn’t want the table to only serve one purpose. I’m partnering with Rockler Woodworking and Hardware today to show you how I took their steel router table base and modified it to include tons of storage for all of my router tools and accessories.
Watch The YouTube Video
I’ve created a YouTube video tutorial that shows you just how I completed this modification. For those of you who would prefer a written tutorial, I’ve included that below! In my video description, I’ve also linked to all of the tools and products I’ve used, so check that out for reference!
Begin Assembling The Side Panels
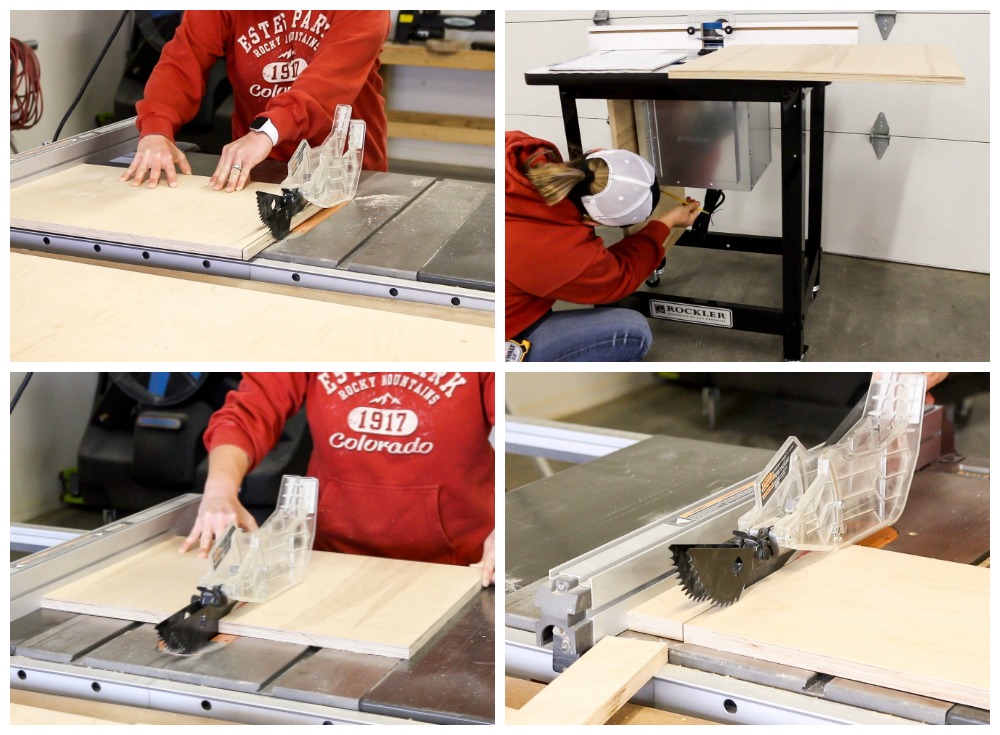
Step 1: Measure and cut one side panel piece to size. These were cut at 17 5/8” wide by 23 1/2” long.
Step 2: Hold the side panel piece up to the dust bucket and mark along the underside of the bucket to determine where to cut the panel.
Step 3: Rip the bottom piece of the panel down to size. This panel was 17 5/8” x 12”
Step 4: From the remaining piece of the side panel, rip down four (4) vertical pieces which will serve as the frame for the door. These were 2 1/2” x 11 1/2”.
Mark And Drill The Holes For The Panels To Attach To
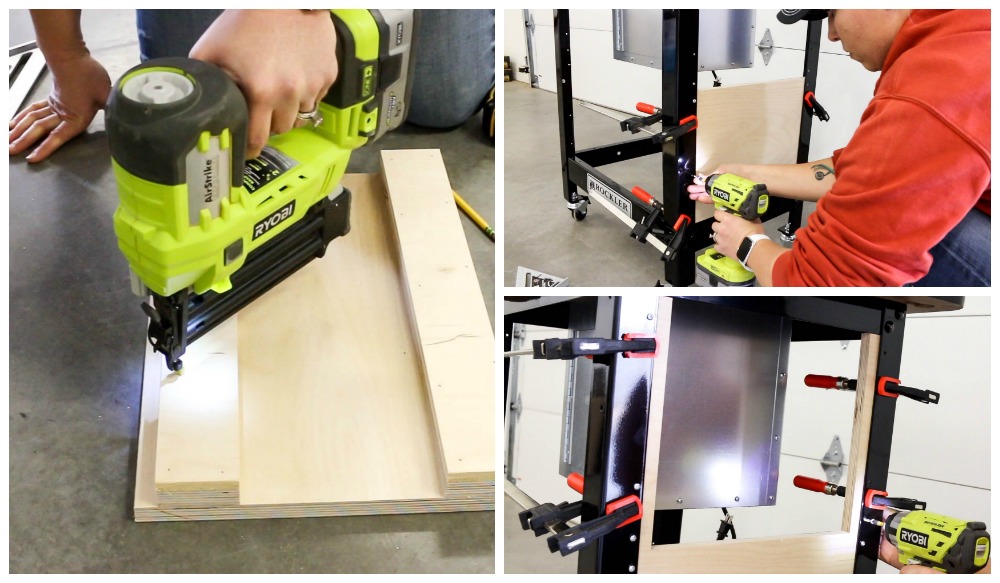
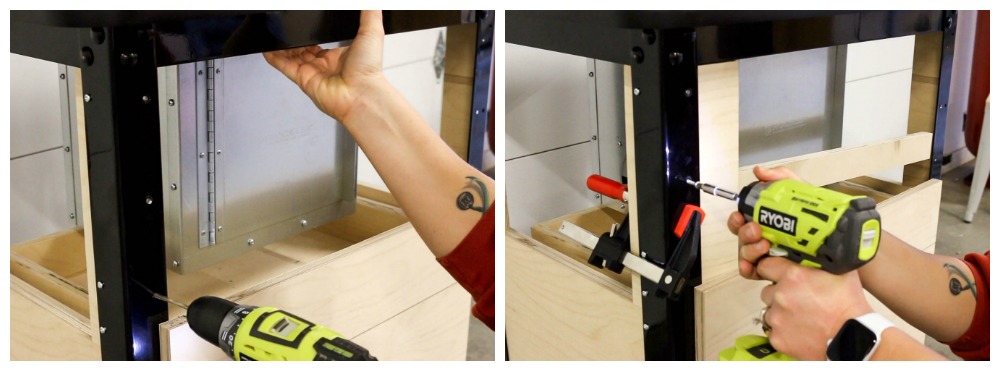
The legs of the table base have predrilled holes in them; however you will need more in order to securely fasten the side pieces to the base. Choose a drill bit that is similar in size to the predrilled holes in the table legs and drill where you have marked holes.
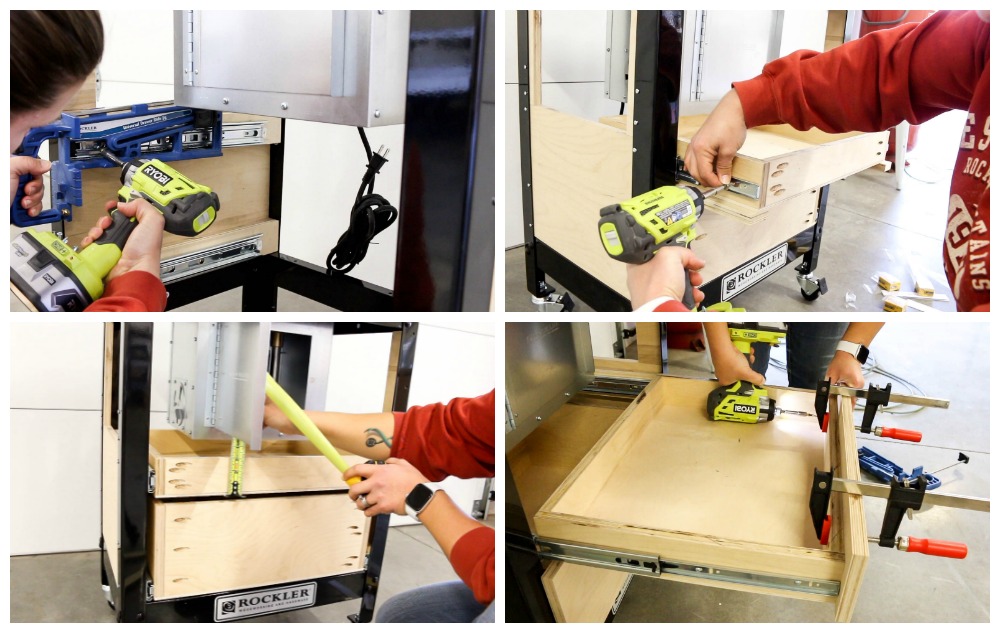
Add Shims For The Drawer Slides and Attach Pieces To Side Of Base
The side panels will need to be shimmed out flush with the inside edge of the legs in order to accommodate the drawer slides. For the bottom drawer, I added 1/2” and 3/4” stacked plywood shims flush with the bottom edge of the side panel. For the top drawer, I measured 3/4″ from the top edge and again stacked the plywood and attached it with glue and brad nails.
Build The Drawers
For the drawers, you will need:
2 – 3/4” plywood cut at 8” x 16”
2 – 3/4” plywood cut at 8” x 19 3/8″
2 – 3/4” plywood cut at 3” x 16”
2 – 3/4” plywood cut at 3” x 19 3/8″
1 – 1/4” plywood cut at 16” x 21″ (measure and cut to size)
Drill 3/4” pocket holes into the front and front and back pieces of the drawer boxes (19 3/8″” pieces). Assemble the drawers with wood glue and 1 1/4” pocket screws.
Attach the drawer bottom with wood glue and 1” brad nails.
Install The Drawers and Drawer Fronts
Install the drawer slides onto the shims, then install the slides to the drawers. The drawer faces will be flush with the bottom of the drawer boxes. To determine the height of the top drawer face, open the door to the dust bucket and measure from the bottom of the drawer to the bottom edge of the dust bucket door. Subtract 1/8” to get the height of the drawer face. For the bottom drawer, measure from the bottom of the drawer to the bottom of the top drawer and subtract 1/8”. Cut the drawers so that there is a 1/2” overlay on each side. Clamp the drawer faces to the drawer boxes and secure with 1 1/4” wood screws.
Install The Vertical Panel Pieces
Mark and drill holes for the front vertical panel pieces. Attach to the front legs with 3/4” wood screws.
Install the Door Hinges and Hardware
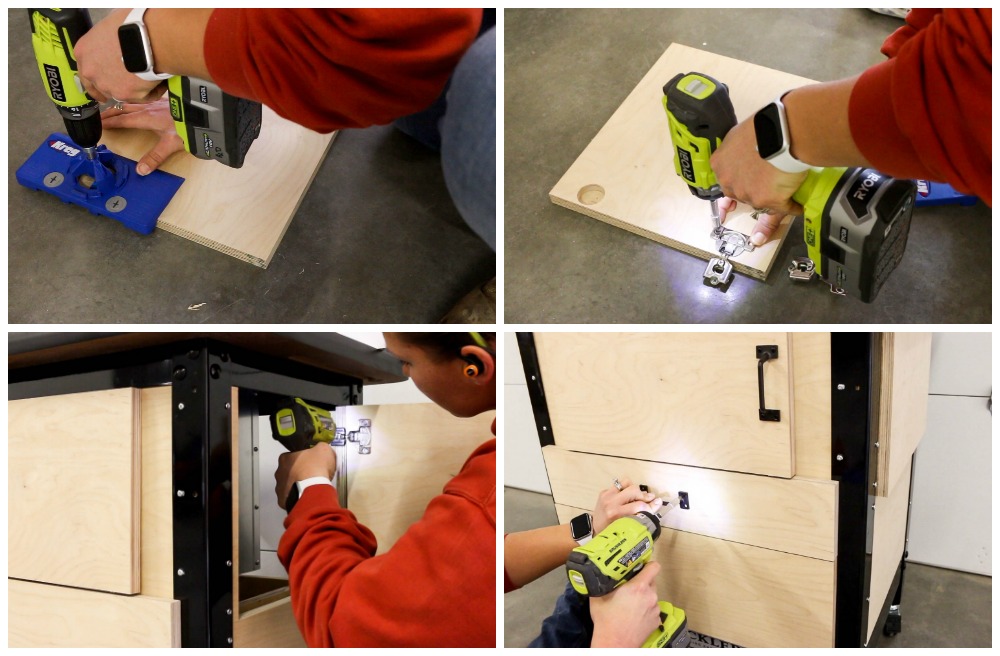
You will need to cut two doors at 13 1/2″ x 11 3/4″ and one door at 17 3/4″ x 10″. Pay attention to the wood grain to make sure your doors are going in the same direction as the rest of the plywood.
I had leftover 1/4” overlay hinges from when I built my laundry room cabinets, so I used those for these doors. Once the hinges and doors were installed, I installed the cabinet pulls. I only installed them on the front door and drawers. I felt like it had a cleaner look to leave them off the side doors.
Install The Switch, Drawer Organizer, and Running Cord Through Side Of Table
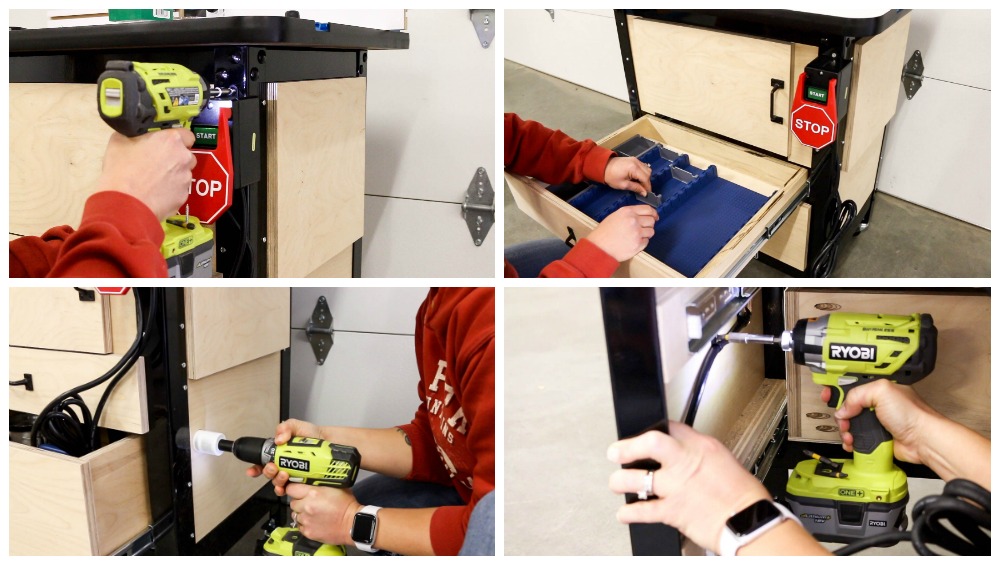
If desired, install the power tool switch to the front of the router table. The included screws cannot be used due to the plywood behind the legs, so this can be installed using 1″ wood screws.
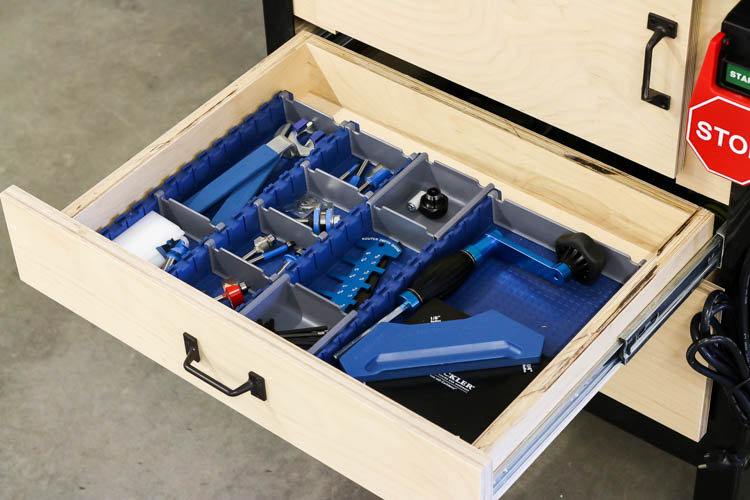
Install the Lock-Align drawer organizer to best suit your needs. I used a starter kit as well as a wide mat kit.
Drill a 1 1/2″ hole in the side of the router table (between the drawer slides) to feed the power cord for the switch. Use cable clamps to secure the cord to the inside panel of the router table to keep it out of the way of the drawers.
Install Organizers and Holders In Doors
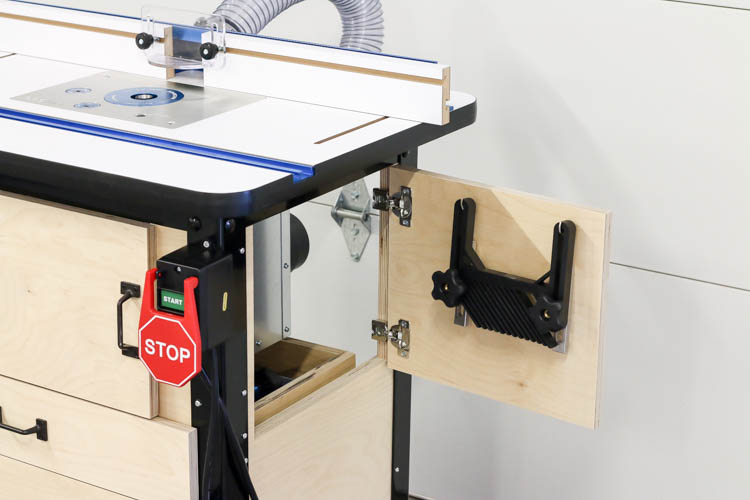
If desired, install hooks and organizers on the doors of the router table for additional storage. I created a holder for my additional insert rings using scrap plywood and poplar cutoffs from a previous project. You’ll cut two plywood pieces at 1 1/4″ x 5″ long and one plywood piece at 1 1/4 x 4″ long. Drill countersunk holes into the edges of the plywood and attach with 2″ wood screws. Nail the front pieces to the plywood with 3/4″ brad nails. A 5 gallon paint stick cut down to 5″ pieces would work perfectly for this.
Screw in hooks, if desired, to hang wrenches, and a featherboard.
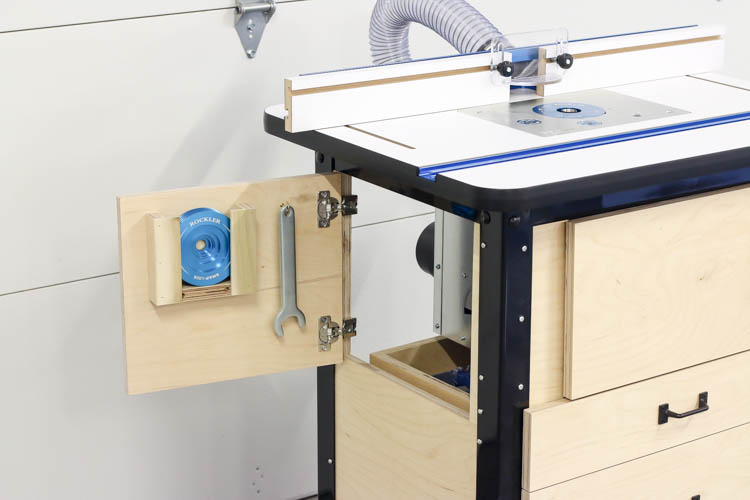
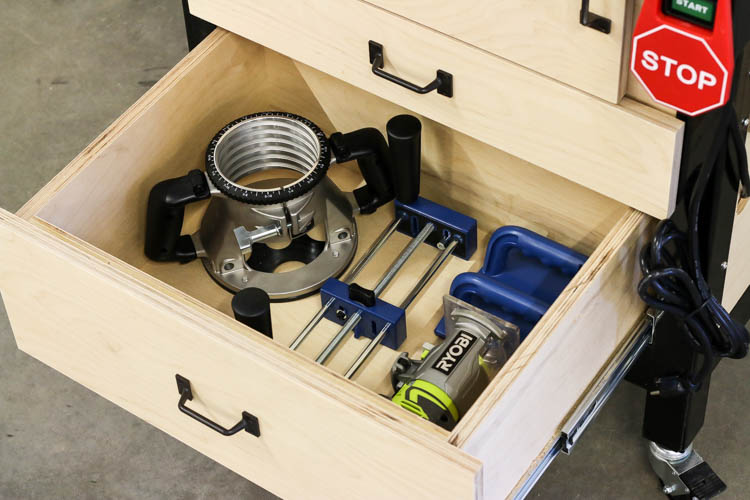
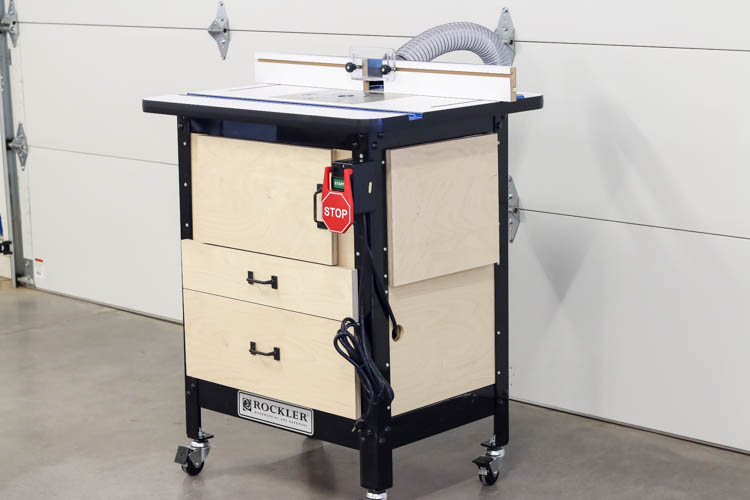
The finished table has tons of storage for all of my tools and accessories. This new router table and lift from Rockler is going to be amazing. I’m excited to get to work using it and stepping my router game.
DISCLOSURE: I was provided product and/or compensation for this post. All opinions and ideas are 100% my own.




Hi where would I find the video you did on the Christmas houses you cut out on your x carve Jeff Peters
Hi Jeff,
Here is the link to the YouTube video. https://youtu.be/eLdH0UWiDss