Happy Tuesday! I hope you all had a wonderful, long weekend! Today I’m sharing something pretty exciting with you all. I’m remodeling our cluttered, dysfunctional office/craft room into a gorgeous new space! For the past few years, I have wanted to give this room an overhaul. The problem was that I struggled with exactly how to do that and how I wanted it to look. I need this space to not only be functional for me, but also for my husband. This room was originally my craft room, but when I turned our den into a homework space for our boys, I told my husband that we should share my craft room and turn it into an office. It worked well for a little while, but we eventually were fighting for space at the table we used as a desk and my supply hoard of craft supplies was starting to get in the way. Something needed to change.
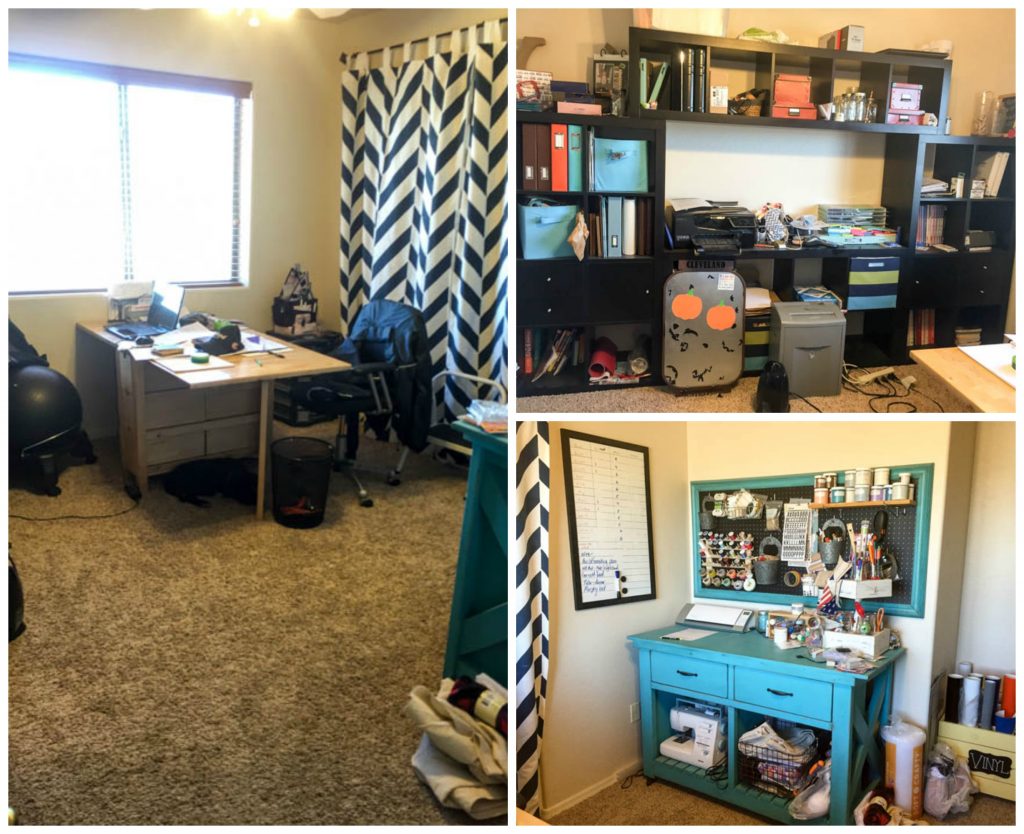
To give you an idea, here’s a “before” look at the office/craft room. I am really, really embarrassed to even let you guys see the state of this room, but you all deserve full disclosure. It was a hot mess! Needless to say, I have to really go through my crap craft supplies and figure out what I can get rid of and what can stay. I like to think it’s Pinterest’s fault. That and a lack of direction on where I wanted to take this room.
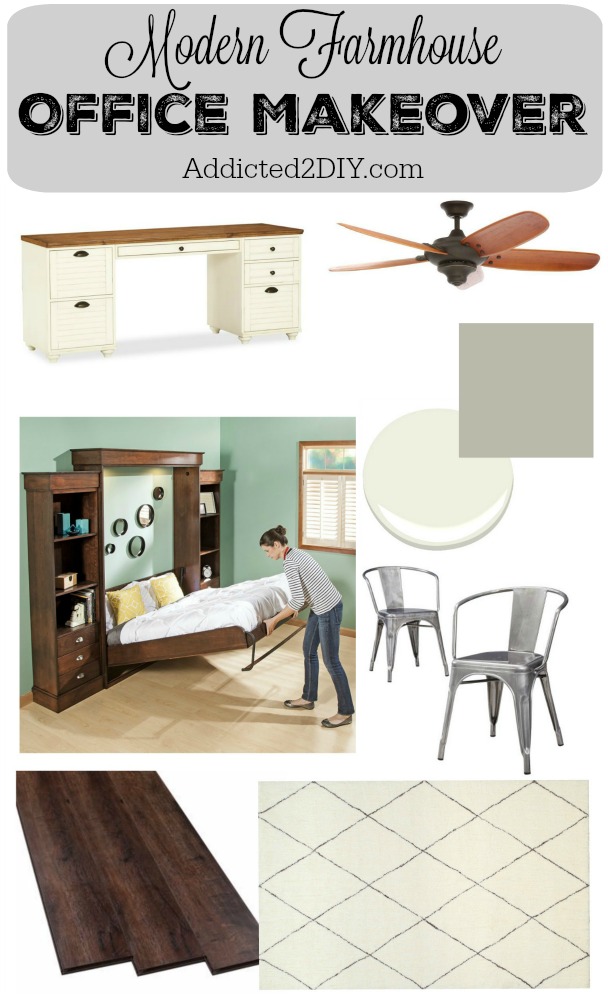
I’m sure I’m not alone in my love for Fixer-Upper and Joanna Gaines’ modern farmhouse decorating style. I decided that I wanted to turn this room into a gorgeous modern farmhouse office. I’ve already started working on this room, but I want to share with you guys the entire plan for what this room will be like when it is finished.
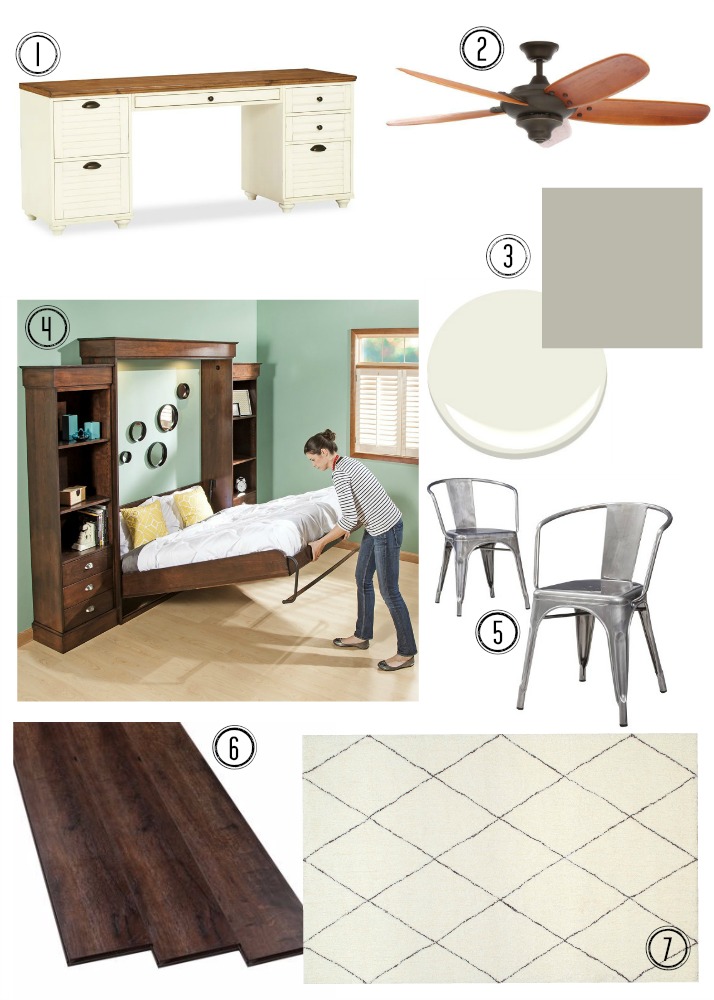
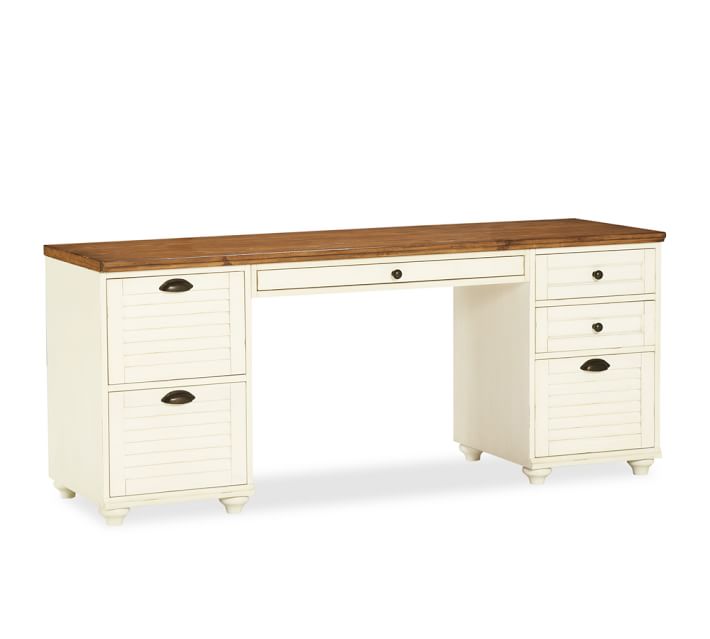
1. For the furniture, I’m choosing a gorgeous two-toned look with a mixture of white and stained wood. This Pottery Barn desk serves as great inspiration for the look I want to achieve.
2. I’ll be updating the ceiling fan from the ugly white and brass-tastic fixture that is original to our 16 year old house. I have been in love with this gorgeous fan from Home Depot for ages and have been planning to update the ceiling fans in our great room and den to this same style for quite some time. Why we haven’t yet is still beyond me. I think it’s project ADD.
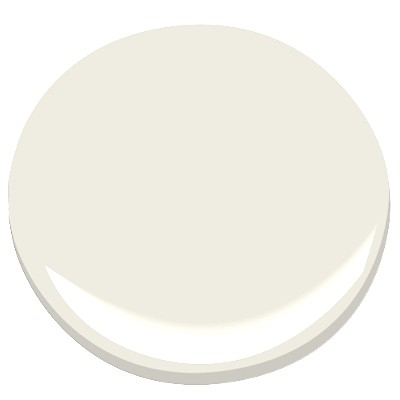
3. Paint! The walls are taking on the same color that the rest of our house is slowly being painted and being painted in Mindful Grey. It’s a Sherwin Williams color, but I had it color matched at Home Depot with Glidden paint. The trim and furniture will be painted in Swiss Coffee to match the rest of the house.
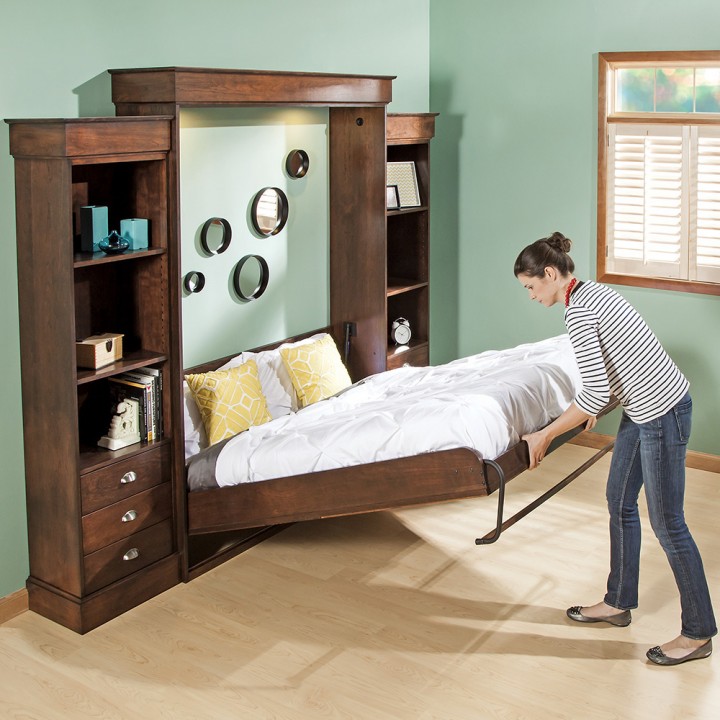
4. I’m taking on probably the biggest furniture project I’ve ever done and building a GIGANTIC Murphy bed unit! Up until now, any time we’ve had guests stay with us, they stay in our ‘guest house’ aka our trailer. While it works amazingly well when we have guests stay for an extended amount of time, prepping it for an overnight or weekend stay is really a hassle. My husband and I both agreed that adding a Murphy bed to this room would be perfect for our short-term guests. The plans and hardware for this Murphy bed are available from Rockler, and I’ll be modifying them a bit to also include a desk. I’ll be sharing all of those details in the coming weeks!
5. Whether my husband likes it or not, I’m getting rid of his godawful balance ball chair and our other rolling desk chair and replacing them with these Carlisle chairs from Target. I love the look of these chairs and they’ll add the perfect farmhouse charm to the room.
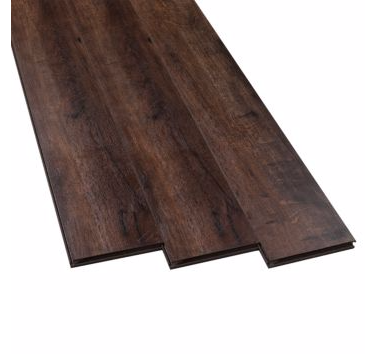
6. Flooring. When we bought our house, we replaced all of the flooring before we moved in. We tiled the majority of the house, but carpeted the bedrooms. We knew we didn’t want to keep the carpet forever, so we added a square tile mosaic transition to each of the doorways in case we ever decided to change the flooring in the bedrooms. With building something as large as the Murphy bed, we decided that now would be the perfect time to replace the flooring. We chose a wood laminate that has a gorgeous, rustic feel to it.
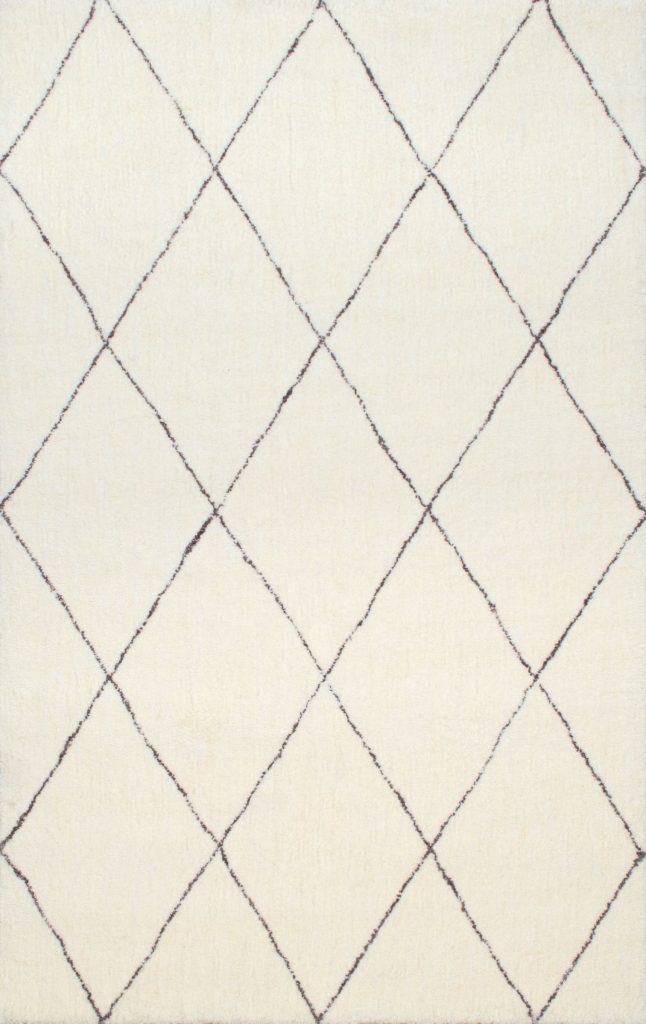
7. Not only will I be building a Murphy bed/desk unit, but I’m also replacing my original craft cart with a new work table. To soften the room a bit, I thought that a 4’x6′ rug in front of this table will be a great addition. I love the look of this one. Hopefully it will be on sale again when I’m ready to buy it!
I can’t even begin to explain how excited I am to be taking on this project. It’s definitely a tad overwhelming, but I know that the end result will be so much better than what we were working with before. I’ve got so many thoughts running through my head of how to decorate and accessorize and I’ll be sharing some of those ideas with you as the room progresses. Be sure to check back regularly, because I’ll be documenting the entire process and sharing tips and tutorials along the way!
DISCLOSURE: This post contains some affiliate links for your convenience. If you purchase an item from one of these links, I will receive a small commission at no additional cost to you. Please see my disclosure statement for more information.


Leave a Reply