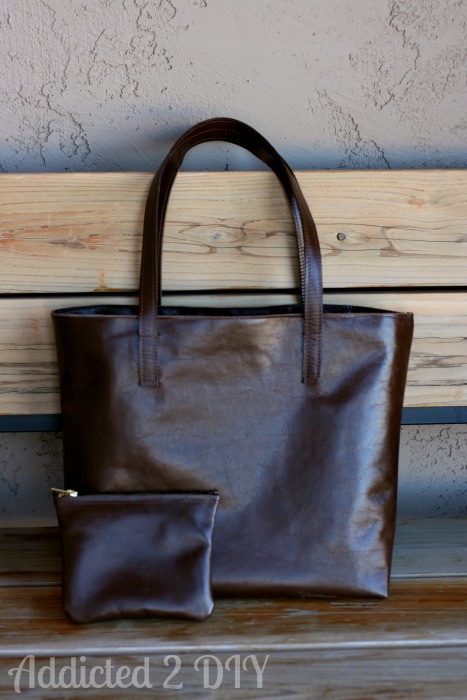
 Yesterday I shared with you my new leather tote and this awesome giveaway! Now I’m going to show you how I made the tote and change purse pictured above. While I am giving you a tutorial for how I made this bag, I still highly recommend Don Morin’s Making Leather Bags class. He shares some very valuable information and details in his class that helped me tremendously. This tutorial is a bit lengthy, but it is sort of a necessary evil in order to give you all of the steps for this tote:)
Here are the supplies you’ll need:
Approx 6 square feet of leather in the color of your choice.
Upholstery thread in a complimentary color.
Rotary cutter and cutting mat
Large and small rulers
1/4″ double sided mounting tape
Teflon sewing machine foot
1 yard of fabric for liner
1 yard of fusible interfacing
7″ zipper (or longer if you want a bigger coin purse)
Leather sewing machine needles (Wedge 16/100)
Glover’s needle
Make sure your sewing machine tension is set lower than normal. Mine goes up to 6 and I set my tension to 3 for this project. I also increased my stitch length.
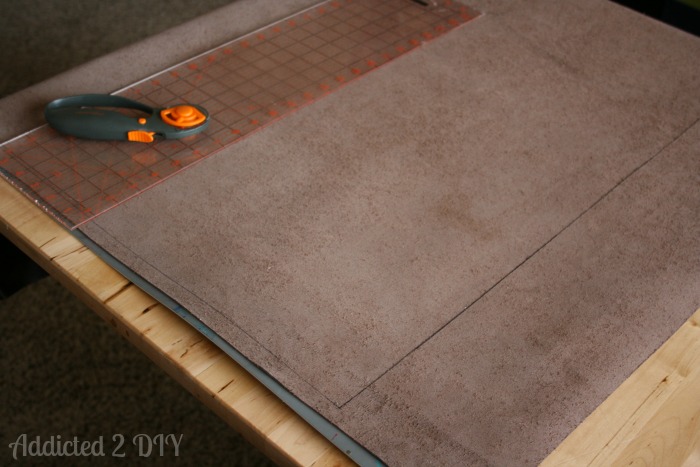
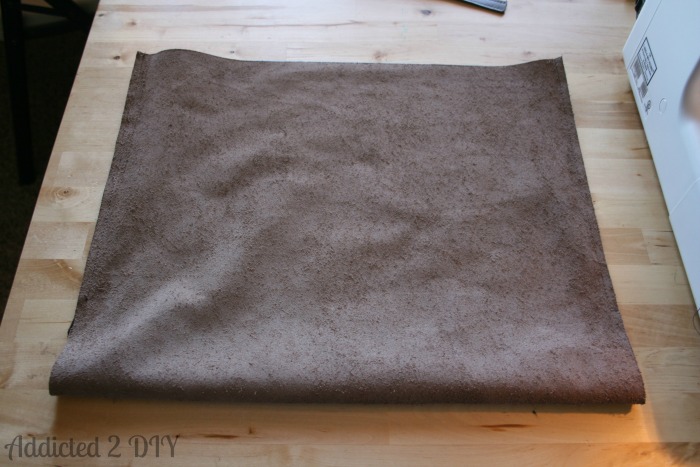
I started by laying my leather out on a flat surface and examining it for any imperfections. Remember that this is real cow’s hide, which means that there will be some nicks, scarring, brands, etc. on the hide. The piece I used had a few but they were mostly towards the edges, which gave me a good amount of material to work with.
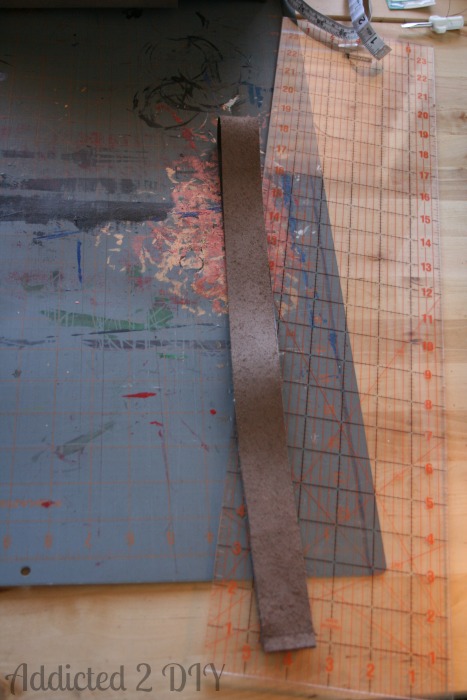
I used a pen to mark where I wanted to cut the leather and made my cuts using a rotary cutter and a long quilter’s ruler as my guide. Here are the leather cuts you will need to make for the tote:
1 piece at 30″w x 18″l (main body of tote)
4 pieces at 3/4″w x 30″l (straps)
1 piece at 1 1/4″w x 35″l (top section of liner)
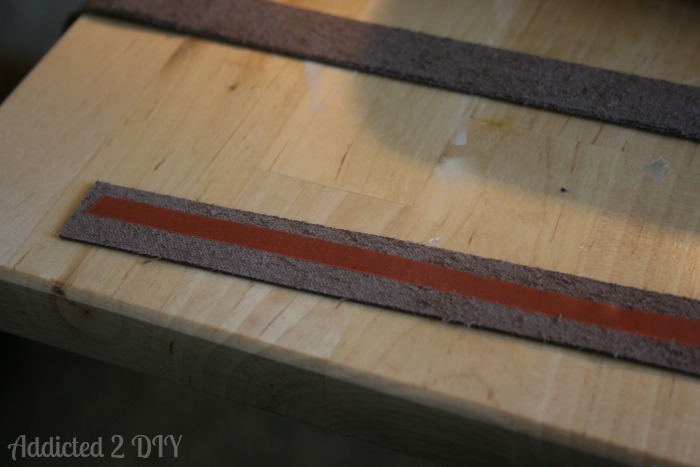
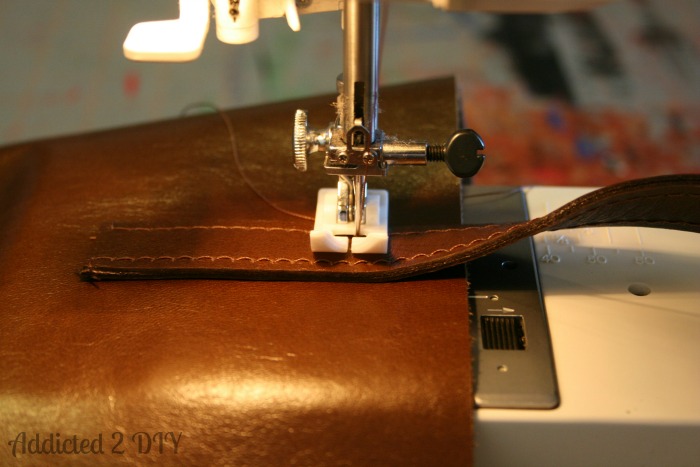
I started with putting together the straps. Since pins and leather aren’t the best of friends, I used double-sided mounting tape to hold my pieces together. Place the tape in the middle of the strap to save your needle from getting gummed up with glue. I lined up the other piece of the strap and then sewed them together along each side, keeping the stitch close to the edge.
 After I sewed my straps together, I went to work on the body of the tote. I folded the cut piece in half with the right sides together with a strip of mounting tape securing them. I did not sew my side seams all of the way down because the corners will be sewn together next. Make sure you only place the mounting tape where you will be sewing. You don’t want it going the whole way down the sides. I marked where I wanted my seam to stop, which was 11 1/2″ from what will be the top of the bag.
 Using a 3/8″ seam allowance, I stitched both sides together, stopping at the point I had marked.
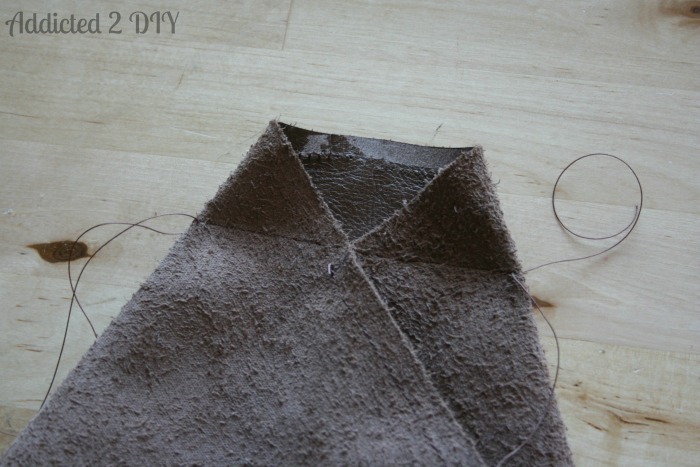 This part is a bit tricky to explain, but you will open up the ends of your bag to form this semi triangular shape at the bottom of your bag. You’ll want to sew a seam across the bag crossing over where your side seams end. In this case, the seam was set in about 2″. You can see where I accidentally placed some mounting tape and peeled it off. Tie off each end of your stitches and trim away the excess leather, leaving about a 3/8″ seam allowance. Do this same step to the other side of the bag.
 Once both corners are sewn, turn your bag right side out and attach the straps. My straps weren’t completely even on the ends, so I cut each end to square them up. I attached them to the outside of the tote using small pieces of the mounting tape. The straps are not attached to the very top of the tote, so I made sure to only place my tape in between where I was stitching the straps on. I placed the straps 5″ in from each side of the bag and the ends were 3″ from the top.
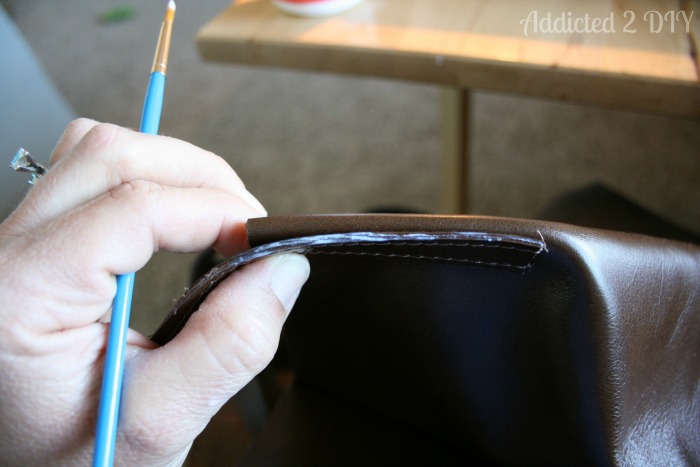 If you want to seal the raw edges of the leather, there are products you can purchase; however, I read online that Mod Podge is a great alternative. I would recommend brushing it onto the edges of your straps prior to sticking them onto the bag, which I forgot to do for this strap.
 I placed my stitches perpendicular to the side stitches on the straps. I started about 1″ from the top of the bag for my first stitch and stopped when my needle met the side stitches. I left a long enough tail of thread when I cut it loose from the machine and took my glover’s needle and threaded it with the tail of thread on the outside of the bag. I then ran it through the leather right on the edge of the strap and tied it off with the tail of thread on the inside of the bag. I did this at my starting point as well. My next stitch was at the very bottom of the strap, approx 1/8″ from the bottom edge.
 Once the straps were sewn on, I went to work on the liner. I didn’t want my liner coming to the top of my bag. I wasn’t sure I would like the look of having such a contrasting liner peeking out from just inside the top of the bag. This is why I cut the 1 1/4″ strap of leather. I folded it in half and sewed a 3/8″ seam on the end.
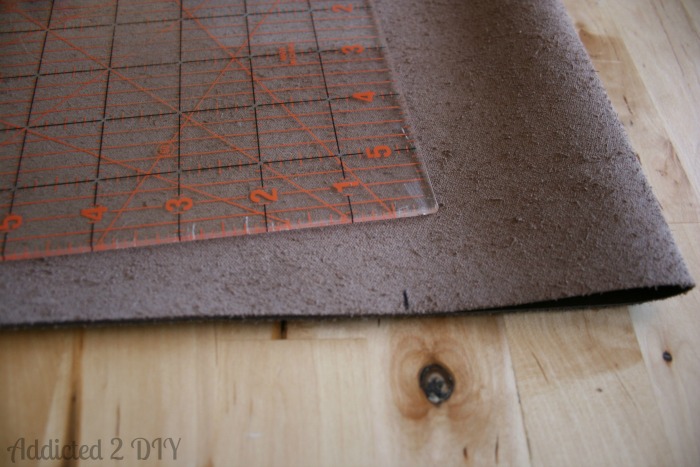
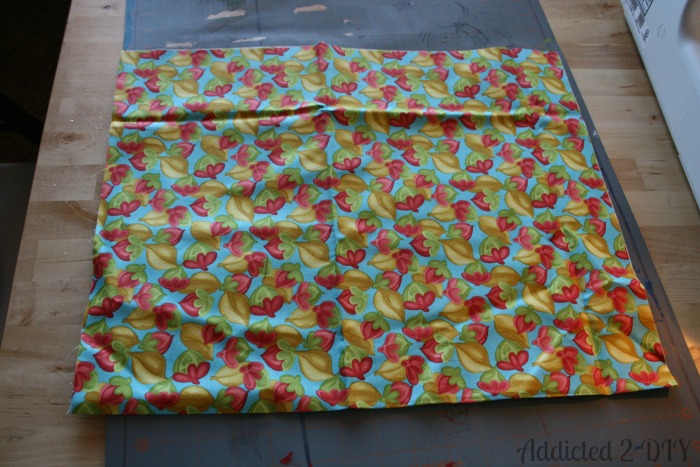 I had some extra fabric that I knew would be perfect for this liner, so I cut that the same size as the body of the bag (30″x18″).
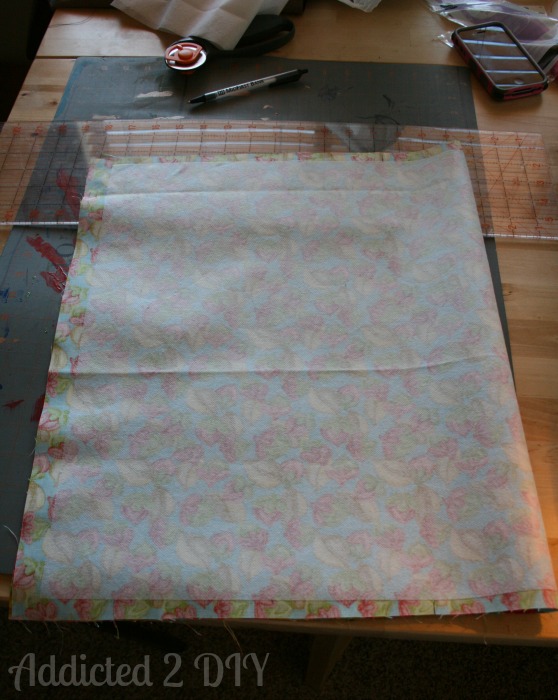 I cut my interfacing slightly smaller than the liner, mostly to have enough left over for the coin purse I wanted to make.
I sewed the liner together the exact same way I sewed the main body of the bag together. Since I was back to working with fabric, I switched my thread out to traditional all-purpose thread in a coordinating color and shortened my stitch length back to the recommended fabric setting. I did not sew any cell phone pockets or anything like that into the liner, because I never use them in my other purse.
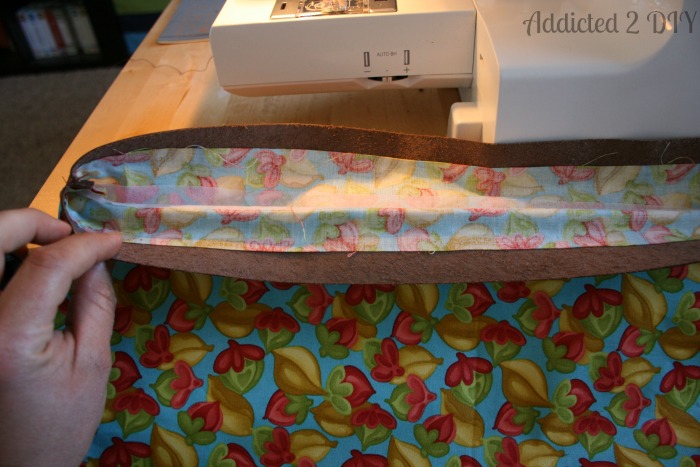 Once the liner was sewn together, I turned it right side out and attached it to the top insert piece with the mounting tape. I once again set my machine up to stitch leather and sewed the fabric liner to the leather piece along the bottom edge of the leather.
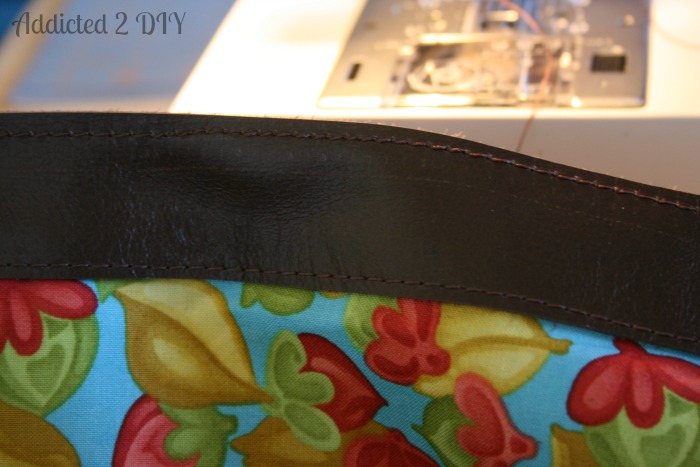 I then placed the liner into the bag and lined up the top pieces of leather so that they were flush and then attached them with the mounting tape. Placing the bag in the machine with the outside facing up, I stitched another seam along the top of the bag to attach the liner. When you reach a point where the side seams of the bag and the liner insert meet, you will want to manually turn the needle and pull the bag through to complete those stitches without breaking your needle or having it get stuck.
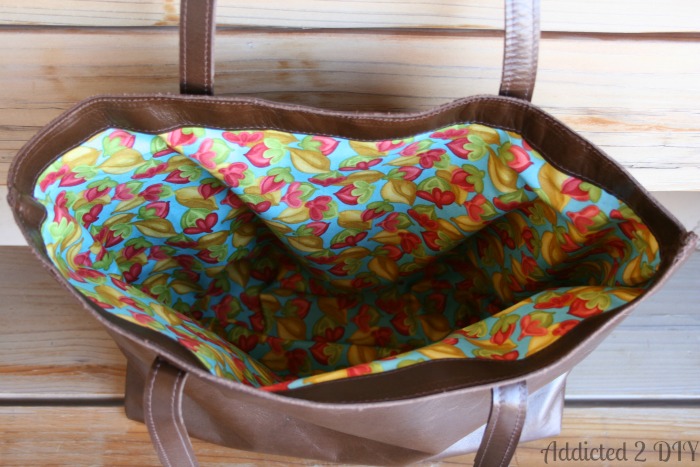
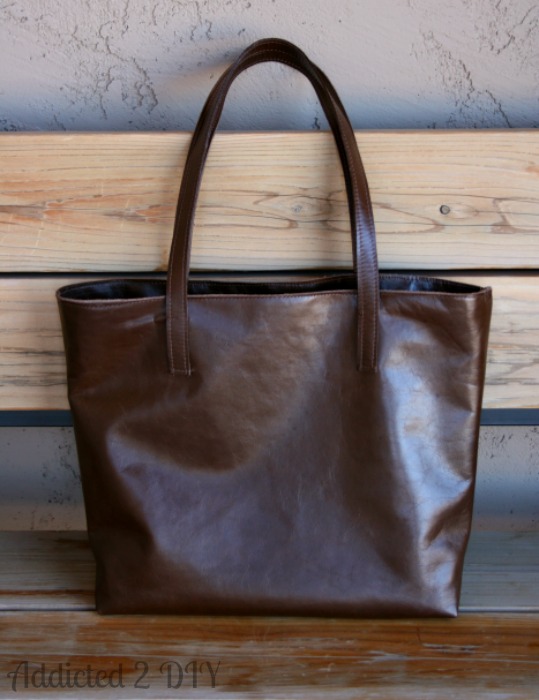
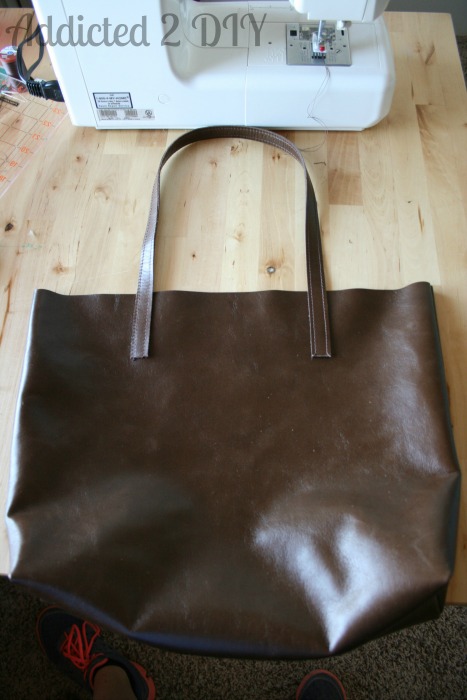
Here is the completed bag and liner! It really is a simple bag to make, which is why I chose to make it. I wanted to be able to share a simple tutorial with you all. Now we’ll move on to the coin purse!
 For the coin purse, I actually got a little overzealous and didn’t take as many pictures of the process as I thought I had. I will do the best I can to walk you through the process.
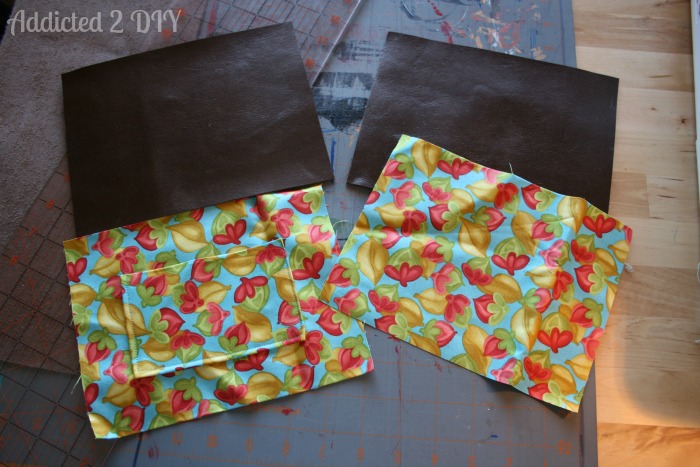
I started by cutting two pieces each of the leather and fabric at 8″ x 5″. I wanted to add a pocket to the liner of the coin purse because I wanted to have a place to stick my license, debit card, etc. For that I cut a folded piece of fabric into a rectangle measuring about 3 1/2″ x 5″. With the folded edge as the top of the pocket, I centered it onto one piece of the liner and then tucked in the edges about 1/2″ on each side and pinned them. I stitched the pocket onto the liner, trying to keep close to the edge of the pocket. Make sure to only sew three sides, or you pocket will cease to exist;)
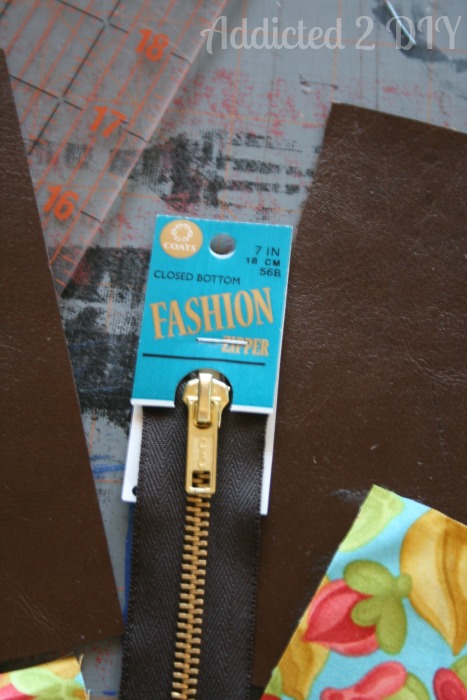 I purchased a 7″ fashion zipper from JoAnn’s for the zippered closure.
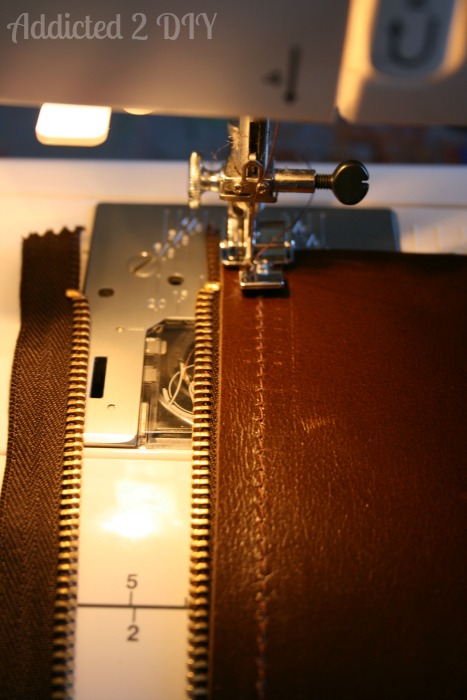 Once again, I secured the fabric liners to the leather pieces with the mounting tape. I then used a 3/8″ seam allowance and stitched the top of the liner to the top of the leather. I then switched to my zipper foot and lined my zipper up. It will not go to each end of the leather pieces, but that is okay because when the three sides of the coin purse are sewn together, the ends of the zipper will reach to the side seams. I lined the edge of my zipper foot up next to the edge of the zipper and sewed a straight stitch across. I repeated the same step for the other side. Once the zipper was sew together, I flipped the pieces so that the right sides of the leather were together. I secured the edges with the mounting tape and sewed the remaining three sides together. Obviously, this wasn’t a drop in liner like my tote was. I wasn’t quite thinking everything through when I realized I had enough leather to make a coin purse. However, the seams on the inside actually aren’t a distraction because the coin purse is so small. After I finished sewing the three edges together, I trimmed them up a little and turned the coin purse right side out.
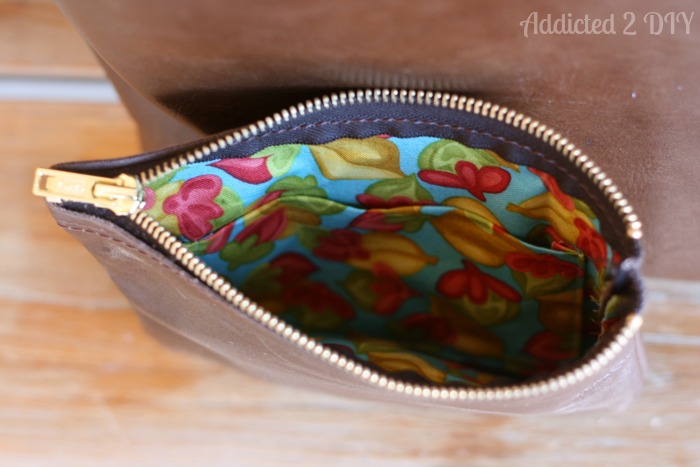 Here is an inside look at the finished coin purse. It’s the perfect size to hold some cash and credit cards.
I hope that this tutorial was helpful and that you will give leather a try on your next sewing project. I’ll admit that I was a bit nervous to work on a leather sewing project, but after watching Don’s class, it definitely helped me to get over that fear. If you have any questions about any of the steps in making this tote, please feel free to ask! And don’t forget to enter the giveaway going on right now for a Leather Hide Store gift card!
~Katie
{this post contains affiliate links in which, at no additional cost to you, I will earn a commission off of any products purchased from some of the links in this post}
Linking up over at these parties:
Upcycled Treasures, Just a Girl and Her Blog, Play. Party. Pin.
Hi! Visiting from The Maker’s Link Party 🙂 LOVE the bag–so simple, but really handsome. Not sure my fears have been conquered yet, but they’ve certainly decreased! Thanks for sharing, Diana
Diana Petrillo recently posted…Think Spring: Aging Garden Ornaments
It’s scary at first, but working with leather wasn’t as hard as I thought it would be. Thanks for stopping by!
What a great tutorial! I’ve been afraid of sewing with leather but I might just have to give this a try . . .
Heidi Kay recently posted…Upcycle Old Hoodies into Pillows!
Thank you and thanks for stopping by!
Thanks for the great tutorial! What are the dimensions of your finished bag? I want to make one to fit my laptop and wonder if I need more leather? This is exactly what I’ve been looking for!
Thank you! It is 12″ tall and 18″ wide. Depending the type of laptop you have, it would fit, but if it is a large one, I would probably go wider.
I’m curious how much you spent on the leather? I’m wondering if its cheaper to just buy a nice leather bag.
The leather for this was actually really inexpensive. It was $2.95 per square foot and this purse only took about 6 sq ft.
if you really are concerned about the cost of leather – then go to thrift stores and buy old coats and repurpose the leather. With my first bag I did. I practiced on upholstery fabric first. When I was ready I went and go a couple of black long leather coats $5.00 each from the thrift store, cut off the leather I could use and made a very nice bag.
Now I shop for leather and to make a very nice tote is not that expensive plus you have a very unique designed bag – just for you. There is no price that I can put on that. That is the inspiration that continues to drive the creative me.
That’s a really great idea! I never would have thought of that:)
I just have a standard Kenmore sewing machine. Nothing fancy:)
Where did you purchase the leather from?
Its from leatherhidestore.com
IN addition to the long leather coats—particularly inexpensive on half price day at the Sal Army—look on the skirt and pants rack–sometimes these turn up different leather items and a skirt is almost a bag already depending on length! And often the leather from a skirt is more “interesting” than a solid piece from a coat. Shorter jackets can also give you enough to make bags and other projects with and you can often get a great heavy duty zipper out of them too–don’t for get that the pockets can be re-used on the outside of the bag; sleeves can become cozys or even a new bag or wallet on their own—
I have found skirts in suede and textured leather and in many colors—pants will need to (most likely_ be dis-assembled on the seams–they usually have two sections top and bottom–and then can be laid out flat for pattern making. If they are made like jeans they will have the two rear outer pockets–great for a bag! ALso the waist belt area can be re-used as the top of a bag—
Foir the edges–if the edges are a different color and you want them to look more finished–SHARPIE is your friend! Also good old fashiopned SHOE POLISH in both wax and liquid—they work differently so experiment.
I am seeking enough now to re-do a chair!
Really great tutorial, thanks for making it easy! Your bags are beautiful!
l. love recently posted…Psalm 38 – The Psalms Collection
Thank you:)
im doing the Craftsy class and really enjoying it. However, I’ve had no success finding the 1/4″ mounting tape. Can you help?
I buy mine in the scrapbooking section of the craft stores. I know Michael’s sells it. It’s their Recollections brand.
This is seriously beautiful Katie!! You are so multitalented!! I’m asking bloggers to share their leather projects at the Create With Me monthly party at Love Create Celebrate. I hope you’ll come by and share!
Lindi recently posted…Create with Me #4 – Leather Projects
Thank you, i’ve just ordered Don’s online course from your affiliate link, looks like a good buy.
I will only be using reclaimed leather but hope to be able to make some lovely bags for the family!
That sounds like a great idea, and a wonderful use of the reclaimed leather.
This bag is beautiful. I wonder if it could be embroidered
I’m certain it could. That would look very pretty!