Learn how to create your own custom LED backlit wall art using this step by step tutorial. Use the X-Carve CNC to carve your custom design and inexpensive LED lights to make it shine.
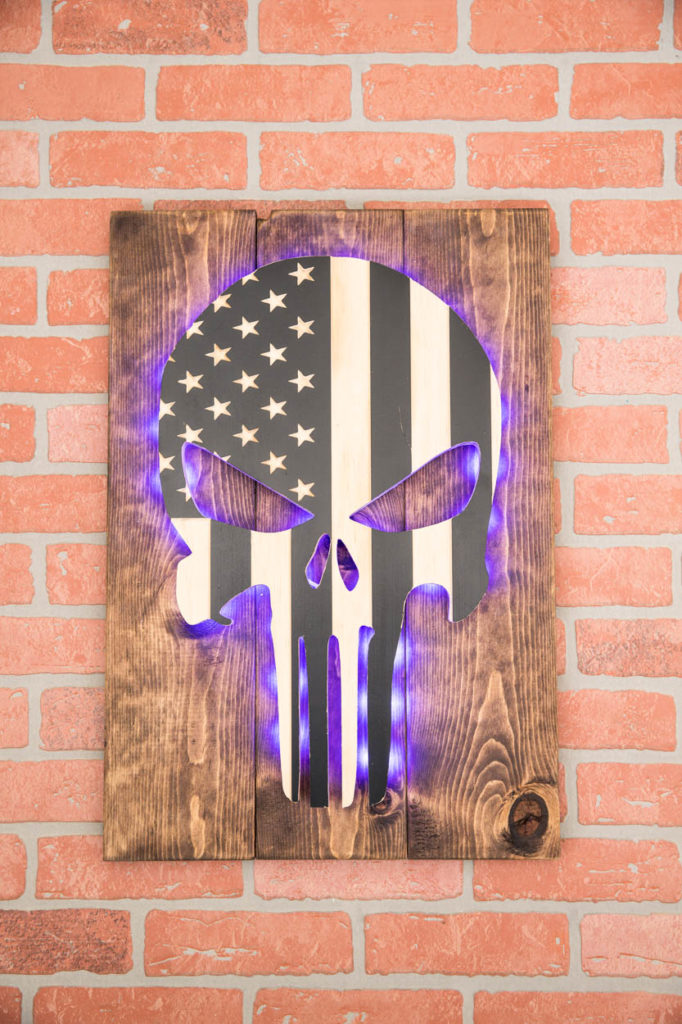
Have you ever worked on a project with LED lights? I’ve been really intrigued by CNC carved LED backlit wall art that I’ve seen lately and I wanted to create a project myself. I’m partnering with my friends over at Inventables to show you how I made this backlit LED wall art for my oldest son’s bedroom on my X-Carve CNC.
*this post contains affiliate links. Should you make a purchase from one of these links, I will earn a small commission at no extra cost to you.
Creating Custom Wall Art
When it comes to creating the wall art, it’s as simple as choosing a design. You can upload your own artwork into the Easel program from Inventables, or you can use this custom artwork I created.
The free Easel program from Inventables is simple to use. All you need to do is sign up for an account and you’re ready to start creating. If you’d like to take it a step further, you can also try out their Easel Pro subscription, which will expand your carving even further with the usage of V-bits and also multiple bits per carve. I used this function when carving out the American flag design on this project. First using a 1/8″ uncut bit to rough out the design, then switching to a 60 degree V bit for the finer details. It saves A LOT of time over carving the whole thing with the 60 degree bit.
Prepping The Wood To Carve
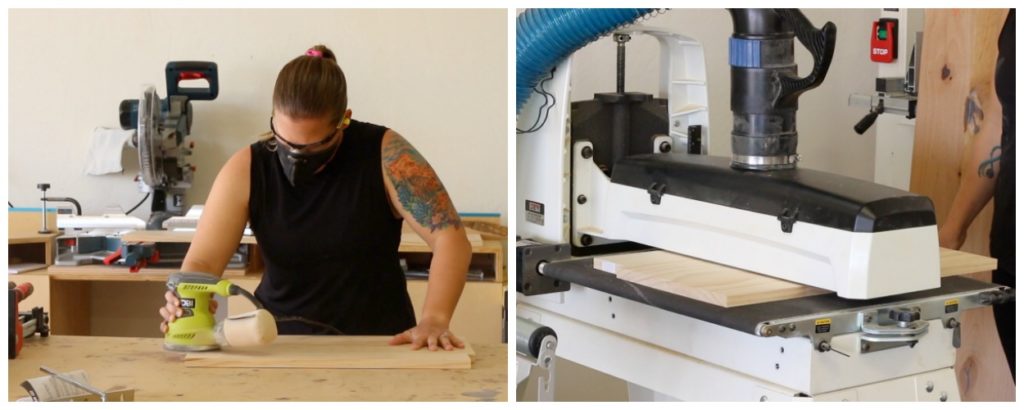
For this project, I glued up a 1×12 and a 1×4 to create my project panel. I used select pine for this panel as there are no knots in it and it provides a very clean carving area. Once the glue was dry, I sanded the panel down. You can either use an orbital sander or a combination of orbital sander and drum sander to get your panel smoothed out.
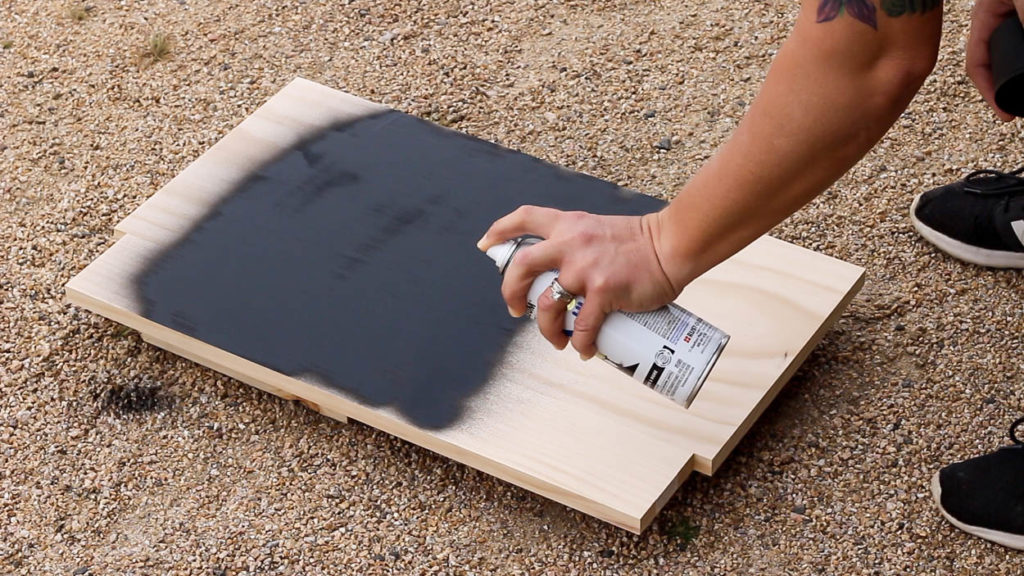
Once the panel was prepped, I spray painted it black. I sprayed several coats going side to side and also up and down to ensure even and full coverage over the panel.
Carving The Project
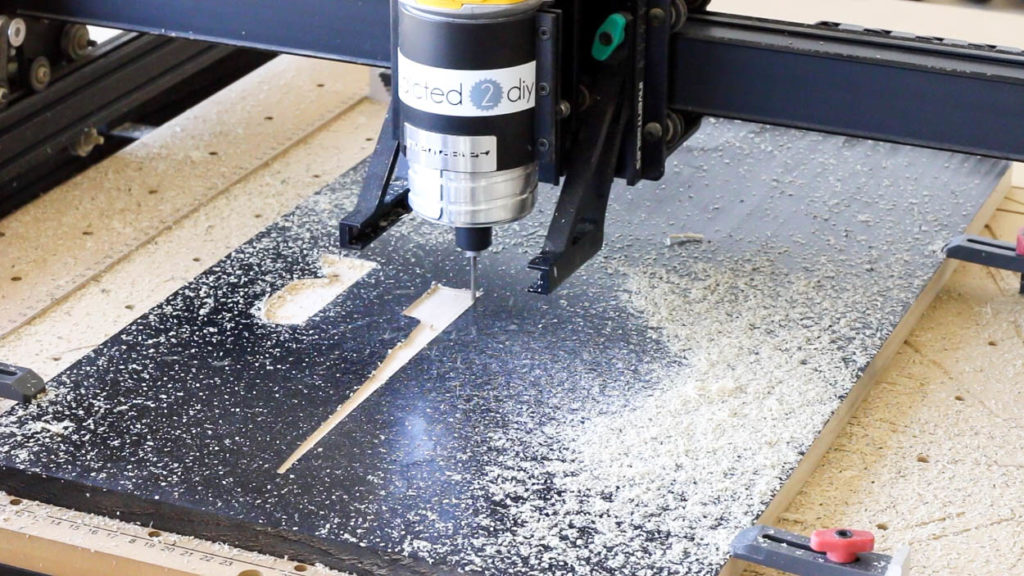
Next up it was time to carve. I’ll be honest, it two three different tries to get this to carve correctly for me. Here’s what happened:
- First carve – my design was not positioned properly over the material. I started carving and quickly realized that it would end up carving off the material and stopped the carve. I flipped the panel over, spray painted the other side and waited for it to dry.
- Second carve – I had been using my dust shoe and when I took it off to switch the bits between the roughing pass and detail carve, I moved the spindle slightly. I stopped the carve and was able to correct the mistake, and continue carving. When the design was finished and it was carving out the whole design from the panel, I briefly lost my internet connection. This caused the spindle to keep carving deeper and deeper through the design and into my waste board. When I realized what was happening, I stopped the carve, but the spindle didn’t raise fully and it broke my bit.
- Third carve – left the dust shoe off and worked REALLY hard to ensure that when switching out bits, I didn’t move the spindle AT ALL. Everything went just as planned.
For the first portion of the carve, I used a 1/8″ upcut bit for the roughing pass. This takes out a good portion of the material quickly and saves some time.
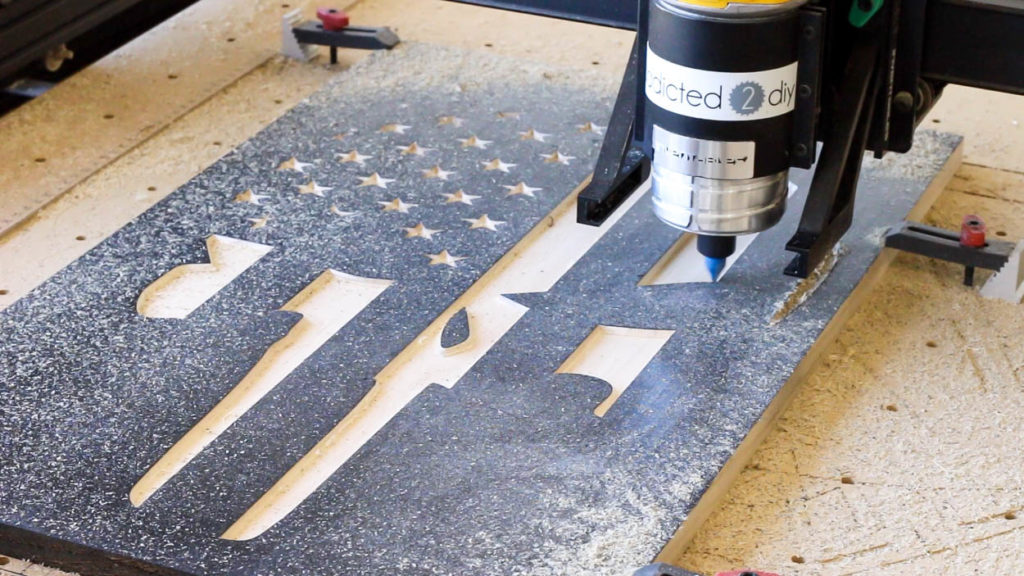
Once the roughing pass was completed, I carefully swapped out the bits so as not to move the spindle at all, then installed my 60 degree V bit. I started up the detail pass and it cleaned up all of the stars and stripes in the design.
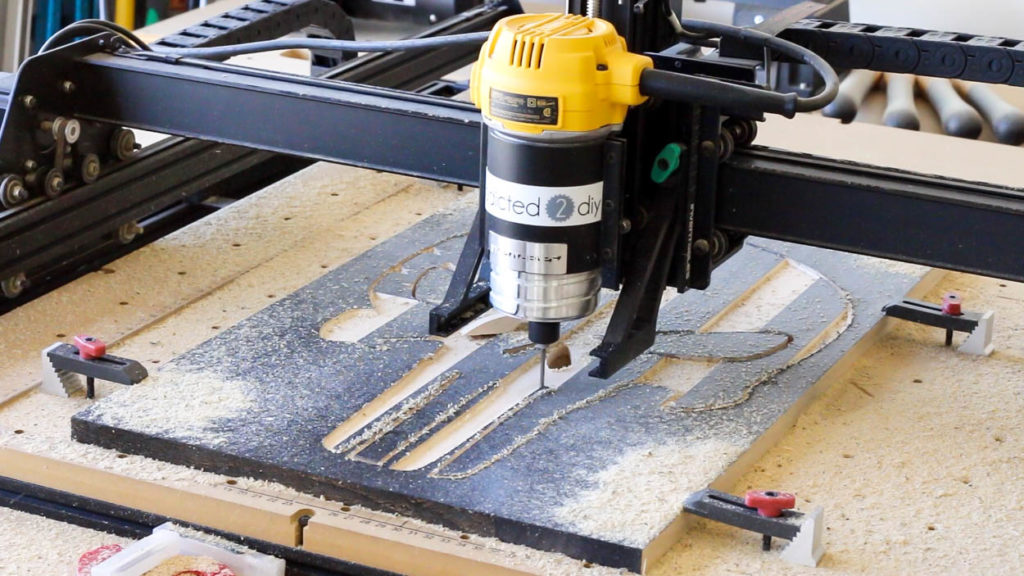
When the detail pass was completed, I moved on to carving the design out from the panel. In my project within Easel, this is a second window. Click on that window (DO NOT MOVE THE DESIGN) and set it up to carve. The design in that window is set up so that it will carve exactly where it needs to. Moving the design will cause it to carve off center of the rest of the project and essentially ruin all of your work. You’ll switch back to a 1/8″ bit for this. Since I had broken my 1/8″ downcut bit, I used my 1/8″ upcut bit for this. I would recommend using a downcut bit if you have one because it doesn’t give you the fraying you see with the upcut bit, leaving you with a much cleaner carve.
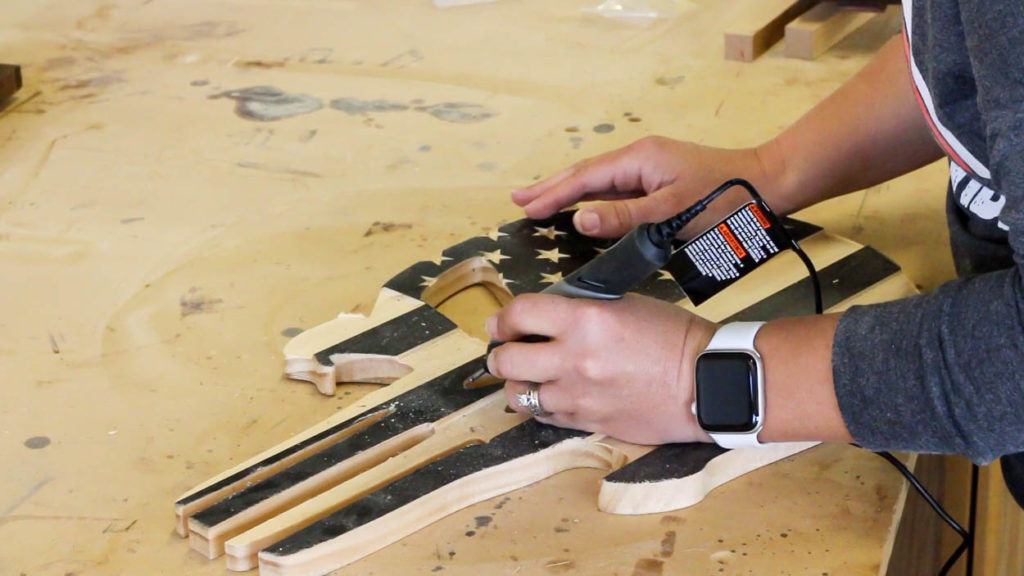
Once the project was finished, I grabbed my Dremel to clean up the edges of the project as well as clean up the parts of the tabs left over from the carve.
Building The Back Panel
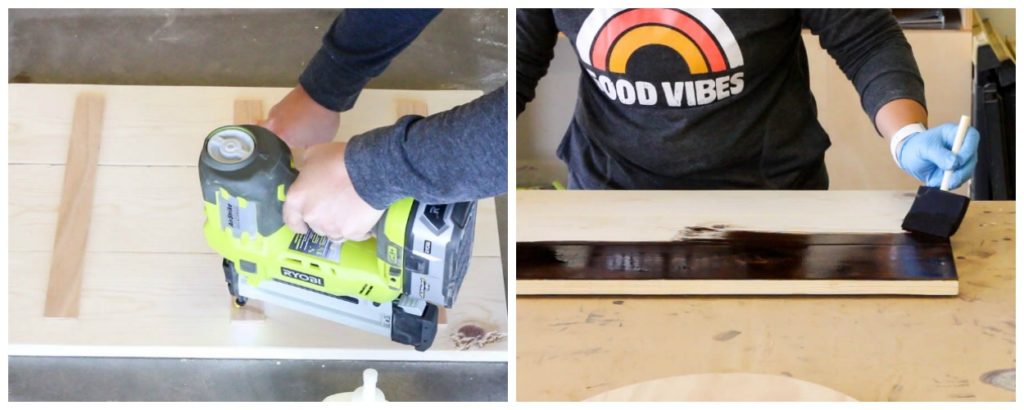
To make up the back panel, I cut a 1×6 board into 24″ long pieces. I glued up the edges, then stapled 1/4″ thick strips of wood to the back. You can use 1×2 boards for this as well, it will just sit further off the wall if you do. I sanded the panel down, then stained it and let it dry.
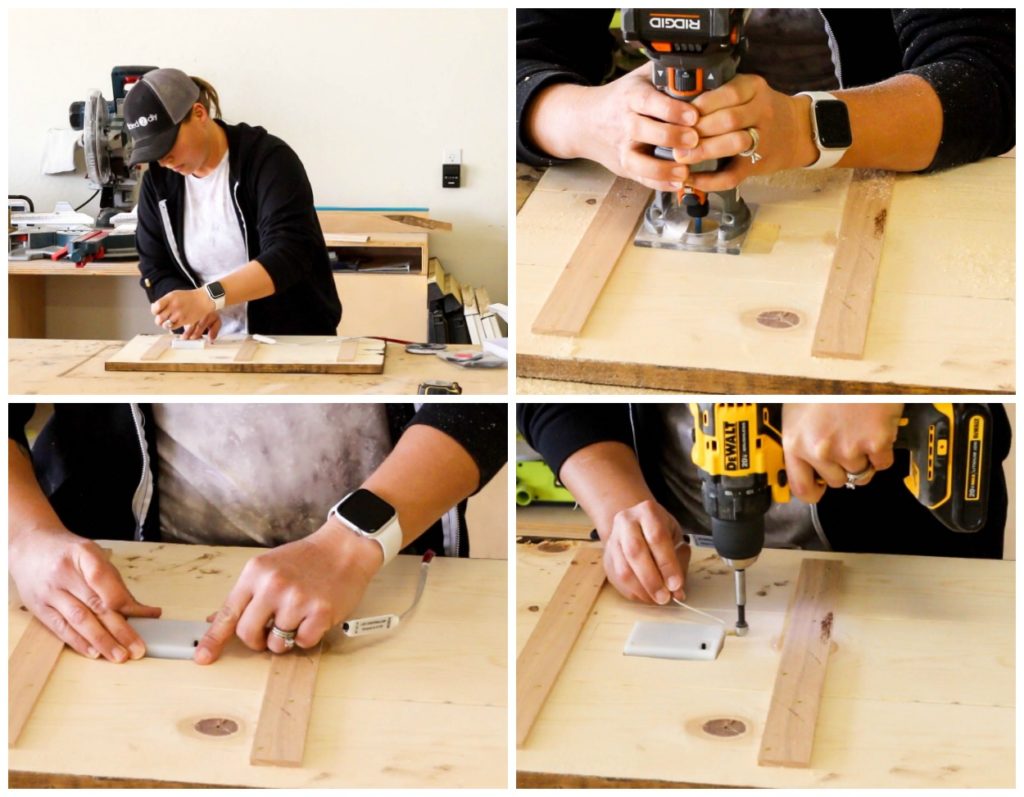
I ordered battery powered LED lights for this project and needed to router a pocket into the back panel for the battery pack to sit. This allows the finished wall art to sit closer against the wall. This step is totally optional and you can omit this step if you were to use 1×2 strips to secure the boards making up the back panel together.
I used the included adhesive square to secure the battery pack in place, then drilled a 1/2″ hole through the panel to feed the lights through.
Installing The Lights
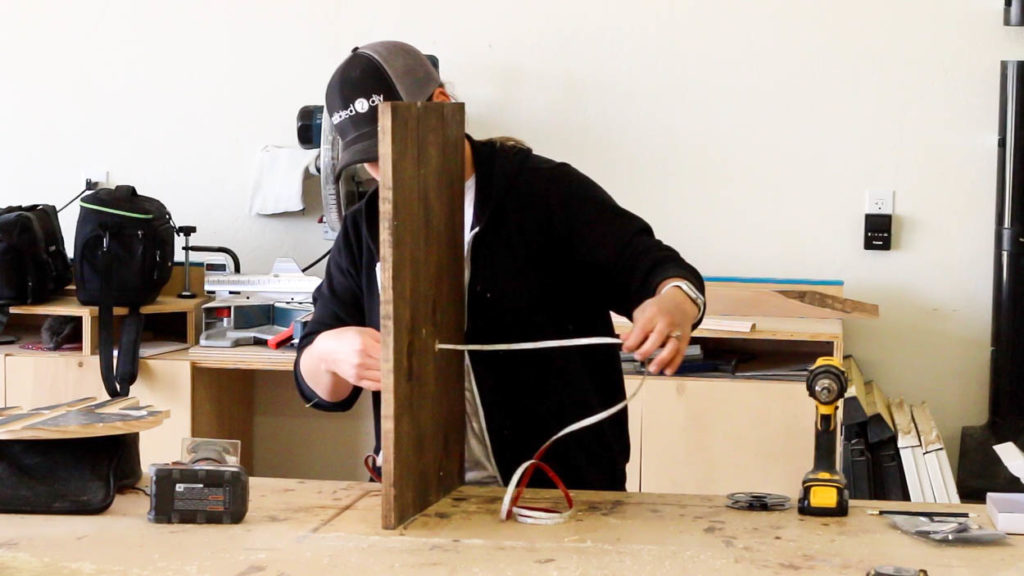
With everything secured in place on the back, I fed the LED light strip through to the front of the panel. The light strip is 6′ long, which is more than I needed, but it’s able to be cut down.
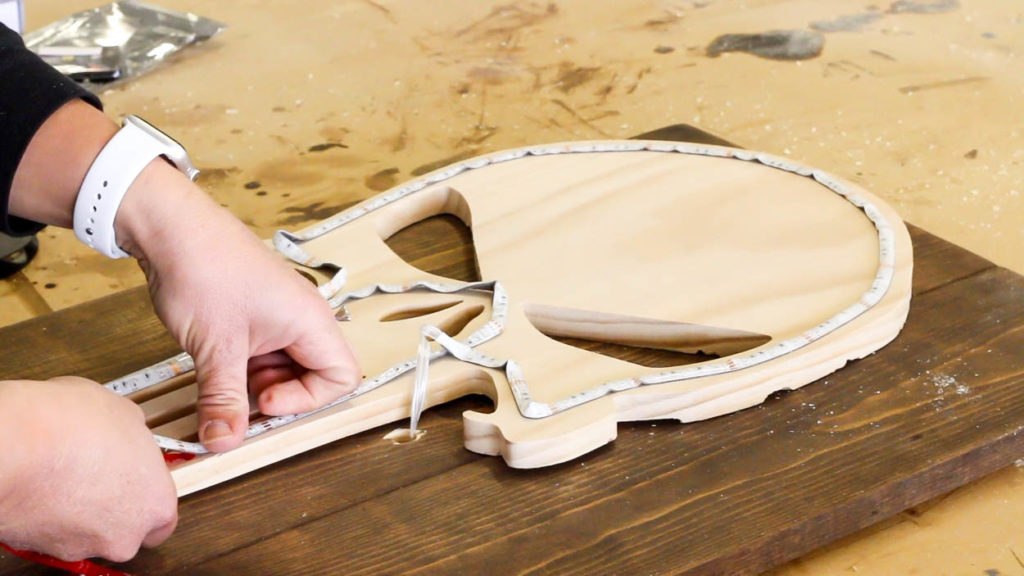
I peeled the adhesive backing off of the light strip and began sticking it to the back of the carved project. This step was a little tough to do with the type of carving I made and I’m sure there might be a better method out there. I maneuvered the light strip around until it covered the perimeter of the carving. One part I had to backtrack the lights, but it all worked out okay.
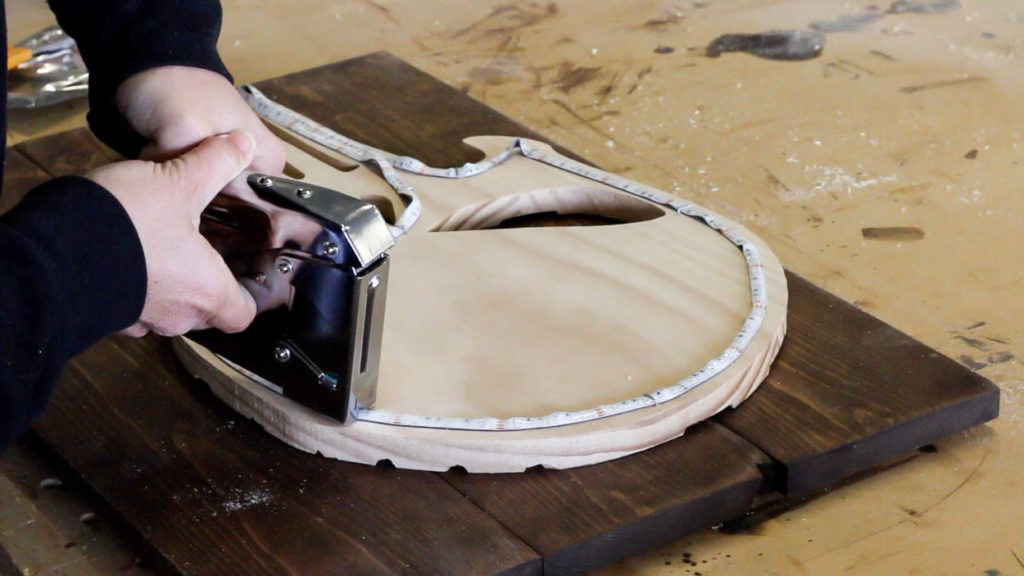
To further secure the light strip, I used a staple gun and added staples anywhere I felt the adhesive strip wouldn’t fully hold. You can also glue it down, but I wanted it to be removable in case I decided to change out the lights later.
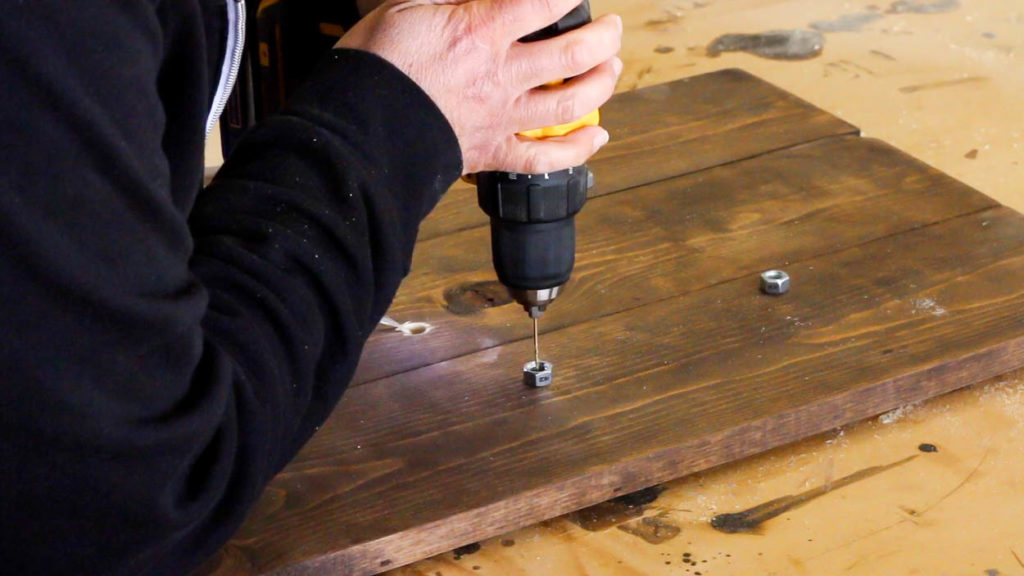
The carved artwork needs to be set on the back with spacers. I used 3/8″ nuts for the spacers. I centered the artwork over the back panel and then positioned the nuts behind it where they would elevate the art but not interfere with the lights. I drilled a pilot hole through the wood in the center of each of the nuts. I’ll explain why later.
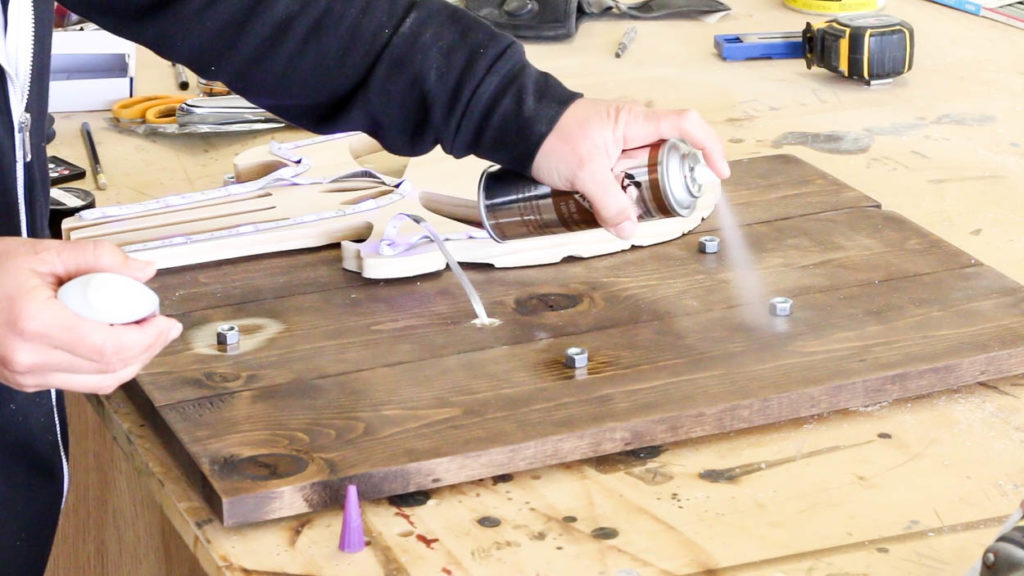
I used CA glue and activator spray to glue the nuts down to the backer board. The activator spray causes the CA glue to dry instantly.
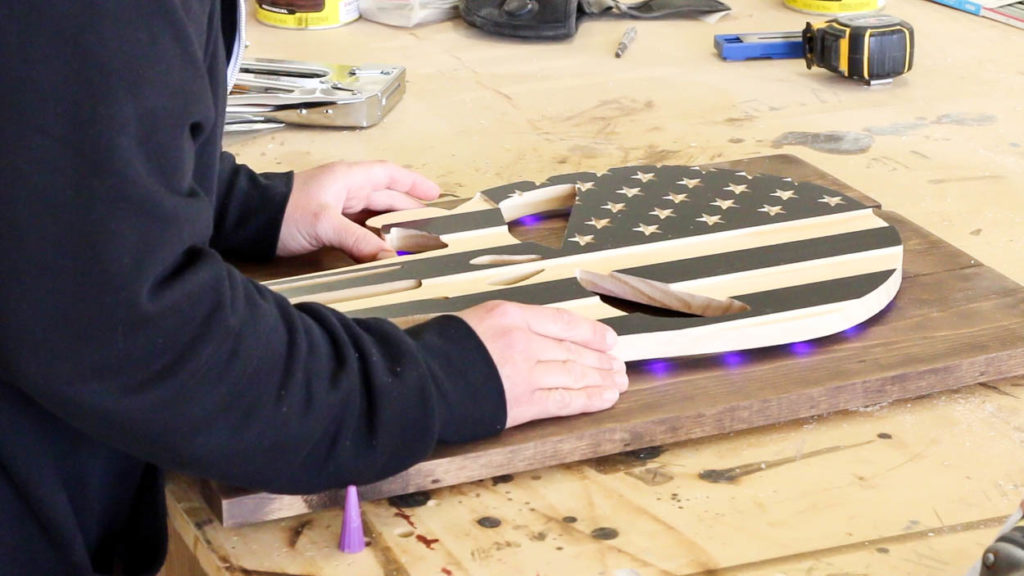
I centered the artwork over the back panel.

Using the pilot holes I drilled as a guide, I drove 1 1/2″ wood screws through the back of the panel, through the spacers, and into the artwork to secure it in place.
DIY LED Backlit Wall Art
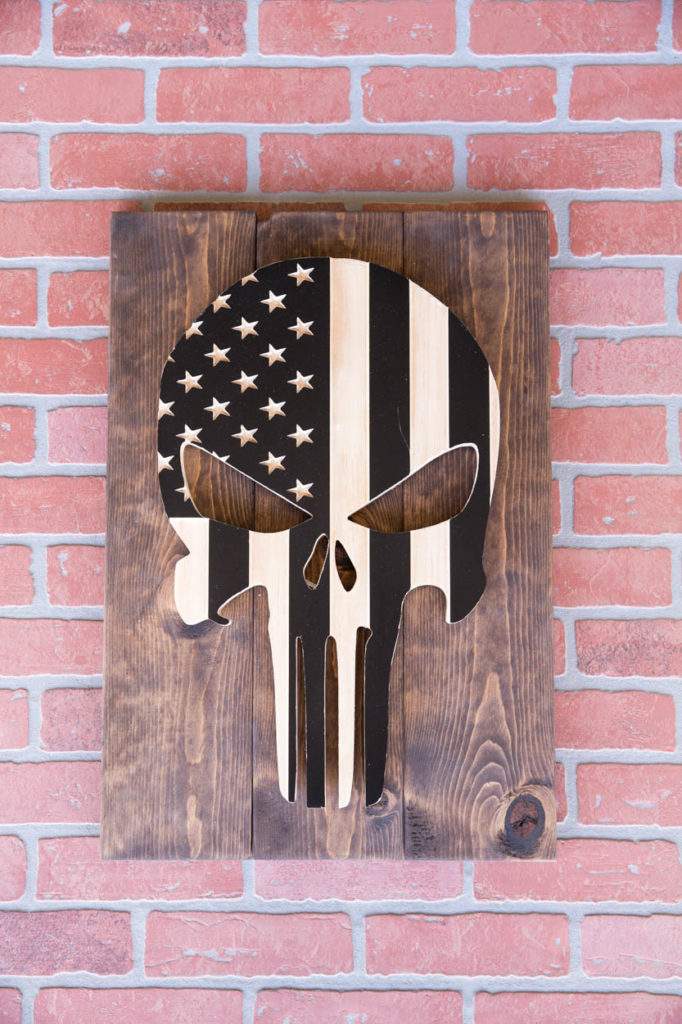
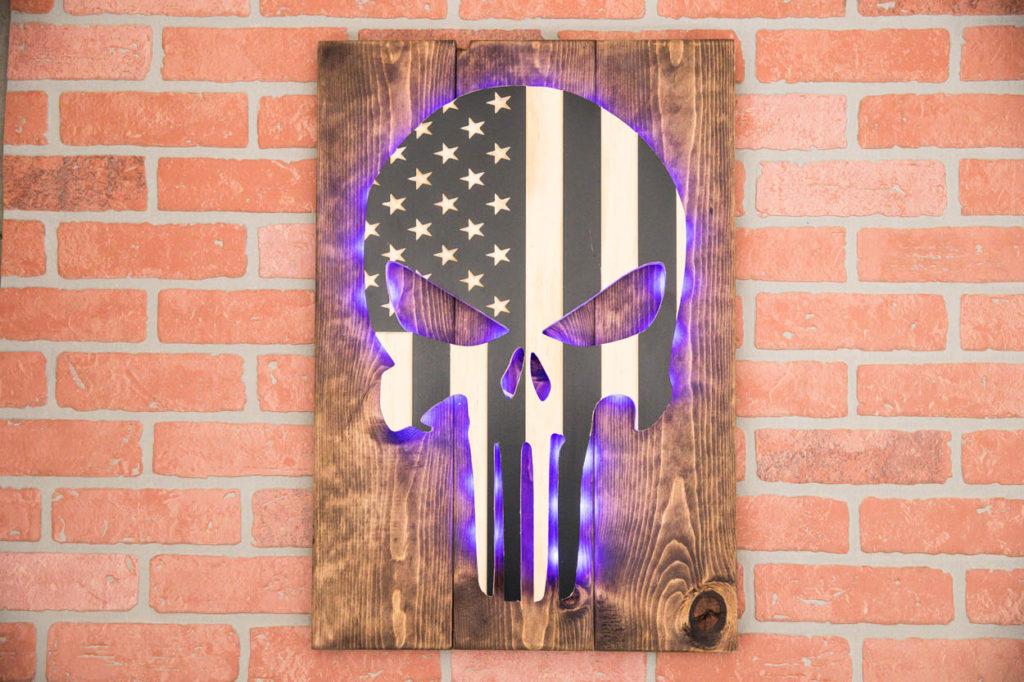
This wall art looks great whether it’s turned on or off. I made it for my oldest son’s bedroom and he absolutely loves it.
There are a few things I should note about the lights. For starters, I am sure there are better lights I could have used for this. I just didn’t know what that was. If you know of better lights, definitely let me know!
The battery powered lights are awesome, but in order for the remote to work the lights, you have to pull the artwork slightly off the wall at the bottom and aim the remote at the battery pack. Not a huge deal. It’s just not something you’re able to point at from across the room and turn the lights on or off, or change the colors. If I am able to find some, I may swap out these lights with a battery powered Bluetooth enabled set of lights.
If you’re looking to create your own custom backlit LED wall art, be sure to check out my project on Inventables! Also sign up for your free Easel account and start creating today! You don’t even need an X-Carve to begin creating with Easel. Just log in and create your own projects while you’re waiting on your new X-Carve to arrive;)
DISCLOSURE: I was provided product and/or compensation for this post. All opinions and ideas are 100% my own.

Leave a Reply