DIY Cornhole boards are super easy build and can be customized in so many ways. Learn how they can be customized a different way by laser engraving them.
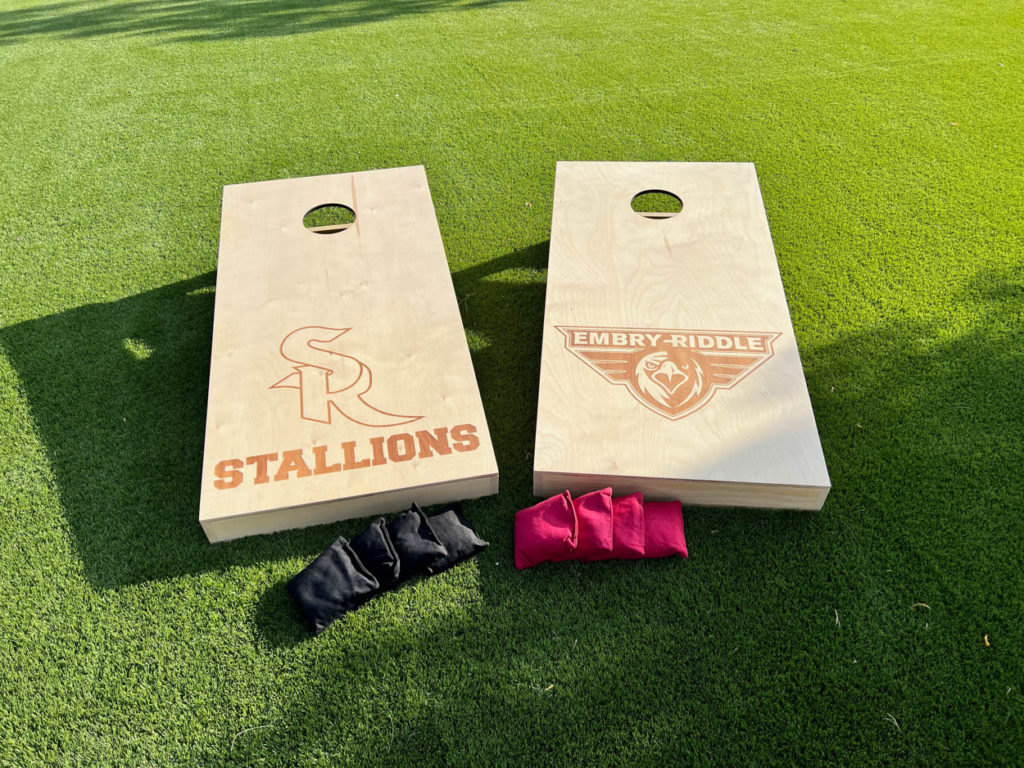
When we get together with friends and family, we love to play cornhole. It’s a fun game that everyone can enjoy and it’s really easy to build a set yourself. The best part of that is the ability to customize the boards however you like.
Since getting my Thunder Laser Nova 51-130w laser, I started experimenting with customizing cornhole boards by engraving them and the results are so awesome.
I’m partnering with Kreg Tool Company and Thunder Laser USA to show you the entire process of how I built and customized these boards.
Watch The YouTube Tutorial:
In this YouTube tutorial, I break down the entire process of how I experimented with different engraving techniques to come up with the perfect formula to get a beautiful engrave on these boards that would still allow the bags to slide across them with ease.
Download the Printable Plans
I’ve put together the full printable plans with diagrams to help you build your own set of cornhole boards, including a holder for the bags.
How To Build the Boards
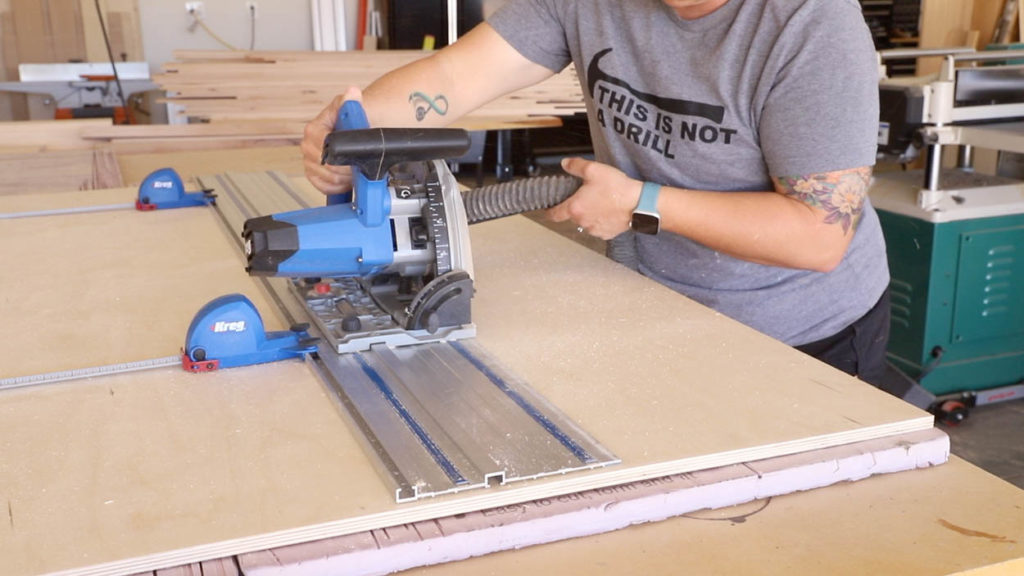
To build these boards, I started with a sheet of 1/2″ baltic birch plywood. These come in a 5′ x 5′ sheet, so I broke the pieces down using my Kreg Adaptive Cutting System. Using the optional parallel guides makes it so easy to make repeatable cuts at the exact measurements I need.
Once I have my boards cut to size, I sanded them down. I started with 220 grit sandpaper and then moved up to 320 grit. These boards can be customized in any number of ways using paint and/or stain. I wanted to customize them on my laser, so I got to work experimenting with how to do that.
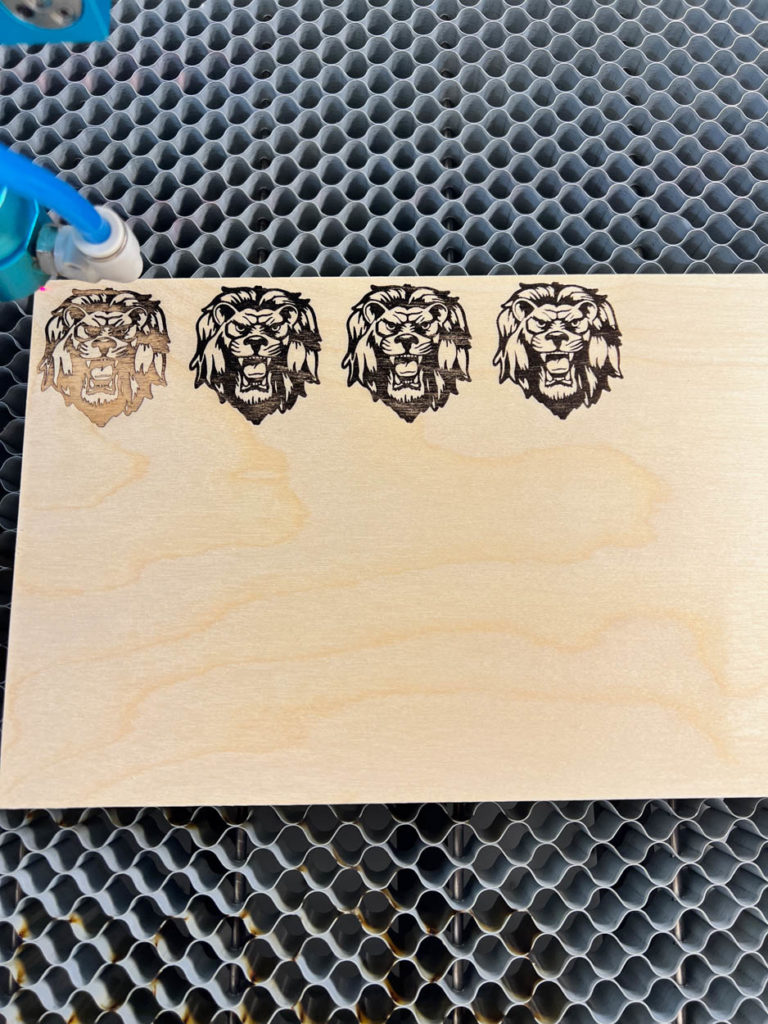
My first plan was to go with the borax method. Based on what I had seen from others, this would allow me to get a crisp, clean engrave that was perfectly smooth, as it doesn’t actually engrave INTO the wood. Just the surface. If you aren’t sure what the borax method is, you can watch this tutorial.
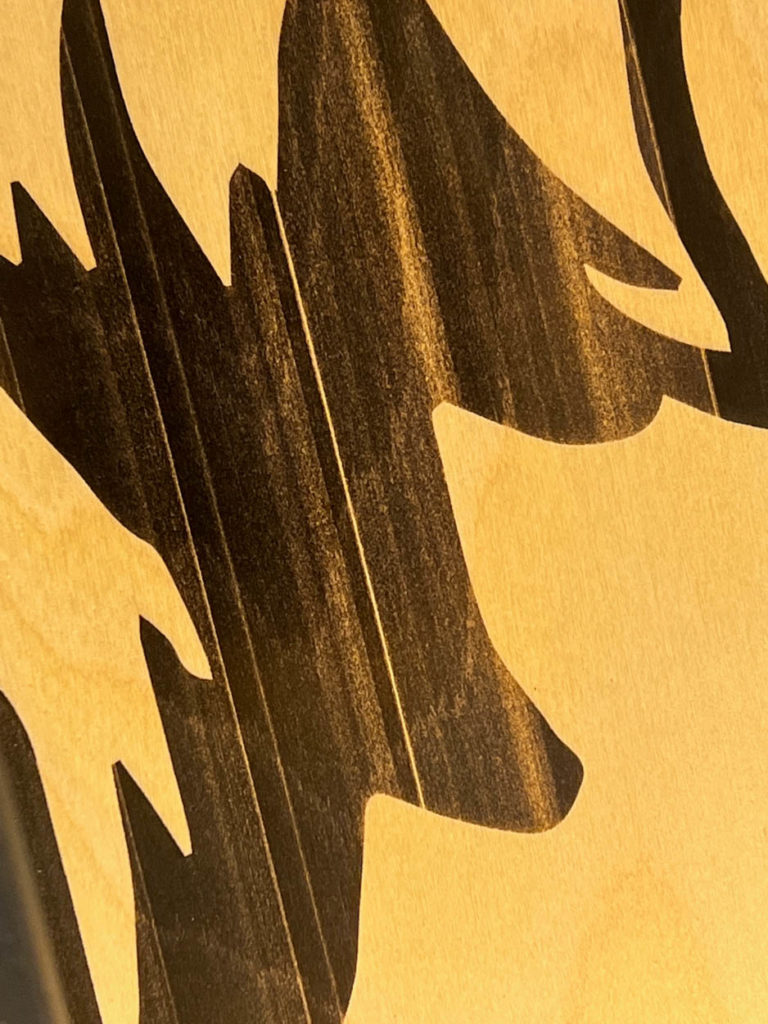
Once I had finished experimenting with a small scale image, I decided this method would work and moved on to the actual boards. Unfortunately, it did not yield the same results. My laser is 130 watts and to engrave such a large design at a power setting below 30% causes these lines to appear, which are called banding lines. Some areas engraved very light and some areas didn’t engrave at all. I had to scrap this idea and move on to more experimentation.
I grabbed another piece of scrap wood and experimented with engraving into the wood at different focus settings (height of laser above wood) and different speeds, while keeping my laser at 30% power. After several experimental runs, I found the magical formula that would get me just what I wanted.

The formula that worked best was to set the laser focus at 11mm above the wood, setting my speed at 1000 and my power at 30%.
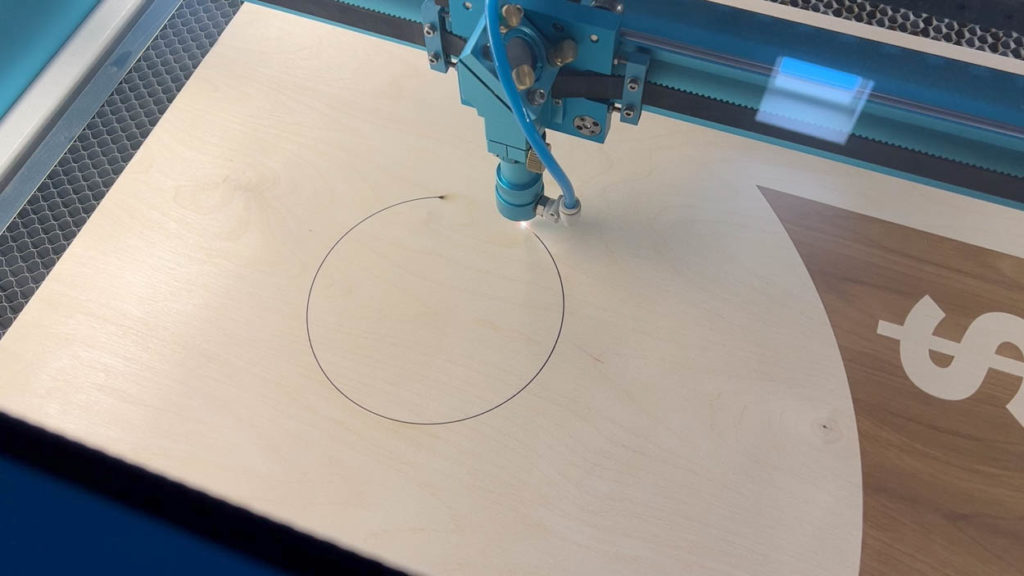
The engrave was dark and crisp, but also very shallow so the bags would catch on the design when thrown.
Once the engrave was finished, I raised the material up to normal focus settings of 6mm and then also cut out the hole. I love having the ability to do this as using a jigsaw can sometimes be unpredictable and splinter the wood. This gives me a perfect circle every time.
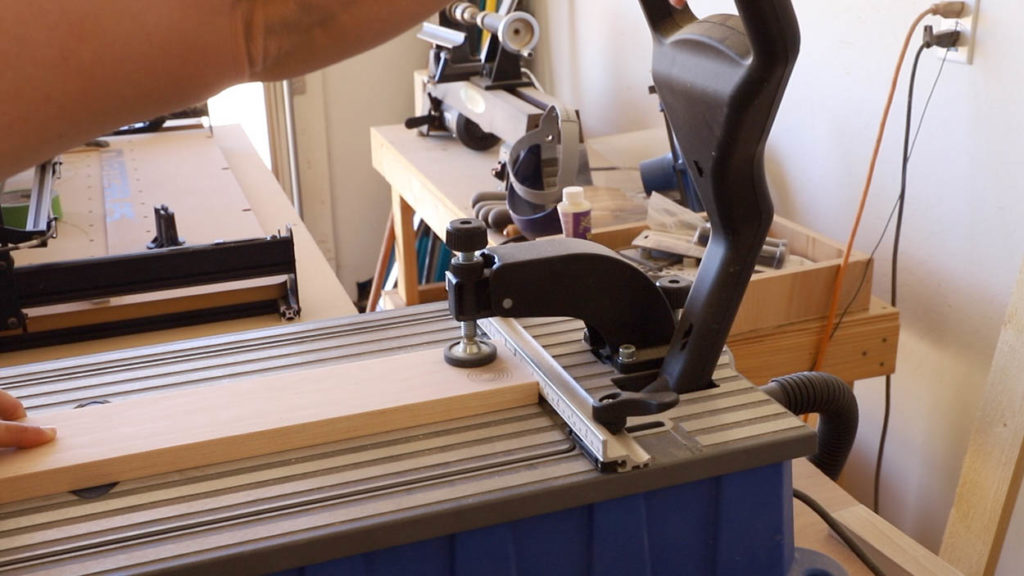
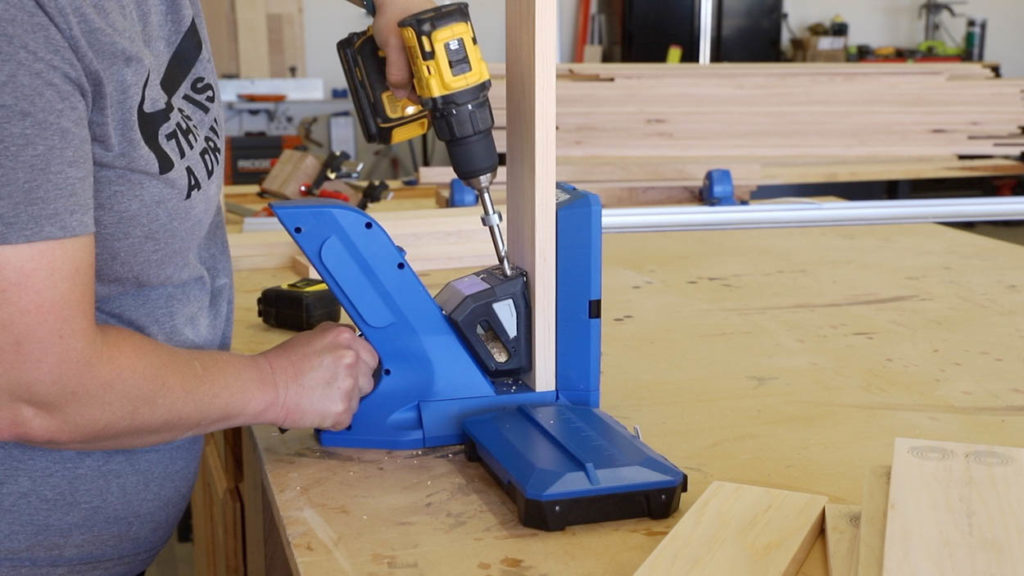
Once the boards were finished engraving, I built the frames. I cut all of my 1×4 pieces of pine down to size and then drilled 3/4″ pocket holes into the shorter frame pieces and center supports. I use my Kreg Foreman a lot for repeated pocket holes like this; however, a smaller pocket hole jig like the Kreg Jig 720PRO is just as awesome at getting the job done.
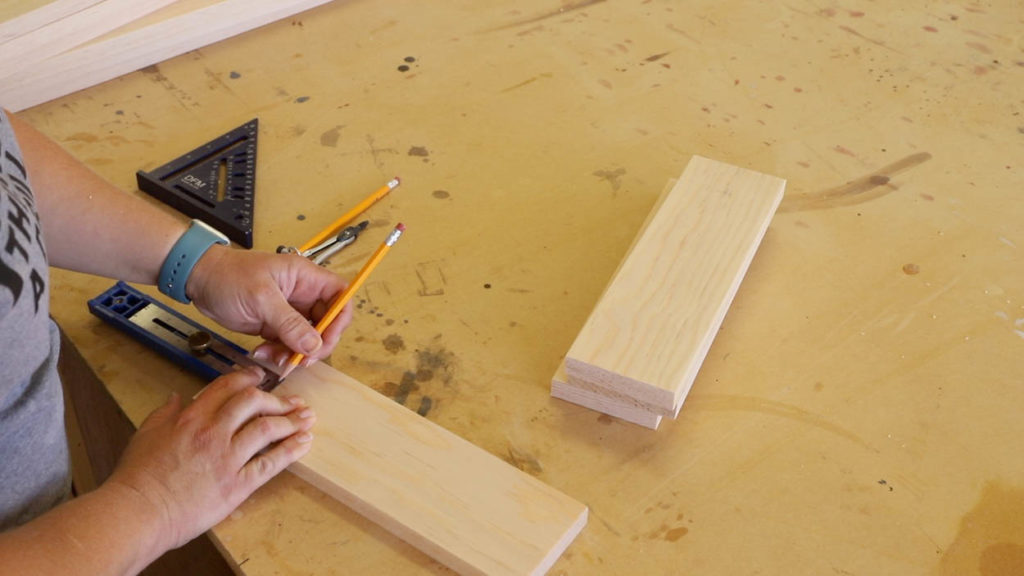
For the legs, I needed to measure and mark the upper center point for where the holes will be drilled for the bolts, but also the radius so that the legs can pivot in and out on the boards. I set my multi-mark tool to 1 3/4″ to make these repeated marks in each of the legs. then used a compass to mark the radius
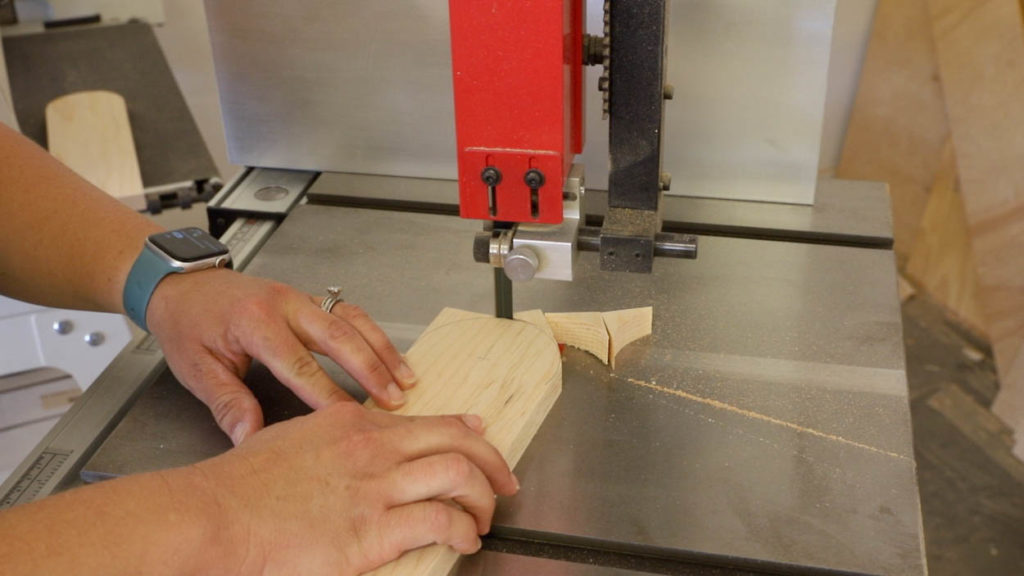
I took the legs over to my bandsaw to cut the radius on them. This can also easily be done with a jigsaw. I made the cuts just outside of the pencil line on each leg. Once I was finished, I sanded them down to just inside the pencil line to ensure that they would rotate smoothly on the frames when assembled.
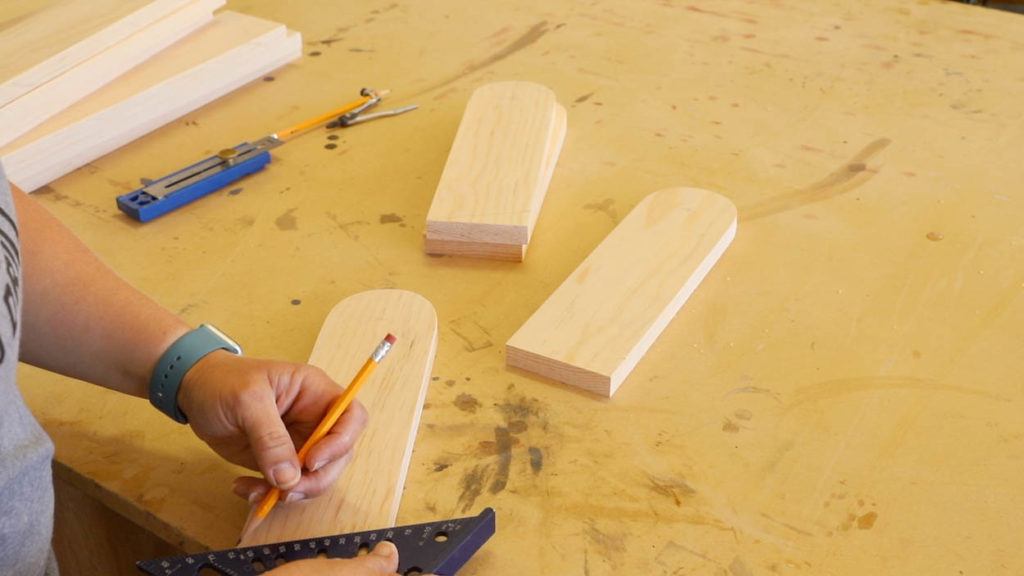
The legs fold out at an angle, so I also needed to measure and mark the angles so that when folded out the ends would sit flat on the ground. I made these cuts on my bandsaw and then sanded everything smooth.
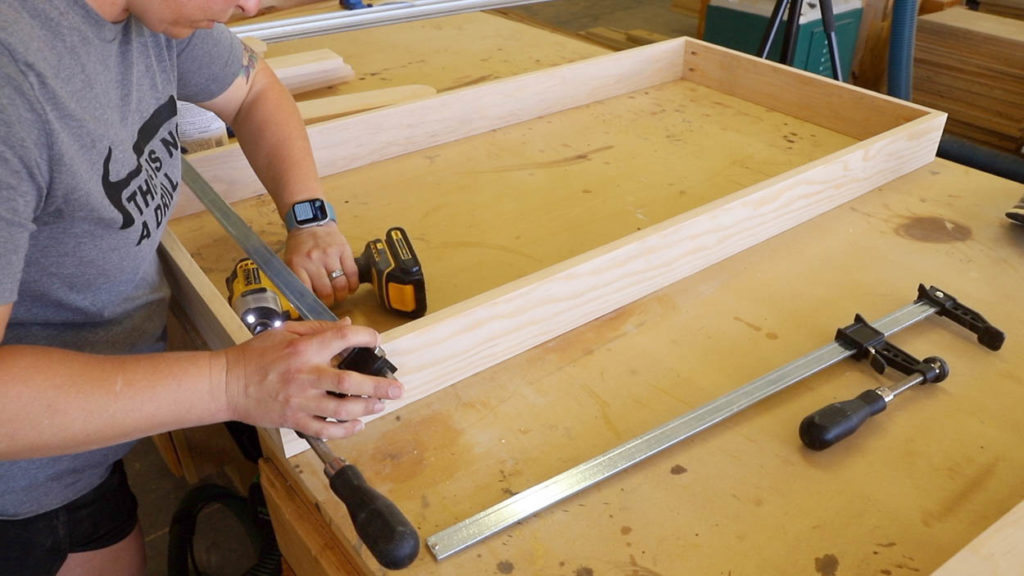
To assemble the frames, I added glue to the ends of the shorter pieces and clamped them to the longer side pieces. I attached everything with 1 1/4″ pocket screws.
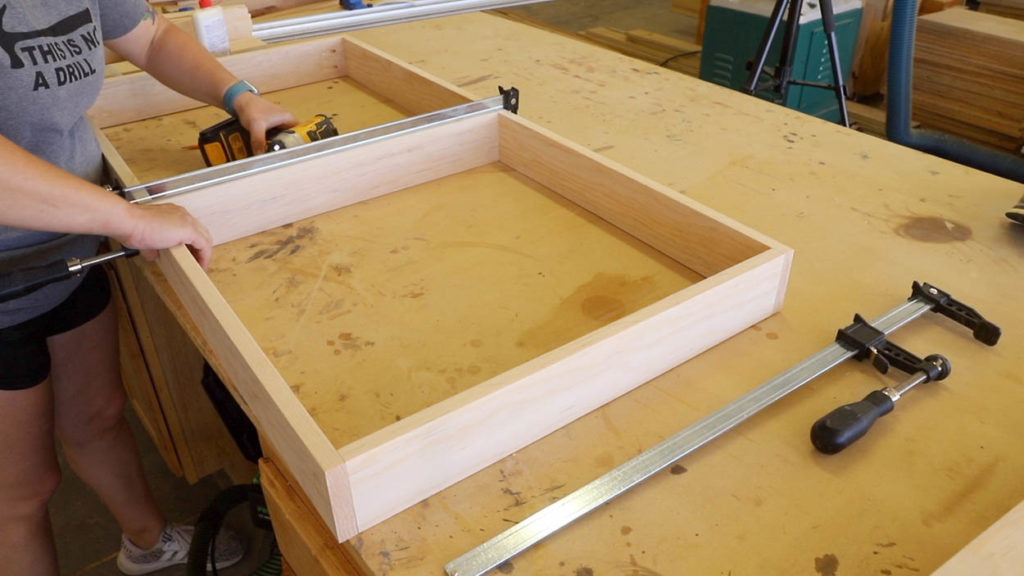
For the center supports, I measured the halfway point (24″) on each side of the frame and lined the support up with those marks, clamped it in place and then attached with 1 1/4″ pocket screws.
Once the frames were finished, I drilled 1/4″ holes into the sides for the carriage bolts to pass through. I have the detailed measurements in the printable plans for reference.
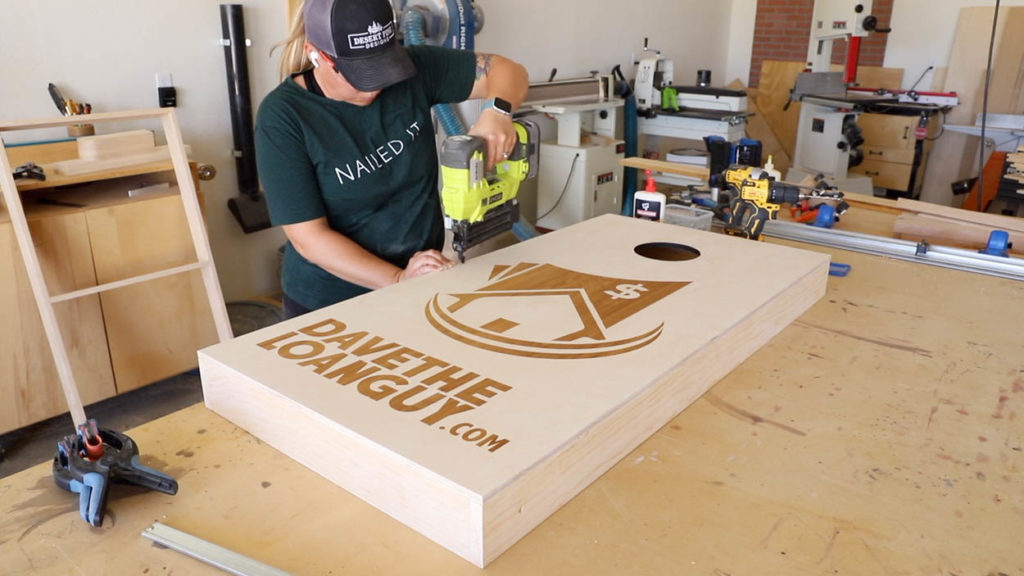
To attach the tops, I ran a bead of glue along the top edges of the frame and the nailed it in place with 1 1/4″ 18ga brad nails.
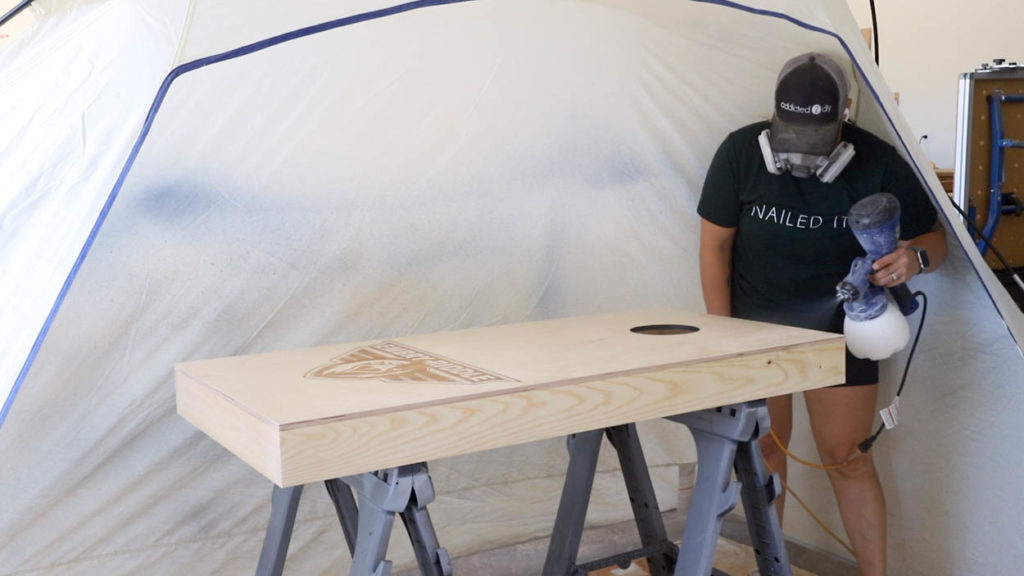
The boards can be finished by brushing or spraying several coats of finish onto them. For my boards, I spray about 8 coats of water-base polyurethane onto them using my paint sprayer.
I start by spraying 3-4 coats of the polyurethane onto the boards, letting it dry between coats. I then sand the boards with 220 grit sandpaper and wipe them down. I spray another 3-4 coats onto the boards and sanding them down again with 220 grit sandpaper before spraying the final coat.
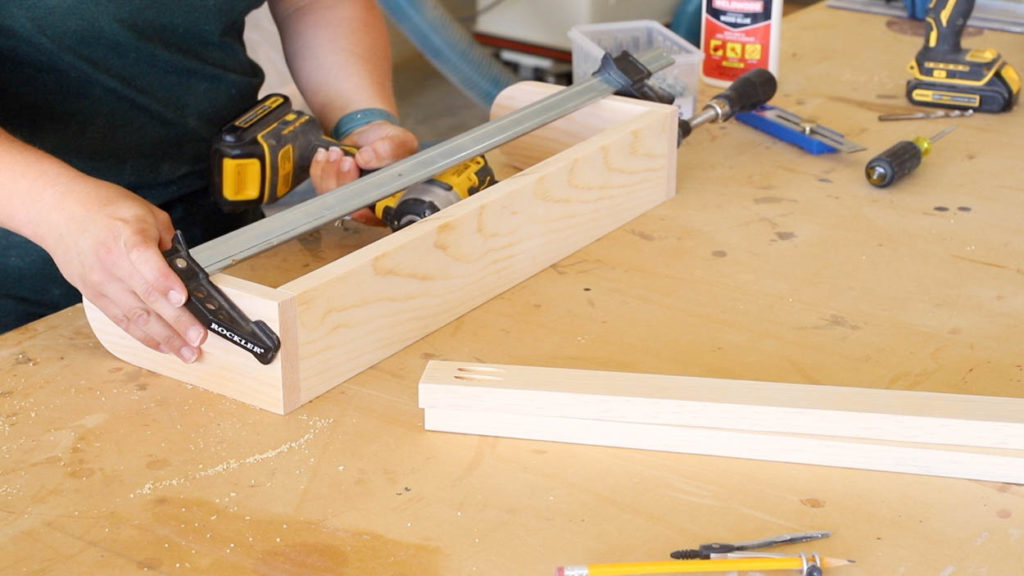
While I waited for the finish coats to dry, I worked on the bean bag holder and the legs. For the bean bag holder, I cut two 1×4 pieces at 8″ and added a radius to them so it can fold in and out the same way as the legs.
For the 1×4 and 1×2 pieces, I measured and cut those to size by placing the ends inside the cornhole board frame and measuring the distance between them. I then cut the boards to be just smaller than that measure meant (1/16″) so that they would not fit too snug inside the frame.
I attached the 1×4 to the sides with 1 1/4″ pocket screws.
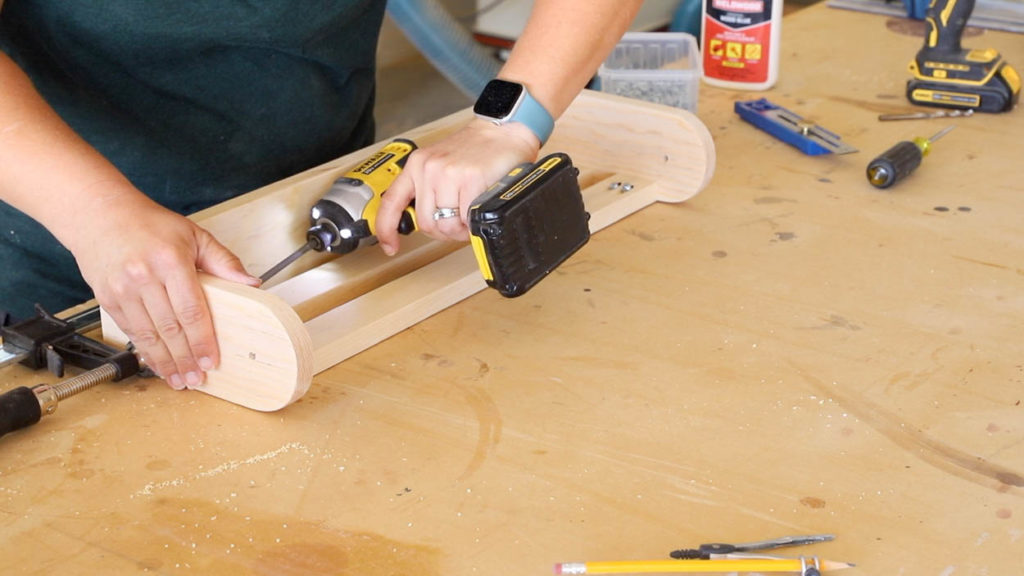
I evenly spaced the 1×2 pieces apart and also attached those with 1 1/4″ pocket screws.
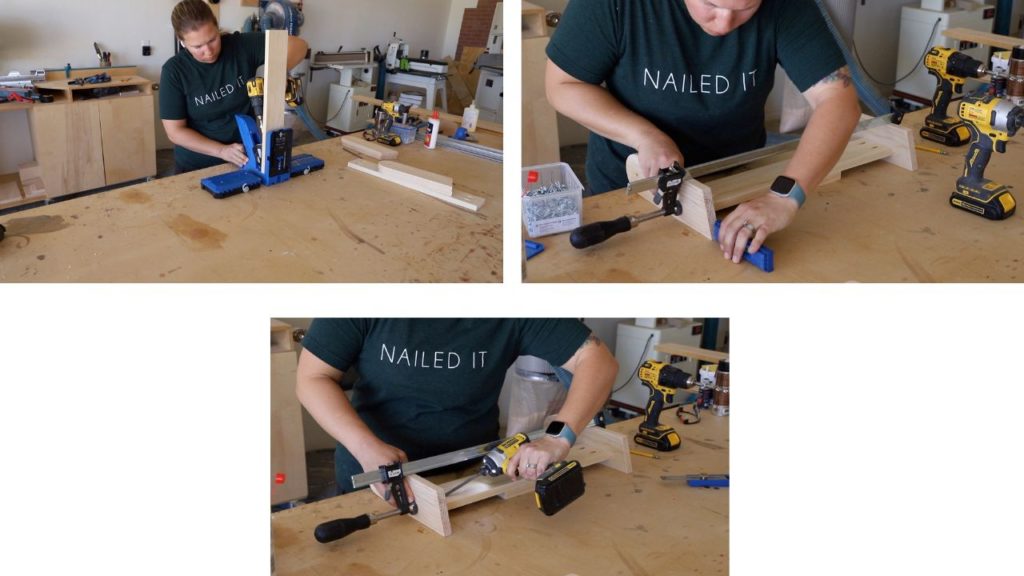
For the legs, I drilled 3/4″ pocket holes into the supports and then placed the support onto a scrap piece of 1x material to offset it a bit from the edges of the legs. I used my multi-mark tool to get an even measurement from the bottom of each leg and then clamped it in place and attached the supports to the legs with 1 1/4″ pocket screws.
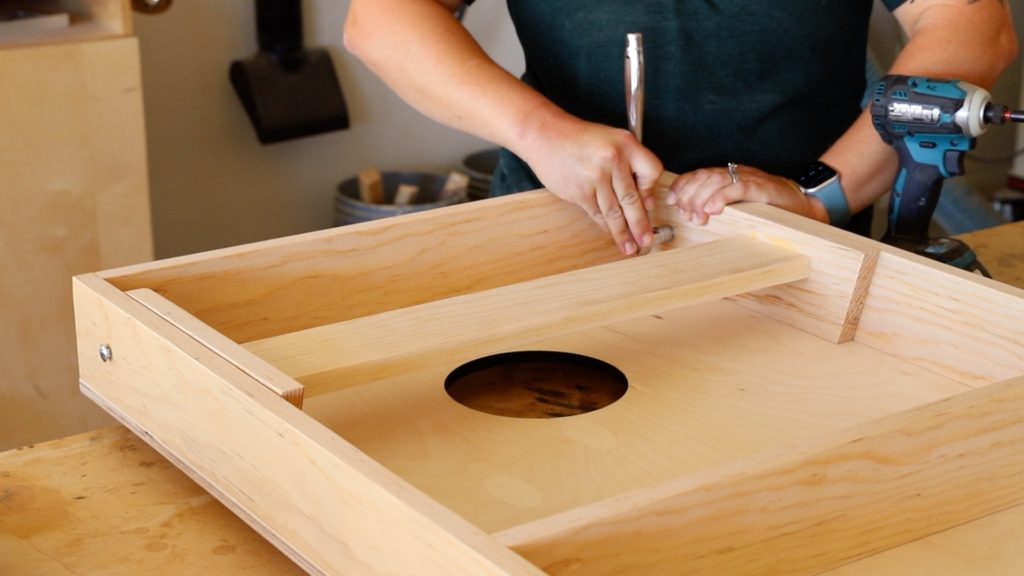
I attached the legs to the finished boards with 2″ carriage bolts, washers and nylon locking nuts. Once the bolts were tight on each end, I backed them off a bit so that the legs could pivot in and out with a light amount of tension.
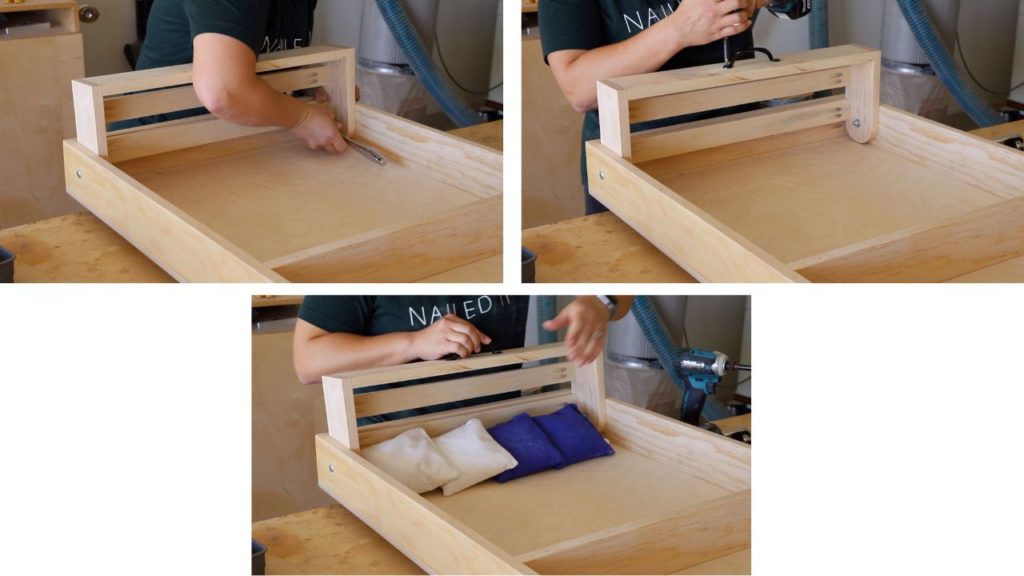
For the bag holder, I also attached it with carriage bolts, then added a handle to the top to make it easy to open. The bags get placed inside the holder in two rows and then it folds down and secures them in place.
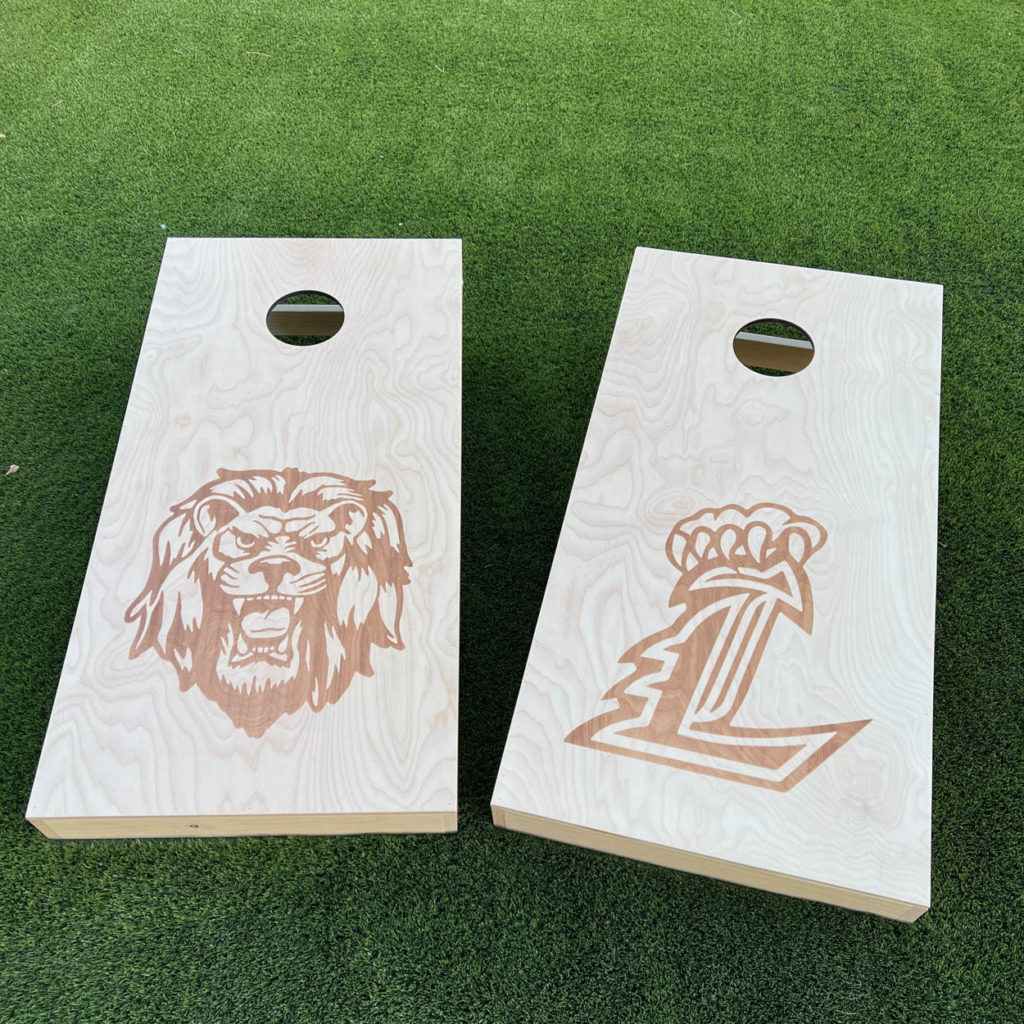
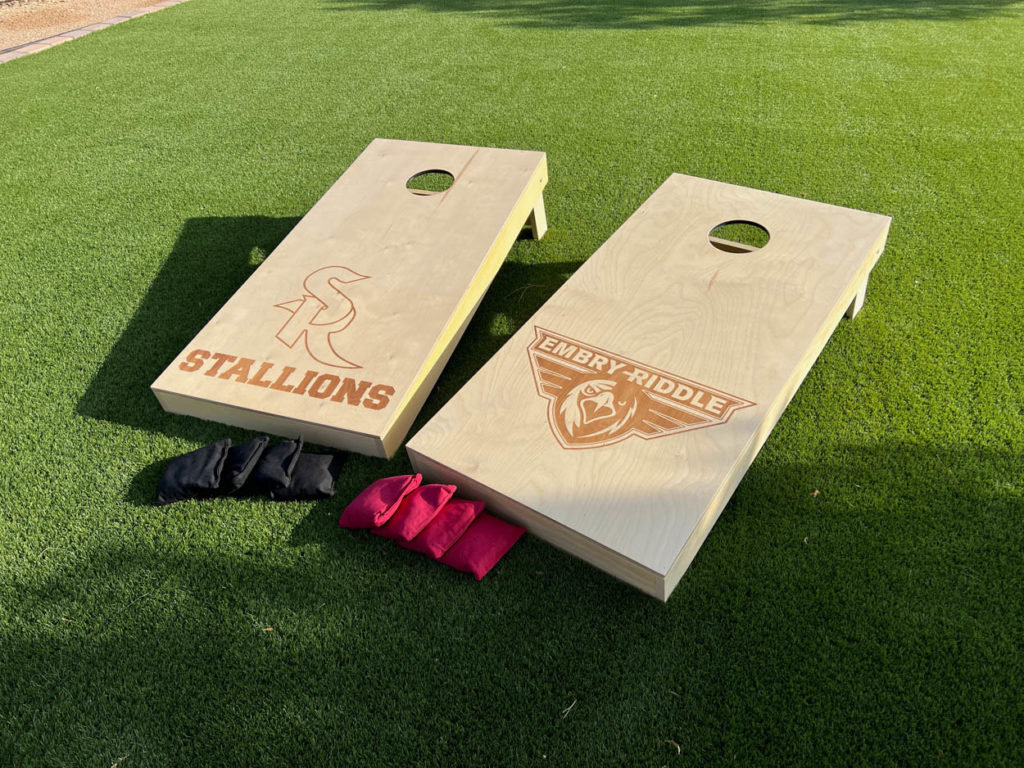
I love the ability to customize these boards using my laser. Next, I may try my high resolution laser head to see what kinds of designs and photos I can customize these with.
Be sure to watch my YouTube video to see how I put this all together and also download the printable plans for this project to build your own set of cornhole boards.
If you have questions about purchasing a laser, I’m always happy to answer them. I’ve also put together a video on why I chose Thunder Laser over other brands and also why I went with the size that I purchased. You can watch those here.
DISCLOSURE: I was provided product and/or compensation for this post. All opinions and ideas are 100% my own.

Leave a Reply