Learn how to create this beautiful mirrored wall art using DAP adhesives and a laser cutter. No laser? No problem! I’ve also got tips on how you can do this without!
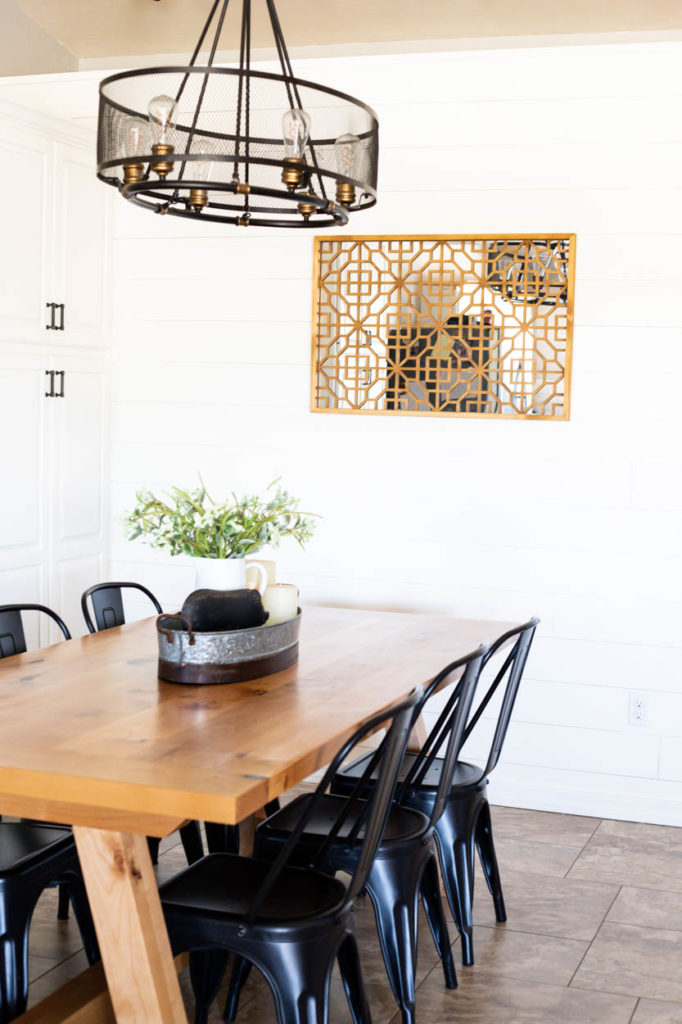
Today, I’m going to show you how I updated a blank wall in my dining room with some simple laser cut wall art and the help from my friends at DAP. Follow along with this step by step tutorial, but also definitely give the video a watch so you can see how it all came together. For this project, I’m using DAP RapidFuse All-Purpose Adhesive and DAP Weldwood Instant Adhesive to put all of the elements together.
Watch The YouTube Video
Let’s get started!
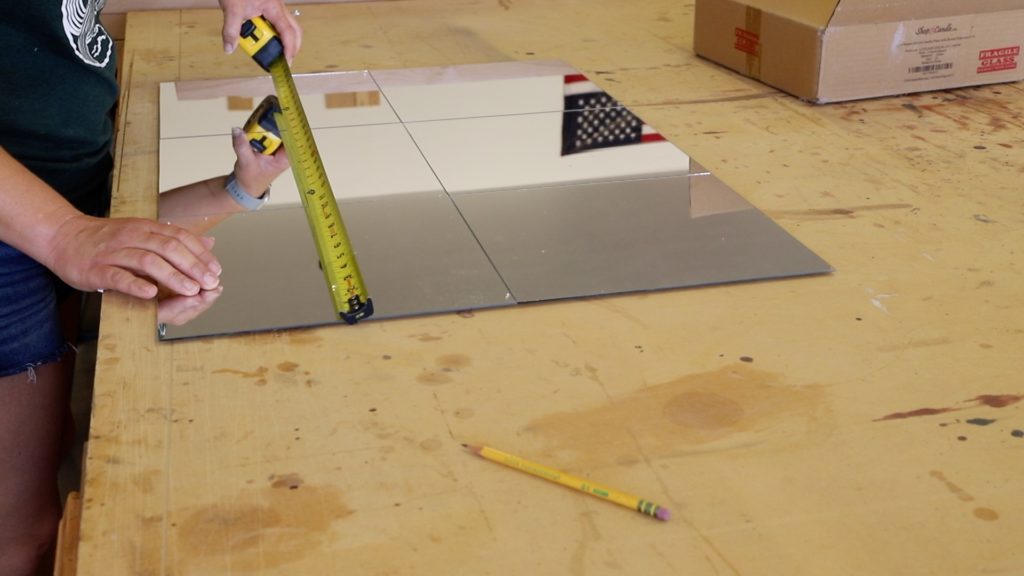
I purchased some 12″ square mirrors on Amazon a few years ago with the full intent of making something to hang in my dining room. I kept overthinking what exactly I wanted to do…until now. I was originally thinking that I would create multiple mirrored tiles, but then felt like it might be too much of a good thing. So I decided to make one large piece instead.
I grabbed six of the mirrors and laid them out on my workbench to measure them. I lined them up in two rows of three and measured the length and the width and wrote that down.
These mirrors also had little foam dots on the back of them, so I made sure to peel those off before I got any further into the project.
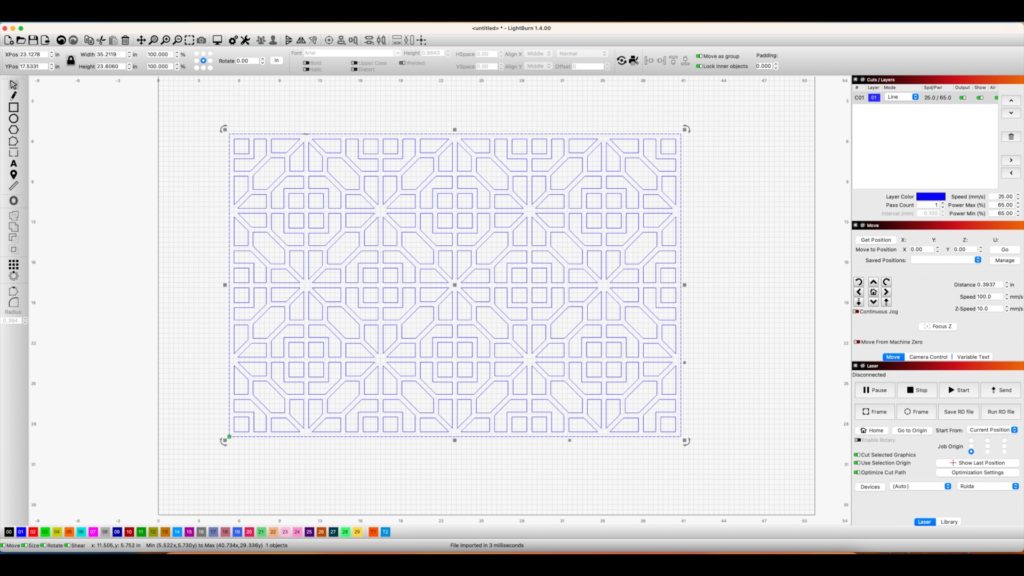
For the design on the front of the mirrors, I found and purchased a geometric design on Etsy. I redesigned it a bit in my laser cutting software to fit the overall size of the mirror panel. If you have a laser and want to go this route, make sure you watch my YouTube video to see how I completed this step.
If you don’t have a laser, I’ll also share how you can still build this whole thing in a bit!
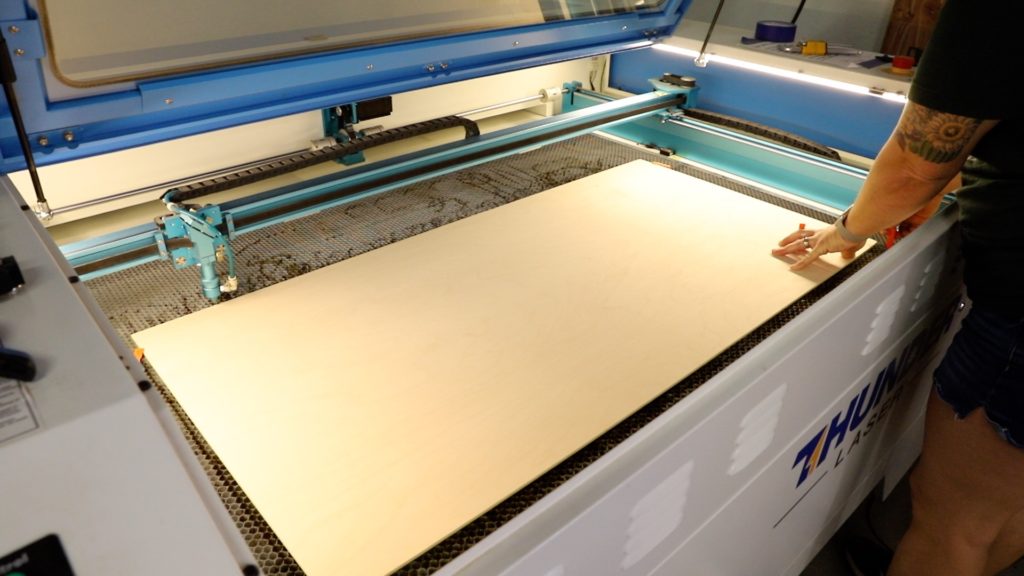
With my design ready to go, I loaded my 1/4″ plywood into the laser and got it ready to cut.
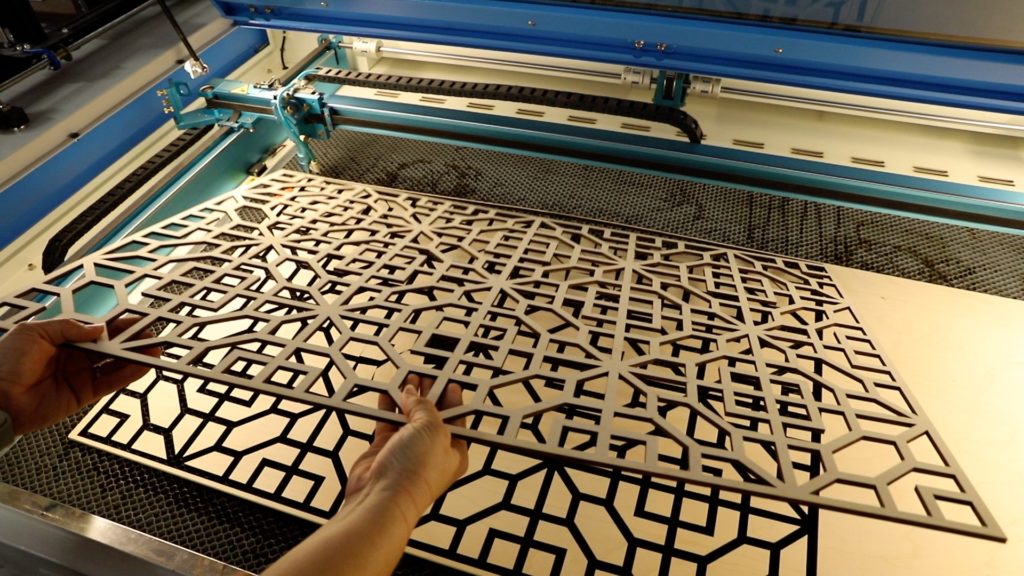
When the file was finished, I removed the newly cut panel from the laser. There’s just something so satisfying about seeing how cleanly this all cuts. But! If you don’t have a laser or a laser as large as mine, you can still make this project! For smaller lasers, I’d recommend making this into individual laser cut tiles to fit on each of the square mirrors. No laser? Keep following along and I’ll get to that.
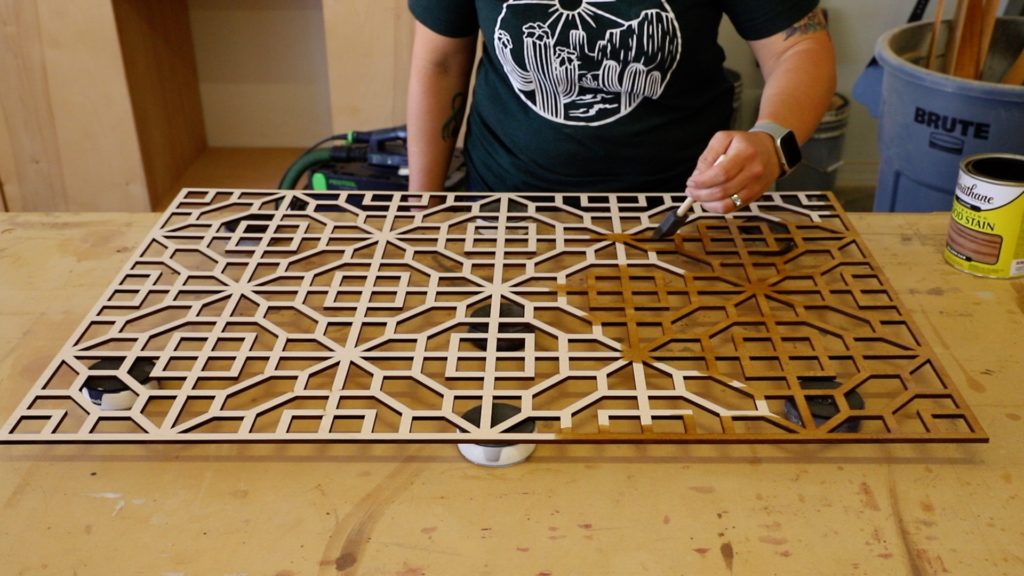
I stained the panel in golden oak stain. It most closely resembles the color of my dining table, which is made from alder and is finished with wipe on polyurethane.
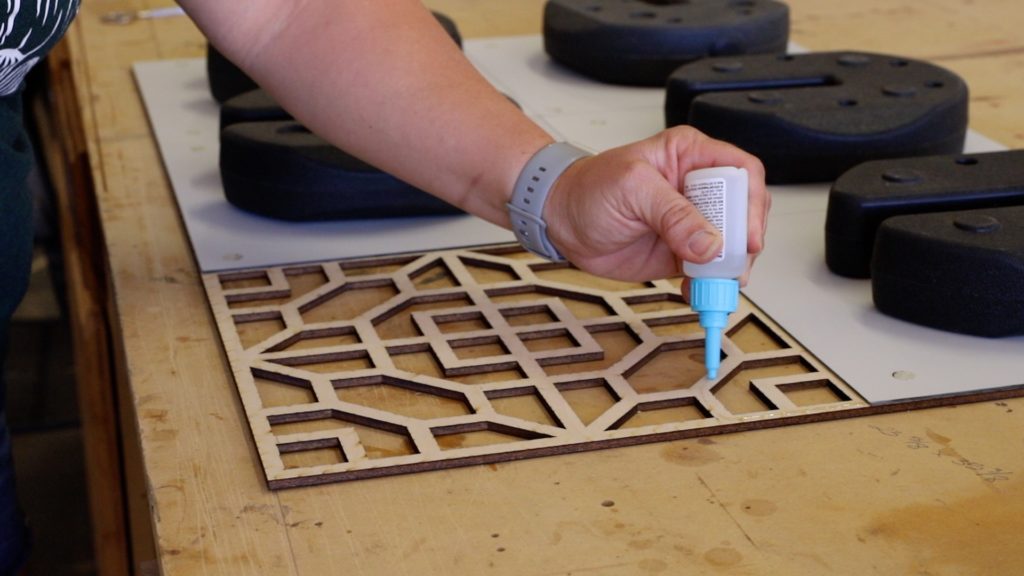
I let the stain dry for a few hours, then began gluing the mirror tiles to the laser cut panel. To do this, I used DAP RapidFuse All-Purpose Adhesive. It sets in seconds and dries super fast. It bonds to virtually anything, so it’s perfect for gluing these mirrors to the wood panel.
As I glued the tiles on, I added a weight to the back of the mirror to hold it flat while the glue set. Plywood LOVES to warp in our dry AZ climate, and this one was just the tiniest bit warped and I didn’t want any gaps between the wood and the mirrors.
Now. If you don’t have a laser, this is where you want to start paying attention.
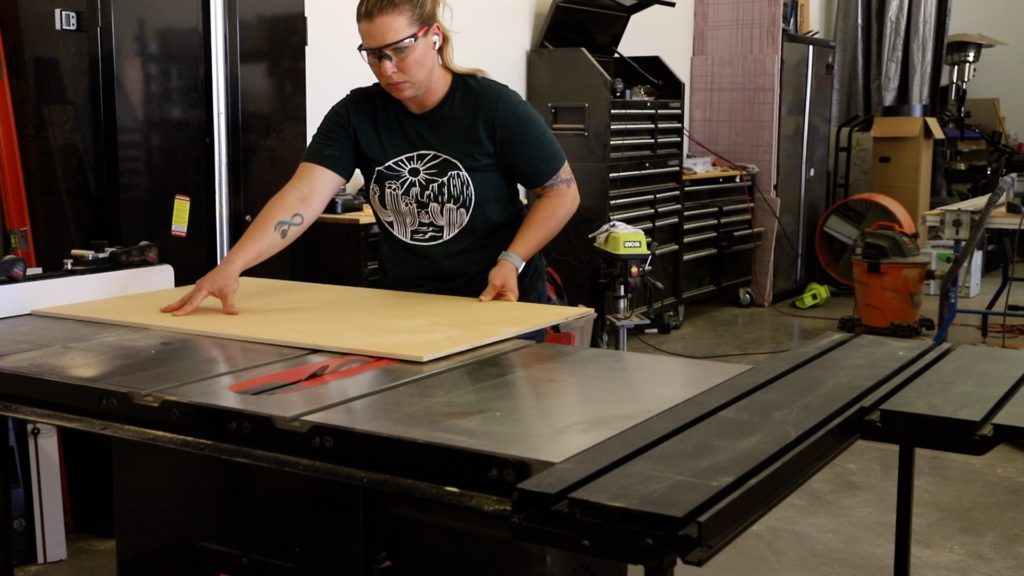
I cut a 3/8″ plywood backer to equal the size of the mirrored panel. I really should have used 1/2″ plywood, but I happened to have a nice piece of 3/8″ that seemed great for this job. It did make it so that I had to use shorter screws when adding D rings to the back for hanging, which is why I’d fully recommend a 1/2″ backer.
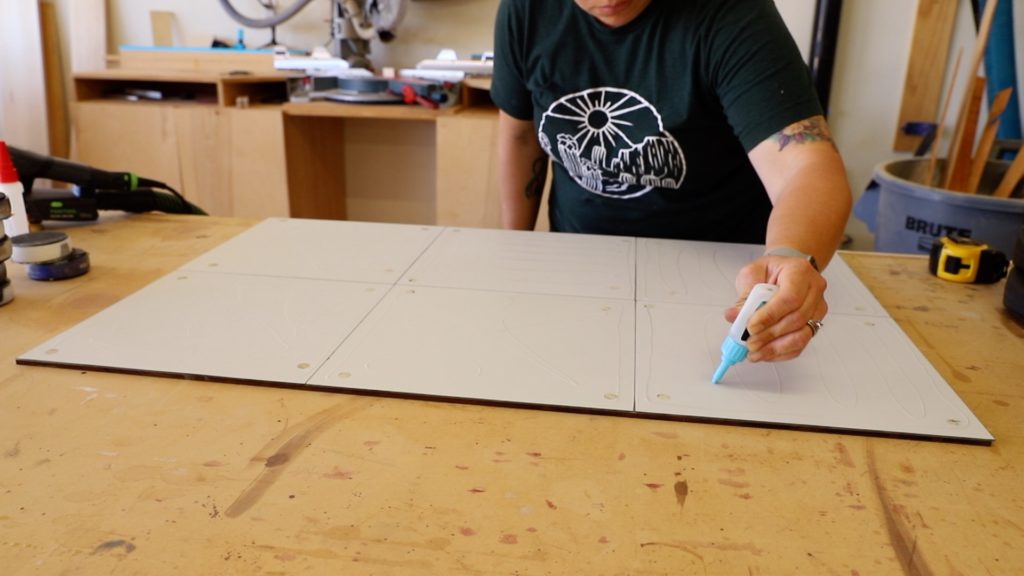
I once again used my RapidFuse All-Purpose Adhesive to glue the mirrors to the plywood backer.
If you do not have a laser, you can totally do this same thing! Cut a plywood backer to size and glue the mirrors to the backer. Using 3/4″ square dowels, you can cut them to length and create a grid pattern on the front of the mirrors. Even add some mitered angles if you’re feeling fancy. Stain all of the wood pieces and let them dry.
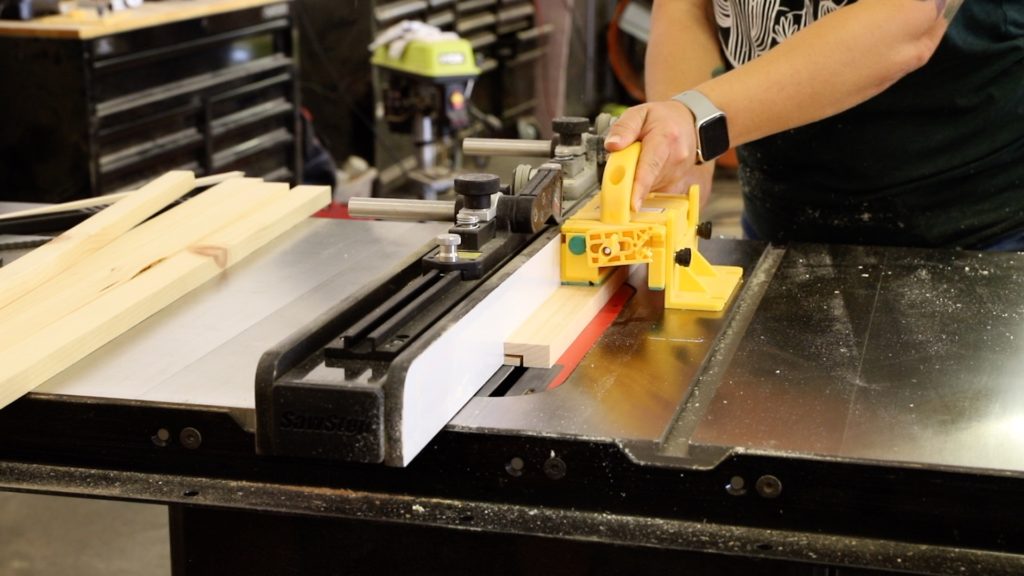
I used 1×2 pine to make the frame for my wall art. For mine, I used my table saw to create rabbets on the 1×2 pieces prior to cutting the mitered angles. This is totally optional and you can just glue and nail the frame pieces to the sides of the panel if you prefer.
If you’re not using a laser, cut your frame pieces and glue and nail them to the plywood backer.
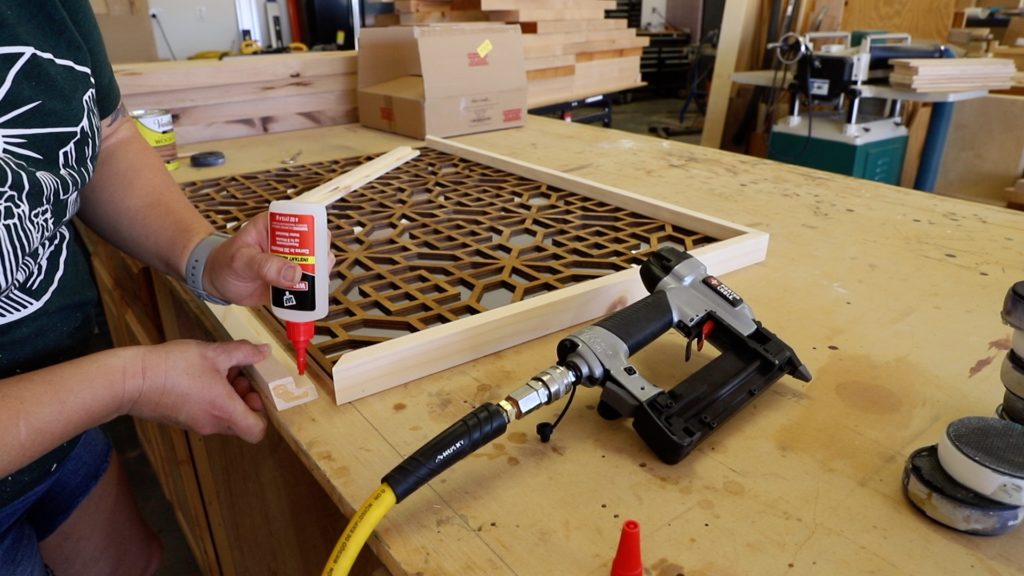
I cut my frame pieces to length and attached them to the plywood backer with DAP Weldwood Instant Adhesive and 1 1/4″ pin nails. Weldwood Instant Adhesive is one of my favorite products for small wood to wood applications. I use it all of the time with my laser cut items and it bonds super fast and cures in as little as 30 minutes.
If you’re still following along with the steps on how to build this without a laser, attach your stained and cut frame pieces to the plywood backer. Then measure your 3/4″ square dowel pieces and cut them to length to dry fit onto the mirrors inside the frame. Once all of your pieces are cut and you’re happy with the design, attach the square dowels to the mirrors with RapidFuse and let dry.
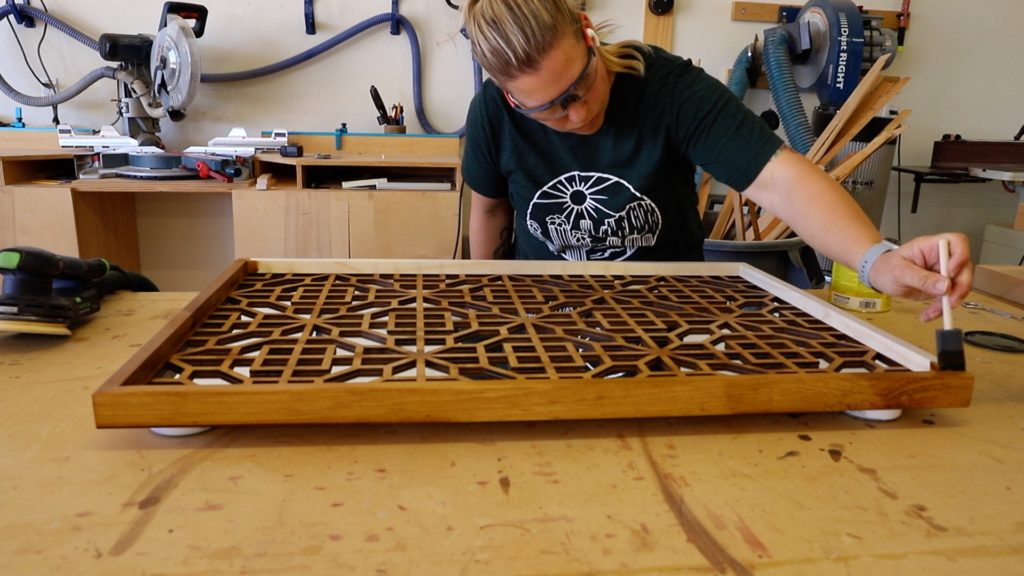
I cleaned up the corners of my frame with sandpaper and then stained the frame and let it dry. Normally I would stain the frame beforehand, but I always need to do a little touchup sanding after attaching the frame and so this time I decided to experiment a bit and try staining after the fact. In this instance, it worked great because the wood panel on top of the mirrors is the same color as the stain. I wouldn’t recommend doing this if you don’t have that panel there or if you’re going with a two-toned look.
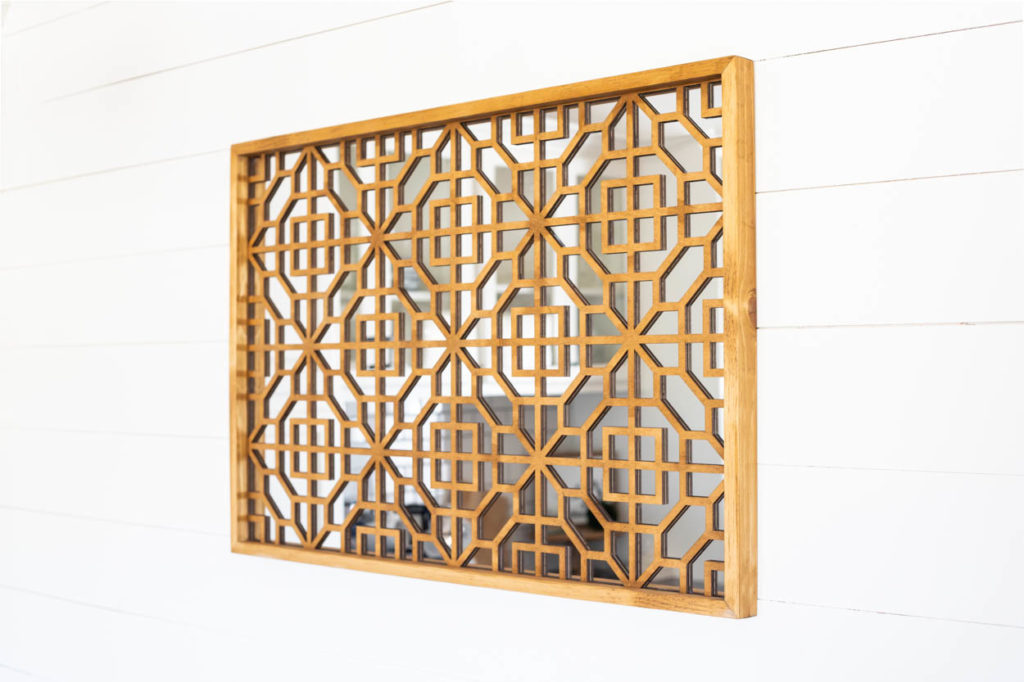
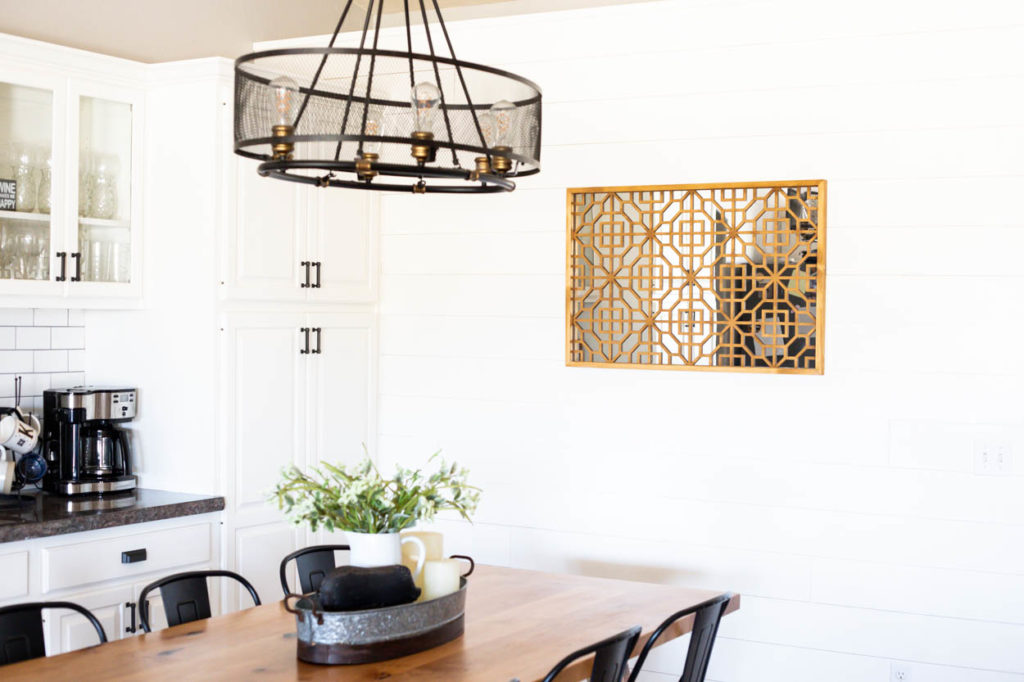
I’m so happy with how this mirrored wall art turned out and the extra bit of color it brings to the blank wall in my dining room. What do you think? Would you make something like this?
I also want to give a special thanks to my friends at DAP for partnering with me on this project today. Be sure to check out their website for the amazing variety of products that they offer for all of your DIY needs.
Also be sure to check out the YouTube video for this project!
DISCLOSURE: I was provided product and/or compensation for this post. All opinions and ideas are 100% my own. This post contains affiliate links. Should you purchase an item from one of these links, I will receive a small commission at no additional cost to you.

Really love the design done on the frame. Fills the space up with a nice touch. Great stuff.