It’s not the most glamorous project to reseal a shower and sink; however, it’s definitely a necessary one. If you’ve ever had to repair water damage, you know what I mean. While resealing your kitchen and bathrooms in the house is important, it’s equally important if you own an RV. Over time, age and the changing weather conditions will take its toll and you’ll need to do preventative maintenance to ensure you are able to enjoy your RV for years to come. We’ve had our toy hauler for 11 years now and have learned the hard way that preventative maintenance can save a lot of headache. Last year, we had to repair extensive water damage in the wall from a leaky window. The leak was due to a defect in the window frame; however, it spurred us to make sure that we keep up with all preventative maintenance on the trailer. It not only saves time, but can also save a ton of money.
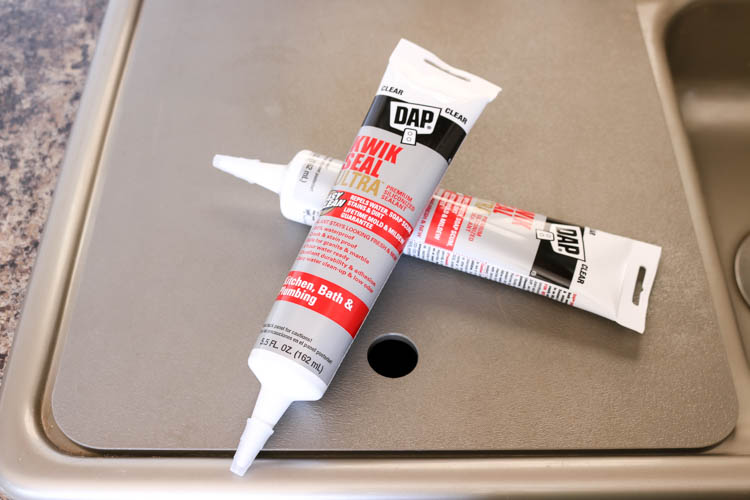
I’m partnering with DAP today to show you how to reseal a sink and shower using DAP Kwik Seal Ultra. It’s a siliconized sealant that works great in kitchens and bathrooms. You can get it in a squeezable tube or a caulking tube in white, clear or almond. Because we have a variety of different surface colors in our trailer, I chose to use the clear sealant.
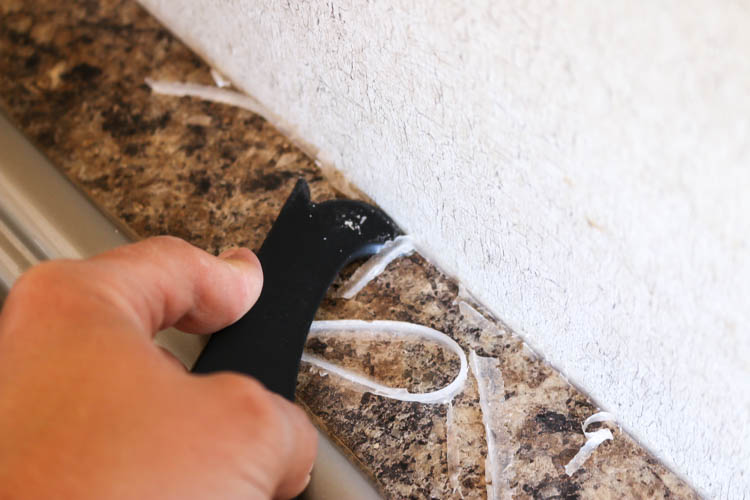
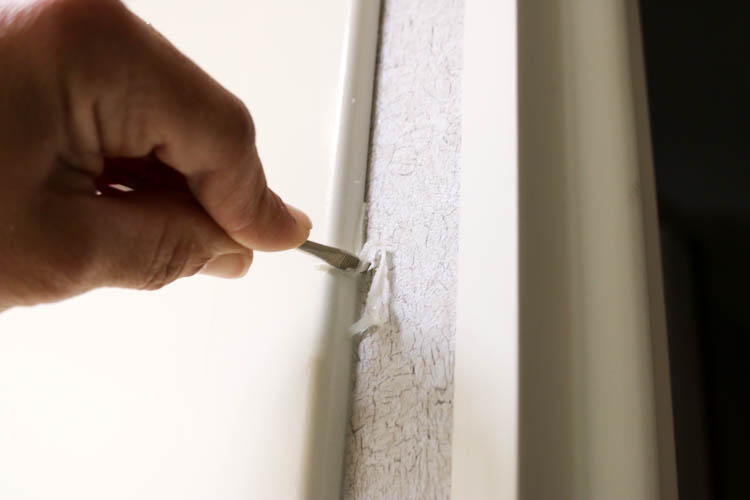
Before getting started, you will need to remove the old sealant around your sink, counter, tub, etc. It’s a tedious job, but absolutely necessary to ensure that the new sealant you use makes a water tight bond in the crevices you’ll be sealing. I used a plastic caulk remover tool in the kitchen, but found a small screwdriver worked best in the bathroom.
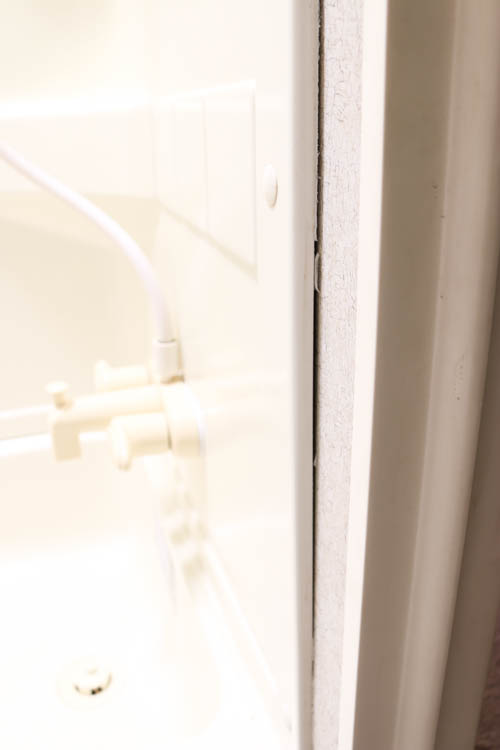
In some areas of both the kitchen and shower, the wall paneling had flexed and pulled away from both the shower stall and the kitchen counter. These are prime locations for water to seep in and cause damage. In the shower stall, this was due to a stripped out anchor, so I used DAP DynaGrip to adhere the shower stall back to the wall. I didn’t photograph that step, because it was impossible to hold my camera and squeeze the DynaGrip behind the shower stall, and it’s way too small to fit myself and a tripod into this tiny little space. You’ll just have to take my word for it. While I waited on the DynaGrip to dry, I got back to work in the kitchen.
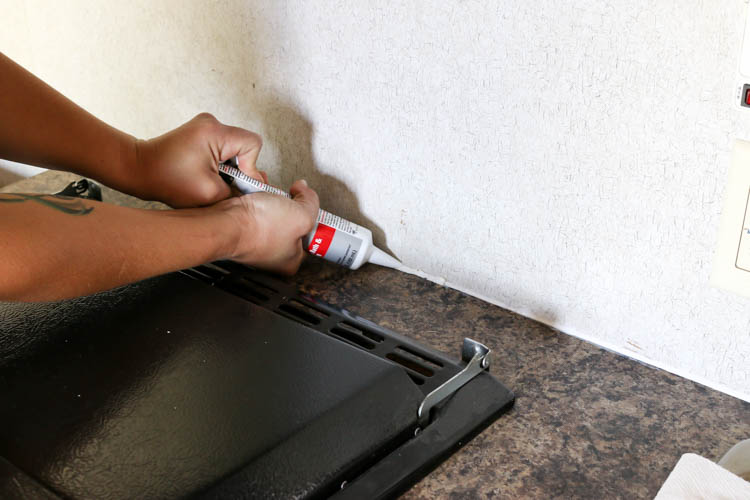
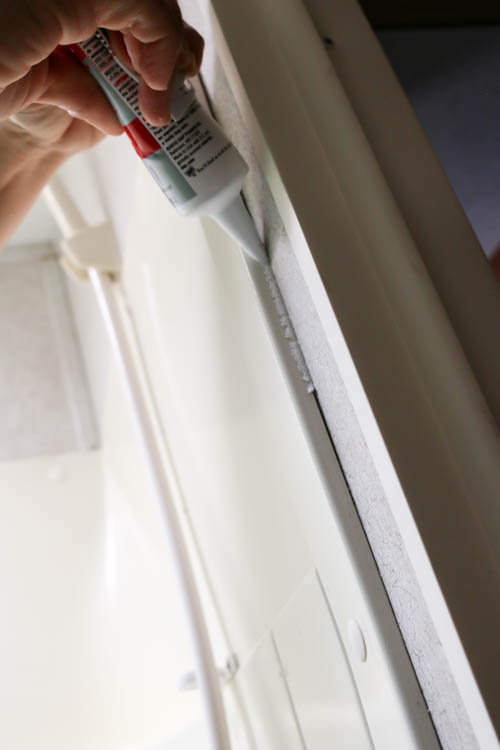
I squeezed a thin bead of Kwik Seal along the walls joining up with the kitchen counter, the kitchen sink, and the shower. The Kwik Seal is thick, so you’ll need to squeeze pretty hard to get it out of the tube, but this smaller tube was much easier to work with in tight spots, like behind the kitchen sink. If you’re resealing a tub or shower surround where you have a long open span to seal, then the caulk style tube will be perfect.
I worked in small sections to seal the counter and wall, then cleaned up the bead with a caulking tool before it skinned over.
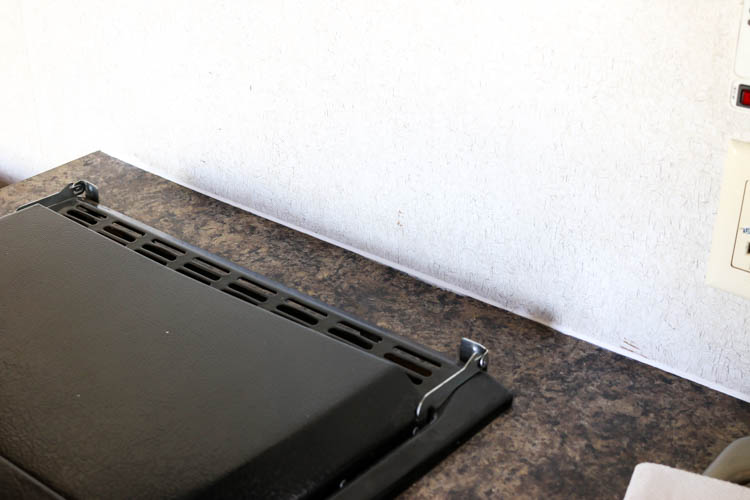
Once I was finished, it was time to let the Kwik Seal cure. You may remember that I said I chose clear Kwik Seal and this is CLEARLY not clear in color. Don’t worry. The Kwik Seal starts out white and dries clear. The tube says it takes 7-14 days; however, it dried clear the next day in the trailer. I’m certain the warm, dry conditions had something to do with it.
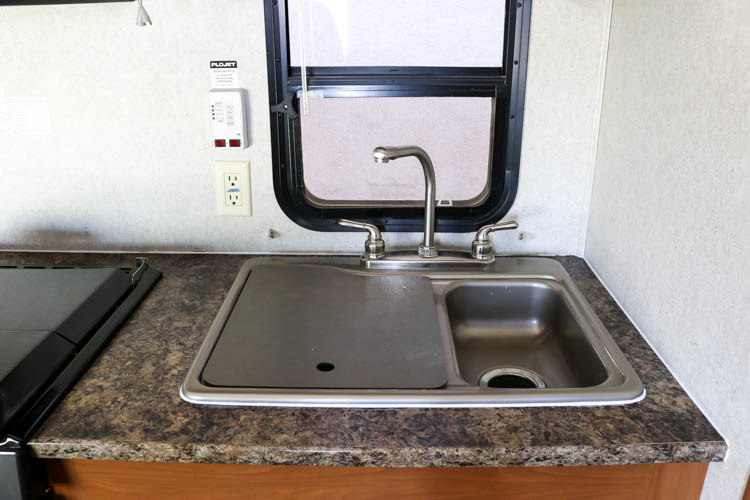
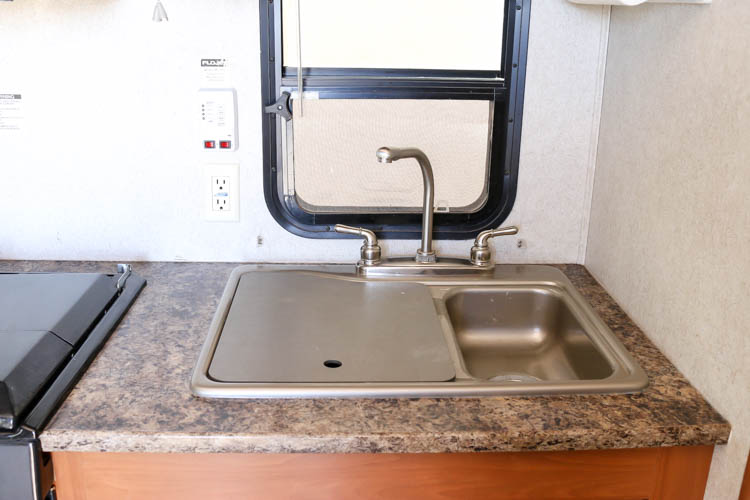
You can see how nice and clear the Kwik Seal dried around the kitchen and I’m so glad I worked on this project when I did. With the old sealant pulling away from the wall panels, it was only a matter of time before water got in there while I was washing dishes on a camping trip. Over time, it could have lead to a lot of damage. If you’ve been needing to reseal any areas in your home or your RV and have been wondering what product you needed to use, I highly recommend using Kwik Seal Ultra. It’s simple to use and is water ready in 4 hours after application. It is also crack and stain proof, plus it’s low odor. That was a big plus considering the small spaces I was working in. You can find DAP Kwik Seal Ultra at most home improvement stores.
DISCLOSURE: I was provided product and compensation for this post. All opinions and ideas are 100% my own.

What a wonderful soul you are. Your blog saved my life today. Just one question. Do need to dry the area of application before applying. 🤔
Hi Tasha. Yes, you’ll want the application area to be clean and dry to ensure that the new sealer adheres and cures properly.