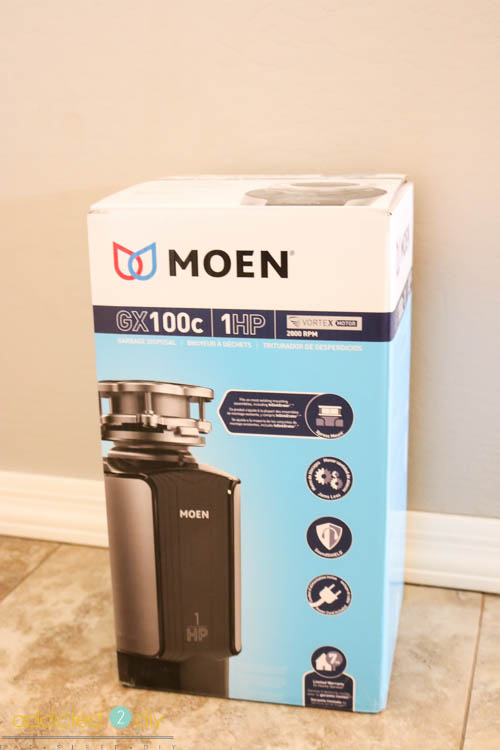
Hey there, everyone! Today, I’m teaming up with Moen to show you how I quickly and easily replaced our garbage disposal. If you haven’t heard yet, Moen now offers seven different models of garbage disposals, ranging from 1/3 horsepower to 1 full horsepower. Now the #1 faucet brand in North America not only has you covered above the sink, but also below the sink! The new Moen garbage disposals have a compact and lightweight design. Their universal Xpress Mount installation makes it quick and easy to swap out your old disposal and their Vortex permanent magnet motor means that it’s running at full speed the second you flip the switch to allow food particles to be finely ground without jamming up the motor.
The new Moen garbage disposals are so easy to install. They come pre-wired, so you don’t need to do any electrical work. Just plug and play, or I guess grind in this case. My husband offered to change out our old garbage disposal for me, but I wanted to be the one to do it. I like to know that I can do things myself if the need ever arises. With him working 48 hour shifts at the fire station, it’s inevitable that things will always break (and do) when he’s at work.
The Moen garbage disposals come with just about everything you need, minus a couple of tools that you’ll need to grab from the garage. I set it up under the sink next to our old disposal to make sure the existing fittings would all work or if I needed to use the one that came with the disposal. In this case, I was able to use everything we already had, which made this swap even quicker!
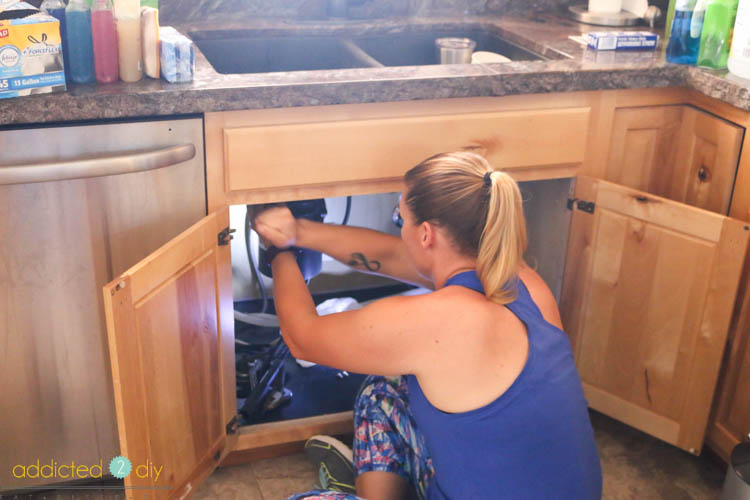
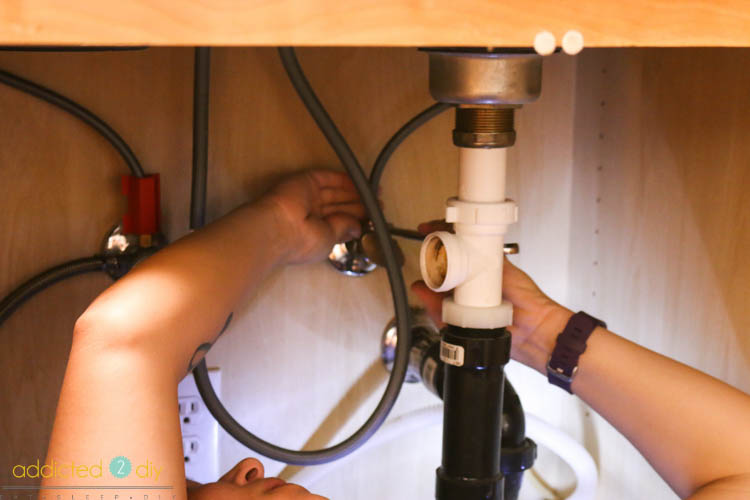
I unplugged the old disposal and disconnected dishwasher line and the drain pipe. After that, I had it out in just minutes.
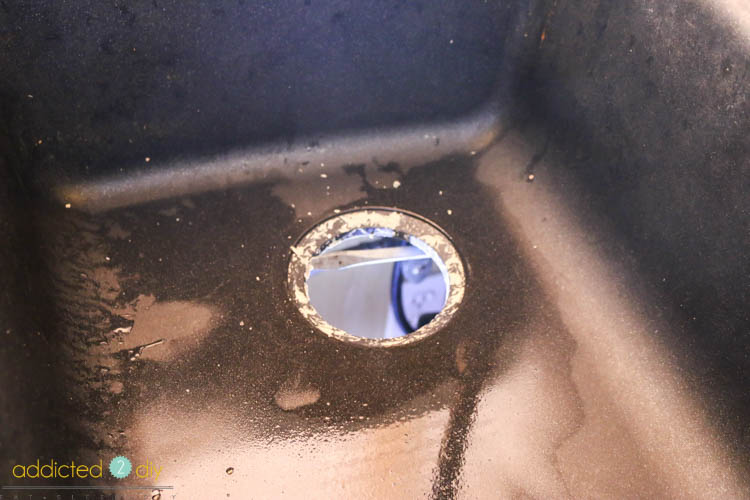
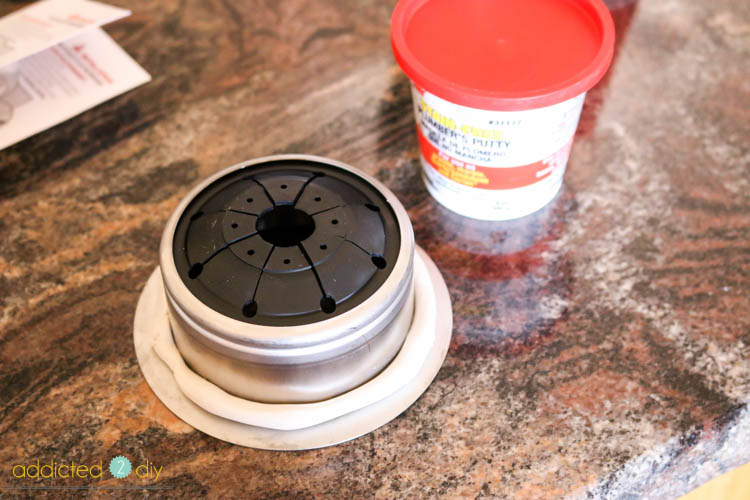
The Moen garbage disposal comes with a new sink flange, so I took out our old one and scraped away all of the plumber’s putty residue with a screwdriver. You want to make sure to wipe out the entire sink area after this as well as underneath to ensure a good, watertight seal when you install the new flange.
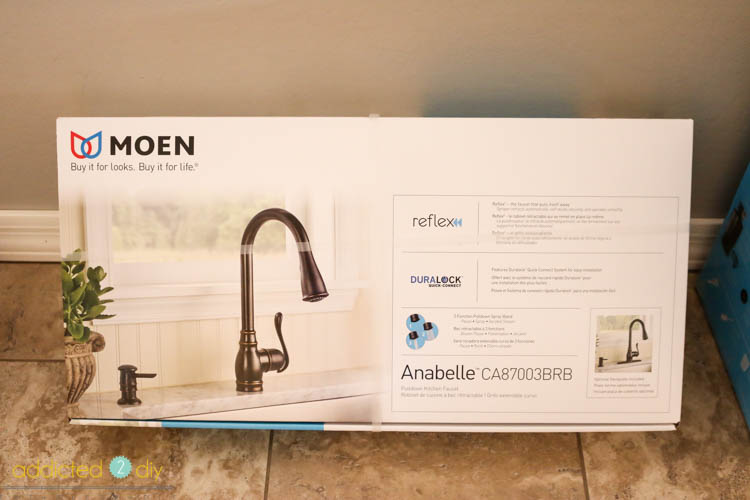
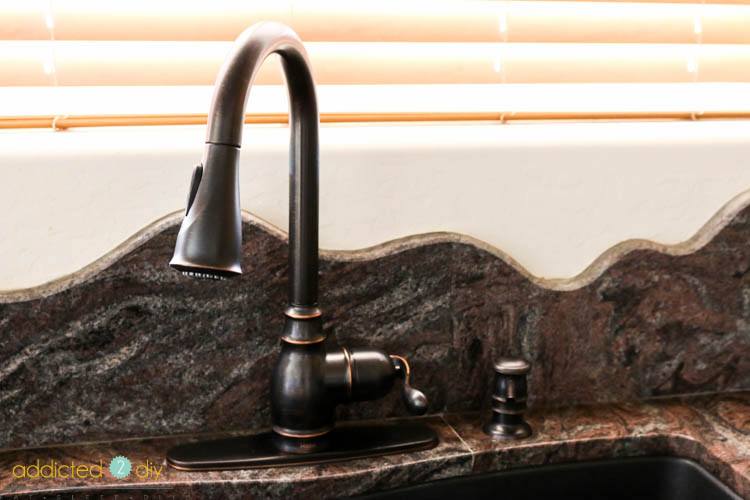
While I was under the sink, it was a perfect time to install a new faucet. Ours was in pretty bad shape after years of hard water and calcium buildup, so a new one was in order.
While the old disposal was out, I had more room to work with and installed the new faucet.
Then it was time to get back to the garbage disposal. The new sink flange needs plumber’s putty to make it watertight. It’s basically like play-doh and you roll out a long piece of it to fit around the sink flange. Press the flange down firmly into the sink and scrape away any excess putty that may squeeze out.
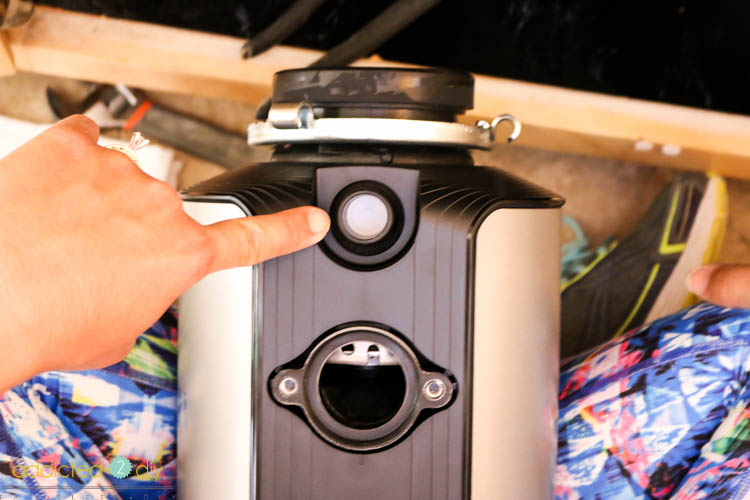
Before installing your new garbage disposal, you want to make sure you punch out the plug where the dishwasher drains to. This is apparently the MOST FORGOTTEN step when replacing a garbage disposal. While it’s very easy to take it back off again to remedy the problem, you probably aren’t going to like the result of forgetting to punch this out. I just used a screwdriver to pop it through and then pulled it out of the inside of the disposal.
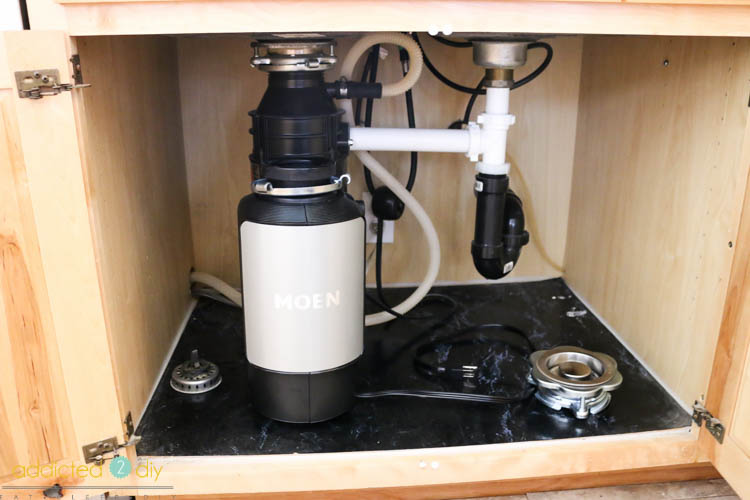
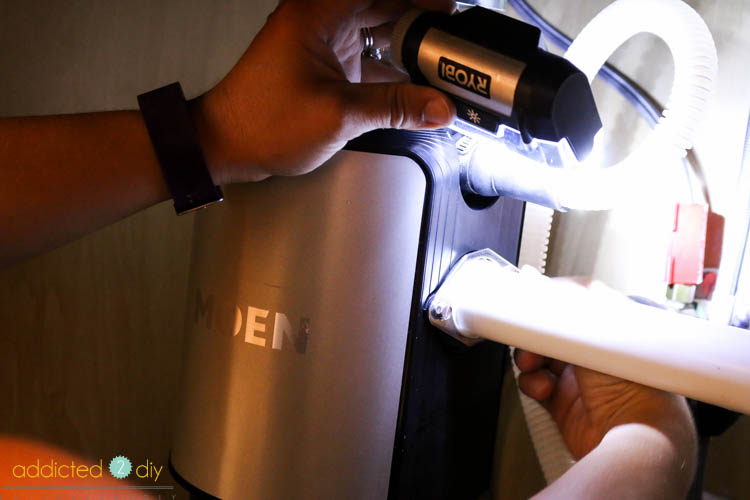
I mounted the disposal in place, secured the screws, and then attached the hose and drain pipe. When mounting this, you’ll want a second set of hands above to hold the sink flange in place while you push the disposal up to it. This way everything stays where you need it to.
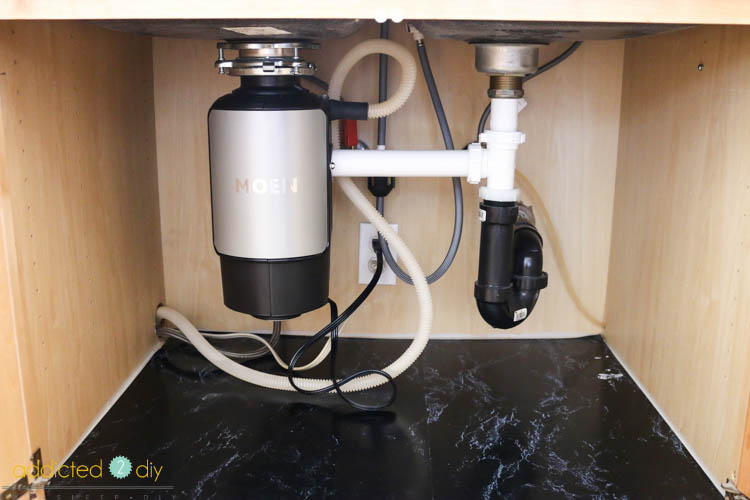
Our new Moen garbage disposal looks great under the sink and I am definitely pleased with how it operates, AND how easy it was to install! To make these disposals even better, Moen backs them up with a limited warranty that includes in-home service to guarantee you’ll have help with your disposal, if you should need it. Interested in getting one? You can purchase Moen Garbage disposals online from The Home Depot. For more information on Moen garbage disposals and to decide which one is best for you, visit Moen.com for all of the details!
DISCLOSURE: I was provided product and/or compensation for this post. All opinions of the products used in this post are 100% my own. Please read my disclosure statement for more information.

Leave a Reply