With summertime nearly upon us, the warm weather starts bringing out all sorts of insects and critters. In fact, we’ve had quite the bee problem in our neighborhood, and what they leave behind is absolutely insane! We also have relentless woodpeckers who will stop at nothing to peck massive holes in unsuspecting homes. Today I’m going to show you how to repair holes in your home’s exterior. It’s one way I’m working to not only keep our house looking nice, but keep the bugs and other critters out!
We have had a number of holes around our house for a while now and, frankly, I was getting tired of looking at them. Especially the giant one under our back patio.
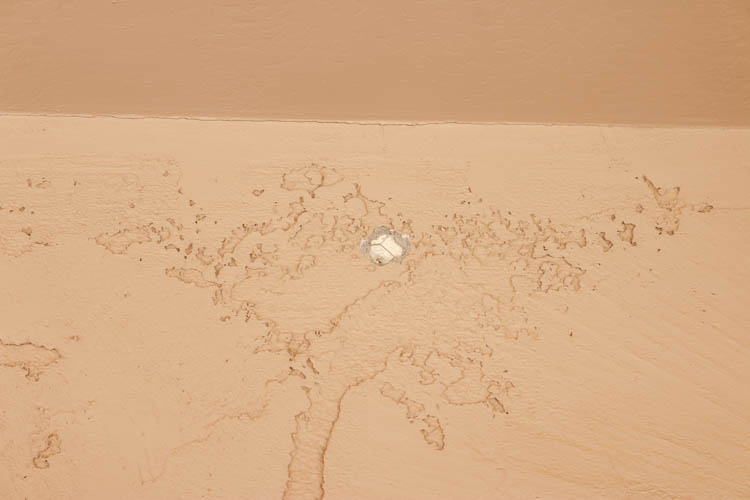
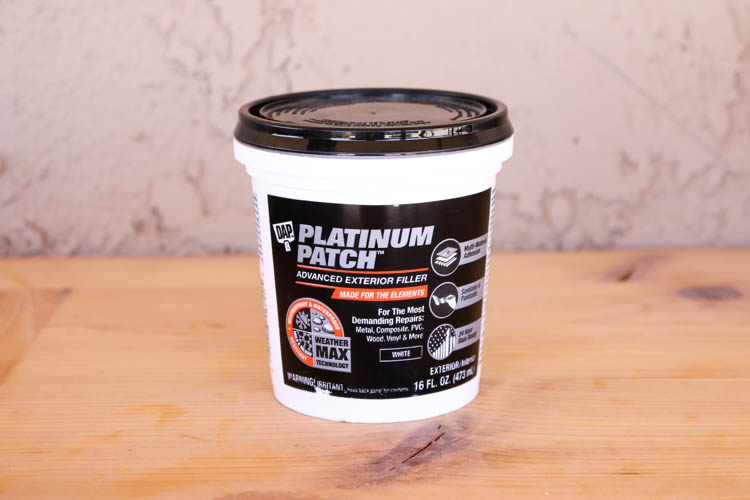
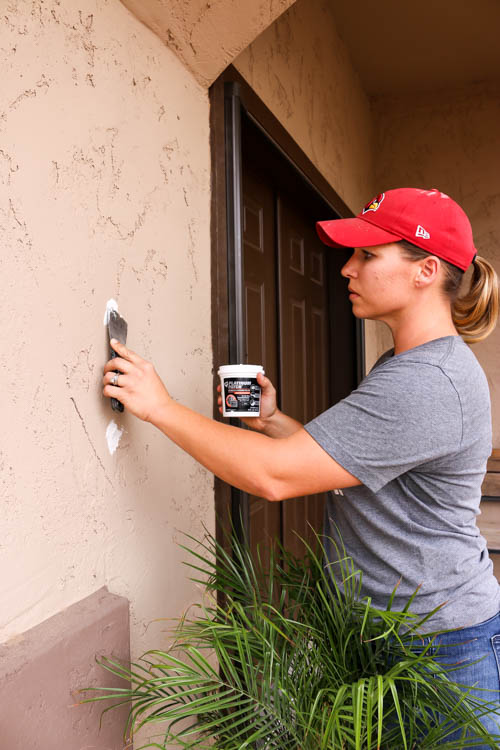
I told the folks at DAP about my little problem and they recommended Platinum Patch. While I can’t really call it an all-purpose filler, it does patch holes in a wide array of materials. Since we all don’t have the same type of house, this is a perfect go-to product for stucco, vinyl siding, wood, etc.
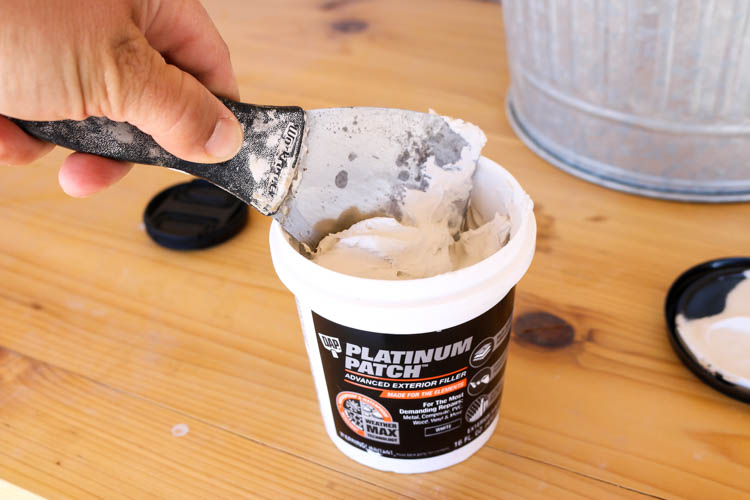
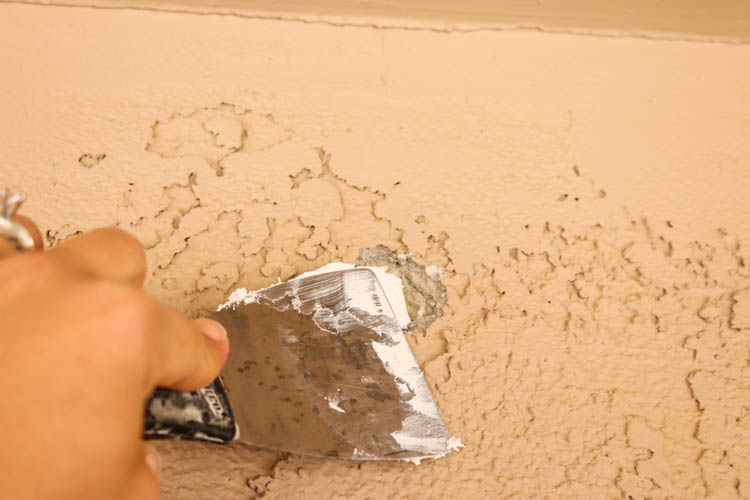
There wasn’t much prep to be done to get started. All I needed was a clean (or clean-ish) putty knife, and I have the Platinum Patch a little stir before applying it to the house.
Platinum Patch works great on most sizes of holes. For this larger hole, I needed to fill it in layers, letting it dry in between.
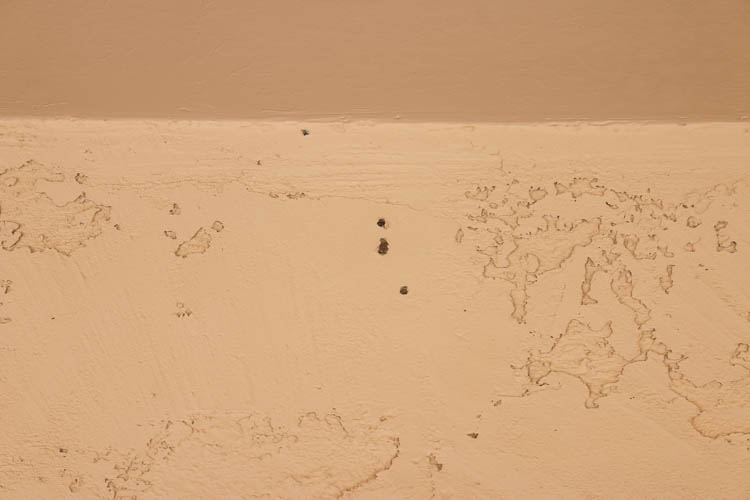
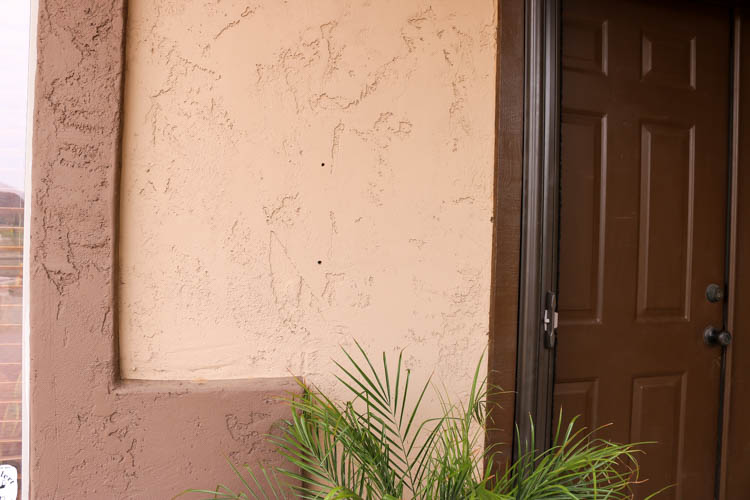
Did you know bees can enter your walls and set up a hive by going through a hole the size of a pencil eraser? In fact, our soon-to-be neighbors down the street found a massive hive in the roof of the house they’re building. It was crazy how many thousands of bees they found, not to mention to massive amounts of honeycomb in just a short period of time. Given that, when my boys thought they saw a bee in one of these holes a few weeks ago, they totally freaked out. Frankly, I don’t even remember those holes being there, so I’m not sure what happened. Probably the woodpeckers again. Thankfully, though, no bees.
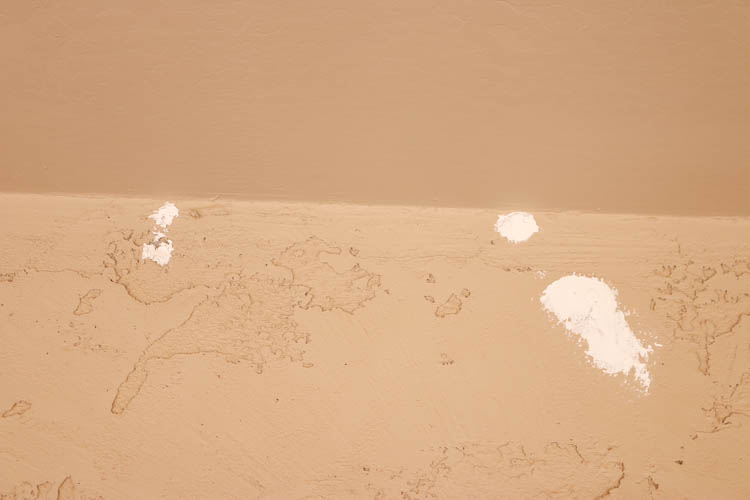
I quickly filled them with the Platinum Patch and let it dry.
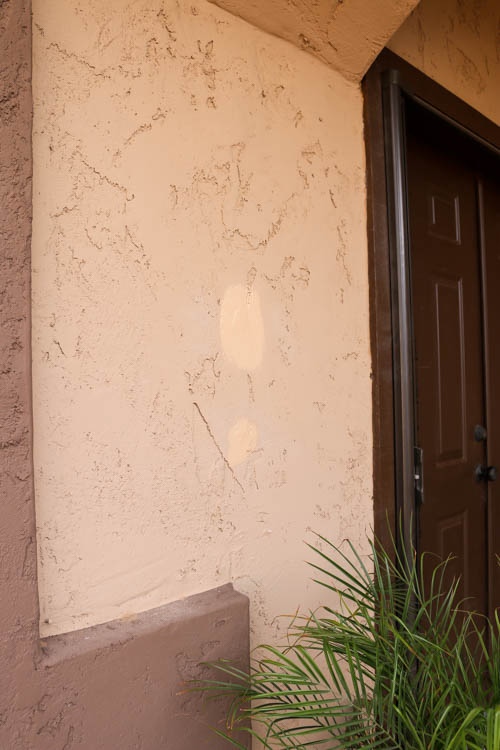
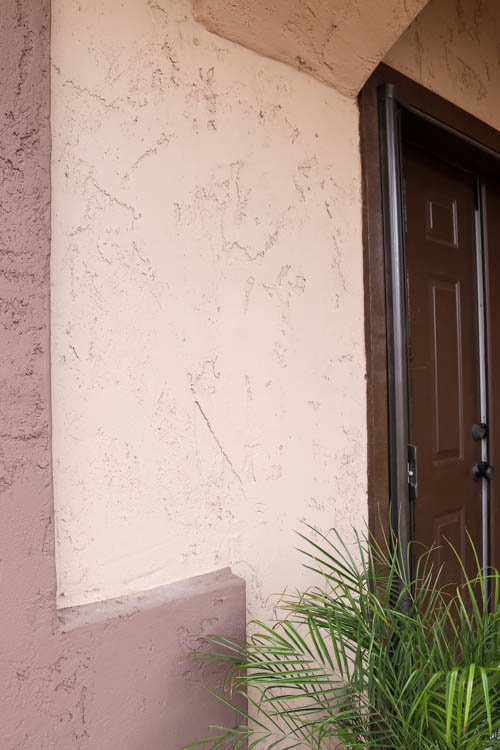
Once it was dry, I sanded it down a little, then painted over it. This would be the point in the process where my heart stopped a little and my husband said he was going inside to remove himself from the situation. I KNEW the bucket of paint I grabbed was the color of our home’s exterior, and I also knew the paint would be a slightly different color until it dried, but this was WAY off! I didn’t know if the paint on the house had faded or if the paint in the bucket somehow wasn’t mixed right, but I was starting to panic. Thankfully, I didn’t do what I would normally do in this situation and keep painting a larger area to see if that helped.
The good news was that 10 minutes later, you wouldn’t even know there were holes there! Crisis averted, and my husband joined me back outside. Of course, then he started inspecting other areas of the house and found MORE holes that needed to be filled. Needless to say, we may be going through a few tubs of this stuff. I really did like how easy it was to use. It was sandable, so if I filled a hole on a smoother part of stucco, I was able to knock down some of the texture. This also makes it a perfect solution for smooth exterior home surfaces as well. It’s paintable in 2 hours or so (depending on how thick is applied), and it’s able to withstand the elements (rain) within 24 hours. We’ve probably got months before we even have to worry about a drop of rain hitting it, but it’s good to know the cure time is quick! If you have some holes to patch in your house and you’ve been putting it off because you just weren’t sure how to go about it, I highly recommend Platinum Patch from DAP. It comes in tubs like what I used as well as a squeeze tube for easy application in smaller holes. Just apply it, sand it, and paint!
DISCLOSURE: I was provided product and compensation for this post. All opinions and ideas are 100% my own.


Do you think this would work as well on thin cracks in the stucco? I’ve been noticing quite a few of those on our home recently.
As long as the cracks are not growing, it should work just fine. If you notice that the cracks are new and/or are growing, then I would choose a different product that will allow for a bit of expansion.
It’s a great way to fix holes, it looks brand new! I think I’ll give this a try for now.
Wow, thank you for this post, Do you think this would work for cracks on walkway near (outside front ) stoop?
What can this product be used for? The container says not to use it to fill cracks or joints? I woodpecker size hole in siding is approximately 2 inches around and leaves a void in the wall equal in depth to the size of your exterior framing, (3.5 inch for 2×4 or 5.5 inch deep if 2×6 framing etc). The instructions say to not use deeper than 1/8 inch at a time. If I must fill woodpecker size hole with some kind of plug first that will leave cracks around the plug and existing hole which the product instructions says not to use product to fill cracks. I am confused as to how to use this product.
The product is not meant to be used for cracks where expansion and contraction may occur. If you secure a plug or mesh over the woodpecker hole and then fill it with the Platinum Patch, there shouldn’t be any expansion or contraction issues. If you were filling a crack that has gotten bigger over time, then you would want to use an exterior product that allows for some flex/expansion.