Learn how to design and create laser cut wooden puzzles that are perfect to give as gifts for any occasion.

I love making DIY gifts for holidays and special occasions. They are run to make and offer something a little different than just the regular store-bought gifts. This year is no different and I am working on getting a head start on that process with the first being these laser cut wooden puzzles.
I’m partnering with DAP Products to show you all how I made these beautiful puzzles. I made these puzzles on my laser; however, you can also make them using a scroll saw or CNC.

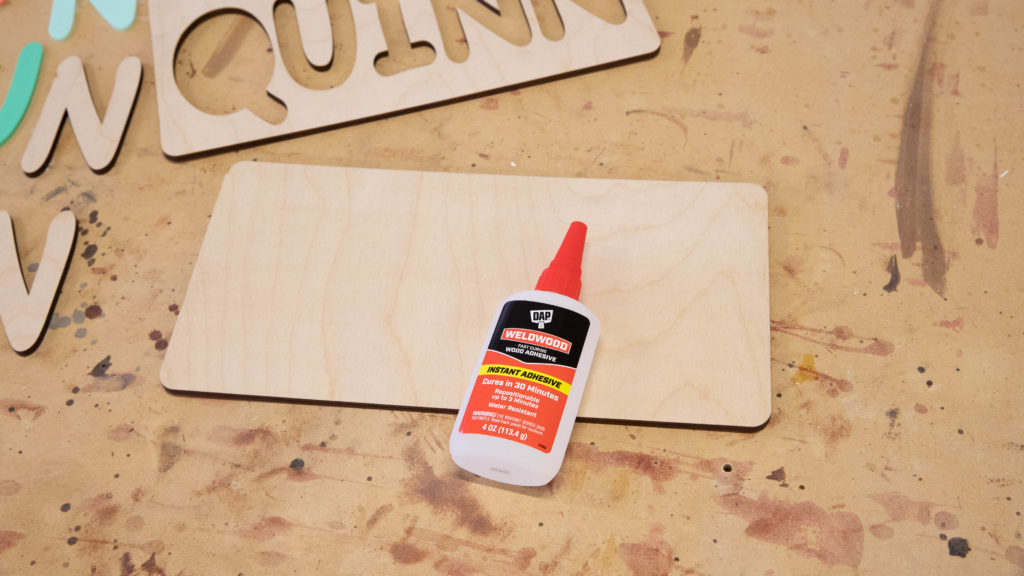
To assemble all of the puzzle pieces, I’m using DAP Weldwood Instant Wood Adhesive. It’s a nearly instant hold and fast drying. It cures in minutes, not hours, which means you have minimal downtime in between steps of your projects. This really came in handy for this project as some of the wood that I used was a bit warped.
Watch The YouTube Tutorial
I’ve put together a step by step tutorial of this project along with a YouTube video of the process. In the video, I share how I designed the puzzles using my LightBurn software for my laser. If you’re looking to make your puzzles on a CNC or scroll saw, the process is relatively the same and you can use your CNC design software or adobe illustrator to create the files.
Making The Wooden Puzzles

To get started on this project, I grabbed some 1/4″ baltic birch plywood and my sander. I sanded the entire sheet down on both sides with 220 grit sandpaper.

At my laser, I clamped the wood down (it was a little warped) and I cut out the puzzle board and pieces.

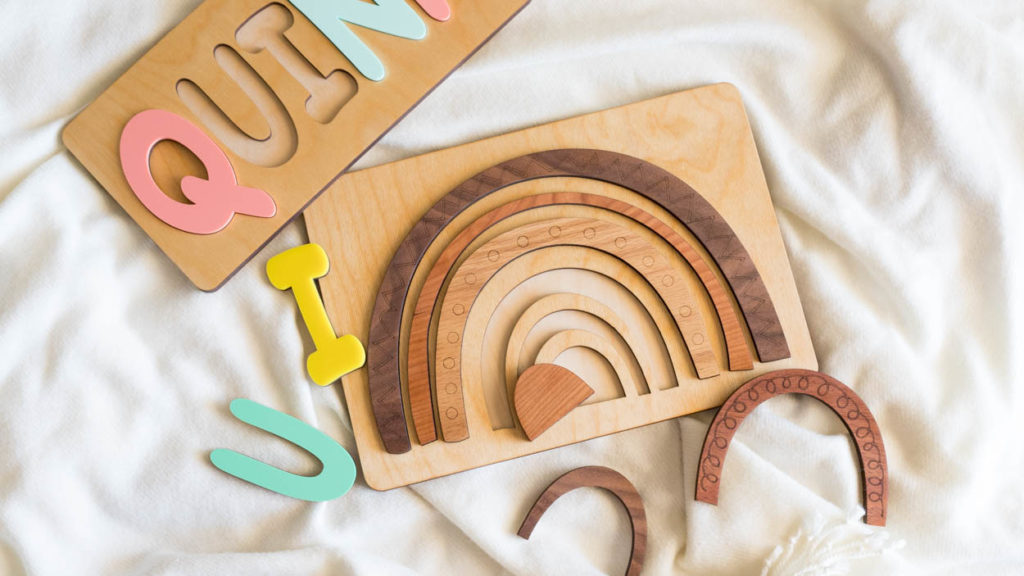
For the name puzzles, I used various colors of cast acrylic as the second layer of the puzzle pieces and cut them out on the laser as well. These can also be cut out of wood and all of the puzzle pieces painted, or use different types of veneer plywood to change up the colors of the letters.

I glued the top and bottom pieces of the puzzle board together using DAP Weldwood Instant Wood Adhesive. Be careful to not to use too much glue for this as you don’t want to have any squeeze out. A little bit does a lot to hold pieces together.

Because my pieces were pretty warped, I used some small clamps to hold the pieces together while the glue cured.

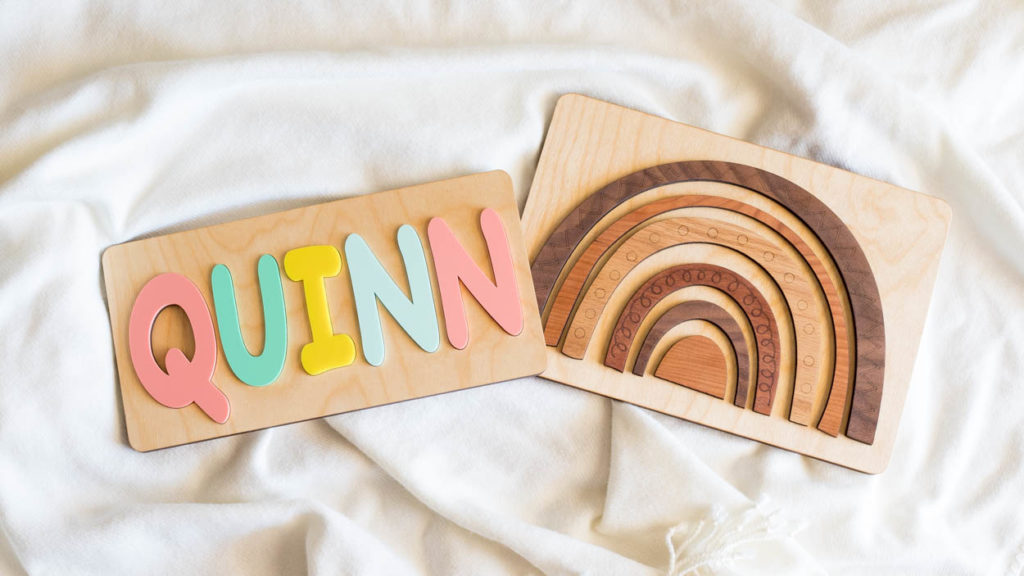
While the DAP Weldwood Instant Wood Adhesive seems like it is just for wood, you can use it on a wide variety of mediums, including acrylic. I glued all of the acrylic letters to the tops of the wooden letters, being careful not to add too much and cause the glue to squeeze out.

I wanted to make a second puzzle, so I went back to my laser to cut pieces for another one I had designed. I currently have a subscription to a site called Design Bundles and this boho rainbow design is a file that I was able to get for free with my my membership. I converted it to an SVG file and then imported it into my laser software.
I cut the base pieces for this puzzle again out of 1/4″ baltic birch, then used different varieties of veneer plywood for the top layer of the pieces.

I glued all of these pieces together in the same way I did for the name puzzle, being careful not to use too much glue to prevent squeeze out.

After I assembled all of the pieces, I applied pure tung oil to the puzzle. This really brings out the grain of the woods that I used and makes them pop. This step is entirely optional.

These puzzles turned out so pretty and I can’t wait to gift them this Christmas. They will make for a beautiful shelf display and sentimental gift for my cousin’s daughter whose room is decorated in a boho style.
And if you’re in the market for a laser and aren’t sure what kind you’d like to get, make sure you watch my YouTube video that details what brands I was considering and why I chose Thunder Laser.
DISCLOSURE: I partnered with DAP Products to provide this post and video to you. All opinions and ideas for this project and the products used were entirely my own.

Leave a Reply