Learn how to install laminate flooring with this simple tutorial. It’s not hard to do and oftentimes an entire room can be done in a day. With the proper tools, it makes the process even faster!
When we bought our house nearly nine years ago, we replaced all of the flooring in the house. In the bedrooms, we installed carpeting, which was great at first, but over the years it was put through a lot. Two growing boys, dogs, etc. Slowly but surely we’ve been swapping out the carpet in the bedrooms with laminate flooring. With each room, we learn more and more on how to best install it and what tools make the process easier. I’m partnering with Dremel today to show you how their Saw-Max handheld saw made the process of installing the laminate in my oldest son’s bedroom so much faster and easier.
The flooring I chose is Pergo Outlast+ in Vintage Tobacco. It’s the same flooring I installed in my younger son’s bedroom and I love the look of it.
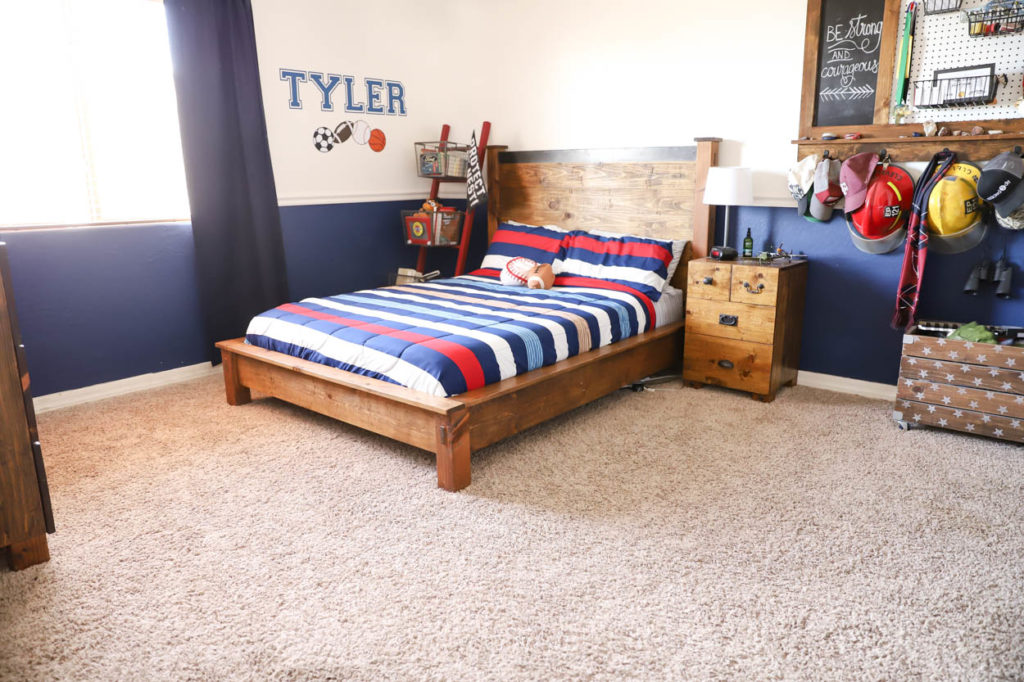
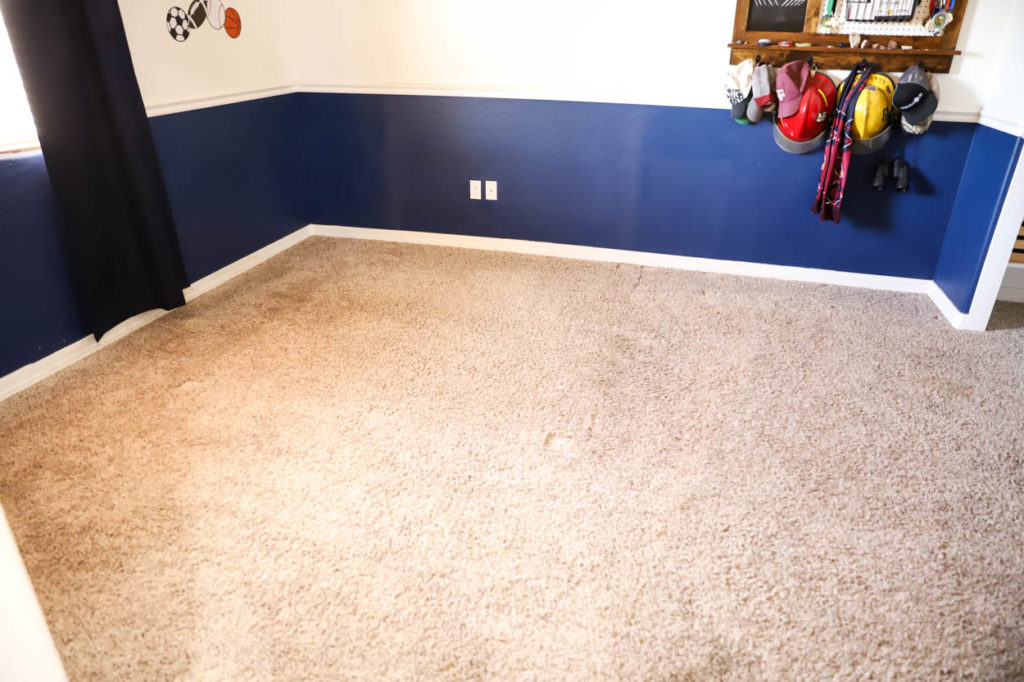
The “Before”
My oldest just turned 13 and I’ve been wanting to change up his room for a while. Something similar to what I had done in my youngest son’s bedroom. He hates change, and resisted for a long time, but finally agreed to let me work on his room. The first step was tear out the carpet.
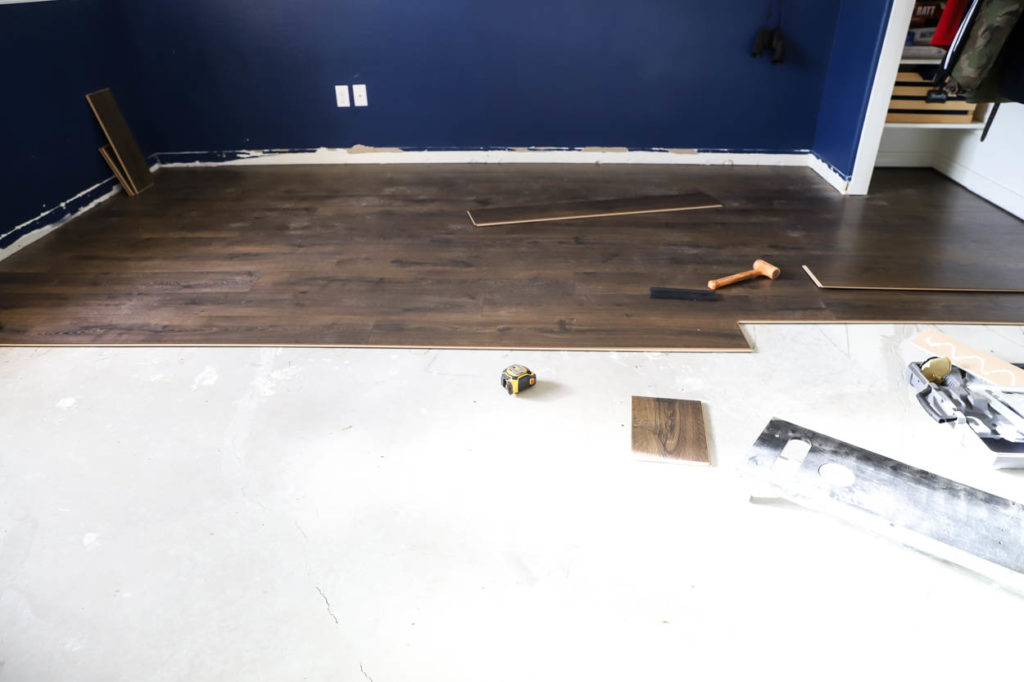
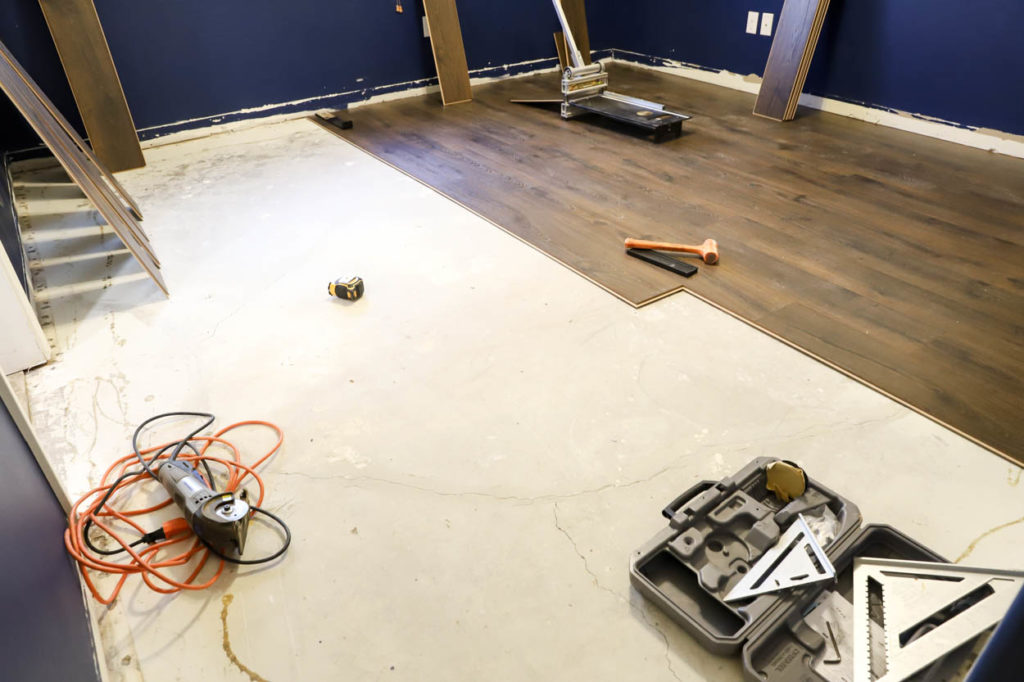
The first step was to move all of the furniture out of the room. Once the furniture was out, the carpeting was next. We pulled up all of the carpet, padding and tack strips, then carefully removed the baseboards. I’ve shared a tutorial on that before. My goal was to reuse the baseboards, rather than buy new ones and go through the whole process of painting, measuring and cutting.
Best Tools For Laminate Flooring
With this now being the fourth room I’ve installed laminate flooring in, I’ve learned what tools are the best and most efficient at getting the job done. I’ve included that list here with affiliate links. Should you purchase a tool from one of these links, I’ll receive a small commission at no extra cost to you.
- Mallet
- Pull Bar
- Tapping Block
- Bullet Tools EZ Shear Sharpshooter Laminate Flooring Cutter
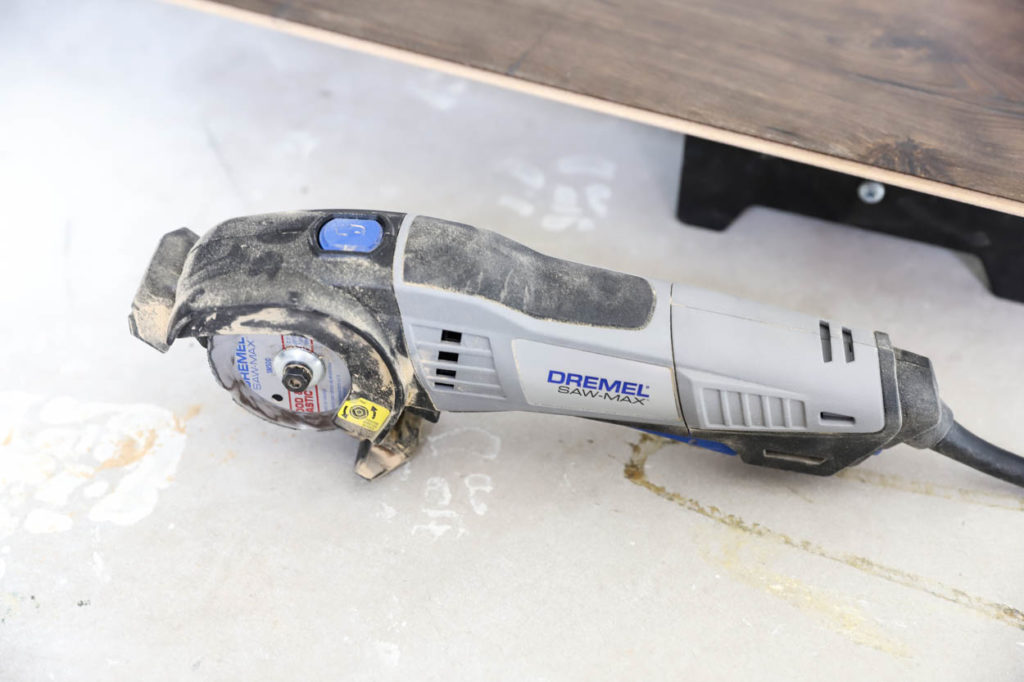
- Dremel Saw-Max
- Tape Measure
- Pencil
How To Install Laminate Flooring
When installing laminate flooring, you want to make sure to have a plan on where to start. Typically, you want the flooring to run the length of the longest wall. This allows it to feel more balanced and also helps the room to feel bigger.
The first few rows set the stage for the rest of the room, so make sure that when you install them that they are square against the wall. No wall is perfectly straight, but do the best that you can. You’ll be able to slide the flooring around a bit in order to line it back up and make sure that you haven’t shoved it too far one way or another under the drywall.
Try to install the flooring in a stair step pattern leaving about 12” or so between the end seams. Once you get to the end of the wall, trim your flooring and take the cutoff piece to start the next row. This allows you to keep the same pattern going throughout the rest of the room. If at some point you end up with a piece that is 6-8” or less, discard that cutoff and start with a new, full piece, or trim the new piece to the necessary size to start a new row with the stair step pattern.
How To Make Cuts Around Doorways
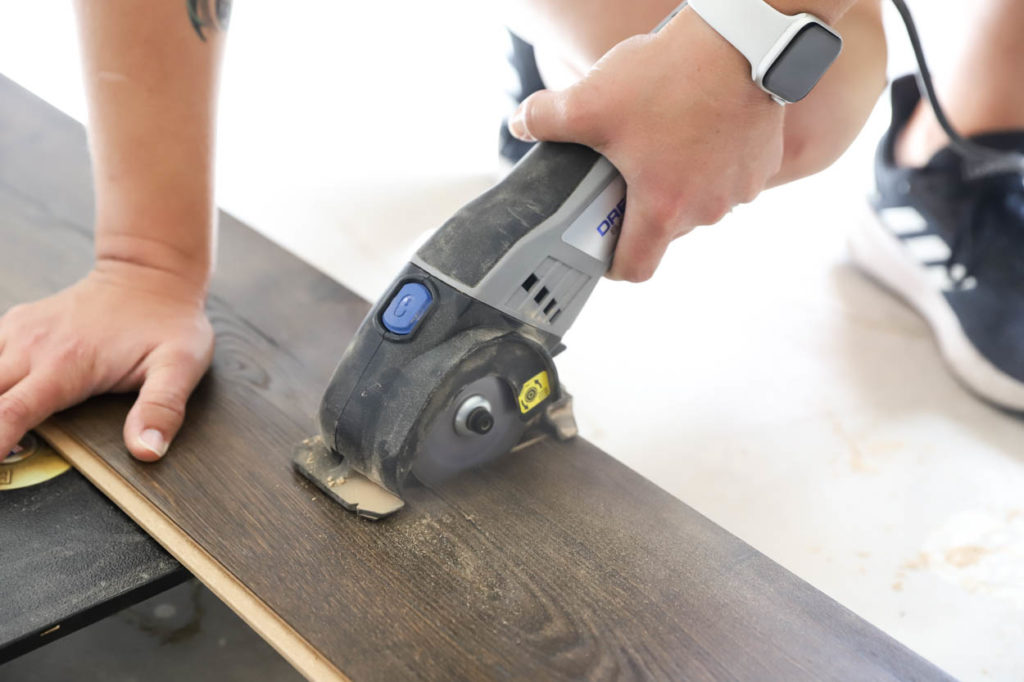
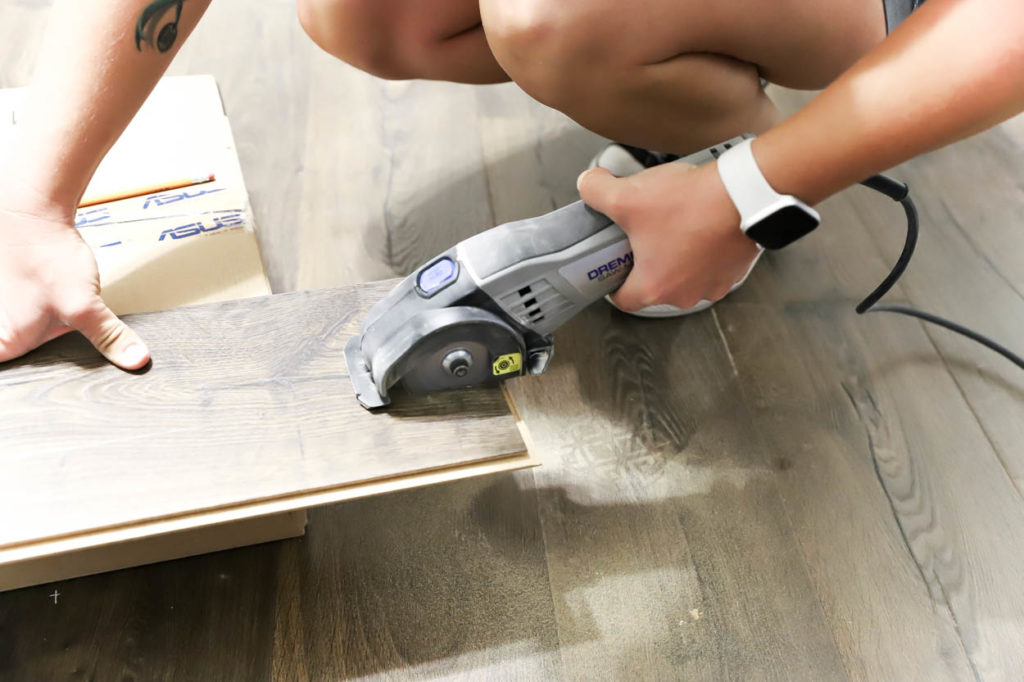
My new favorite tool for making cuts in flooring to either rip it down or cut around doorways is the Dremel Saw-Max. It’s fast and efficient, allowing me to make clean, straight cuts. I’ve used it to make flush cuts in wood, and it also works amazingly well on tile cuts. The blades are so simple to switch out in just seconds, so you can keep the progress going.
Making cuts around doorways can be a little tricky at times. You want to make sure your cuts are spot on and that you aren’t left with a huge gap anywhere that won’t be covered up by trim or baseboards. Line up your board next to the area you’ll need to notch out, making sure the end of the board is aligned with where it will eventually be attached to the previous piece. Mark where your notch cuts will be and then measure how deep the notch will be and mark that on the board. Cut each edge of the notch, then plunge cut across the board. Break off the notch and clean up the inside corners, if necessary, with a razor knife.
Ripping Down Laminate
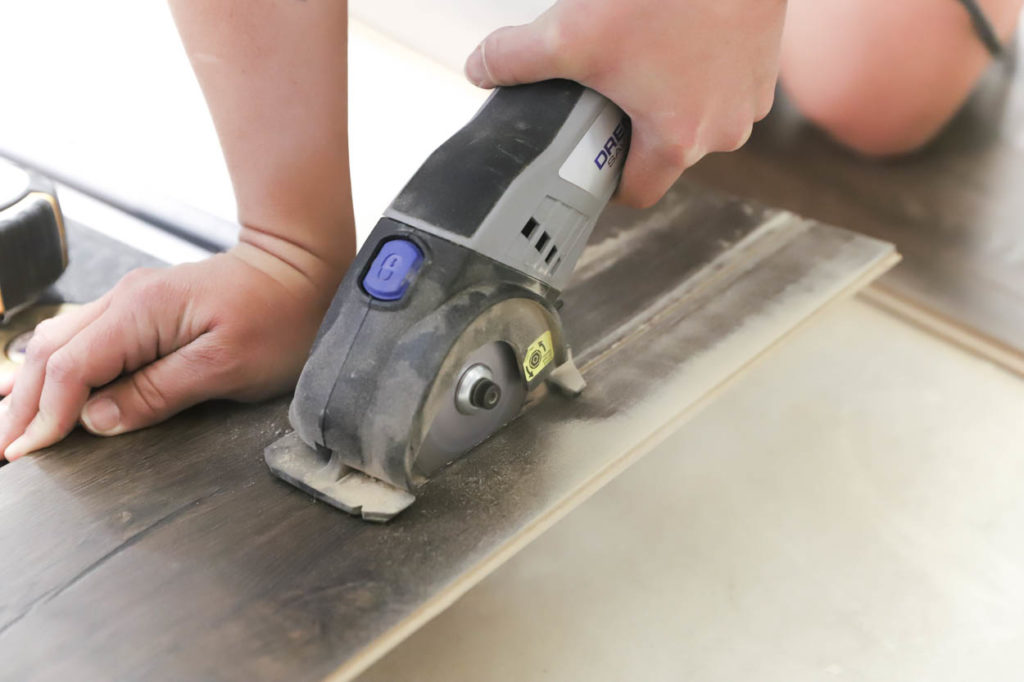
When finishing off the inside of the closet, the very last piece needed to be ripped down to size in order to fit. For this, I used a tape measure to determine the width I’d need for the board and then used a straight line to mark the cut. The Saw-Max makes it so easy to make straight cuts, without even needing a guide! The notch on the front of the saw allows you to easily follow your cut line as you run the saw the length of the wood.
I used to try to make cuts like this on my table saw, but I hated walking ALL THE WAY to the shop in order to use the table saw. I could NEVER get straight cuts with my jigsaw. It’s just not a talent I possess. The Saw-Max blew me away the first time I made a cut with it. I honestly thought I’d need to have some sort of guide, but it made perfectly straight cuts every time for me.
How To Finish The Last Row Of Laminate
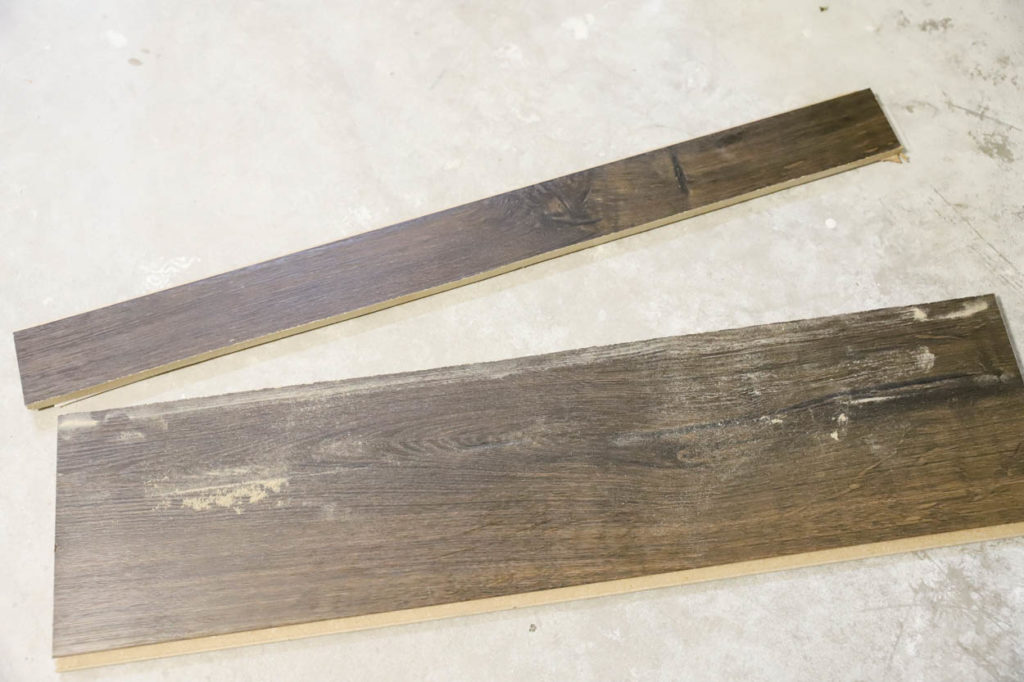
Finishing off the last row of laminate almost always will require you to have to rip down the last boards. Rarely (if at all) will the stars align and allow for a full board to be installed on the last remaining row. To determine the proper width to rip your board down, follow these steps.
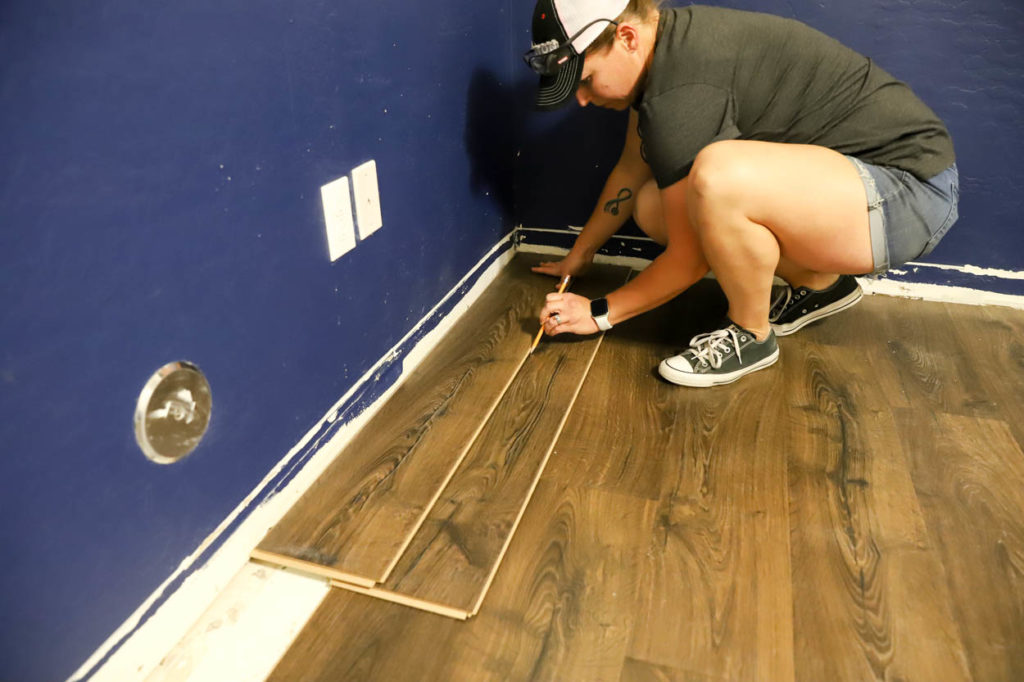
- Place the board you wish to rip down on top of the board in the row before it, completely flush with that board.
- Place a second board on top, flush against the wall.
- Trace a line with a pencil the entire length of the board.
- Rip the board down, following the line you traced.
- Install the board and follow the above steps for the remaining boards, trimming around doorways as needed.
Be sure to follow the above steps for each individual board. You cannot expect that the gap will be the same along the entire length of the wall, or that the flooring was installed perfectly straight. You don’t want to end up with too much or too little left on your final boards when finishing up the room.
The final step is to install the threshold at the doorway(s). Regrettably, I did not photograph this step, but you will need to purchase or order a coordinating threshold piece that is installed either directly into the concrete foundation or subfloor to finish off the room.
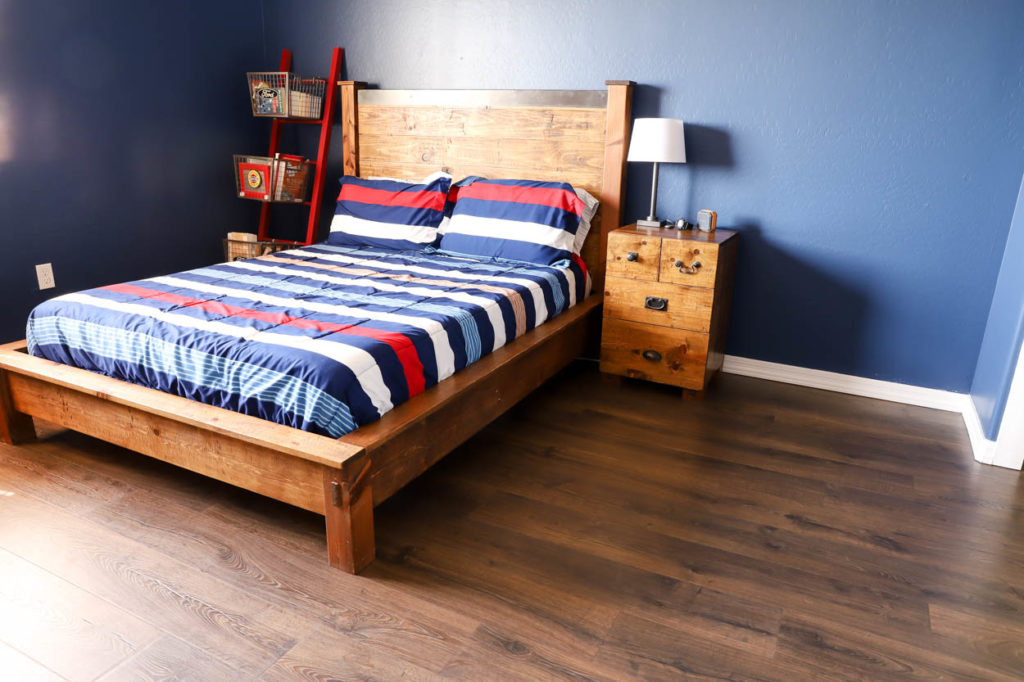
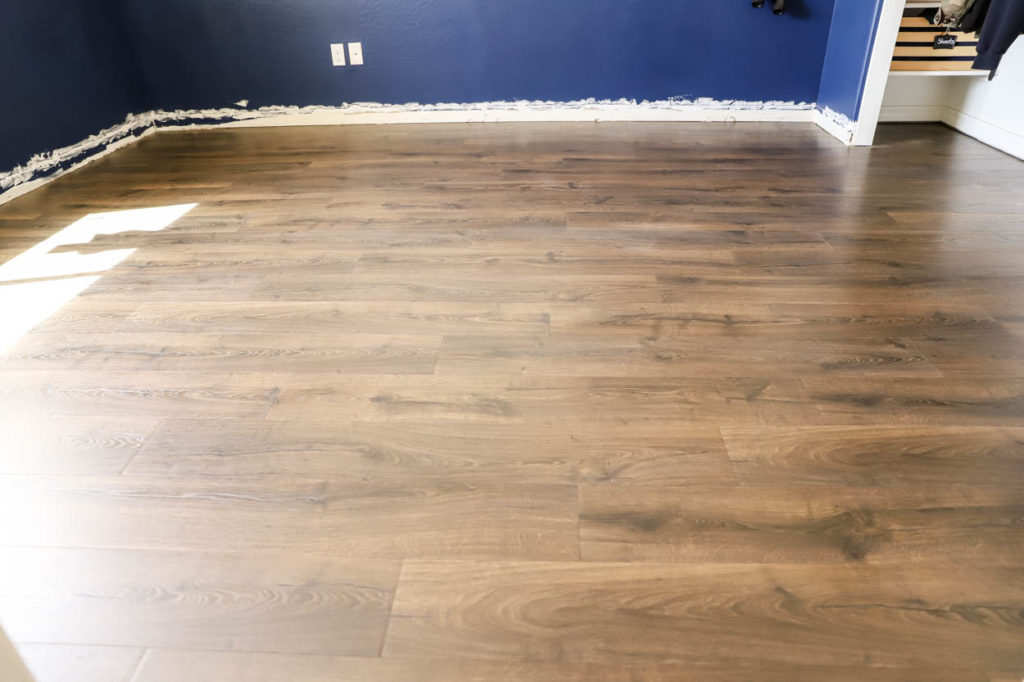
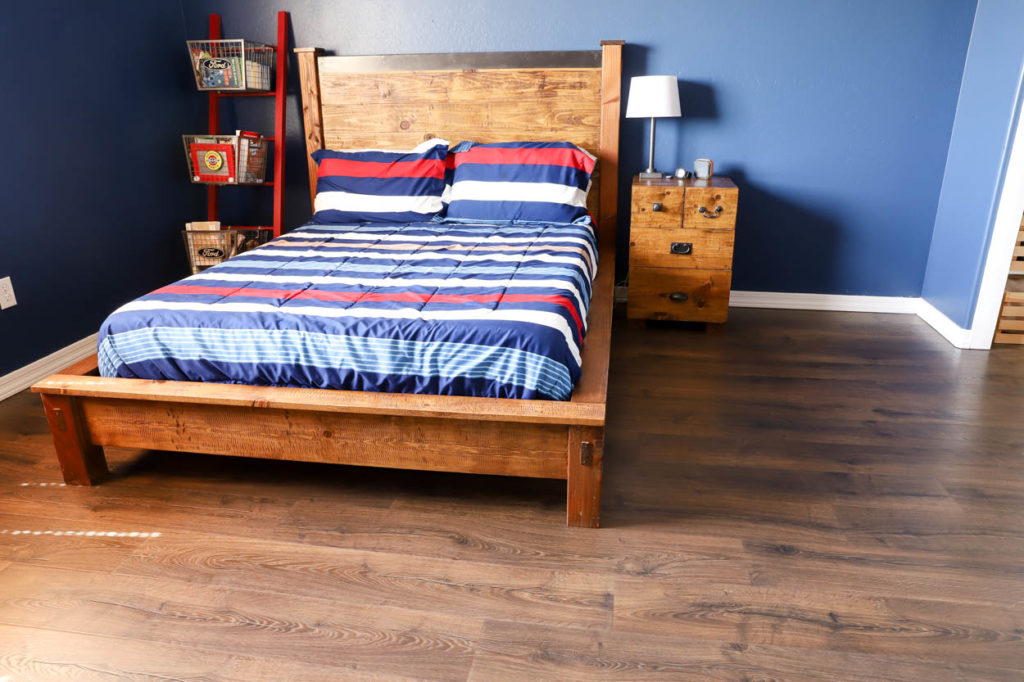
The finished room already looked so much better with the flooring. Once it was finished, I removed the chair rail, painted the walls, and reinstalled the baseboards.
It’s amazing how much bigger the room feels with the new flooring and I’m so happy with how easy it was to install. I’ve got a few more projects to finish up in this room, and then it will be done! Definitely be sure to check out my list above for my recommended tools to install laminate flooring, including the Saw-Max from Dremel. It was such a huge time saver!
If you’ve had a flooring project on your list, be sure to pin this and save it for later. Also be sure to sign up for my email newsletter to be informed of my latest projects so you can keep up to date with the remaining progress on this room as well as other projects and furniture builds!
DISCLOSURE: I was provided product and compensation for this post. All opinions and ideas of the products used are 100% my own.


Leave a Reply