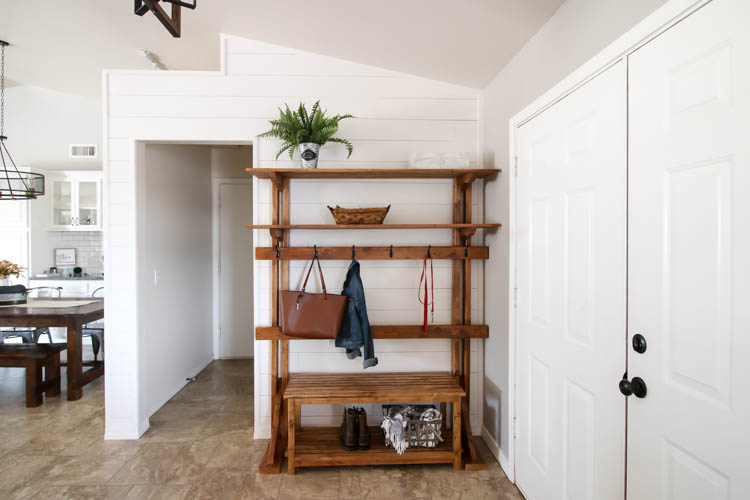
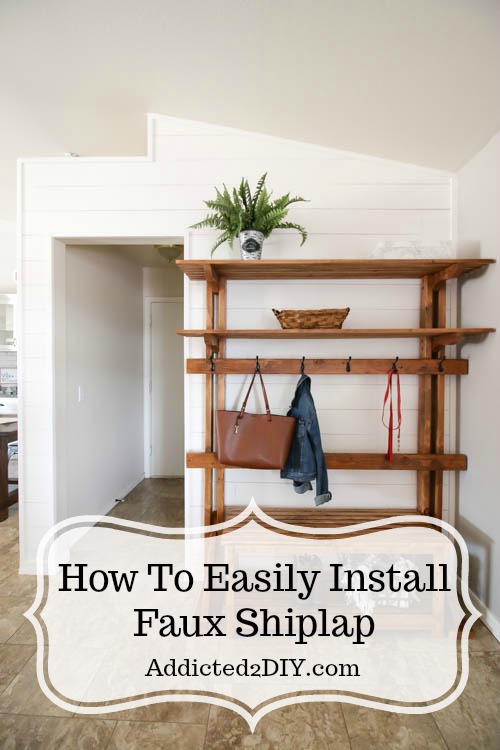
Hey guys! As you may know, this past year has been a big year of improvements to my home. One of the biggest project impacts has been installing faux shiplap in my dining room and entryway. Our walls went from bland and boring to having interest and character.
Nothing compares to the character of real shiplap; however, it just didn’t fit into my budget very well. I’m partnering with DAP Products today to show you how I easily installed a faux shiplap wall in my entryway, and did it without a second set of hands!
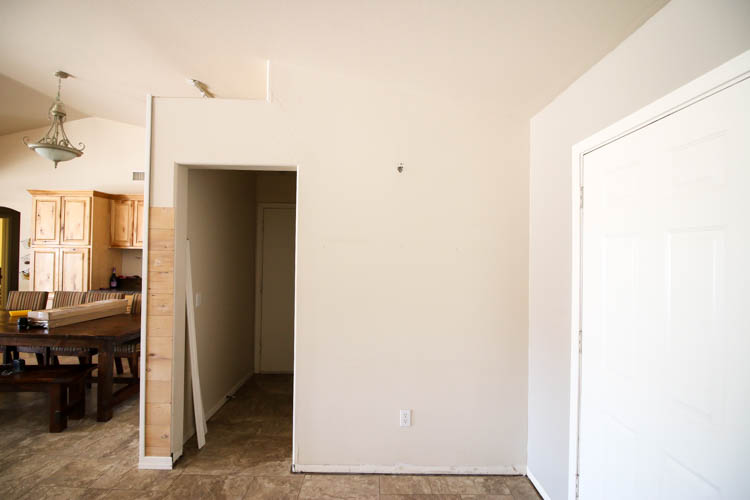
As I said, my entryway was feeling extremely bland, as was my dining room. When I began the shiplap in my dining room, I decided that continuing the shiplap into the entryway would be a great addition to the look of my house.
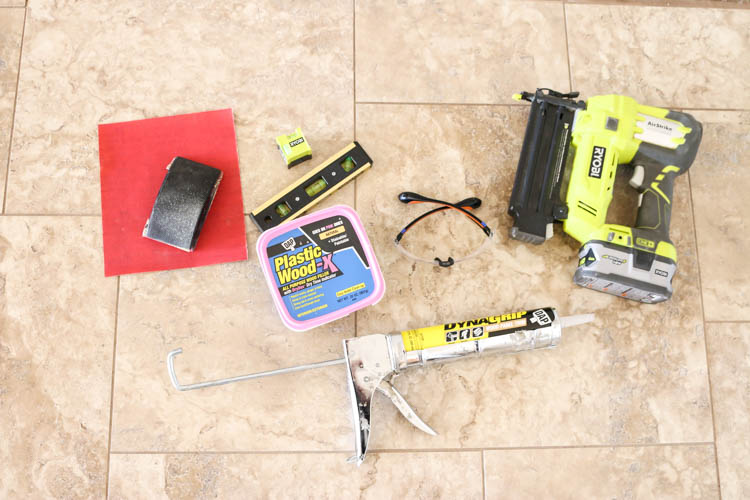
For this project, I needed a few essential items. Safety glasses, of course. Also, my brad nailer, DAP DynaGrip wood panel adhesive, wood filler, sand paper, and a level. I used 1/4″ plywood underlayment for this project and had it ripped down to 6″ strips at Home Depot.
On a side note, when/if I ever install this again, I will rip it down myself on my table saw. I hoped to save some time by having them rip down the strips for me, but their saw blades aren’t the sharpest and the cuts weren’t the straightest. If you have no other option, then by all means having it ripped down for you is the best option. If you’re able to do it yourself, I highly recommend that option over any other. You’ll end up with much cleaner and straighter cuts.
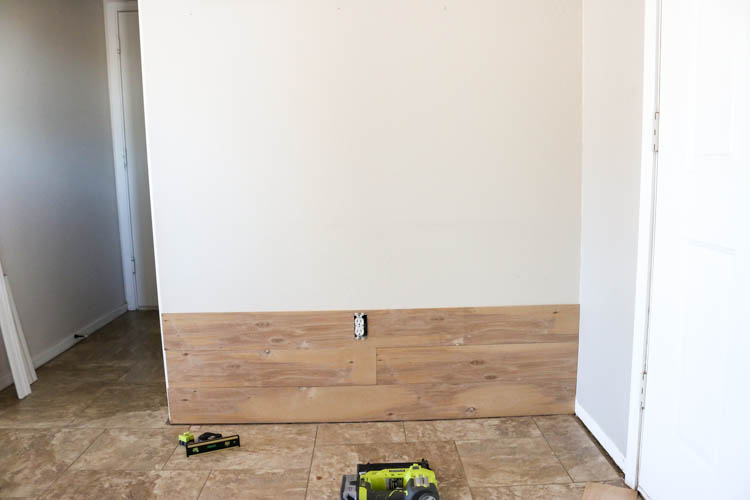
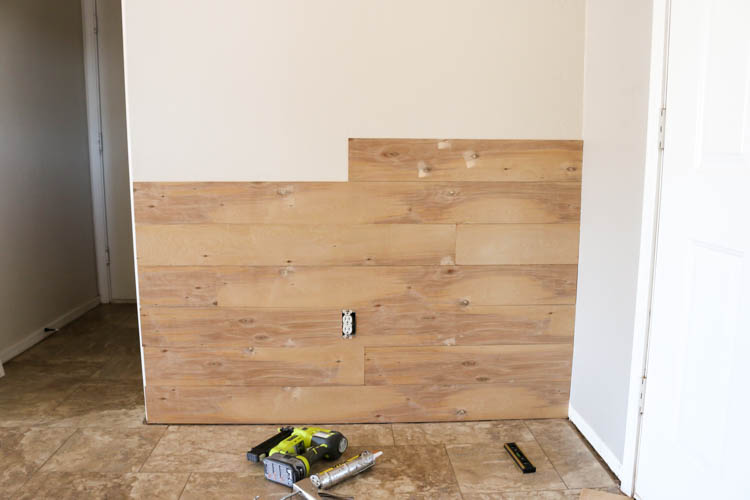
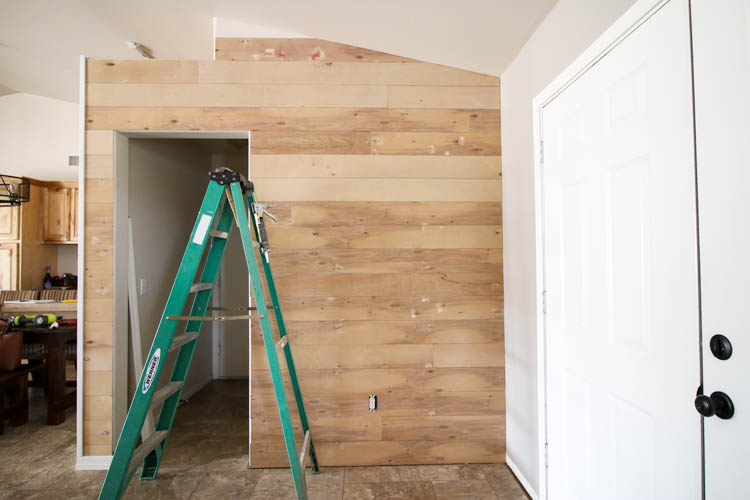
I began installing the shiplap from the bottom up. I used nickels as spacers between the boards and used my jigsaw to cut out the hole for the outlet.
It took me a bit to decide if I wanted to have solid strips cross this space or have smaller planks. I ended up opting for smaller planks, but it is all entirely up to you and the look you’re going for. If you use smaller planks like I did, you’ll want to make sure that the seams between the planks are alternating and not uniform.
As I said, I was installing this shiplap by myself, but thankfully the DynaGrip wood and panel adhesive acts as an instant extra set of hands. I used a thin bead of it over the planks and then stuck them to the wall. It holds instantly, so I could add my spacers and then make sure everything was level without worrying about my planks falling off the wall before nailing them in place.
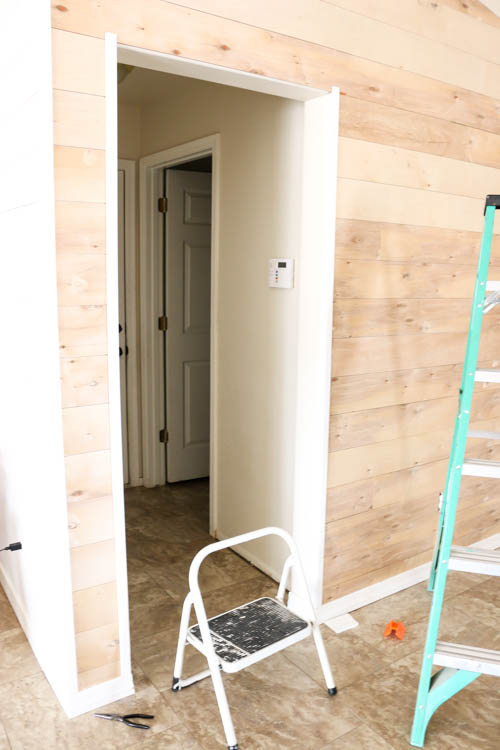
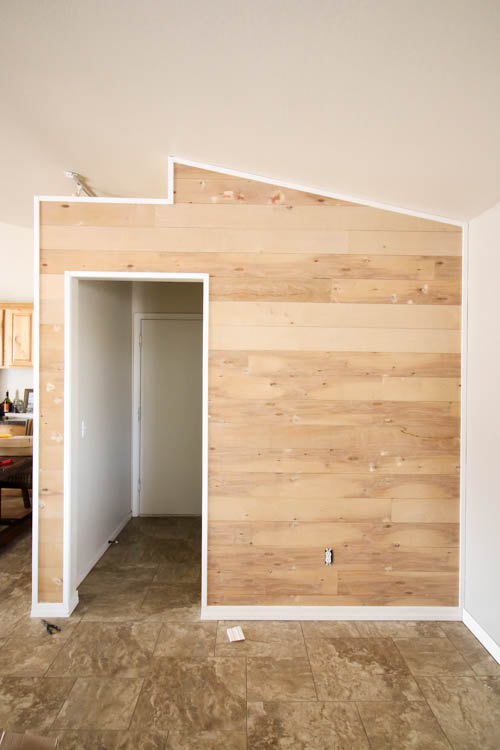
Once the shiplap was installed, it was time to add the trim. First, I installed the baseboards, then started working around the hall opening.
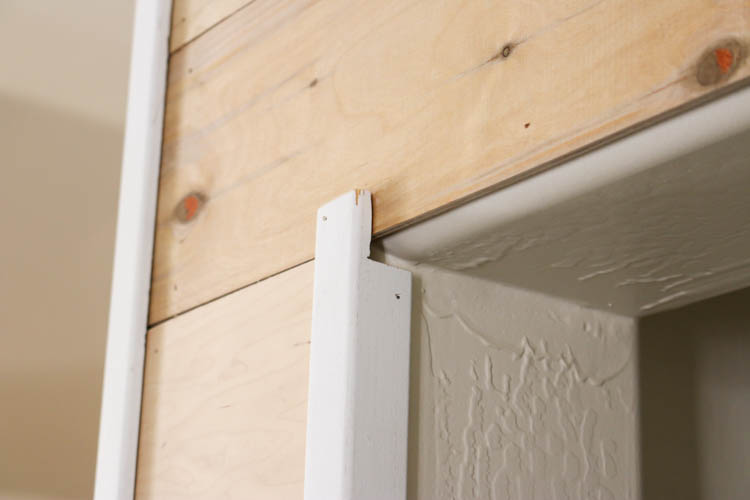
Our house has bullnose corners, which make adding any sort of trim or molding very tricky. When installing shiplap around these corners, it was a real head scratcher. Luckily, I found corner trim that worked perfectly to finish off all of the corners and openings. Around the corners of the hallway opening, I had to get creative to make sure that all of the corner pieces fit without any gaps. Cutting 45 degree angles in the corner trim didn’t work, to my dismay. I used a coping saw to cut notches from the trim to finish off all of the corners.
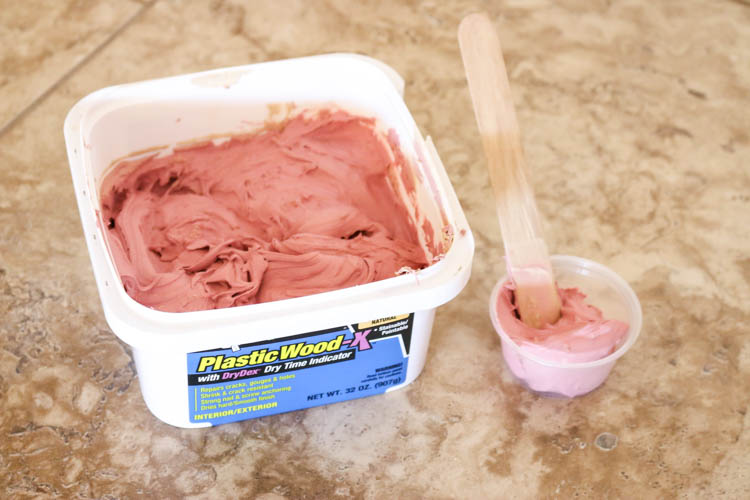
Once all of the trim was added, it was time to fill all of my nail holes. I used DAP PlasticWood-X, which works great for filling nail or screw holes. I love that it starts out pink and dries to a natural color, so you know when it’s time to sand. I had A LOT of nail holes to fill, so one trick that I like to use is scooping a little bit of the filler into a small plastic cup. That way the tub doesn’t have to stay open and risk drying out while you work. I also usually steal my kids’ craft sticks to apply it. It’s quick and easy to use them, plus I’m lazy and the idea of having to clean putty knives all of the time just isn’t something I want to think about.
I’ll be honest, once everything was done, it was kind of hard to paint it. It looked really cool with the natural wood and white trim. Ultimately, though, I knew it would look so much better painted.
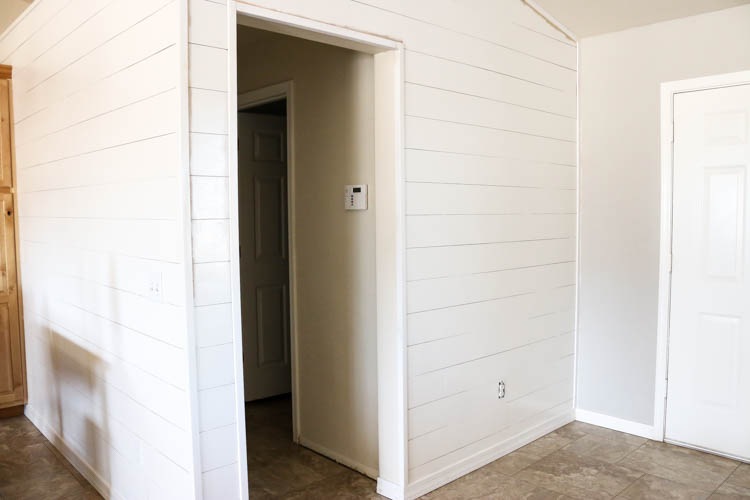
For the paint color, I chose Swiss coffee in semi-gloss. It matches the color and sheen of the trim in our house, plus with little hands still using the walls to round corners faster, I wanted the semi-gloss finish for ease of cleaning. I painted on two coats of paint + primer and called it done!
I still can’t get over how much a simple update like shiplap can transform a space. If you’re looking to add a statement wall to your home, or even do this in your whole house, using 1/4″ plywood or underlayment will save you a TON of money. Using the tips I shared today will save you a TON of time and headache.
Make sure you pin this for later to save it to your future projects list!
DISCLOSURE: I was provided product and/or compensation for this project. All opinions and ideas are 100% my own.

Hi, love it! We just bought the boards today, had them cut strips for us & we’re ready to do our dining room wall too. Problem is we have bullnose corners as well & didn’t know what to purchase for the trim on our one corner. We bought our wood at Lowes. Was wondering if you could tell us what kind of corner trim you found & where it was purchased. We didn’t want to start the project until we know where to end our boards on the right end of wall where bullnose corner is. Can you help with that? Vicki
I’m so excited for you! I bought outside corner moulding at Home Depot. Here is what I got: https://www.homedepot.com/p/Woodgrain-Millwork-WM-205-1-1-8-in-x-1-1-8-in-x-96-in-Primed-Finger-Jointed-Outside-Corner-Moulding-10002006/203946758
I am so excited to find your fix on the bullnose corners! Did you just nail the corner trim in to place or glue? Did you any problems running into the metal corner under the drywall? Also, any suggestions on how to finish the corners of the doorway to hide the notching. Did you use any sort of caulking or the wood plastic to hide the seams?
I didn’t have any issues running into the metal under the drywall. I used caulk and brad nails to attach the corner pieces, then finish everything with caulk. For the notches, you’ll want to use either wood filler or spackle. Caulking will shrink a little, so it won’t be a good filler for those.
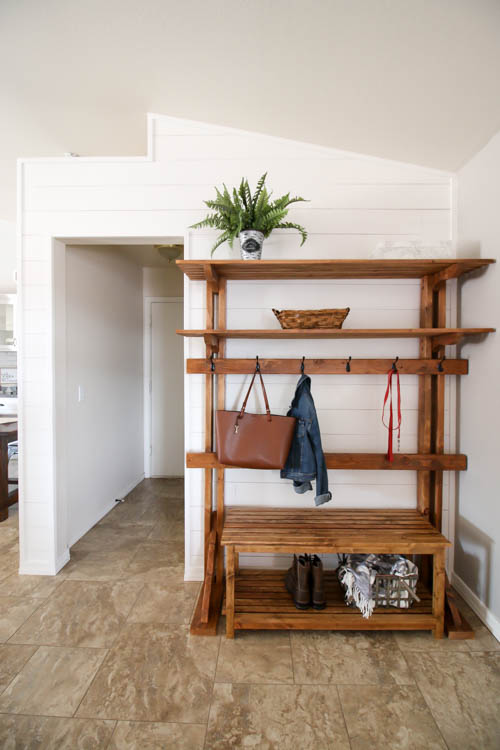
I like the bench/shelf furniture piece. Did you build that also?
I did! I’ve got a tutorial for that on my site as well:)