
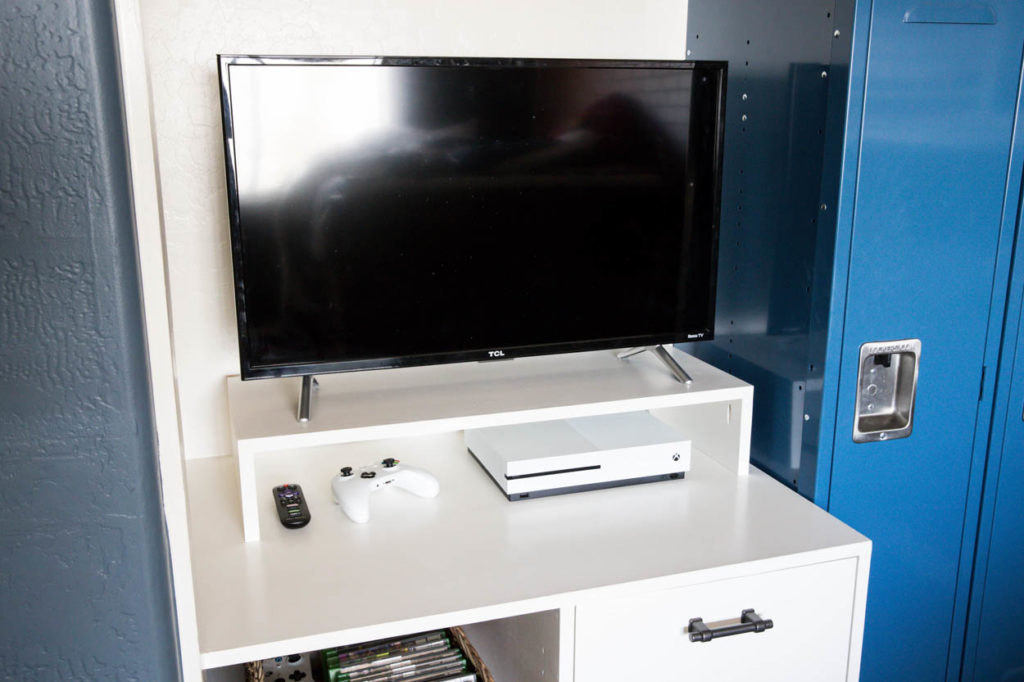
It’s time for the first monthly DIY challenge of the new year! January is a big month for organization as well all try to get our lives back in order after Christmas and also maybe even start fresh with some new routines or organization methods. That’s why this month’s challenge is centered around organization projects around the house! Make sure you check out all of the organization projects submitted by the other bloggers and hopefully you’ll feel inspired!

I’m partnering with The Home Depot today to show you how I built this TV riser using the new Husky Expandable Framing Square.
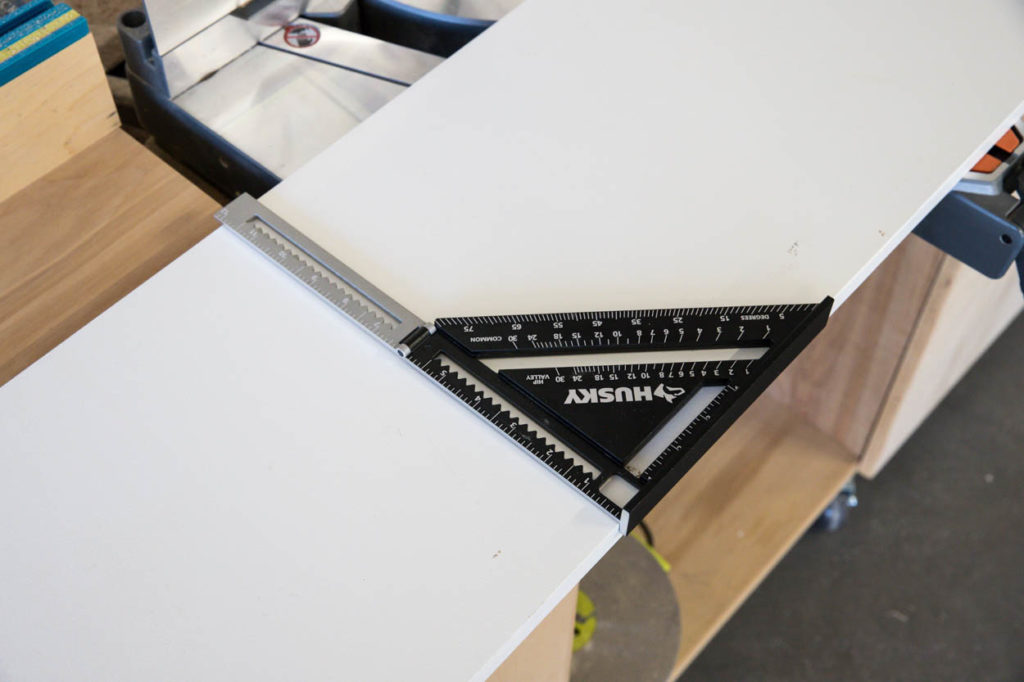
The Husky Expandable Framing Square is a great and versatile tool that gives you the best of both worlds. A compact design, but still the ability to mark lines or check square for a greater distance. It quickly and easily expands from 6″ to 12″ and back again with a flip of the ruler.
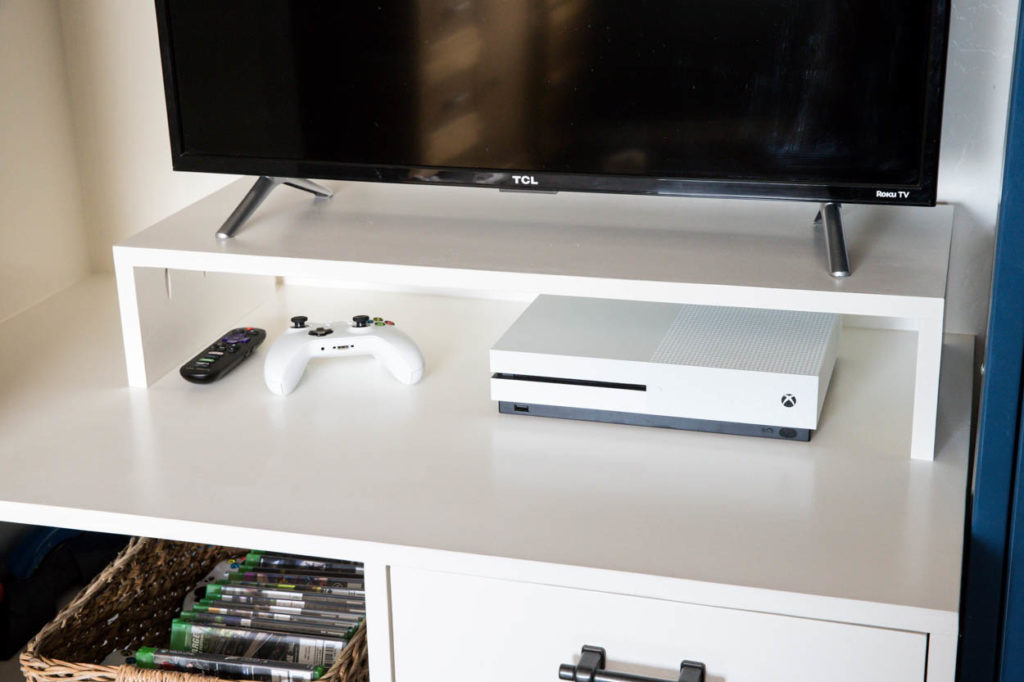
If you remember, last year, I remodeled my youngest son’s closet to be a bit more organized and functional. In doing so, we also added a TV to his room and he moved the Xbox out of the great room and into his own. I wish I had a ‘before’ picture of the hot mess that this was, but alas you’ll just have to use your own imagination. I happened to have a leftover piece of plywood from his closet project that was just the right amount of wood to build a riser for his TV, which then allowed his Xbox to fit under the TV and not stashed off to the side.
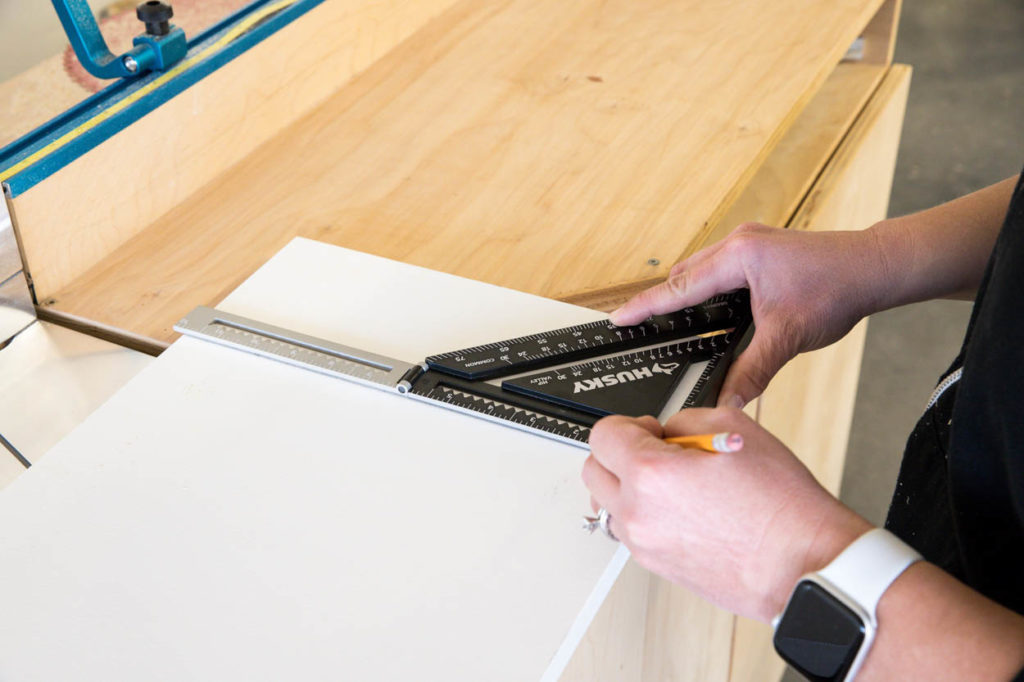
To get started, I did some measuring and determined the length and height needed for the riser. It needed to be 30″ long to fit the TV and I wanted it to be 5″ high to give ample air flow for the Xbox fan. I measured the length for the sides of the riser and marked them using my Husky Expandable Framing Square.
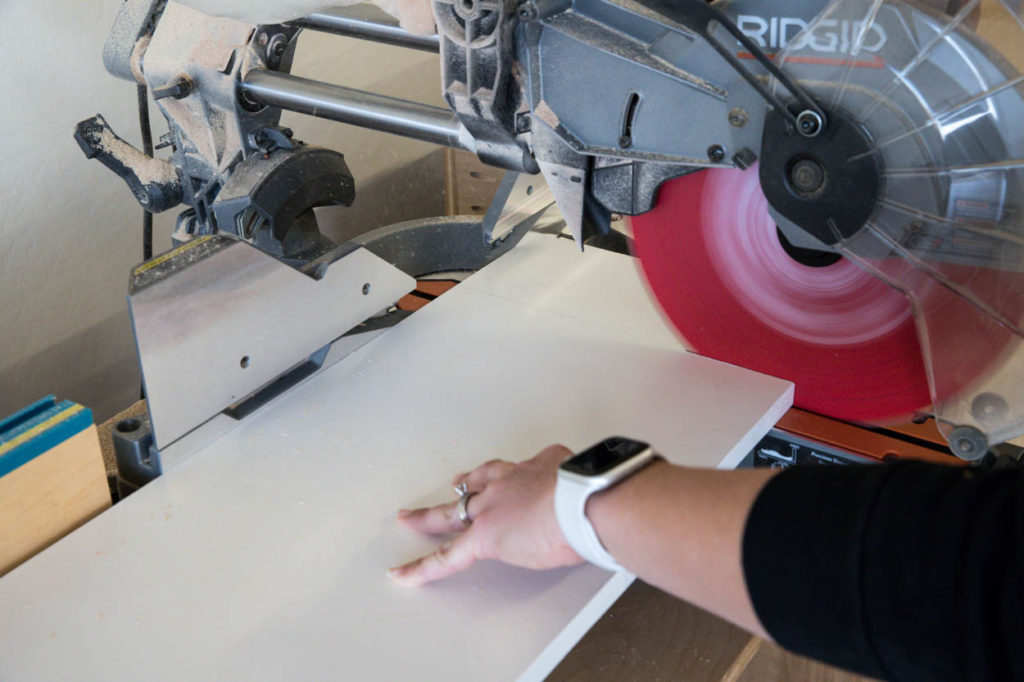
I cut all of the pieces down to size using my miter saw.
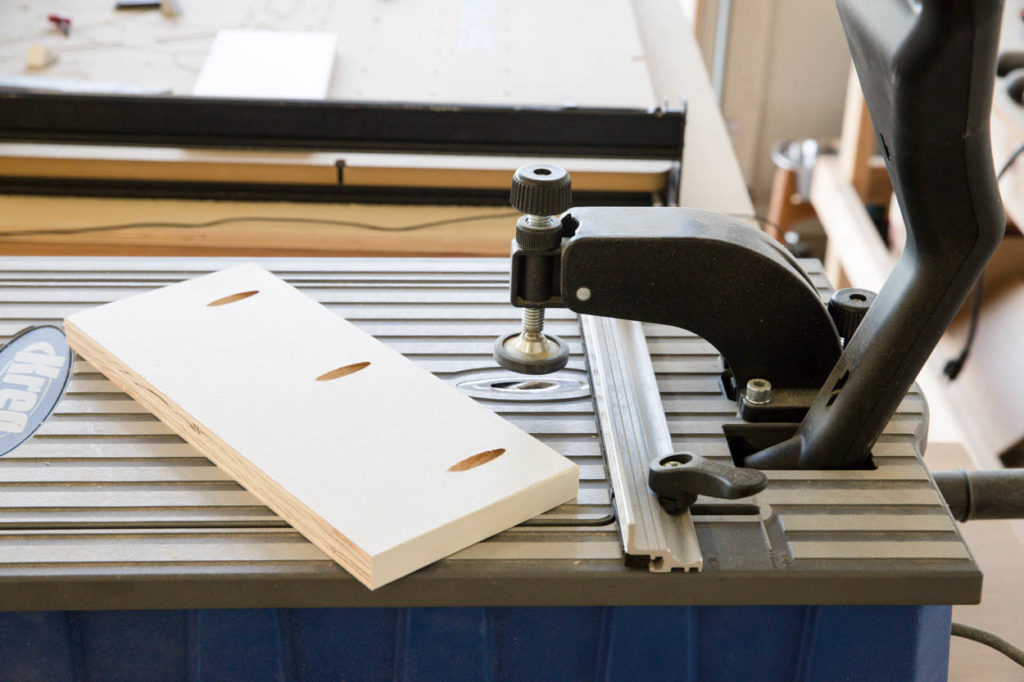
I then drilled holes 3/4″ pocket holes into the sides of the riser using my Kreg Jig
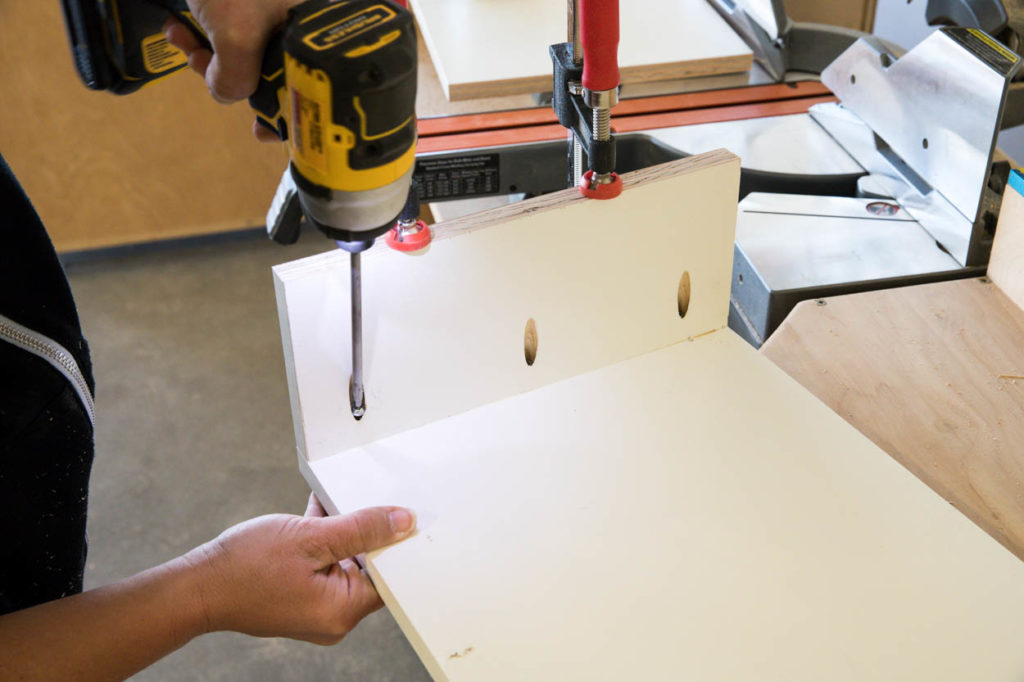
I glued and clamped the sides in place, then attached them with 1 1/4″ pocket screws.
Once the riser was assembled, I touched up all of the paint on it. Like I said, this was a piece that I decided to scrap from the original design, so it was quick and easy to just touch up the paint.
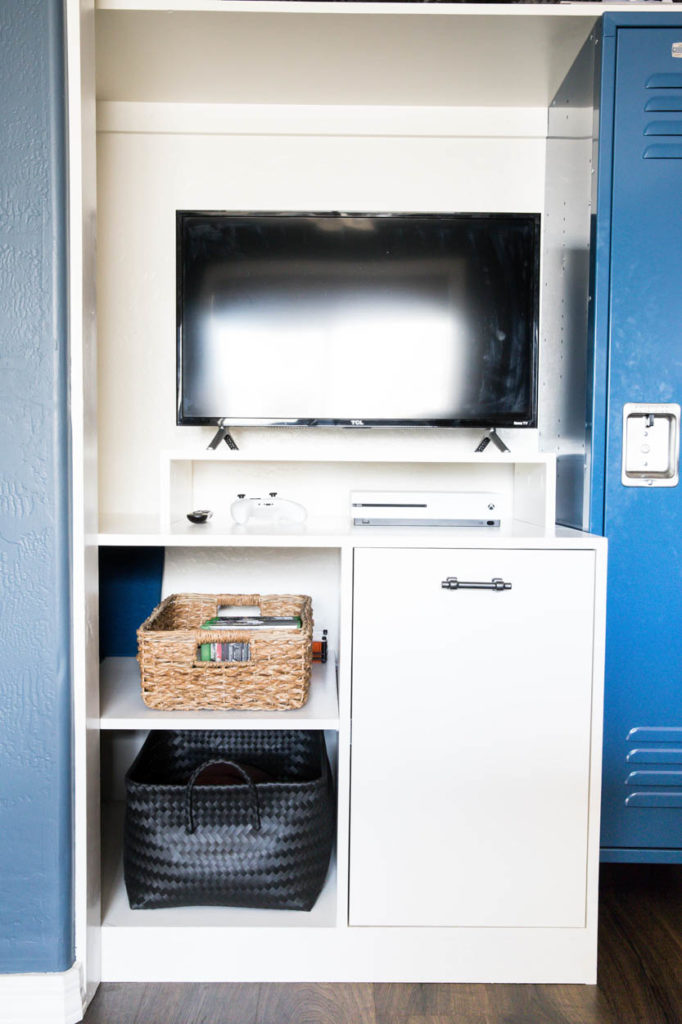
The finished riser fit perfectly on top of the cabinet in my son’s closet and it looks so much nicer to have everything in a proper place and not tossed around everywhere. I’m so glad I kept that piece of wood from his closet project. It’s amazing how sometimes the simplest little things like this DIY TV riser can make a big impact.
To see more amazing organization projects, check out the other talented bloggers participating this month!
My Repurposed Life
The Inspired Workshop
House Becoming Home
Ugly Duckling House
The Awesome Orange
At Charlotte’s House
DISCLOSURE: I acknowledge that The Home Depot is partnering with me to participate in the promotional program described above (the “Program”). As part of the Program, I am receiving compensation in the form of products and services, for the purpose of promoting The Home Depot. All expressed opinions and experiences are my own words. My post complies with the Word Of Mouth Marketing Association (WOMMA) Ethics Code and applicable Federal Trade Commission guidelines.

That looks great–I bet it has been really helpful keeping everything in its place! And I really want one of those Husky Expandable Framing Squares!!
Angie recently posted…DIY Coat Closet Organization
Katie,
First, thanks so much for organizing our monthly challenges!
Such a simple solution to a much needed problem. The tv riser fits the bill perfectly for so many issues including cable boxes etc. TV’s are such a necessity, but can sure bring on a lot of issues–like the cords in my bedroom.
I love how nice and neat everything looks.
Pinned!