Learn how to build a beautiful farmhouse bench with hidden storage. Perfect for your entryway, under a window, or even a dining table.
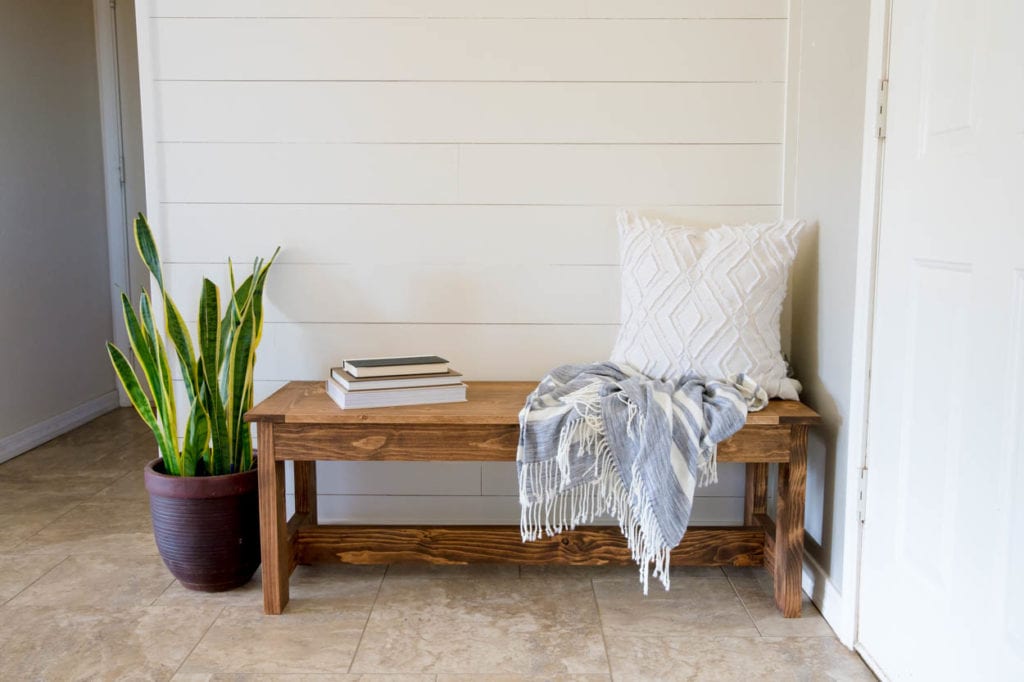
This farmhouse bench may look pretty basic, but it’s anything but! It has hidden storage! I’m partnering with Build Something today to show you how to build this farmhouse bench with storage. It’s perfect for your entryway, under a window, or you can even alter the plans to make it longer and use at your dining table!
I’m sharing the printable plans over on Build Something, so be sure to head over there to download them. Keep reading to see the step by step photo tutorial on how I built this bench.
Tools Used For This Project
This list contains affiliate links.
- Adaptive Cutting System
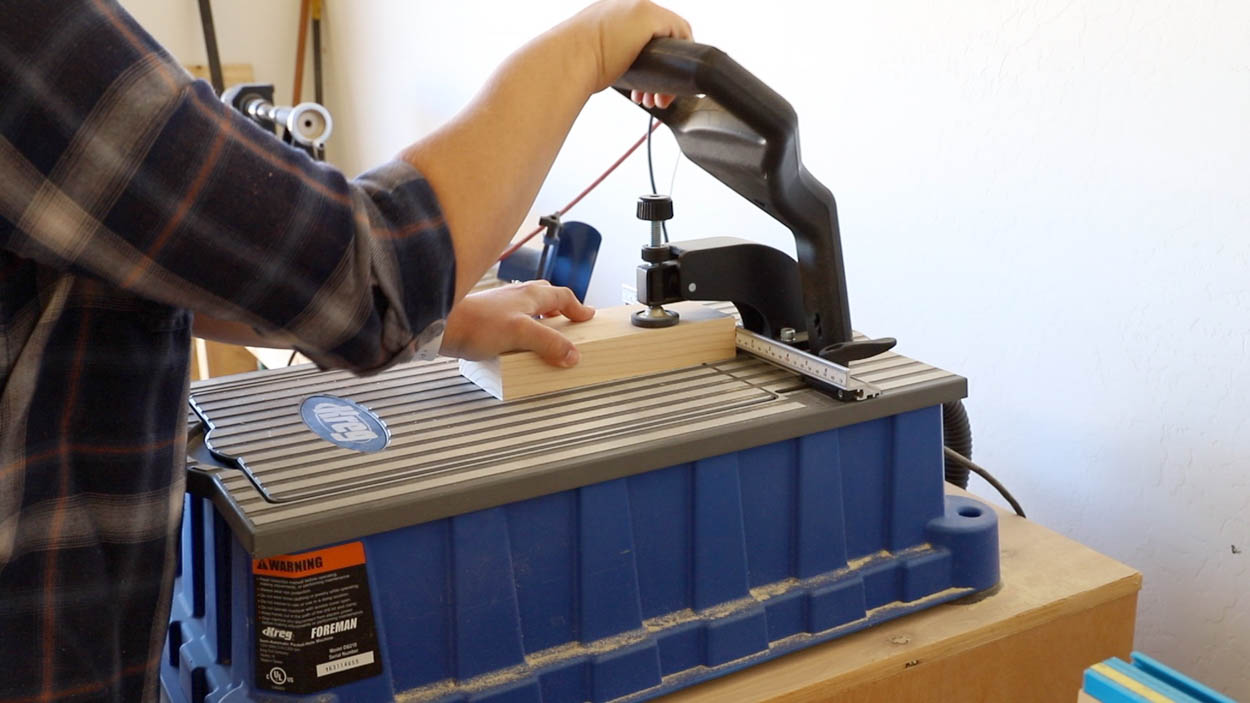
- Kreg Foreman
- Miter Saw
- Drill/Impact Driver
- Orbital Sander
- Kreg R3 pocket hole jig
Time needed: 2 days.
How To Build A Farmhouse Bench
- Cut the wood to size
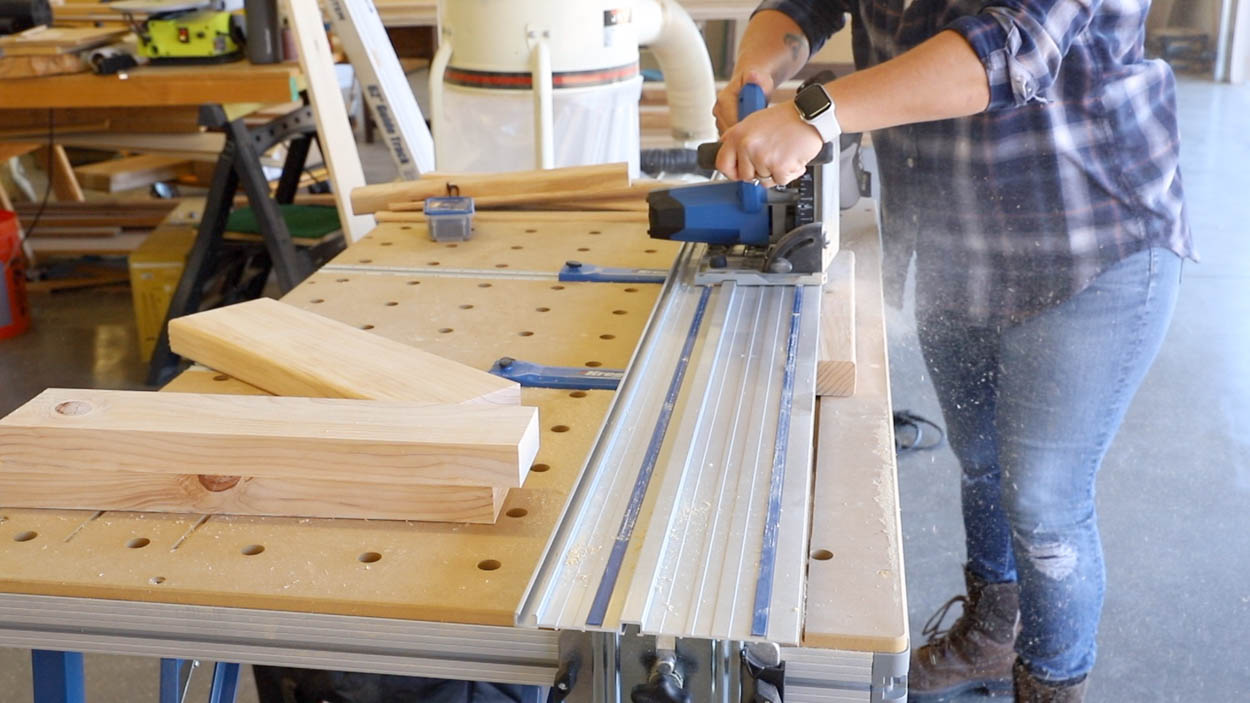
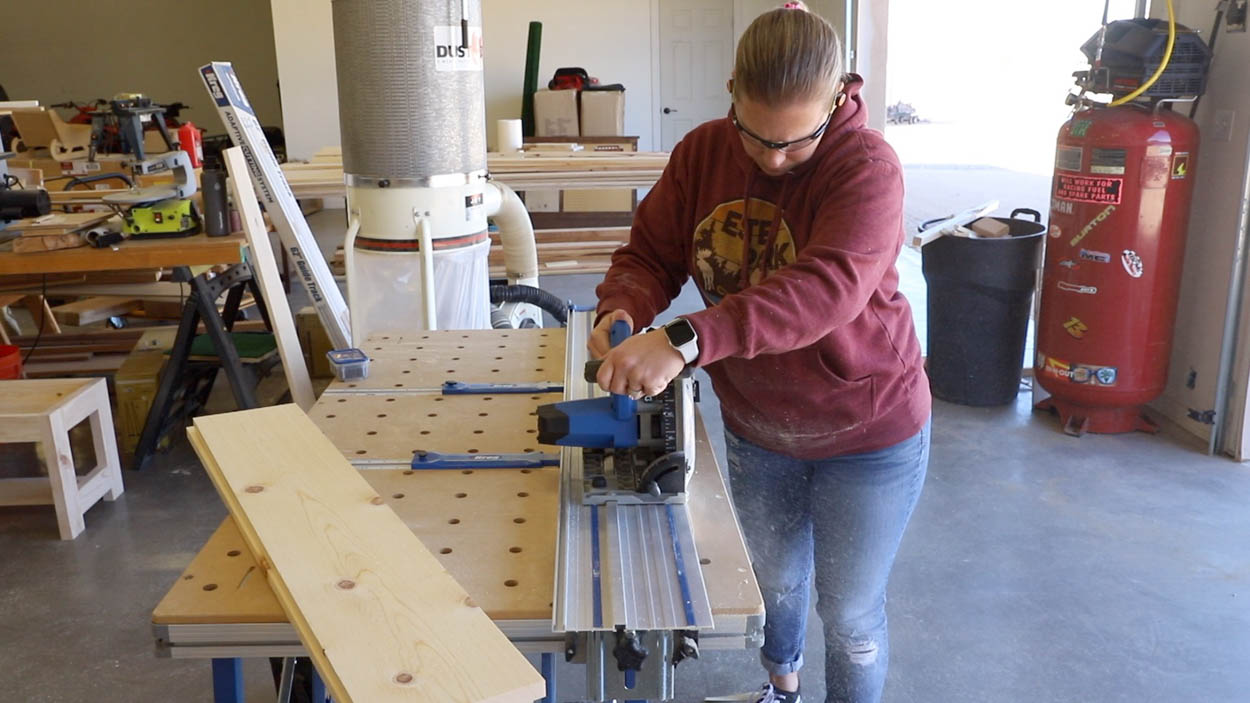
This project can be built with standard 2x4s or you can make your own by ripping 2×6 boards down to 2×4 dimensions. This will yield square corners on all of the boards and a nicer looking joint in the wood. The Adaptive Cutting System works great for ripping wood down to width.
- Drill pocket holes
Drill 2 1/2″ pocket holes into the 2×4 boards to prep for assembly.
- Assemble the sides of the bench
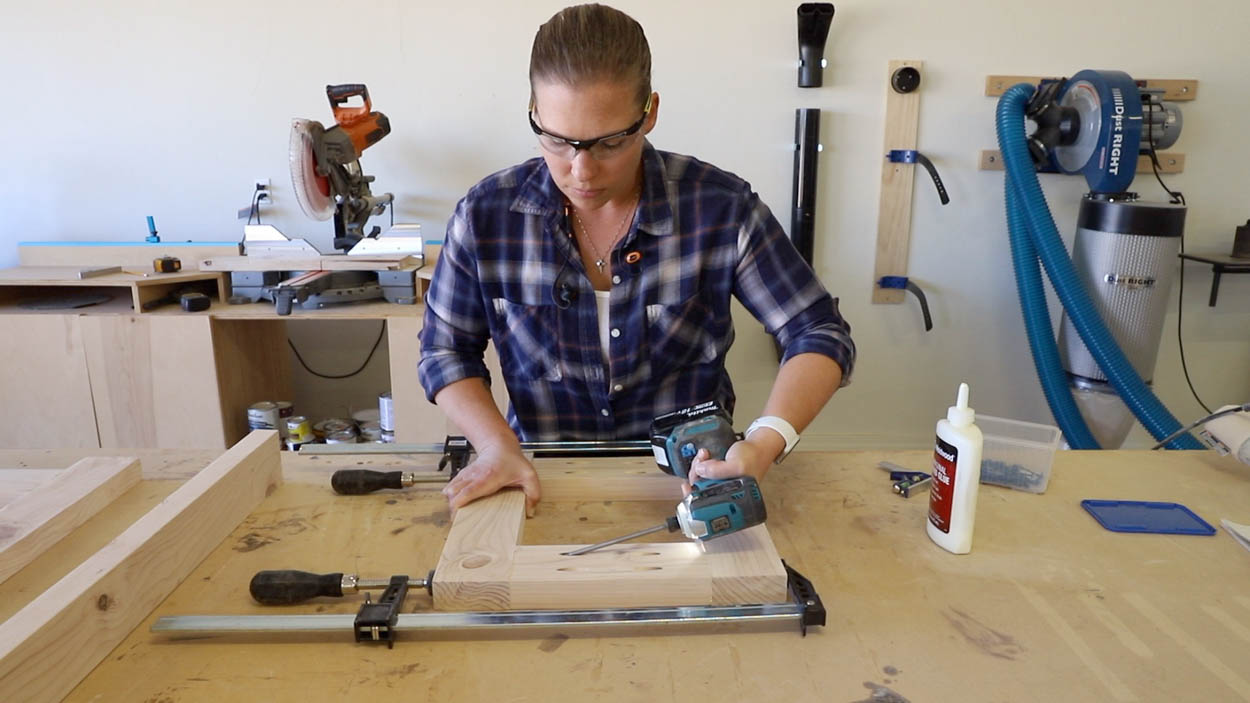
Using wood blue and 2 1/2″ pocket screws, build the bench sides. Attach the top stretcher flush with the top of the legs and the bottom stretcher 2″ up from the bottom of the legs.
- Attach the top aprons
Drill 3/4″ pocket screws into the 1×4 aprons. Attach the aprons flush with the tops of the bench legs using wood glue and 1 1/4″ pocket screws.
- Attach the bottom stretcher
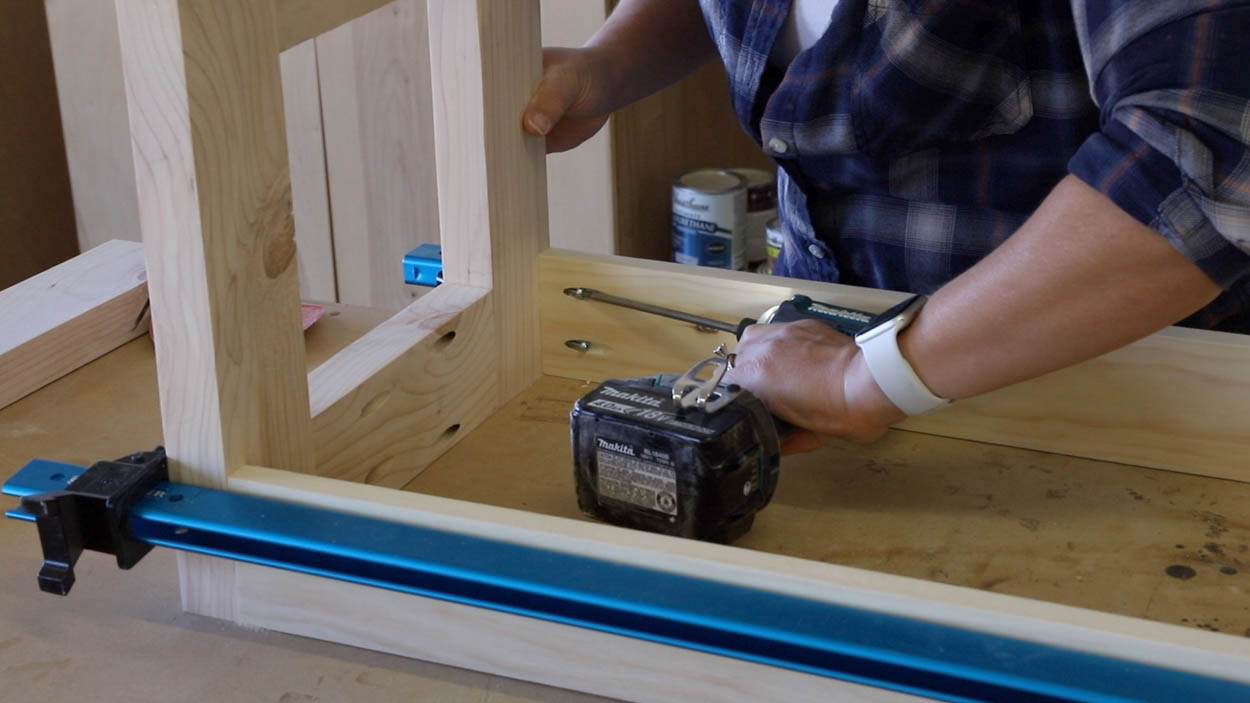
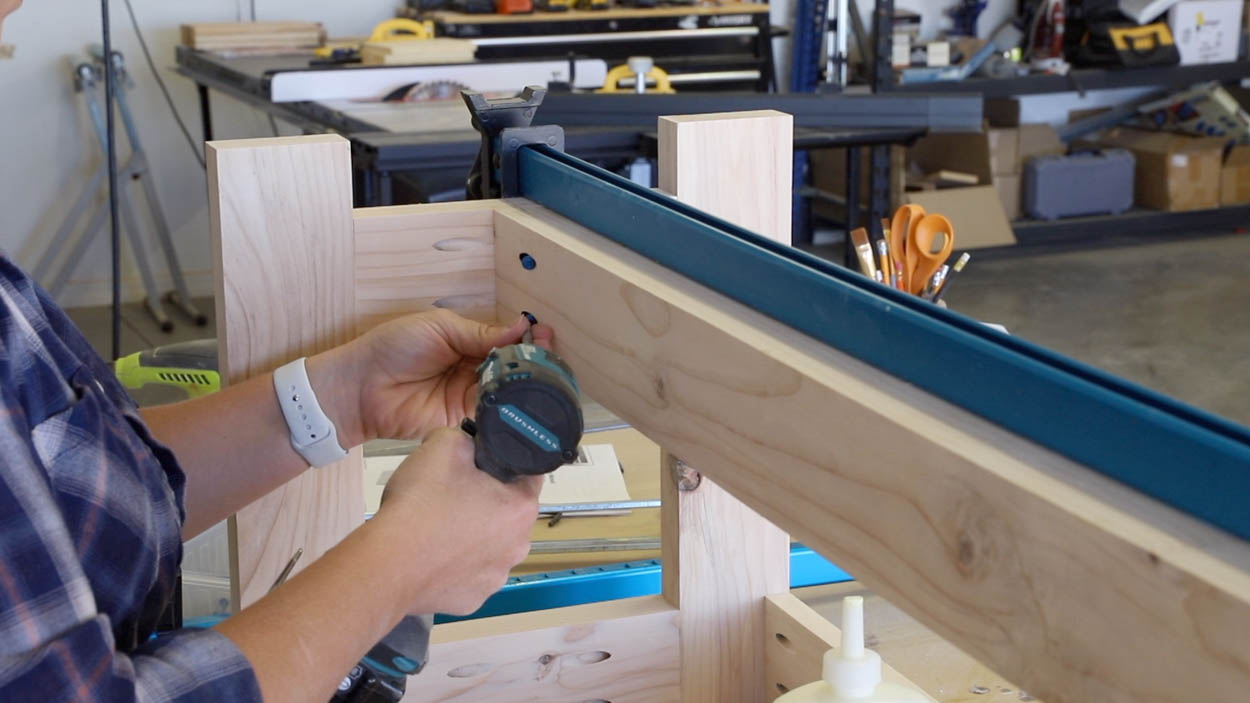
Center the bottom stretcher across the sides of the bench and clamp in place. Attach with wood glue and 2 1/2″ pocket screws.
- Cut the plywood bottom
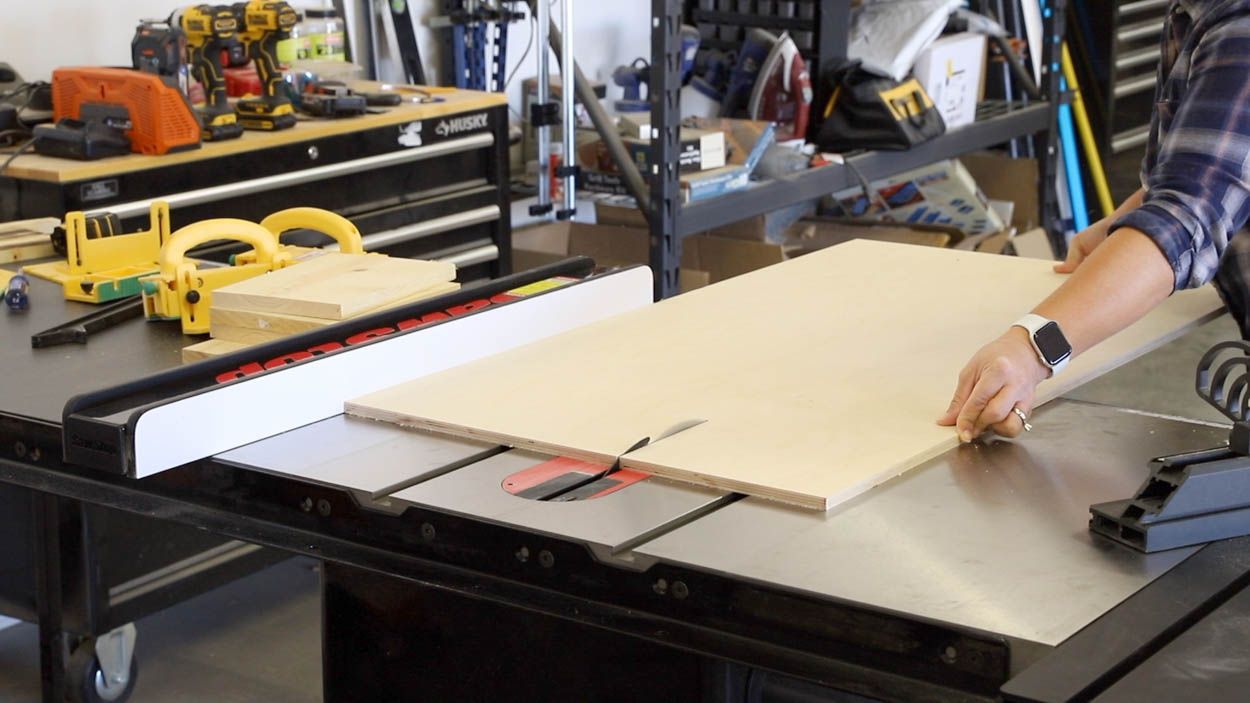
Measure the inside dimensions of the box of the bench, cut the 1×2 plywood to match those measurements. This can be on on a table saw or with the Adaptive Cutting System.
- Attach the plywood bottom to the box
Drill 1/2″ pocket holes into all four edges of the plywood. Attach flush with the bottom edges of the frame on the bench. Attach with 1″ pocket screws.
- Cut the boards for the bench
For the bench, cut 1×8 boards to length, then rip them down to 6 5/8″ wide.
- Build the bench seat
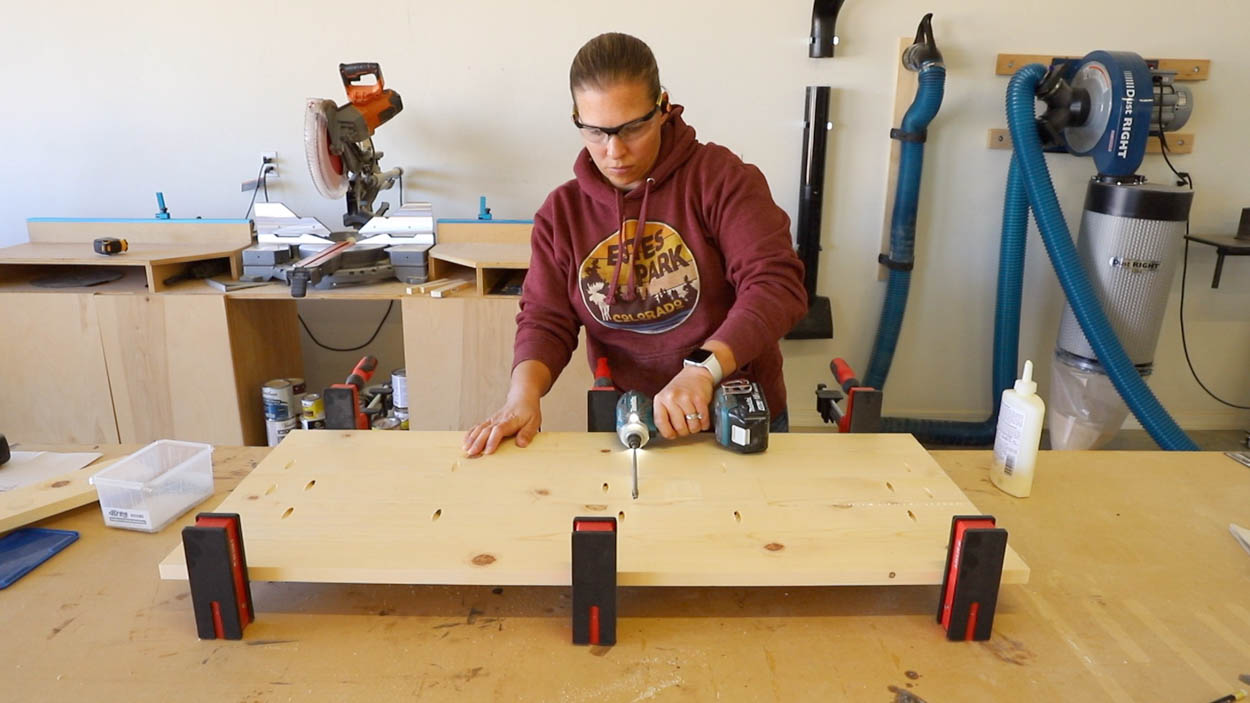
Drill 3/4″ pocket holes into the boards for the bench seat. Glue up the boards, clamp and attach with 1 1/4″ pocket screws.
- Attach the bread board ends
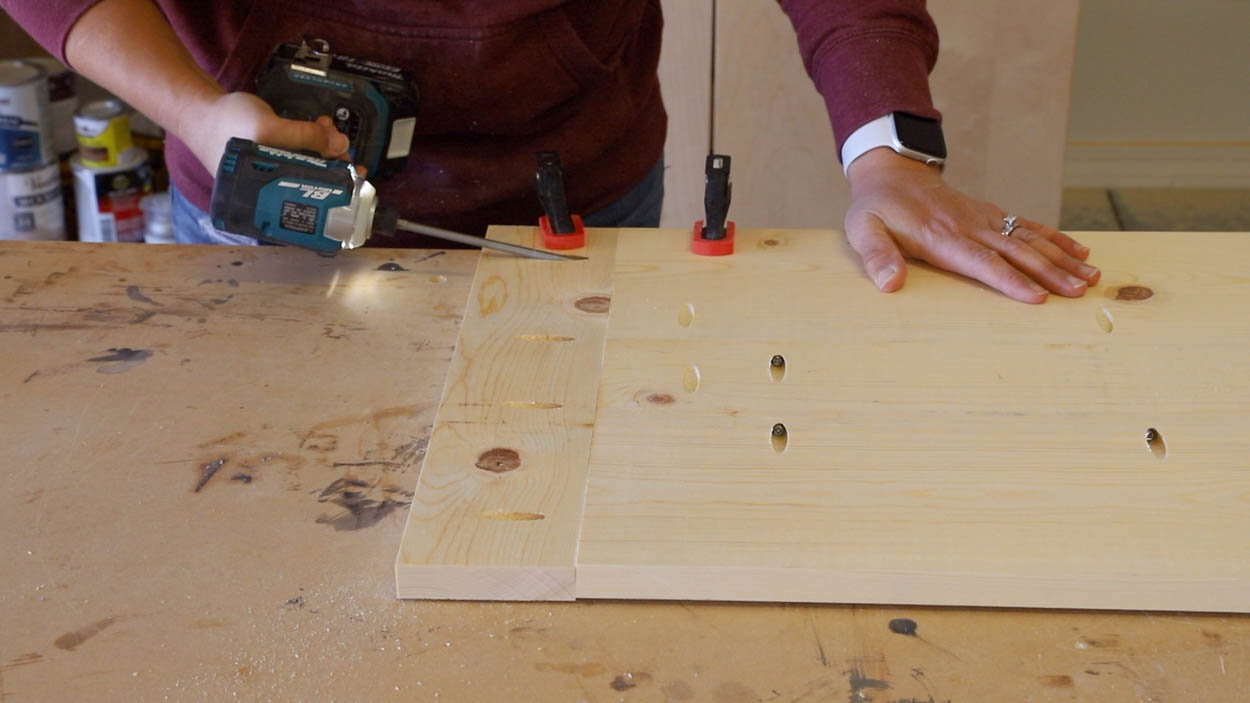
Drill 3/4″ pocket holes into the breadboard ends and attach to the ends of the bench seat with wood glue and 1 1/4″ pocket screws.
- Sand entire bench
Sand the entire bench using 220 grit sandpaper to prep for finish. Clean all dust off of the project with an air compressor, brush, cloth, or all of the above.
- Finish with paint or stain
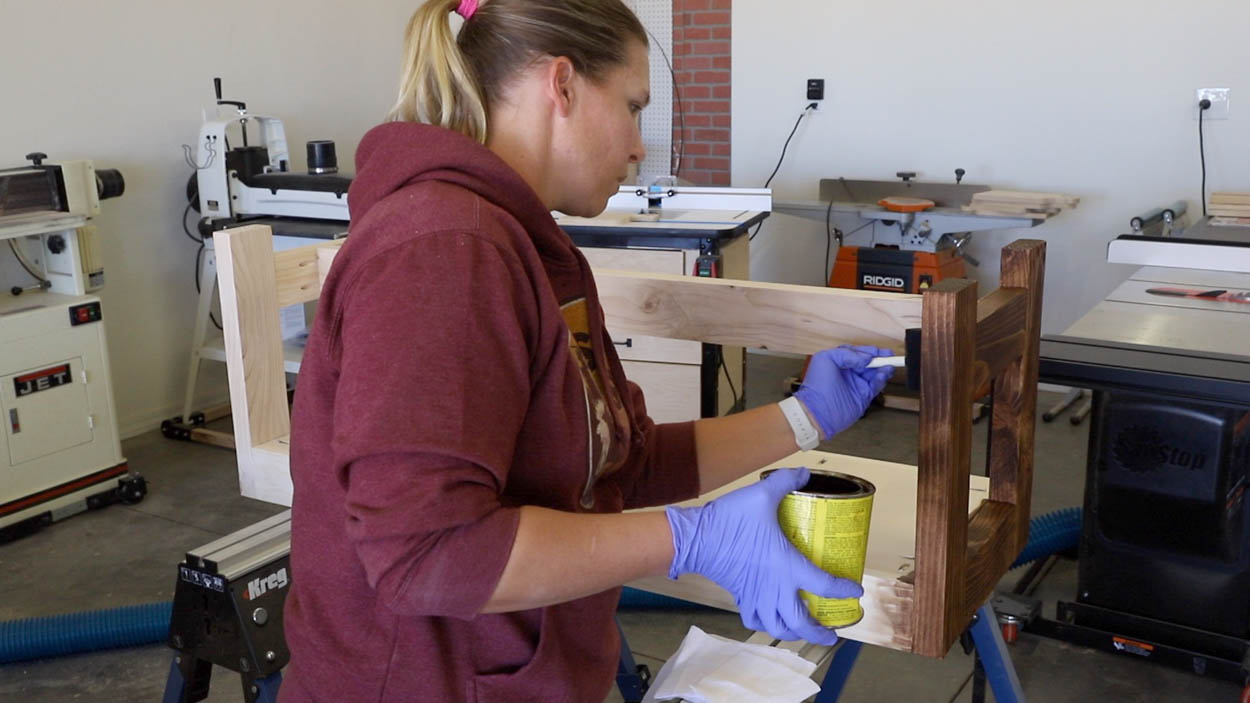
Finish the project with paint or stain of your choice.
- Add mortises for hinges
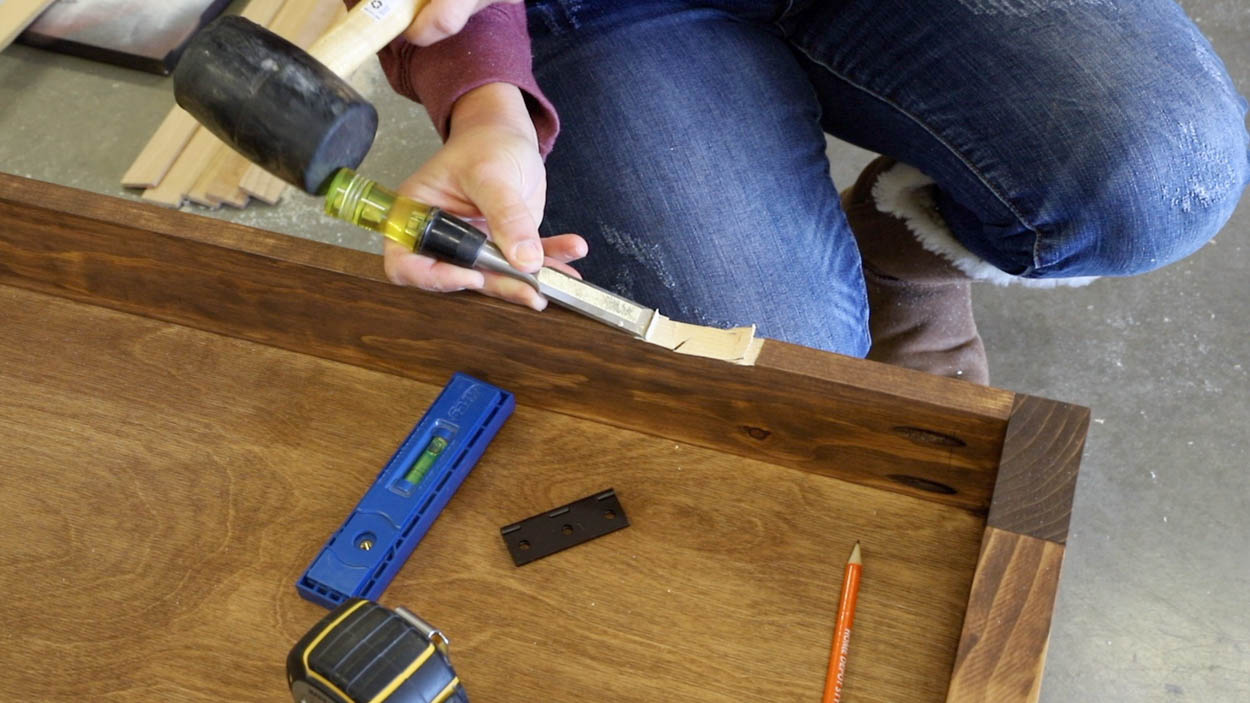
To allow the bench top to sit flat on the base, the hinges need to be mortised. Measure and mark where the hinges will go on the base. Mark the outside edges of the hinges and also the depth of the hinges (about 3/16″). Using a chisel, score the area where the wood will be carved out and then carefully remove the wood down to the score marks.
- Install hinges
Once the mortises are carved out, install the hinges in both the bench seat and the base.
Farmhouse Bench With Storage
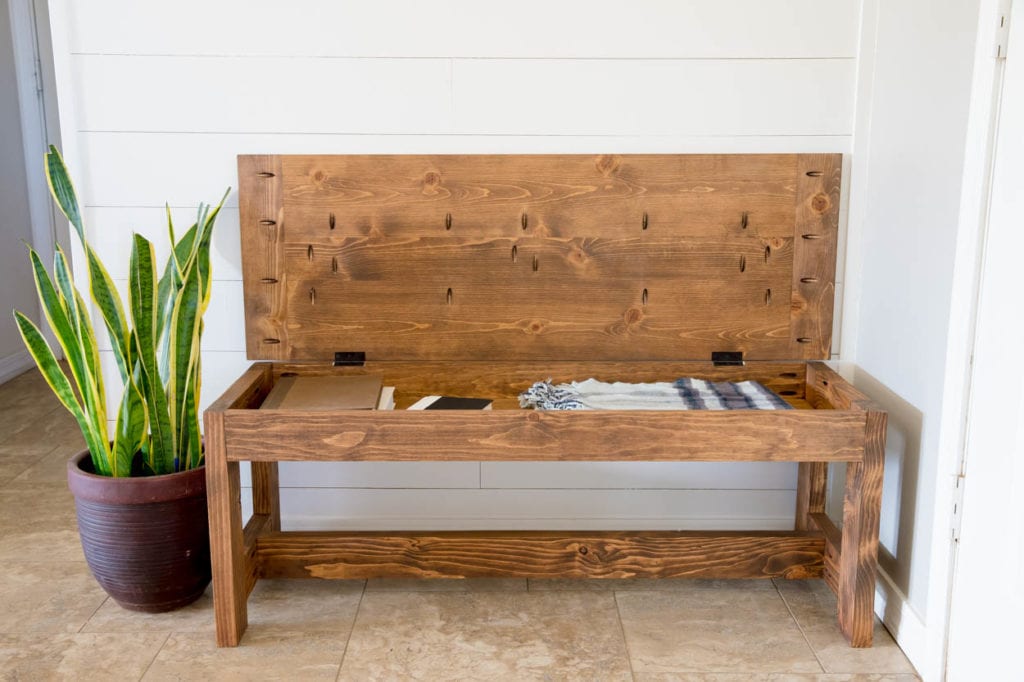
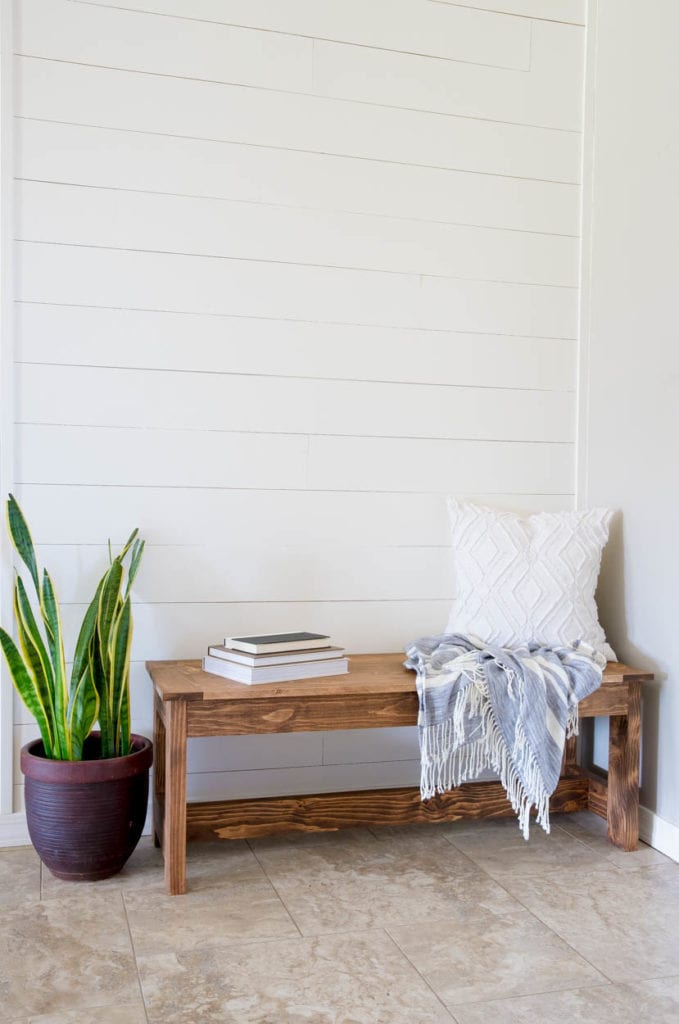
The added storage in this bench makes it perfect for storing scarves, books, games, or whatever you like. I absolutely love how it turned out. The size and seating depth are perfect for putting on shoes, relaxing with a book, or tossing your bag after a long day. Head over to Build Something to get the free plans!
DISCLOSURE: I was provided product and/or compensation for this post. All opinions and ideas are 100% my own.



Leave a Reply