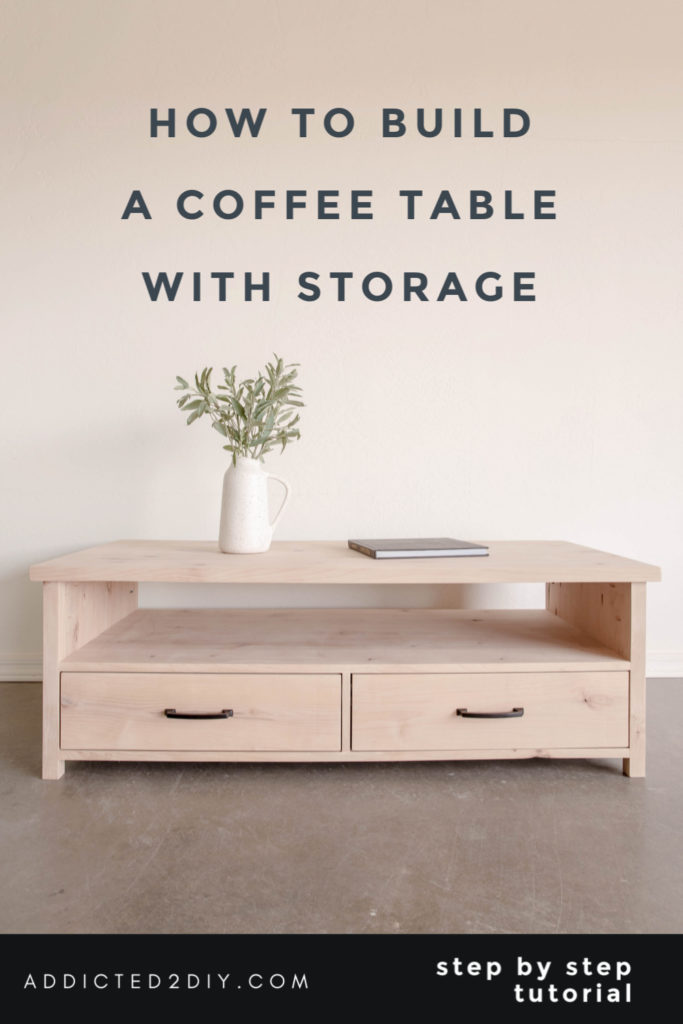
Learn how to build this beautiful coffee table with storage following this step by step tutorial. This coffee table has two big storage drawers and a shelf to store books, games, blankets, etc.
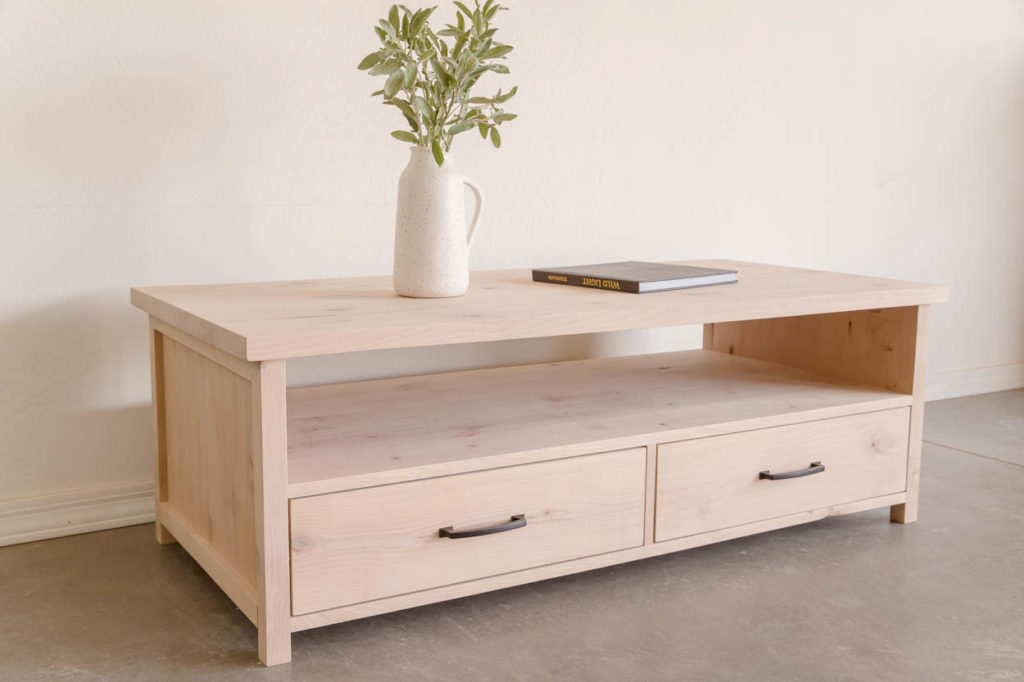
I am working on building new furniture pieces for my great room as I work towards remodeling it. I started with building a storage side table that goes as a set with this coffee table. I’m partnering with my friends over at Build Something to bring you the tutorial for this project today.
*This post contains affiliate links. Should you purchase an item from one of these links, I will receive a small commission at no additional cost to you.
To download the free plans for this project, you can find them over on the Build Something website. There you will find the full materials list, cut list, and sketch diagram.
Step 1: Mill Down The Wood
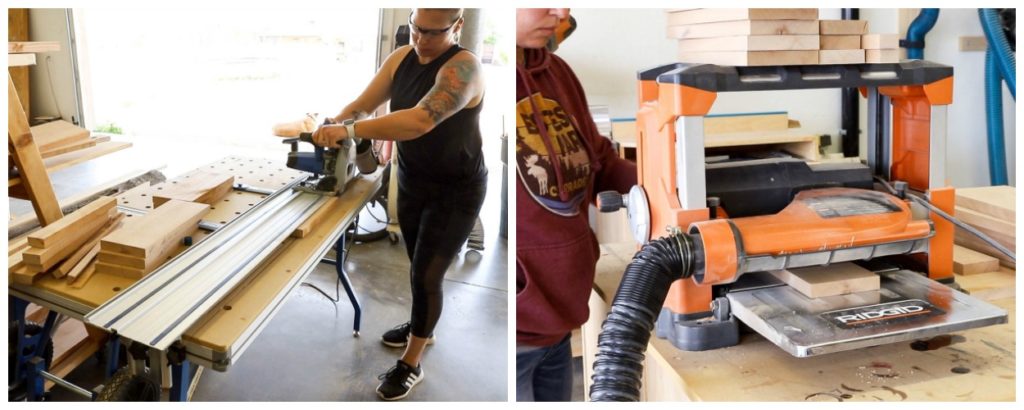
I used 4/4 and 6/4 knotty alder for this project, which required it to be milled down to both thickness and dimension. I used my Adaptive Cutting System to rip much of the wood down in width and then ran it through my thickness planer to get it down to 3/4″ thickness. If using dimensional lumber for this project, you will not need to do much of this; however, some boards will need to be ripped down to a custom width.
For any of the panel pieces (sides, shelf, top), I recommend cutting them slightly long to allow for the ends to be squared up and then cut to length after they’re assembled.
Step 2: Build The Side Panels and Shelf Panel
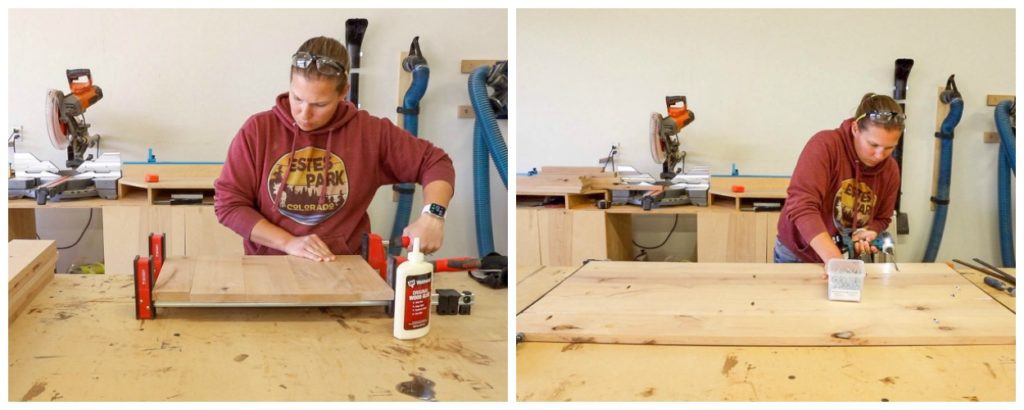
To build the side panels, glue up the edges of the boards and clamp together. Be sure to only clamp them tight enough until you just start to see glue squeeze out. Overtightening the clamps will cause the wood to bow. I did not use pocket holes to assemble this panel as they would be visible when the coffee table was finished.
For the shelf, drill 3/4″ pocket holes into the boards to attach them together. Glue up the edges of the boards, clamp, then attach with 1 1/4″ pocket screws.
Step 3: Build The Coffee Table Sides
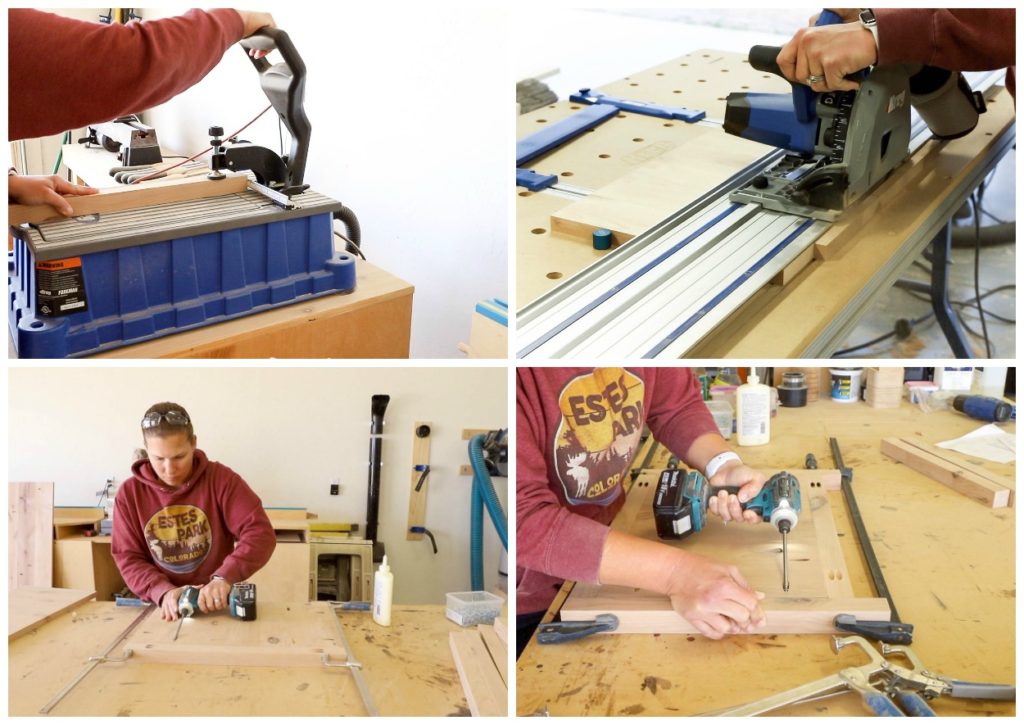
Drill 1 1/2″ pocket holes into the 2×2 cross supports of the coffee table sides. Square up the ends of the side panels, then turn and cut them down to their final length. Drill 3/4″ pocket holes into all four edges of the side panels. Build the frame of the coffee table around the side panels, attaching everything with wood glue and 1 1/4″ pocket screws. Attach the legs to the cross supports with 2 1/2″ pocket screws.
Step 4: Install The Shelf
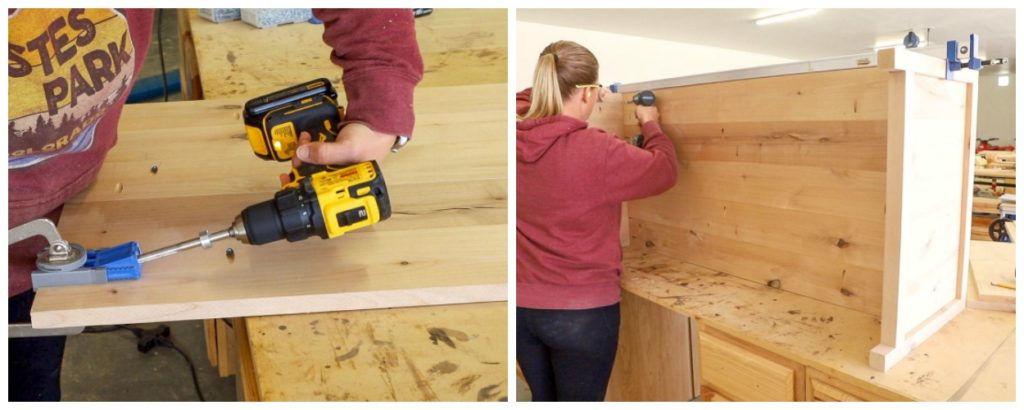
Once the shelf panel is squared up and cut down to size, drill 3/4″ pocket holes into each end. Mark 7 1/4″ down from the top of the coffee table sides and set the top edge of the shelf at those points. Glue and clamp into place, then attach with 1 1/4″ pocket screws.
Step 5: Install the aprons
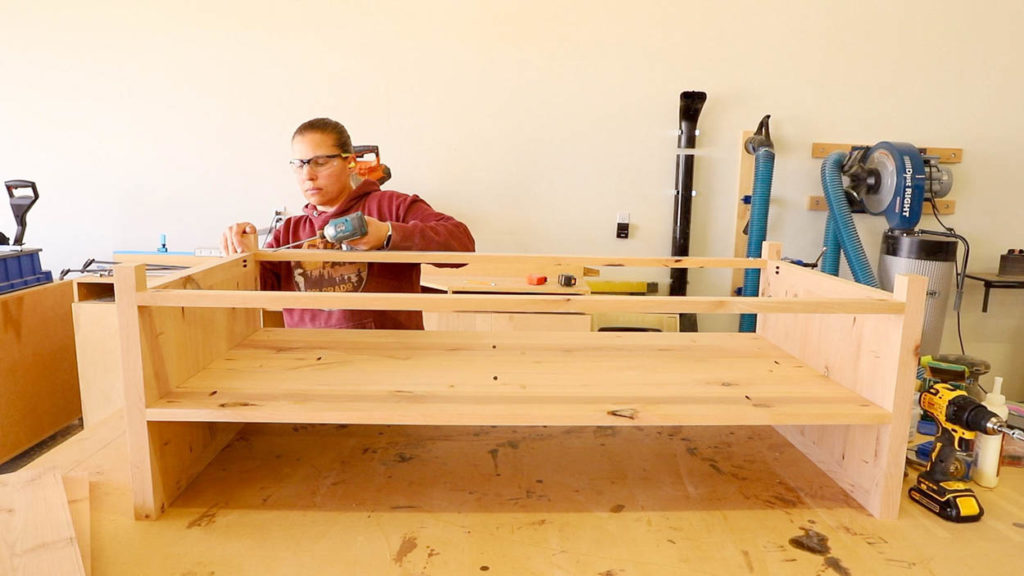
Install the 1×2 aprons at the bottom of the coffee table, 1 1/2″ up from the bottom of the legs. Drill 3/4″ pocket holes into each end of the aprons, then glue and clamp into place. Attach with 1 1/4″ pocket screws.
Step 6: Install the center support and back panels
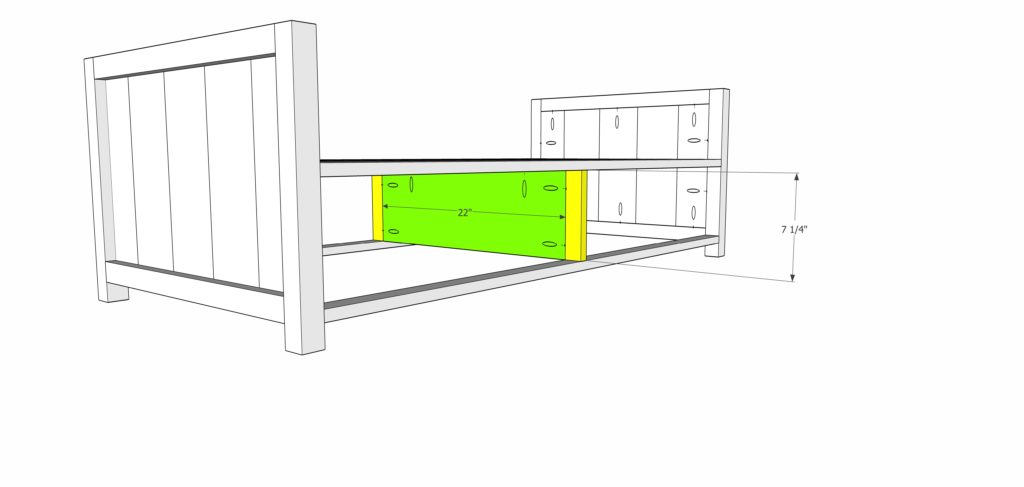
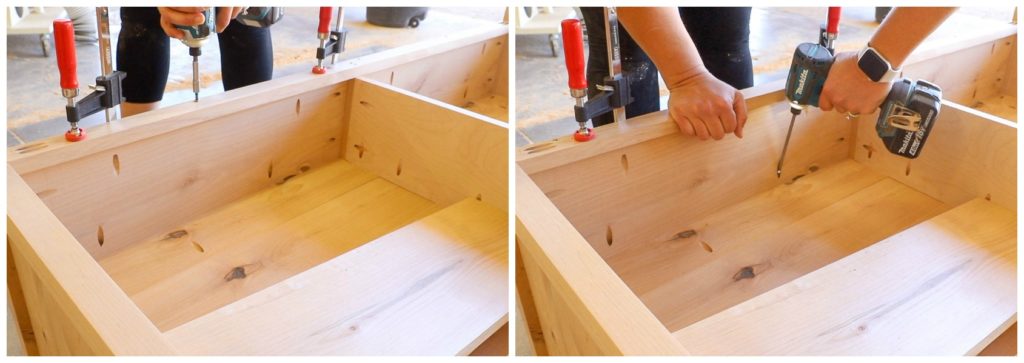
Attach 1×2 upright supports to the plywood center divider using 1 1/4″ pocket screws. Measure and mark the center of the coffee table and install the center support by driving 1 1/4″ wood screws into the 1×2 uprights from the underside of the coffee table, then also attaching the top of the support to the shelf with 1 1/4″ pocket screws.
For the back panels of the coffee table, drill 3/4″ pocket holes into the sides and top edges of the panels. Attach in place by driving 1 1/4″ wood screws through the bottom of the aprons into the panels, then attach the sides and top of the panels with 1 1/4″ pocket screws.
Step 7: Build The Coffee Table Top
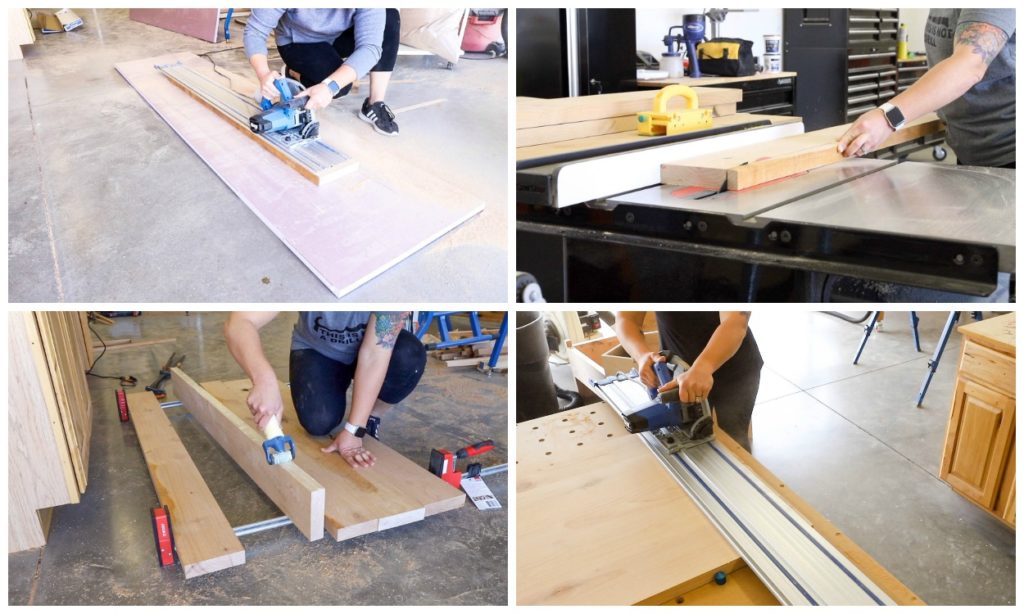
To build the table top, I ripped the 6/4 alder boards to size. When I purchased them, I didn’t have the lumber store cut a straight edge on them, so I did that myself with my Adaptive Cutting System. I then ripped the boards to width on the table saw.
Glue the panel together with wood glue spread over the entire edge of the boards, then clamp together until you just start to see the glue squeeze out.
Once the top is cured, sand it down smooth with a belt sander, drum sander, orbital sander, or combination of the above.
Square up one end, then turn it around and cut it down to size. I once again used my Adaptive Cutting System for this.
Step 8: Build The Drawers
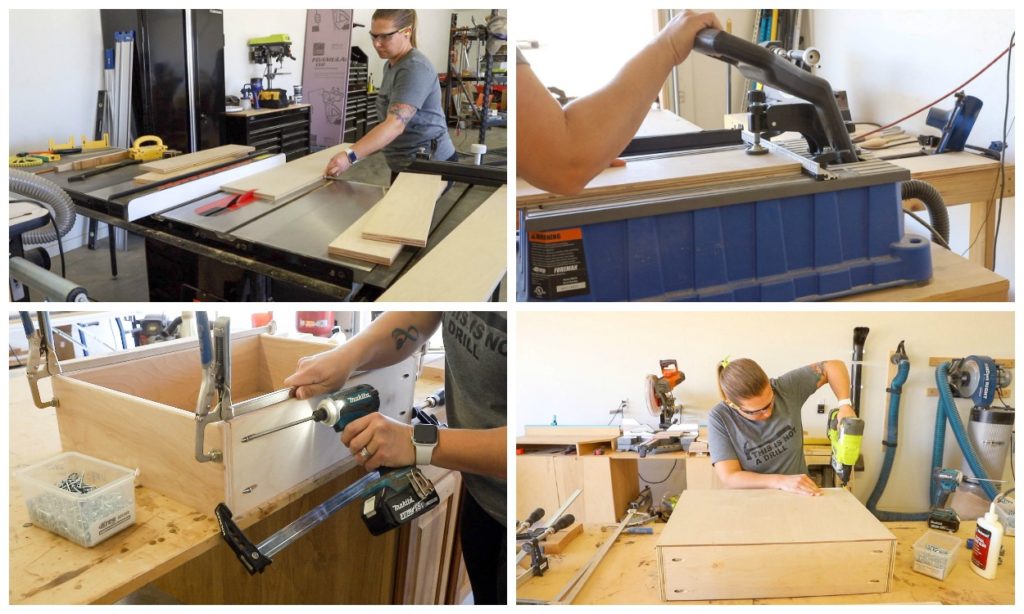
To build the drawers, I ripped 3/4″ plywood to size, then cut it to length on my miter saw. I drilled 3/4″ pocket holes into the front and back pieces of the drawer boxes, then glued and clamped them together, attaching with 1 1/4″ pocket screws.
An optional step prior to assembling the boxes is to use a router with a roundover bit to round off the top edges of the drawer boxes. You can also soften up the edges a bit with a sander, if you prefer.
With the drawer boxes assembled, I measured the final dimensions and cut the 1/4″ plywood drawer bottom to size, then glued and attached it in place with 3/4″ narrow crown staples. You can also use 3/4″ brad nails for this.
Step 9: Install The Drawers
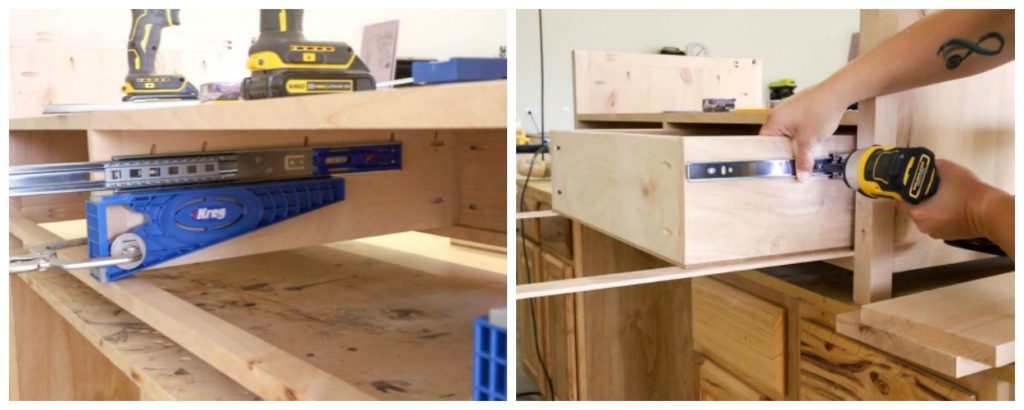
To install the drawers, I used 18″ side mount drawer slides. I installed the drawer slides to the coffee table base using the Kreg drawer slide jigs. I slid the slide out portion of the drawer slides into place, then used 1/4″ spacers under the drawer boxes and slid them into place. I pulled the slides out about halfway and drove the included screws into place. Once that I was finished, I pulled the entire drawer box out and drove the last screws into each side of the drawer box to fully secure the slide.
Step 10: Install the drawer fronts
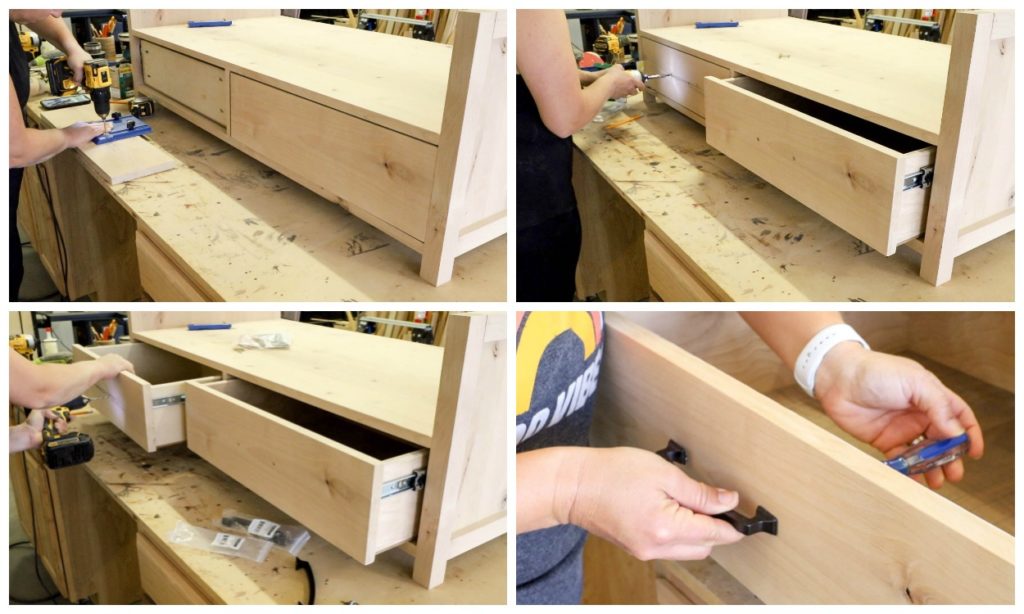
To install the drawer fronts, I used the Kreg cabinet hardware jig to drill holes into the drawer fronts based on the size of my hardware. I set the drawer fronts in place, using equal stacks of playing cards to achieve a 1/8″ gap around all sides. I drove 1 1/4″ wood screws through the holes in the front and into the drawer boxes.
I pulled the drawers out and drove 1 1/4″ wood screws from the inside of the drawers into the drawer fronts at all four front corners.
With the fronts installed, I took out the wood screws from the front and finished drilling the 3/16″ hole through the fronts and into the drawer boxes. I then installed the drawer handles.
Step 11: Install the desktop fasteners
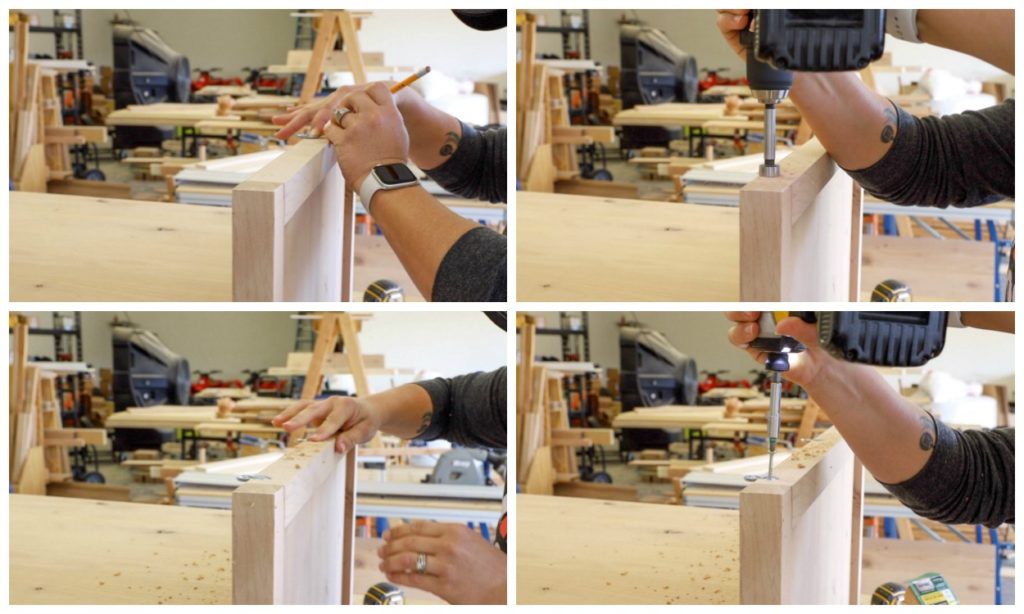
Install three desktop fasteners onto each end of the coffee table base. Start by tracing around the larger end of the fastener. Using a drill and a 3/4″ forstner bit, drill down approximately 1/8″ or until the fastener is flush with the top of the wood. Insert the fasteners into the holes you drilled, then attach with 1 1/4″ wood screws.
Step 12: Attach The Coffee Table Top
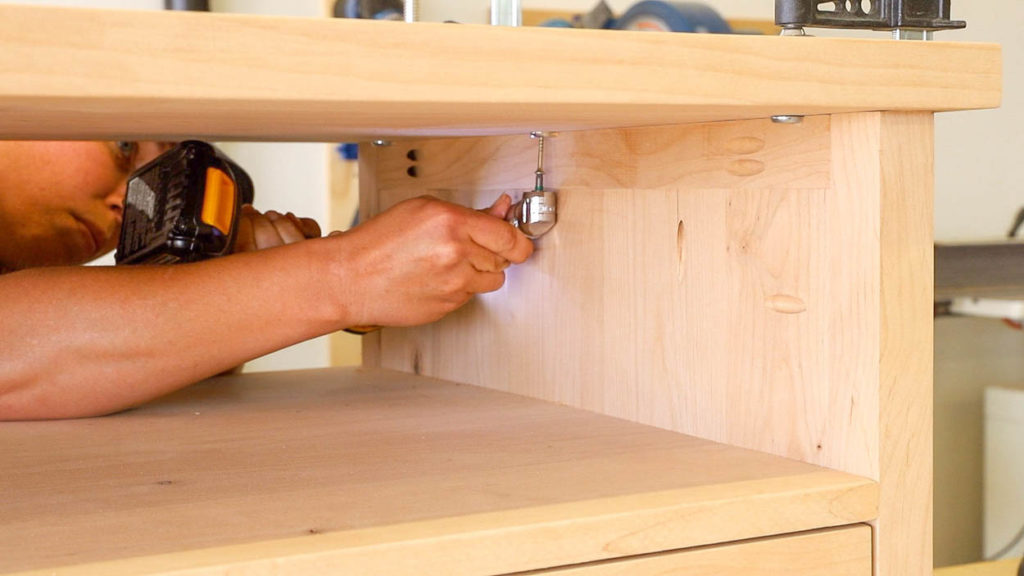
Center the table top over the base, measuring to make sure the overhang is equal on all four edges.
The space in between the shelf and table top is only 7 1/4″, so you will need a right angle drill adapter to drive the screws in place. Using the adapter fitted in a drill or impact driver, drive 1 1/4″ wood screws through the desktop fasteners to attach the top.
Step 13: Finish As Desired
Finish the coffee table as desired with paint or stain. I am choosing to leave it unfinished at the moment until I can decide on a color I like. I am really liking the natural color of the wood for this coffee table and side table, so I’m actually considering just adding a clear coat.
DIY Coffee Table With Storage
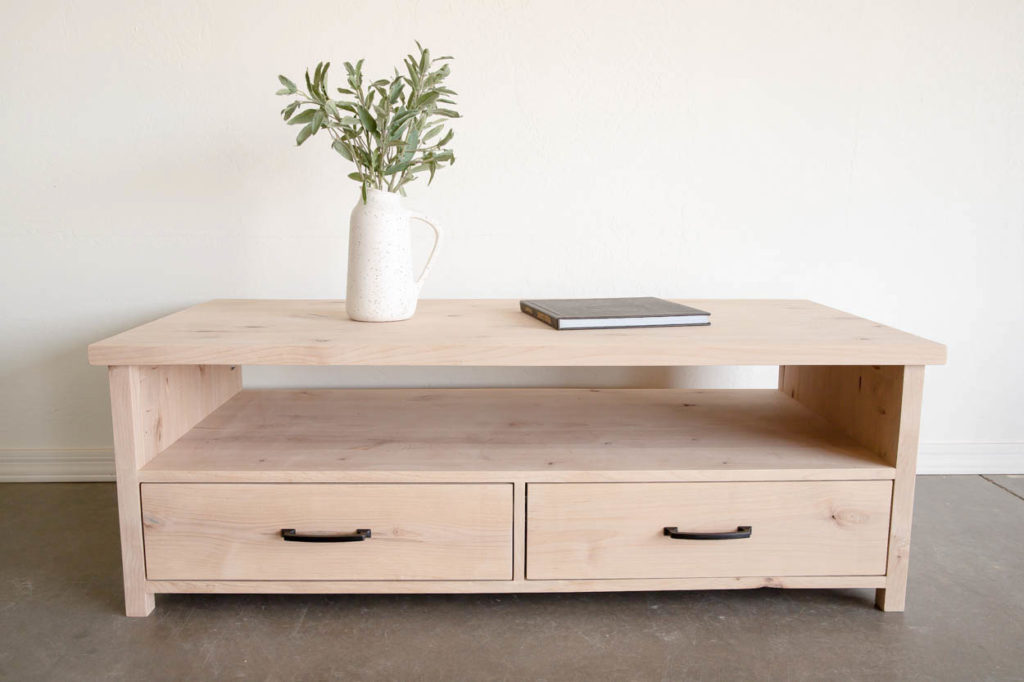
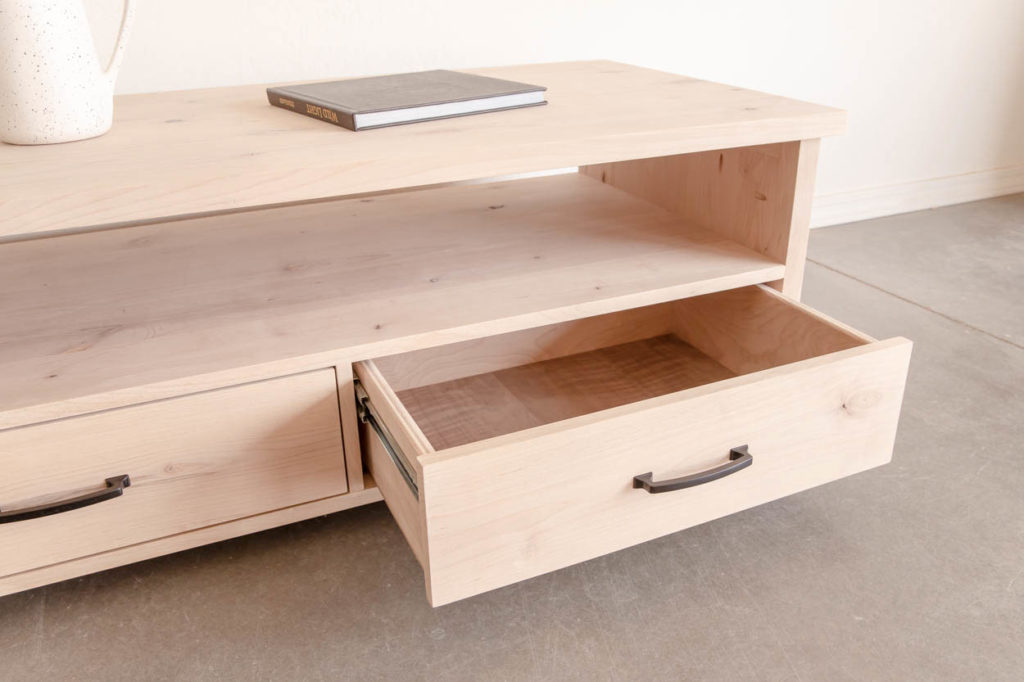
I love how the coffee table turned out and it checks off all of the boxes of what I was looking for in new furniture for my great room. Be sure to head over to Build Something to download the free plans and let me know if you build it! I’d love to see pictures!
DISCLOSURE: I was provided product and/or compensation for this post. All opinions and ideas are 100% my own.

Leave a Reply