Bullnose or rounded corners in a home can make adding trim and baseboards a challenge. This tutorial will show you how you can easily add trim to a window, even when you have bullnose corners.
My entire house is made up of bullnose (rounded) corners. I kind of hate them. For starters, they make transitioning paint colors a huge pain. Where do you stop the color? Before the rounding starts or after? Installing baseboards around the corners is a huge hassle, and installing trim anywhere is even harder. Thankfully, I figured out a simple way to add trim to windows with bullnose corners and I’m partnering with DAP Products today to show you how!
Watch The Video:
The Plan:
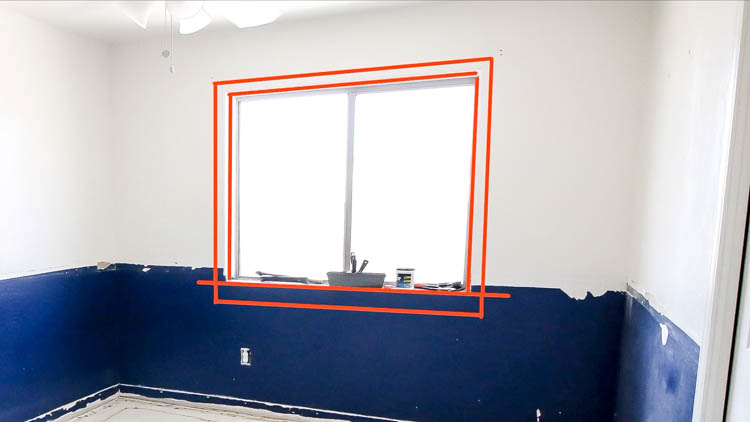
To frame out the window, I knew that I needed to figure out a way to square off the corners. I decided that essentially lining the inside frame of the window would help me to do that. I opted to go with 1/4″ plywood, which would allow me to get the corners squared up, but wouldn’t overlap the metal frame of the window itself.
Step 1:
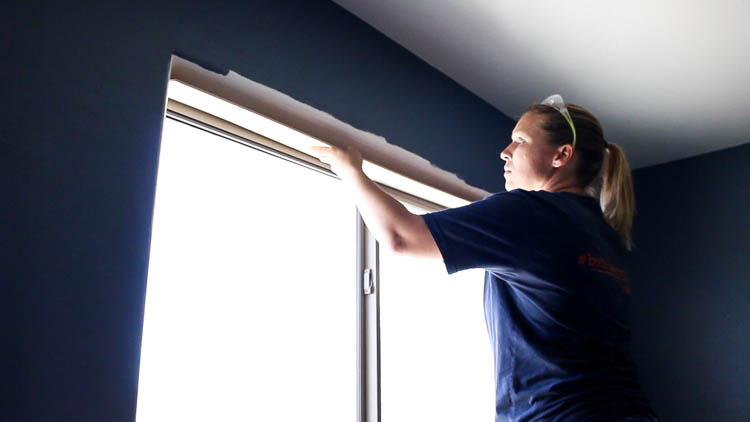
The first piece to begin installed with the top. I measured the length and width of the plywood and ripped it down on my table saw. To determine the width of the plywood, I held a piece of wood up against the wall and measured the width from the window to the wood. I also did this on the sides of the window and ripped the plywood down on my table saw.
I installed the top piece of plywood with DAP Dynagrip Heavy Duty Adhesive and 1 1/4″ brad nails.
Step 2:
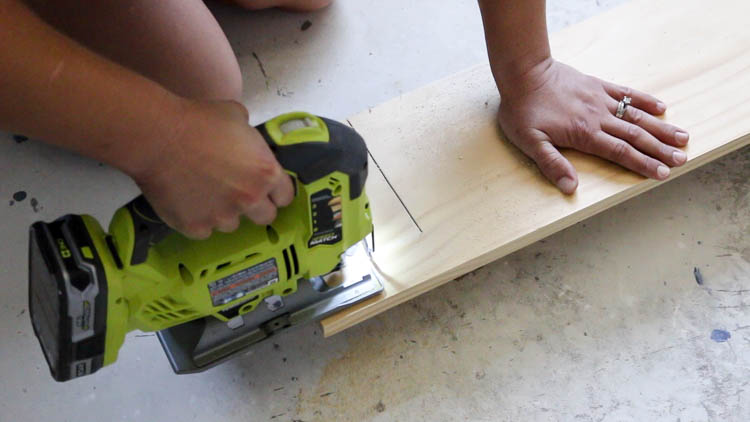
Once the top was installed, I moved down to the bottom of the window sill. Since we have 2×6 construction, I used a 1×8 select pine board. I cut it to be 4 1/2″ longer on each end of the window sill, then used my jigsaw to notch out the wood so that it would fit inside the window sill, with the overhang on each side.
Step 3:
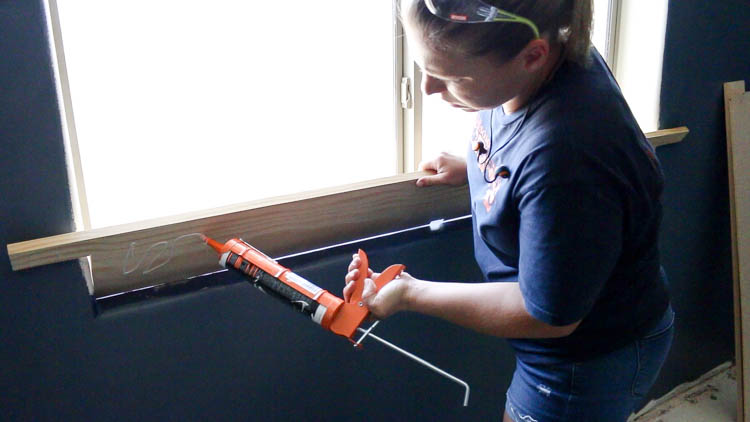
Once both ends were notched out, I attached the board to the bottom of the window sill with Dynagrip and 2″ brad nails.
Step 4:
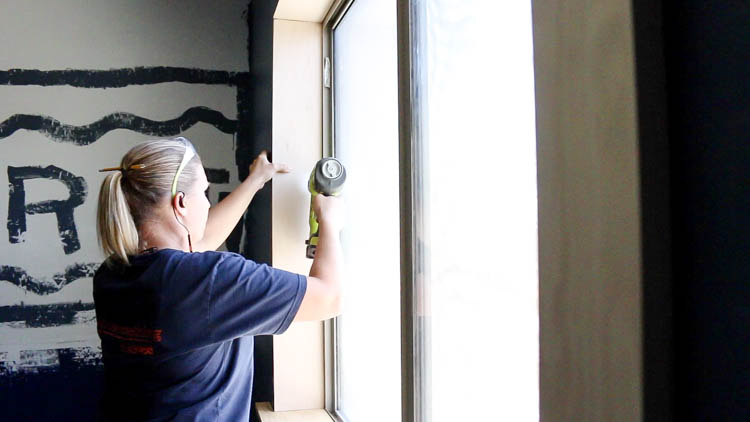
After the bottom portion was installed, I was able to measure and cut the plywood for the sides. I attached them with adhesive and 1 1/4″ brad nails.
Step 5:
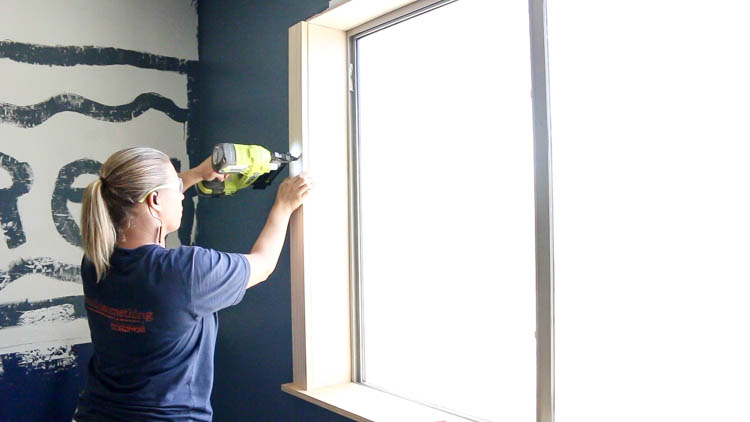
I cut the side pieces of the outer frame and attached them in place with adhesive and 2″ brad nails, then cut and attached the top portion of the frame.
Step 6:
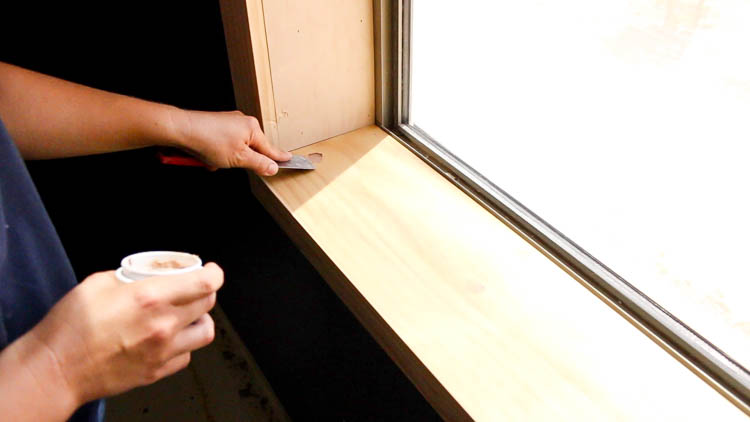
Once everything was attached, I filled all of the nails holes with PlasicWood X wood filler from DAP. I let it dry, then sanded everything smooth with 220 grit sandpaper.
Step 7:
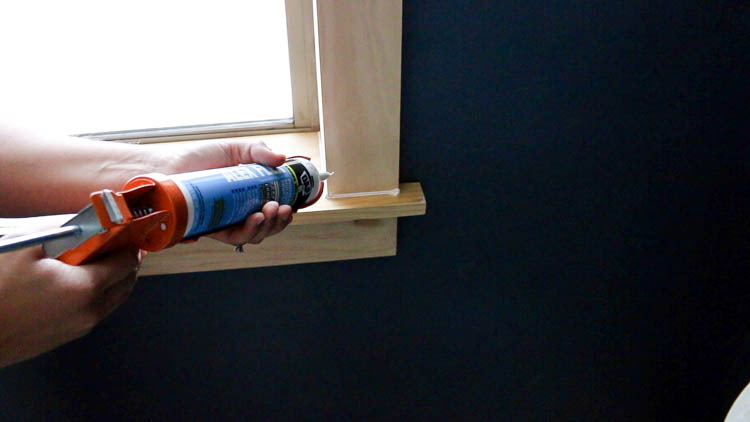
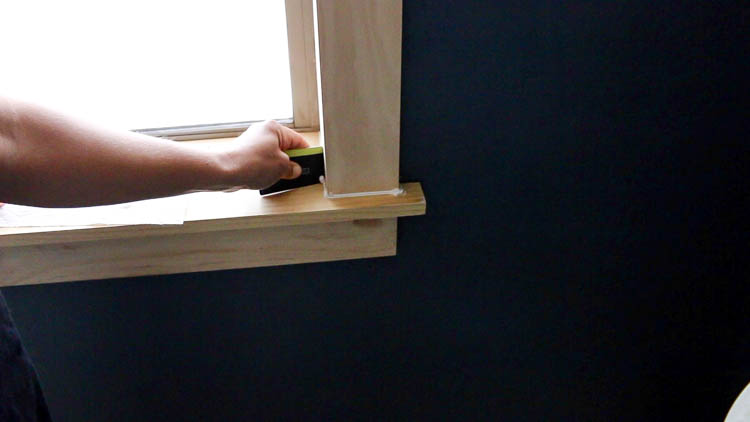
I filled all of the seams with Alex Flex Moulding and Trim sealant. To smooth the bead, I like to use old gift cards or hotel keys that I forget to return. Then I just toss them once I’m finished.
Step 8:
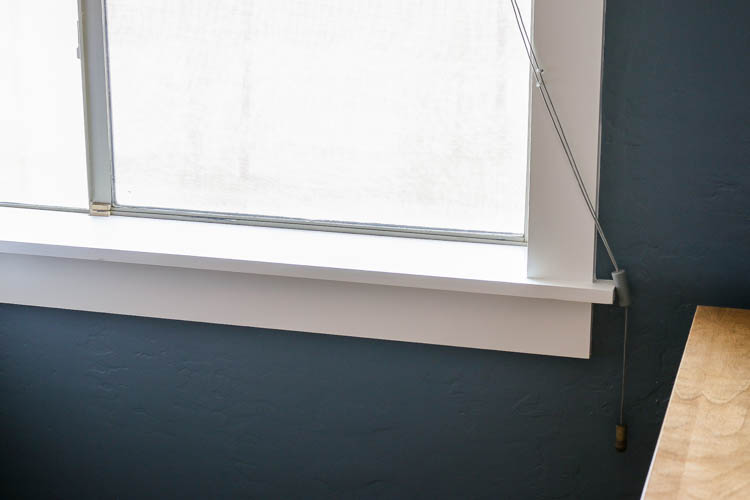
Once the caulk was dry, I painted the window trim with semi-gloss Behr paint + primer in Swiss Coffee.
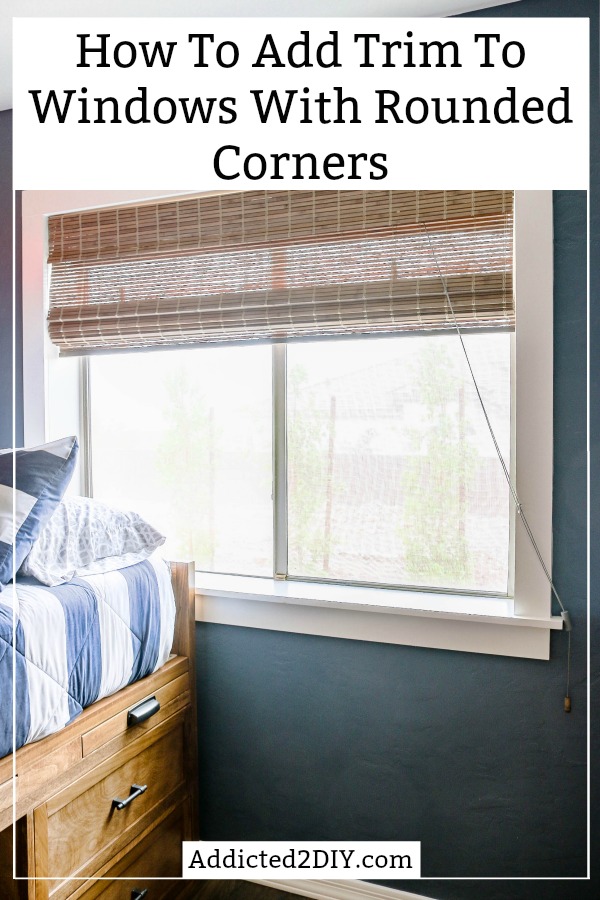
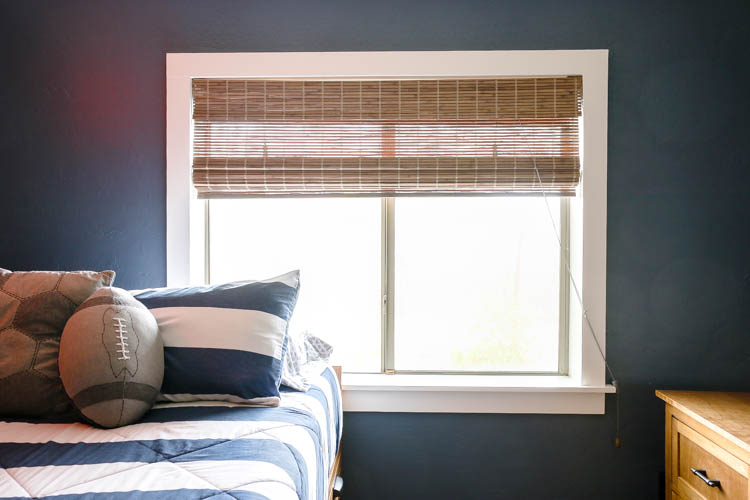
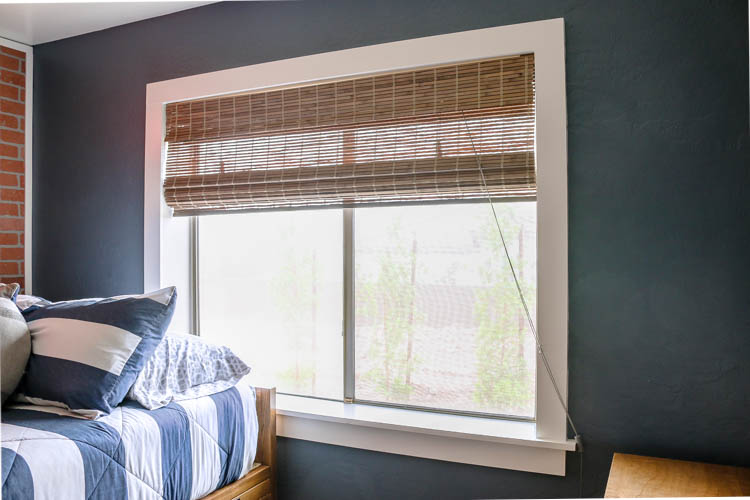
Before the trim was installed, the window looked so bland. Now the pop of white and the chunkiness of the trim makes a great statement against the dark, blue grey walls. To finish it off, I purchased bamboo roman shades. Behind those I added a blackout roller shade. Both of my boys’ bedrooms face west and the sun (and subsequent heat) can be pretty brutal during the summer. When my son isn’t in his room, we can keep the shades closed, and his room stays nice and cool.
DISCLOSURE: I was provided product and compensation for this post. All opinions and ideas are 100% my own.

Wow! This really makes a difference in the look of the room! Love it!
Thanks, Laura!
Oh, this is HAPPENING in my house! We too are cursed with bullnose corners everywhere. Our windows are so small and boring. I’ve never used a saw in my life but I am going to Home Depot and buying myself some tools because every window in my house needs this! Thank you!
So glad I could be of help! I seriously was so giddy with excitement when I finally figured out how to add trim and hide those blasted corners;)
Incredible video! So helpful. Other then the jigsaw shown, what other tools did you need?
Hi Bobbi,
I used a table saw and a miter saw, as well as a nail gun. So happy to know you found the video helpful!