Learn how to build this modern industrial gaming computer desk following the step by step tutorial and printable plans. This table is great for PC gaming as well as just a regular office desk.
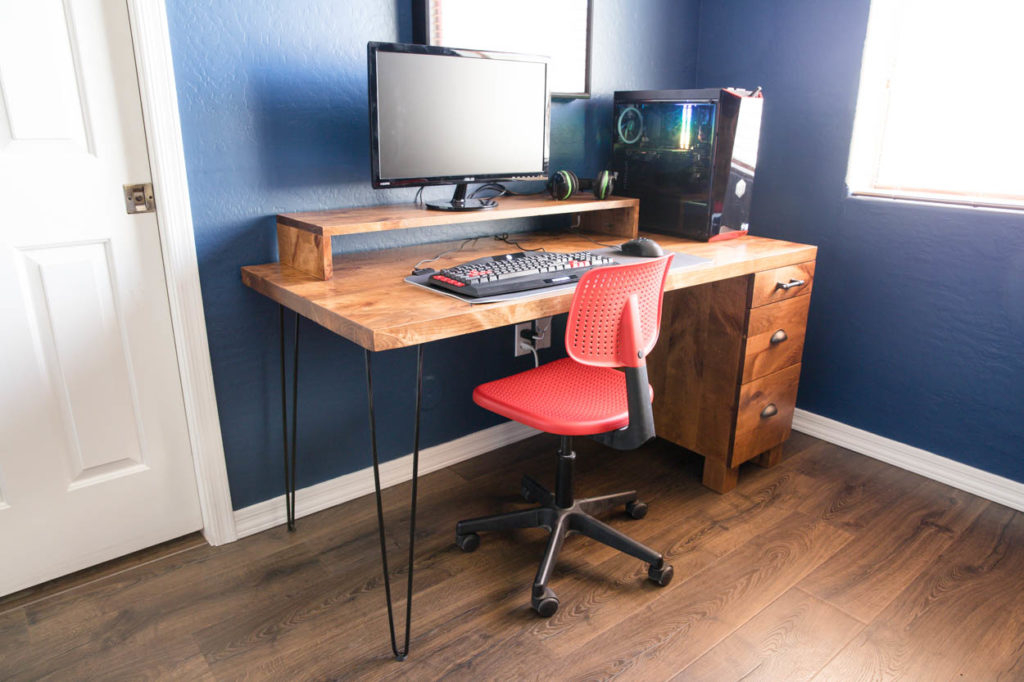
My oldest son recently purchased a gaming PC and has been wanting a proper desk for it. He’s been using it at his desk area in our den, but the space was super cramped. He really only had one request. He wanted it to be long enough that he could have space to track his mouse further. I’m partnering with BuildSomething to show you how to build this gaming computer desk. I’ve got the step by step tutorial for you here and you can head to BuildSomething for the printable plans!

Watch the YouTube video
What is a gaming PC desk?
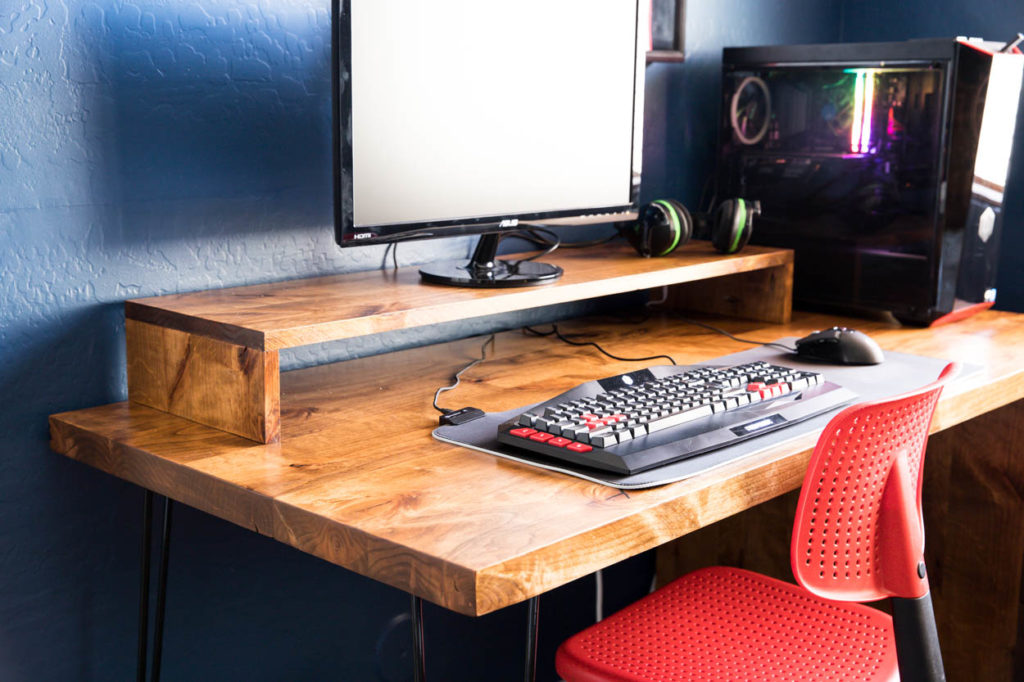
A gaming PC desk is really just a basic desk. The only real difference I noticed was that the PC tower usually sits on top of the desk. Gaming PCs have a bunch of fancy lights on them and everyone wants to be able to show those off. I knew that I needed to make the desk a bit on the longer side to not only accommodate the tower sitting on top of it but also to accommodate the longer gaming mousepad. I added a shelf to it so for the monitor to sit on and for the keyboard and mousepad to slide under when it’s time for my son to use his desk for homework.
How to build a gaming PC desk
I’m going to show you the step by step on how to build this desk; however, you can find the printable plans, materials list and cut list over on the BuildSomething website. Let’s get started!
Before we get into this, I want to note that I purchased rough-cut knotty alder for this project and milled it down to the dimensional lumber sizing. You can use dimensional pine for this project if you don’t have the means to mill down all of your lumber.
Build the desktop
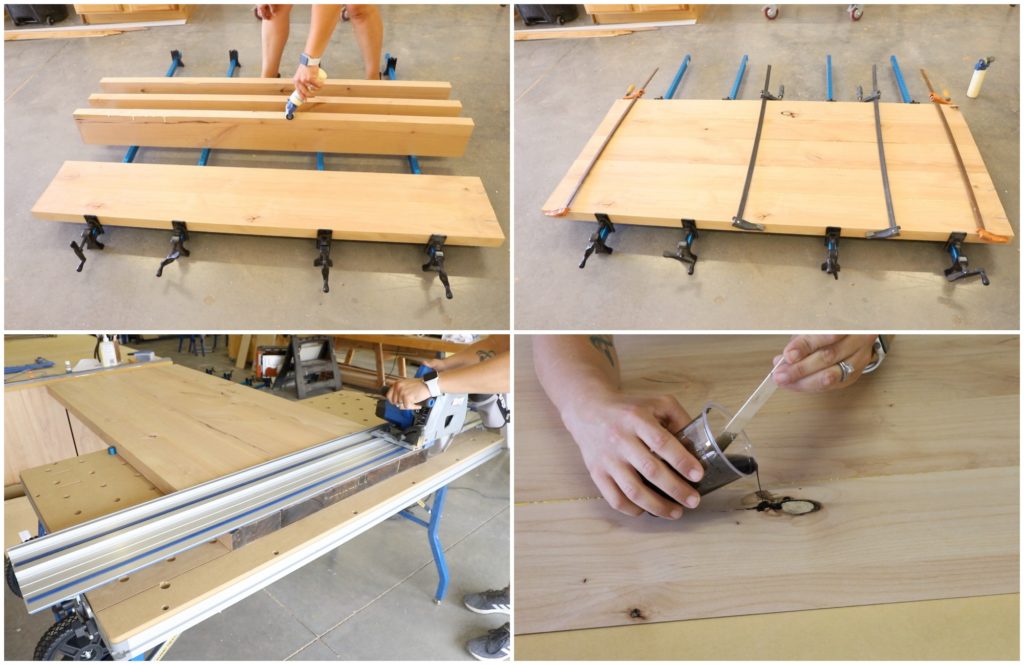
To build the desktop, I cut all of my pieces down to just over 60″ long. I glued them up and clamped them together. You can also use pocket joinery along with the glue, but I’ve found this to not be necessary when I’ve got good clean edges to glue up.
I let the glue dry overnight, then used my Kreg Adaptive Cutting System to square up the edges and trim the final desktop down to size.
I filled all of the knots in the wood with epoxy that I tinted with black acrylic paint. Filling these knots gives the desktop a smooth surface where my son won’t have to worry about his pencil going through the paper if he is writing over a knot.
Once all of the epoxy was cured, I sanded the entire desktop down, starting with 80 grit sandpaper on my belt sander and then moving to my orbital sander, working my way up to 220 grit to smooth it all out.
Build the side panels
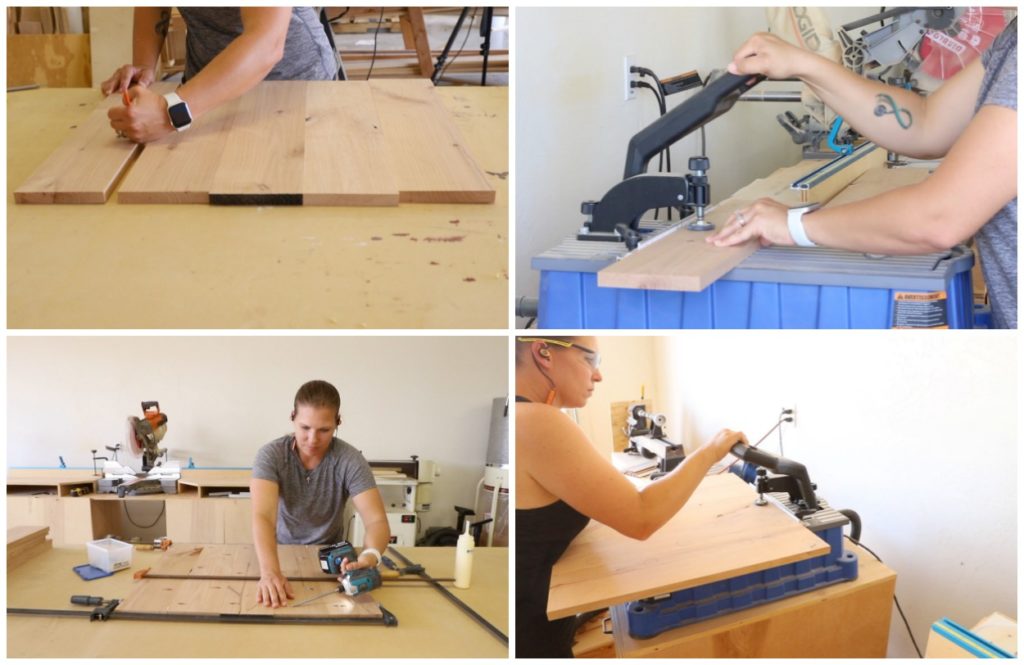
The side panels are made up of 1×6 boards (5 on each side). I lined up all of the boards and marked the locations for my pocket holes. This helps me to make sure I don’t add too many or too few, plus I’m able to ensure I don’t add a pocket hole where there could be a knot in the wood.
I drilled 3/4″ pocket holes into the sides of the boards and then glued and attached them together into a large panel with 1 1/4″ pocket screws.
Once the panels were assembled, I drilled 3/4″ pocket holes into the top edges so they can be attached to the desktop.
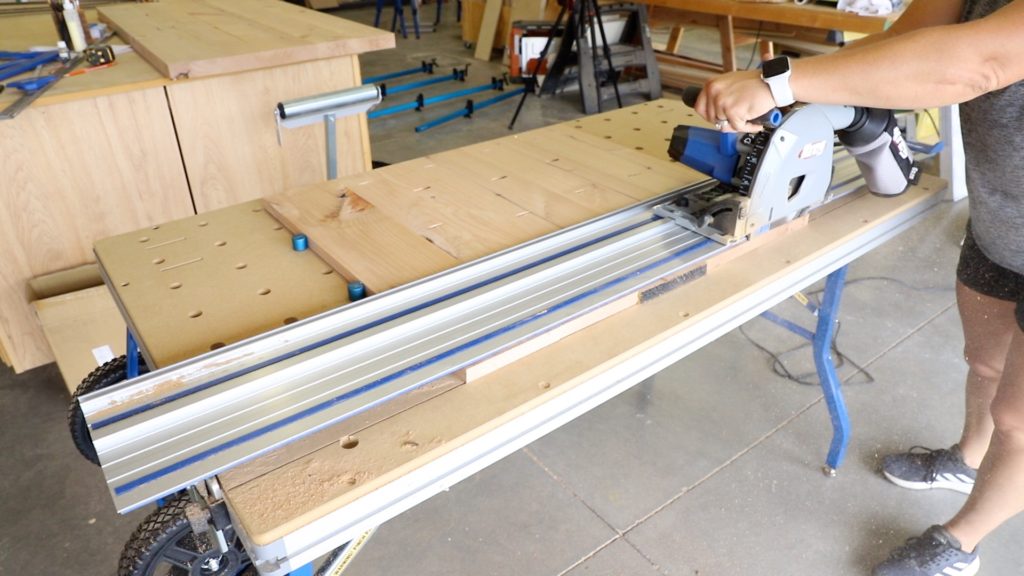
I squared up the edges of the panels on my ACS, just like I did with the desktop, then cut them down to size.
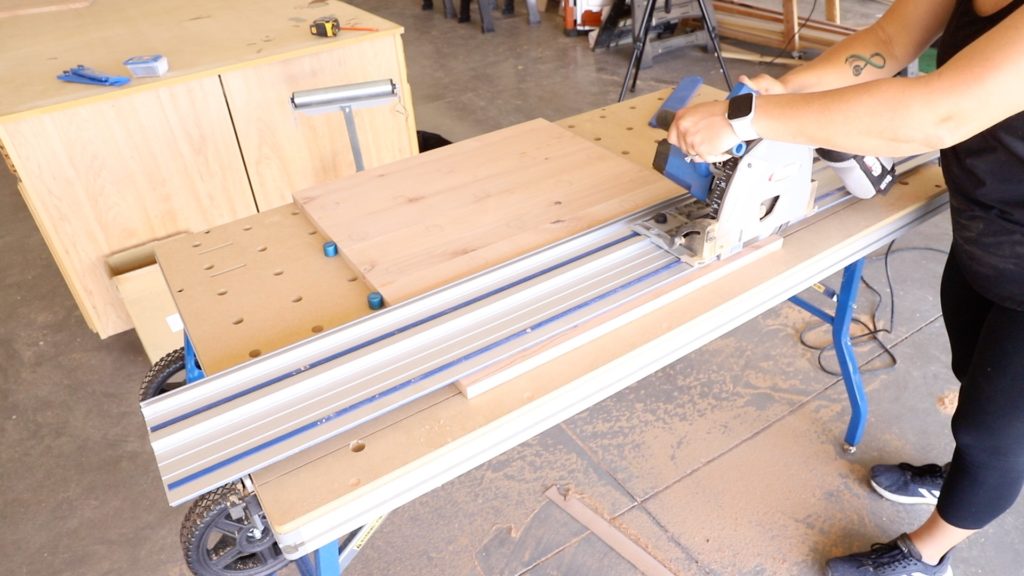
The drawers for the desk sit flush with the front edge of the desktop, so the front of the side panels also need to be trimmed to be 3/4″ narrower than the desktop. Measure the desktop width and subtract 3/4″ to get the width for the side panels. The side panels should be approximately 26 3/4″ wide.
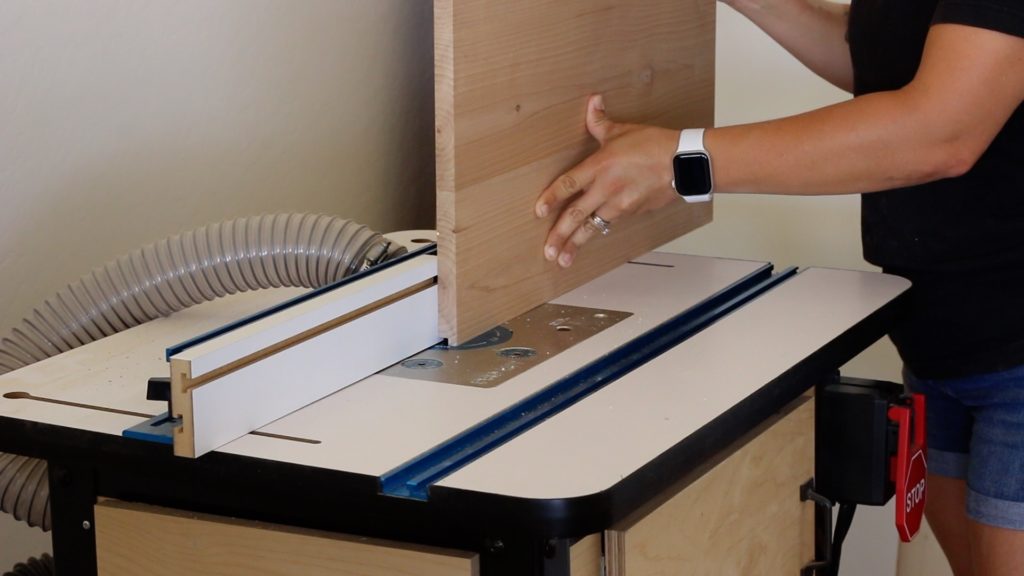
I wanted the backing of the desk to be inset and flush with the back edge of the cabinet, so I used my router, fitted with a rabbeting bit for this. The rabbeted groove is 1/4″ deep and 1/2″ wide.
Build the cabinet
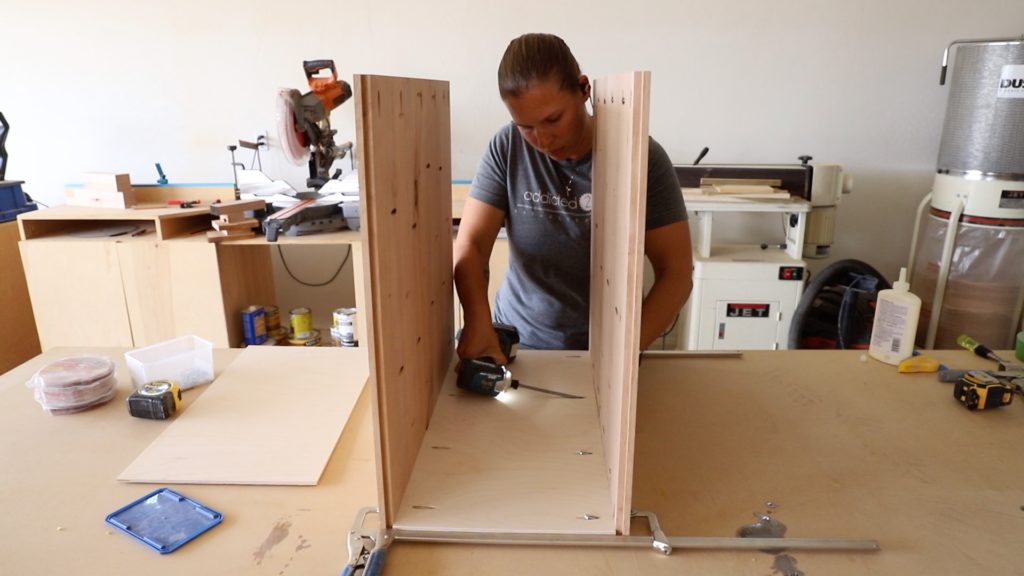
The cabinet bottom is 3/4″ baltic birch. I drilled 3/4″ pocket screws into the long ends and attached it to the side panels with wood glue and 1 1/4″ pocket screws.
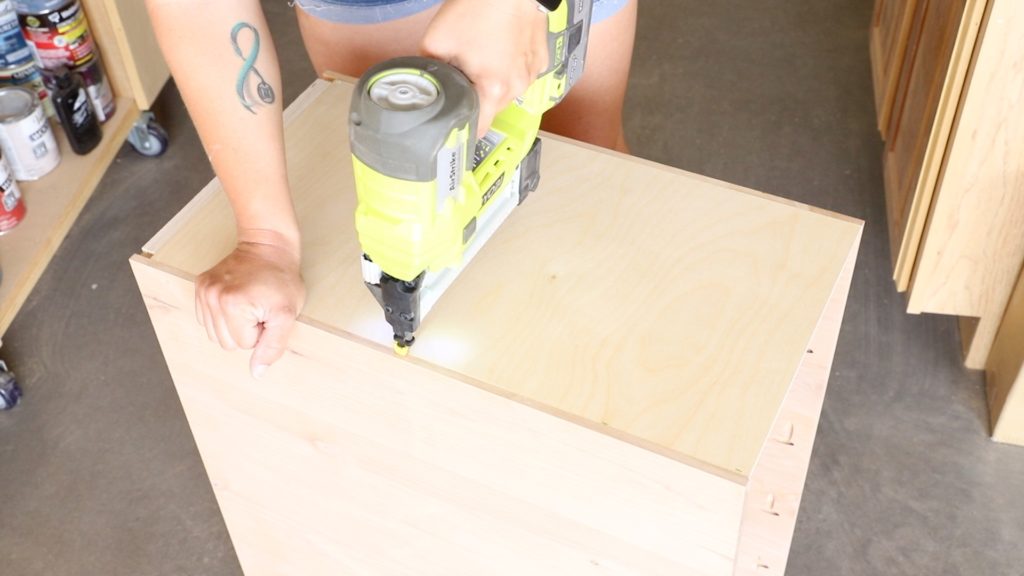
I cut a piece of 1/4″ baltic birch for the back of the cabinet and attached it with wood glue and 3/4″ narrow crown staples. You can also use brad nails for this step.
Attach The Hairpin Legs
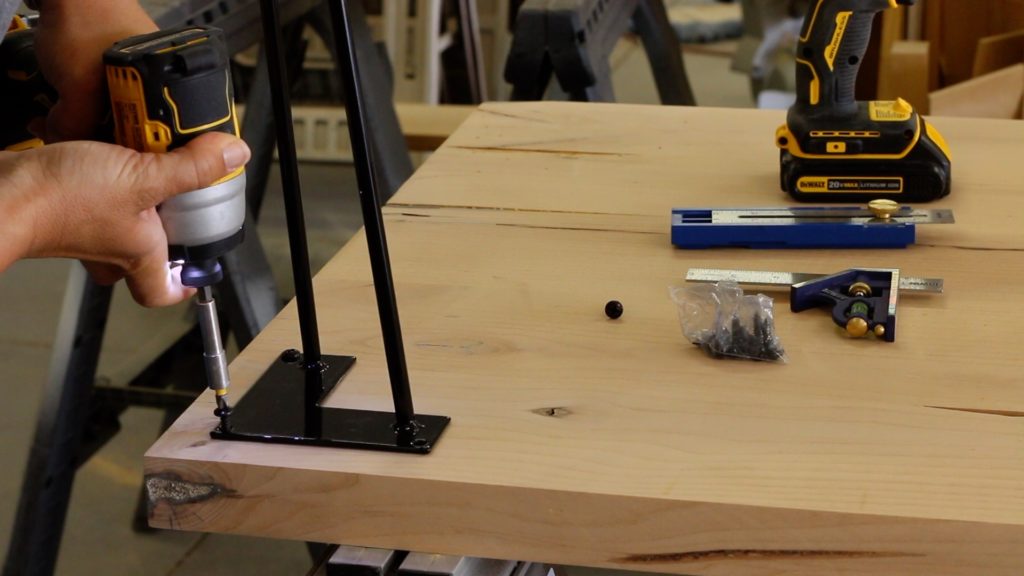
I don’t even know the proper way to say it, but I felt like if I built the desk with wooden legs on the one end, it would look a little too heavy. Not weight wise, but just bulky. I knew that hairpin legs would be a much nicer look. Plus I’d been looking for a way to use the legs my friends at Rockler Woodworking had sent me.
I attached the 28″ hairpin legs 1″ in from each edge. I drilled 3/32″ pilot holes, then attached them with the included screws. I did this before attaching the cabinet because I wanted to be extra sure that when I cut the 4×4 legs for the cabinet that they would be the correct size I’d put in my plans. Lucky for me, my calculations were correct!
Attaching the legs
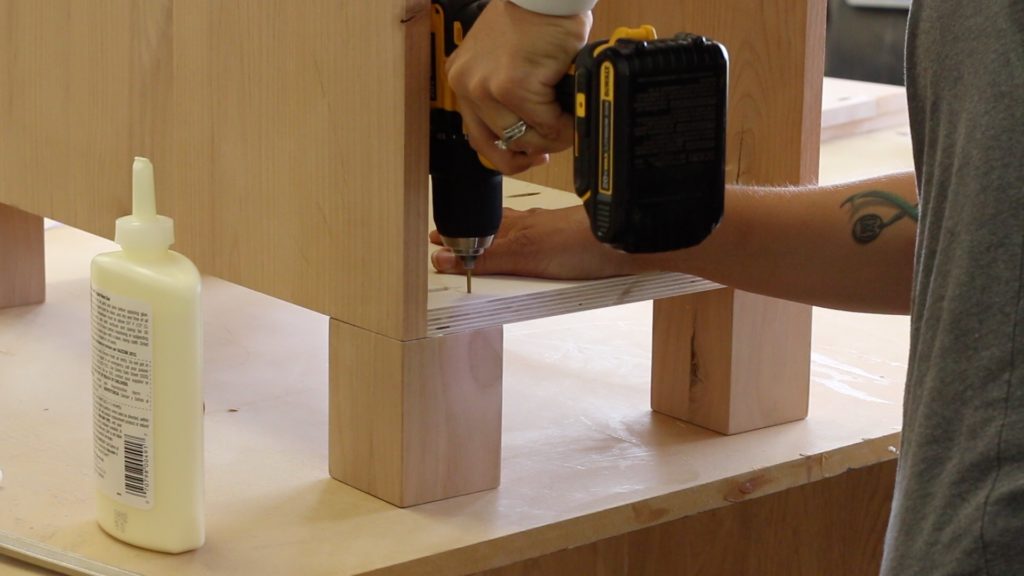
The plans call for 4×4 legs, which I “built” by milling down my 8/4 knotty alder to 1 3/4″ thick, ripping the pieces down to 3 1/2″ wide, then gluing the pieces together to make my own 4x4s. I cut them to 4″ in length and attached them flush with the corners of the cabinet with wood glue and 2 1/2″ wood screws.
One trick I’ve learned over the years is to lightly round off the bottom corners of the legs. It helps to prevent any chips in the wood as the furniture gets used.
Attach the cabinet to the desktop
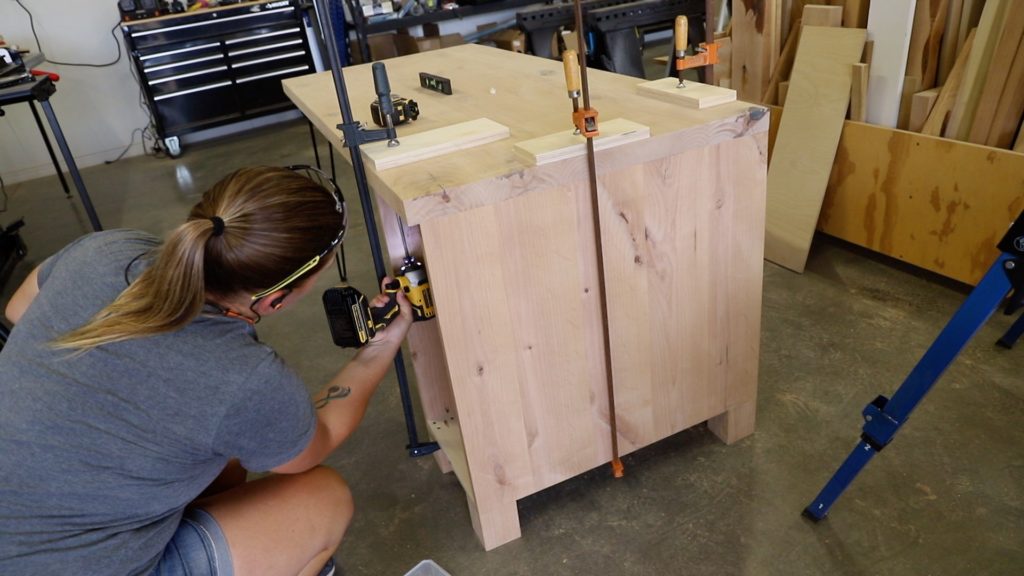
Attach the cabinet to the desktop. Run a bead of glue along the top edges of the cabinet sides. Set it in place with the outside face being flush with the edge of the desktop. Clamp and attach with 1 1/4″ pocket screws.
Building and attaching the shelf
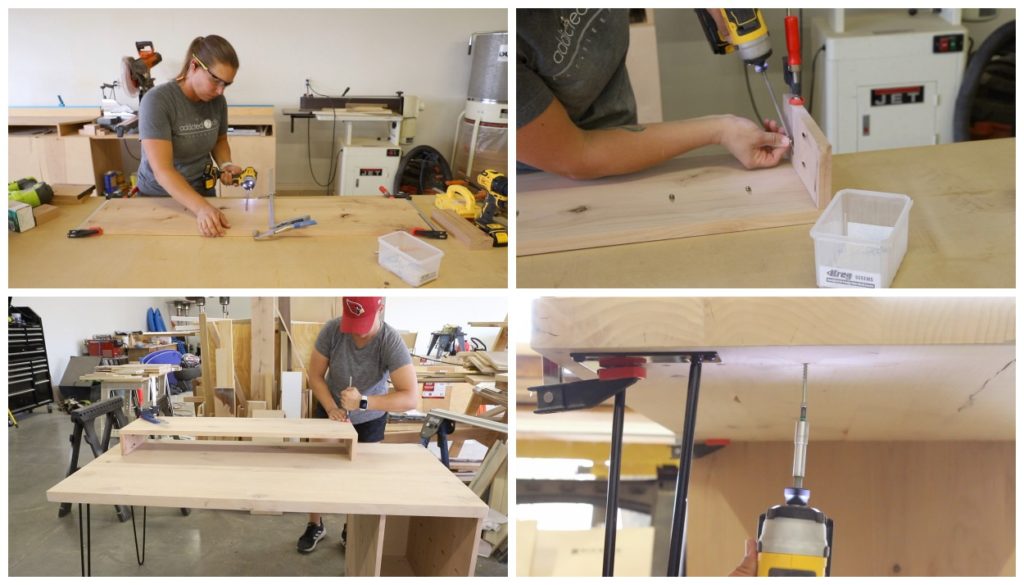
To build the shelf, attach two 1×6 boards together with wood glue and 1 1/4″ pocket screws. Do the same for the 4″ risers. The risers also get 3/4″ pocket holes in the top edge to attach them to the shelf.
Clamp the shelf to the desktop, 4″ in from the left side. Measure and mark the location of the edge of the vertical pieces as well as where they end (10″ in from the back edge of the table). Use a square to draw a line under the table top that marks where the edge of the vertical pieces are. Knowing that you have 3/4″ to work with, use that as a guide for where to drill pilot holes and then attach the shelf with 3″ wood screws.
Finishing the desk
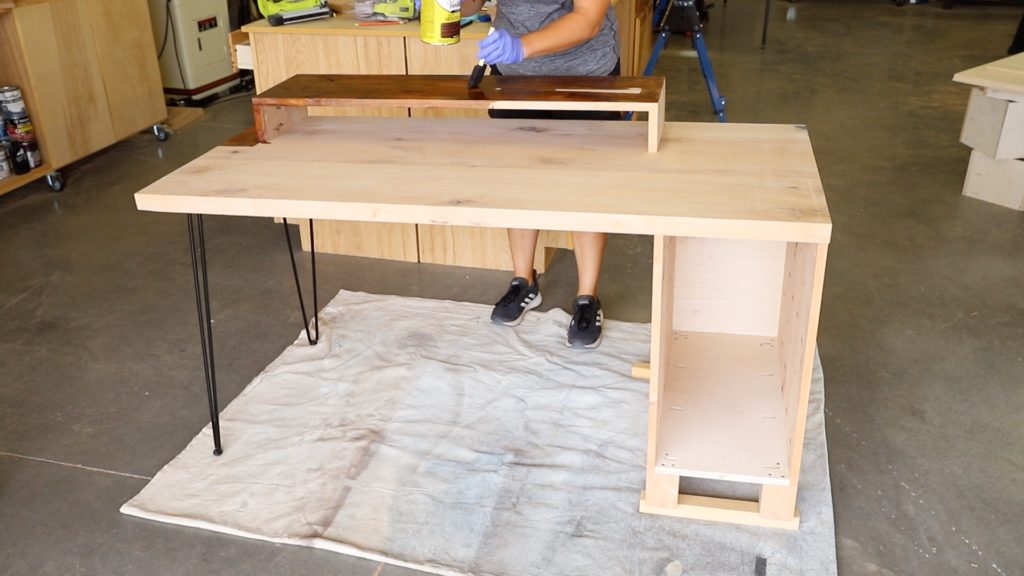
Finish the desk with your desired paint or stain color. The stain color I used is Provincial (Varathane), followed by four coats of wipe on poly.
Install the drawers and drawer faces
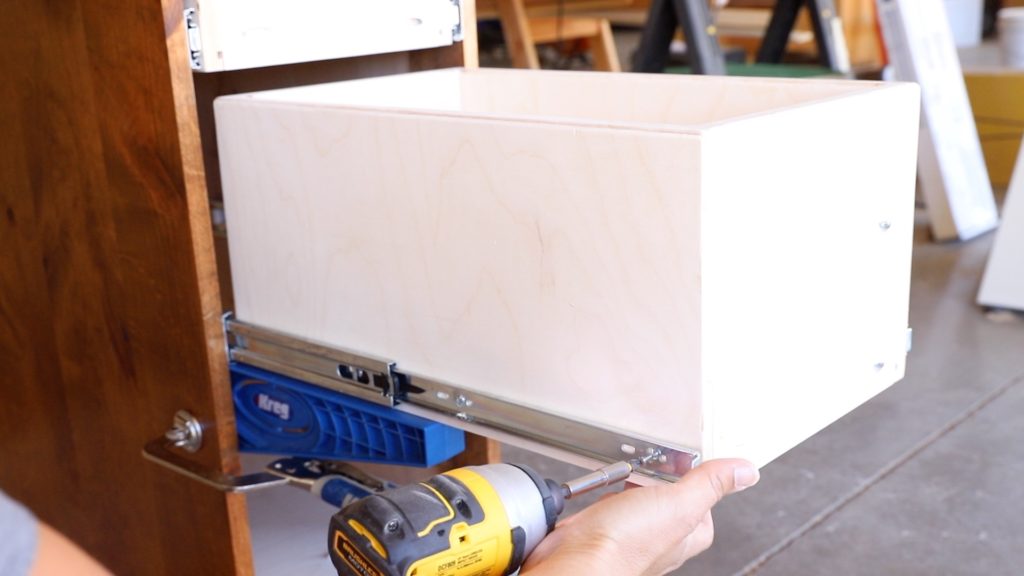
Once the finish is dry, install the drawers. I used 18″ side mount drawer slides, which I installed with my Kreg drawer slide jigs.
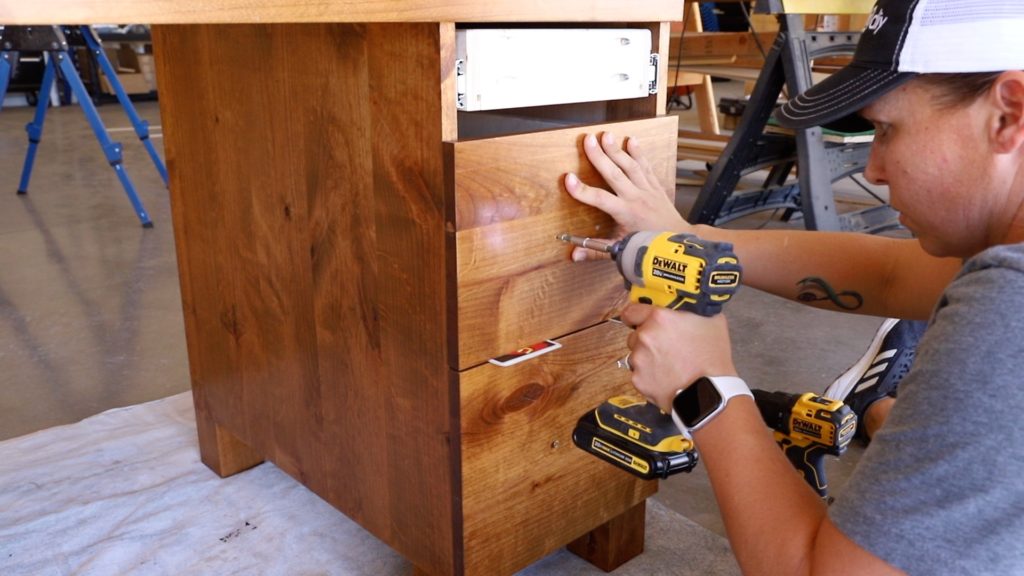
To install the drawer faces, pre-drill the holes for the cabinet hardware. This is done in the drawer face only. Position the drawer faces on the front of the cabinet and drive 1 1/4″ screws through the pre-drilled holes, into the fronts of the drawers. Even stacks of playing cards help to ensure that you have an even gap between all of the drawers (approx 1/8″).
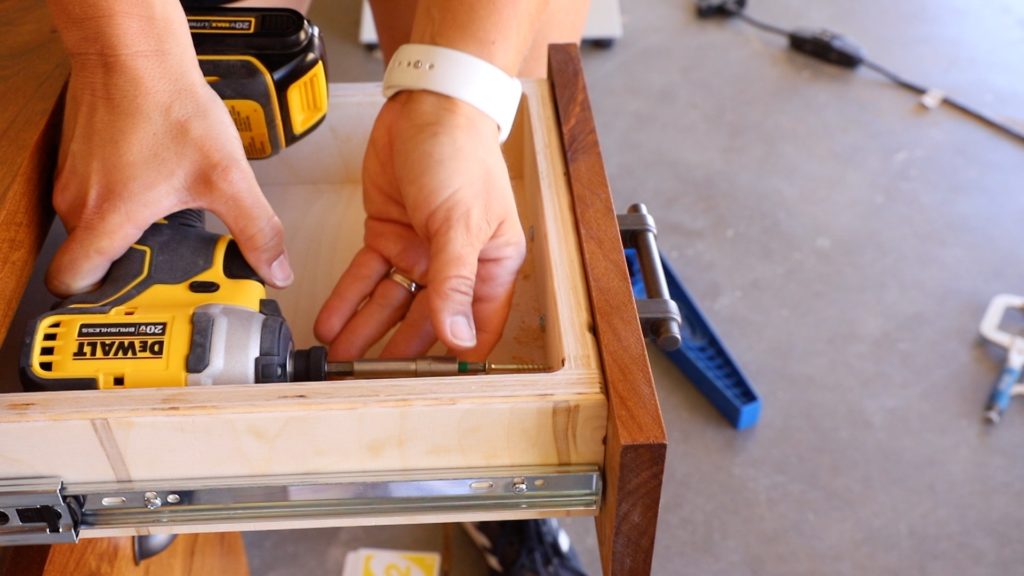
Pull the drawers out and drive 1 1/4″ screws through the inside of the drawer to fully attach the drawer faces in place. I did this after attaching the hardware, which is not the correct way to do this and I realized my mistake after the fact.
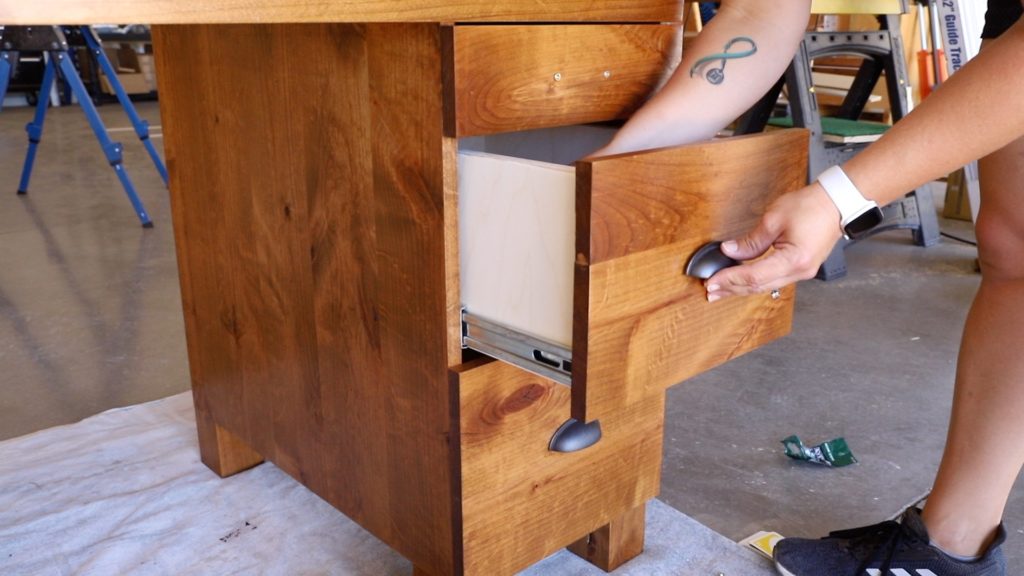
Once the drawer faces are attached, finish drilling through the holes you pre-drilled for the hardware. Attach the drawer pulls. With the drawers being 3/4″ thick, you’ll likely need to purchase longer screws for your hardware. I purchased 1 3/4″ #8 machine screws for this.
Attaching LED lights
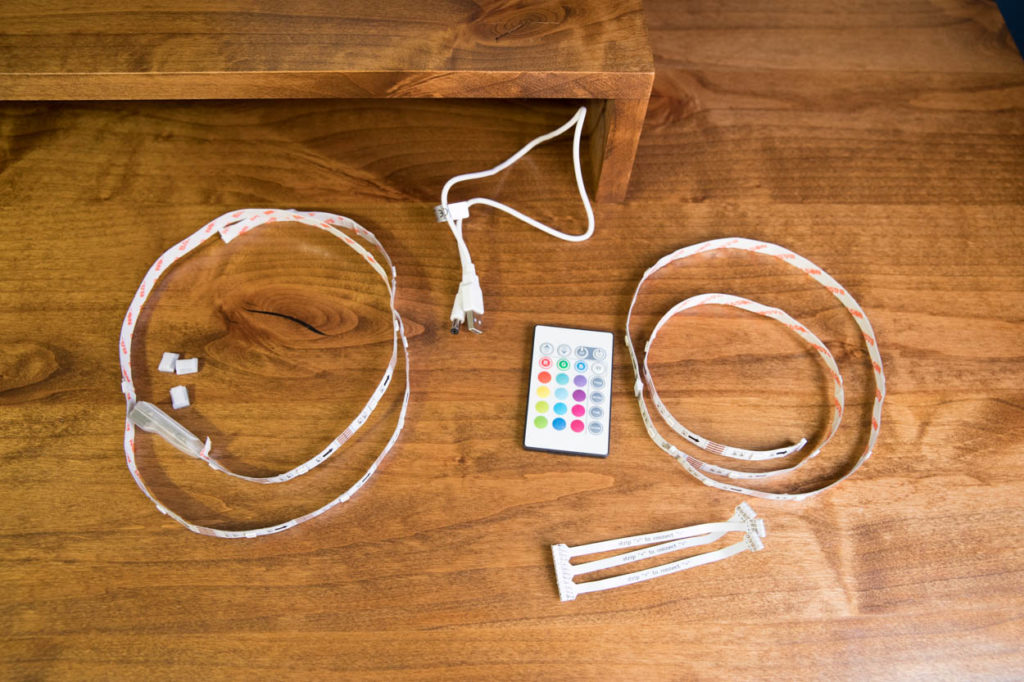
According to my brother, gamers are all about lights and that the gaming computer desk should have lights on it. I found these LED light strips on amazon for about $14. The lights are meant for backlighting for TVs, but I knew they’d be perfect for the desk. The strips are in about 20″ sections that plug together so I used two sections for under the shelf.
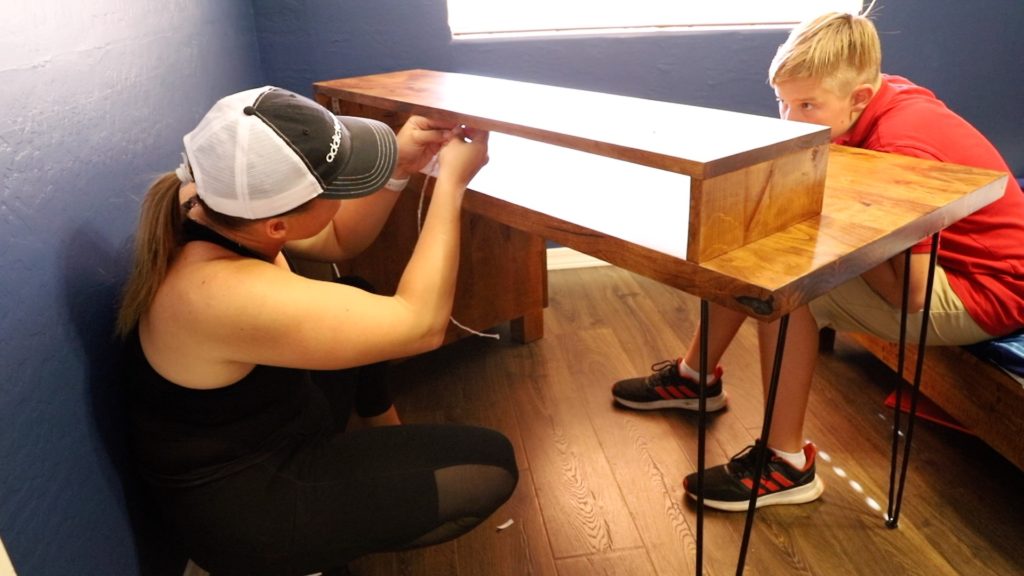
There’s an adhesive backing on the light strips, so I just peeled it away and stuck the lights to the bottom side of the shelf. The only downside to the lights is that they only come with a USB cord, so you’ll either need to find a plug for them, or use a power strip with USB ports. The cord is also not very long, but it was just right for the outlet location against the wall.
Gaming Computer Desk Setup
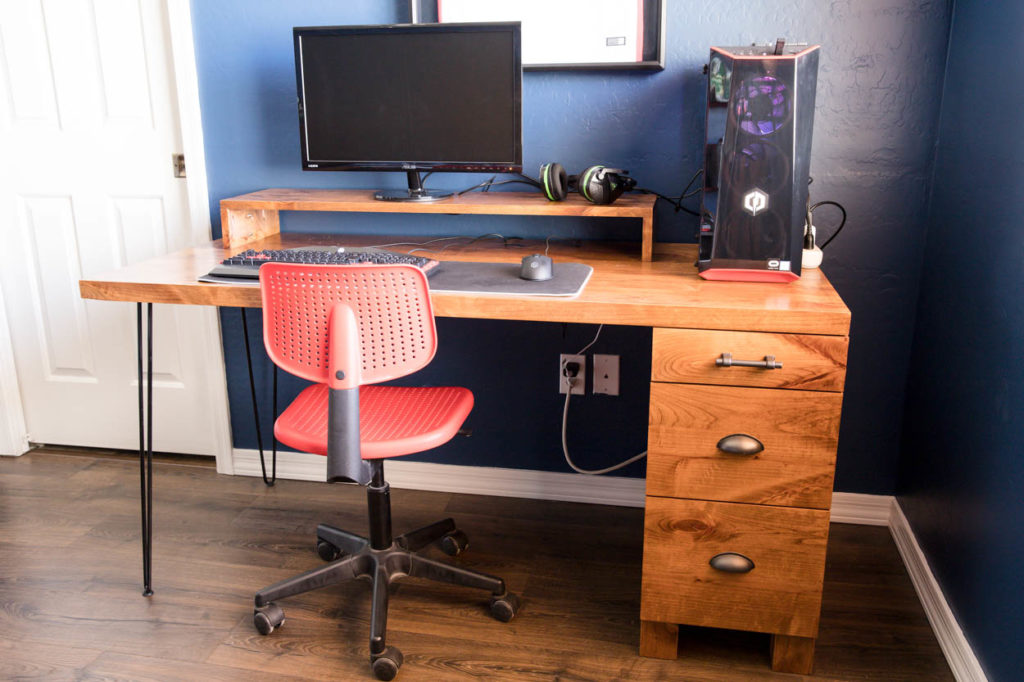
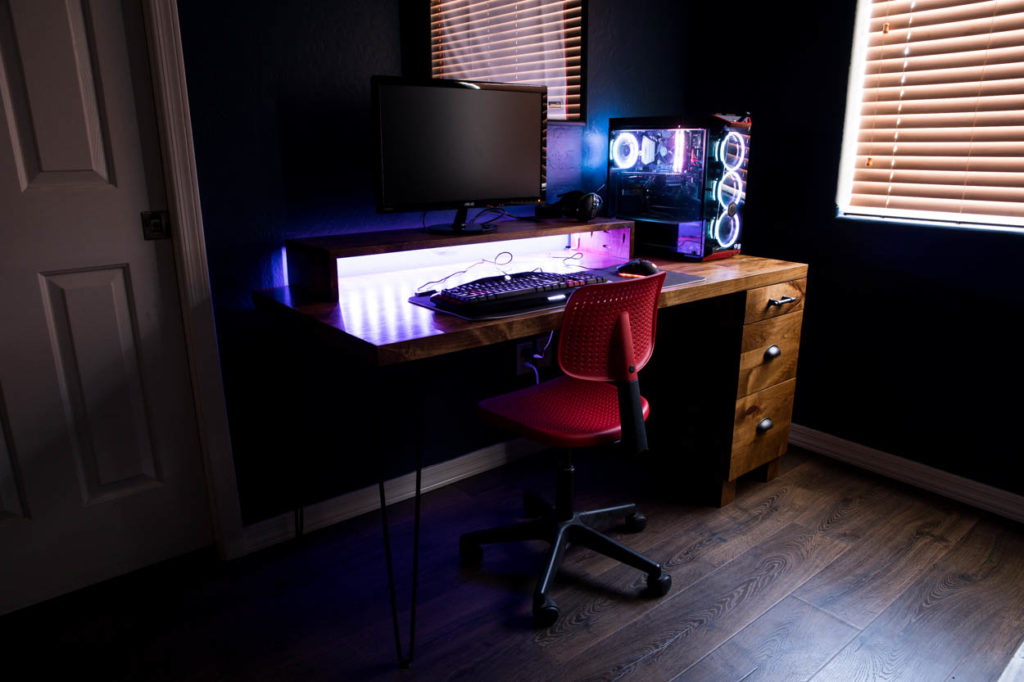
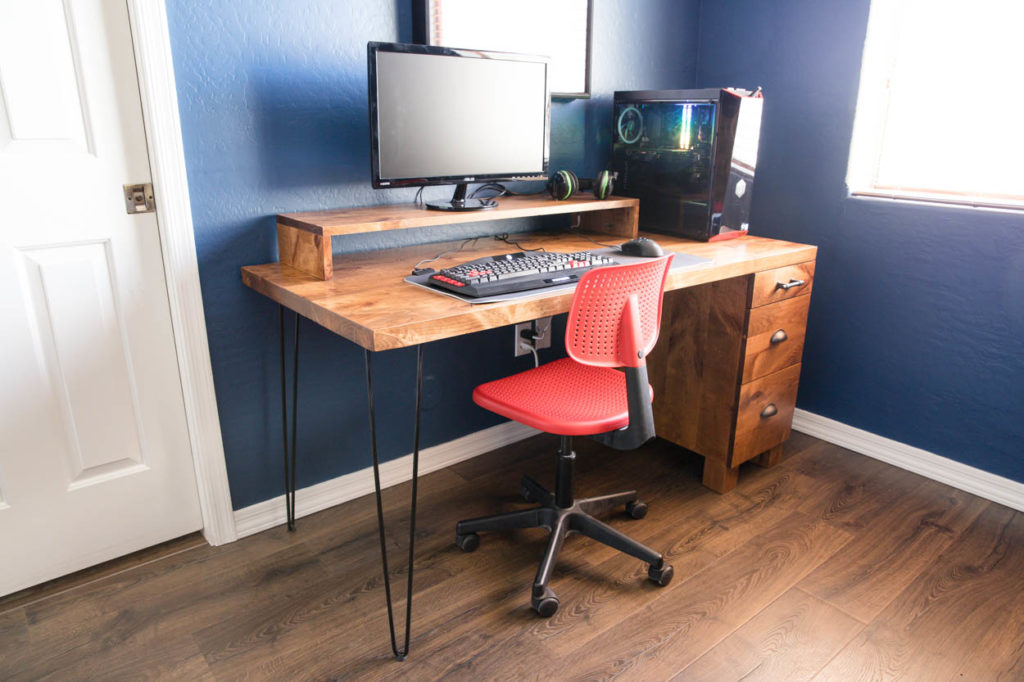
I couldn’t be happier with how this gaming computer desk turned out! My son seemed to feel the same way. He immediately got it all set up and then started texting pictures of it to his friends. He’s now going to start saving up for a gaming pc chair, though if he waits long enough, maybe we’ll get him one for Christmas;)
If you’d like to build this project, make sure to head over to BuildSomething for the printable plans, which also include the materials and cut lists. Whether you’re into computer gaming, or just looking for a new desk for your office, this project is perfect for either!
If you’d like the plans to the rest of the furniture in this room (which coordinates with this desk), be sure to check out the links below!
Full Size Bed Tutorial and Plans
DISCLOSURE: I was provided product and compensation for this post. All opinions and ideas are 100% my own. This post contains affiliate links. Should you purchase an item from one of these links, I may receive a small commission at no extra cost to you.

Hi Katie. I’m working on these plans and I wondered about the rabbeting size for the plywood. Is it supposed to be 1/2 inch wide by 1/4 inch deep? Maybe my math is wrong but it seems like that groove would be too wide to accommodate the plywood. Thanks!
Yes. The groove would be 1/2” x 1/4”, so 1/4” deep for the plywood to sit flush inside the rabbet and 1/2” wide to allow the plywood to sit and have enough material to nail it down. When the cabinet is assembled, measure and cut the plywood to the size of the opening of the rabbet.