Hey there, everyone! Can you believe Thanksgiving is just around the corner? I’ve already started up my fall baking to get back into the swing of things and make sure that my pies and other baked goodies are up to par for the holidays.
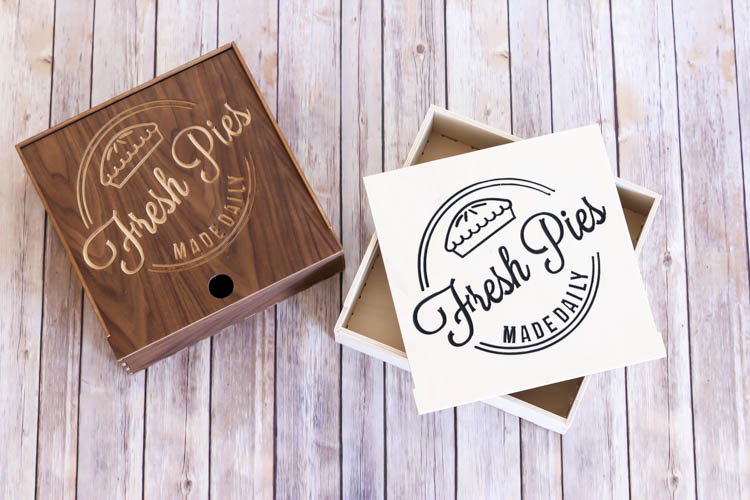
Today, I’m partnering with Inventables to share a tutorial and video on how I created these fun pie boxes, just in time for the holidays. The great thing about these boxes, is that you can make them for more than just pies. I’m thinking they’d be great to hold cookies or other treats as neighbor gifts this Christmas. They’ll also make perfect gift boxes that people can keep or regift to someone else. Not to mention keepsake boxes to hold mementos and photos from family vacations.
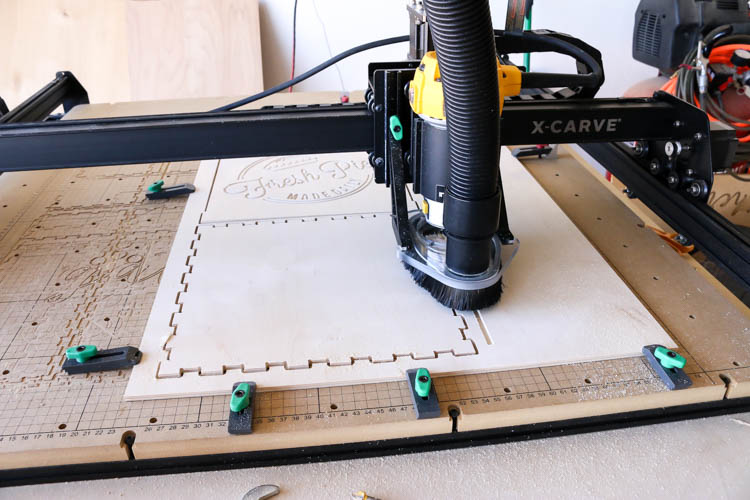
I used my X-Carve from Inventables to create this project. The X-Carve comes in three different sizes depending on the amount of space you have and your budget. They also have a smaller machine called the Carvey, which is great for small desktop spaces and classrooms. I have the 1000mm X-Carve; however, you can easily modify the design of this project to fit on a smaller machine by moving the pieces to different segments to allow all of them to fit on smaller material pieces.
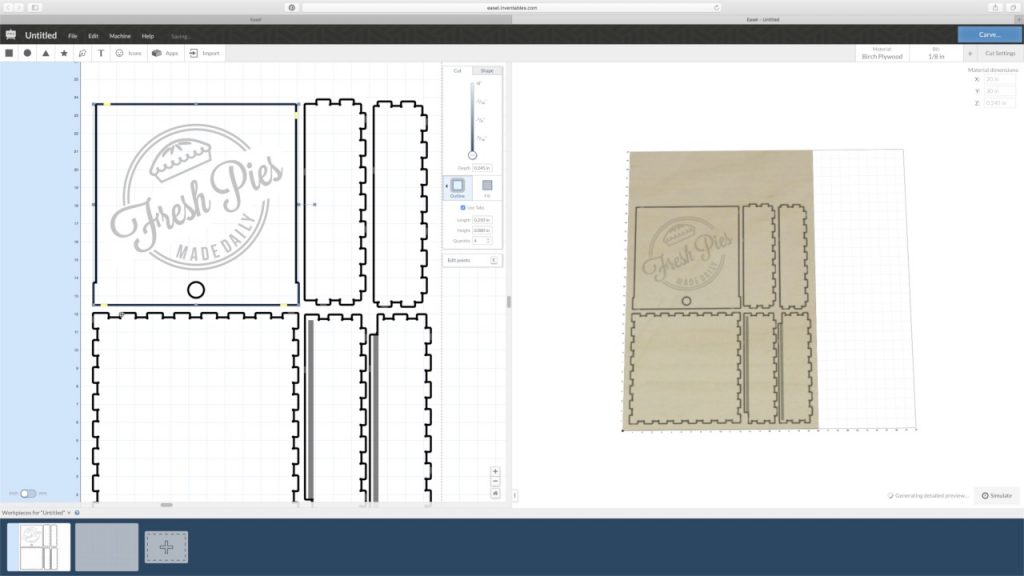
Inventables also provides design software called Easel. It is completely free and so very easy to use to design and carve your projects, just like these pie boxes. You don’t have to own a machine in order to create an account and use the software. In fact, it’s a great way to learn how to design and carve projects prior to purchasing or even while you’re waiting for your machine to arrive.
One of the things included in their software is a box generator. While the box generator is amazing, I found that with a few modifications, it could be even better. I created a YouTube video to show you just how to modify their box design to create the pie boxes just like these. It’s definitely worth watching, because the tips can also help you with other projects you’re designing and carving.
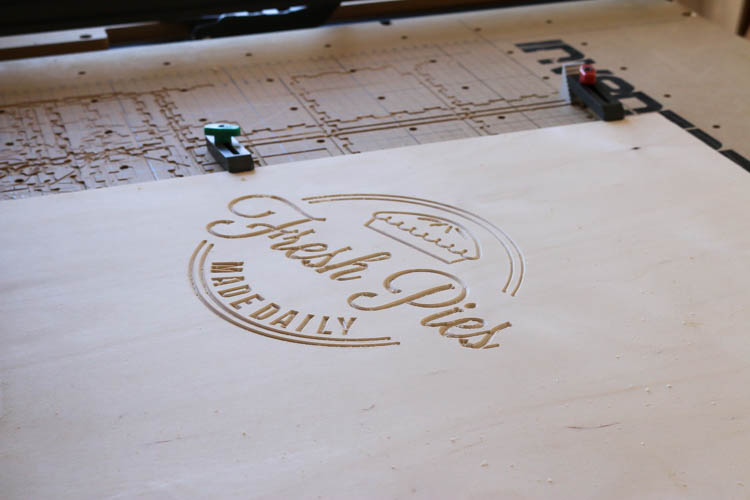
I’ve uploaded this project onto the Inventables website for their entire community to access, as well as this custom design I created in Easel. I carved the design using a 90 degree V-bit which is available on their newly released subscription-based software called Easel PRO. You can easily carve this design using a 1/16″ bit using the free version of their software; however, I love the look the V-bit renders on this design.
Keep in mind, though, that the project shared is based on the thickness of the material I was carving. When creating a box using the Easel box generator app, you want to be sure that you have your material thickness set prior to creating a box.
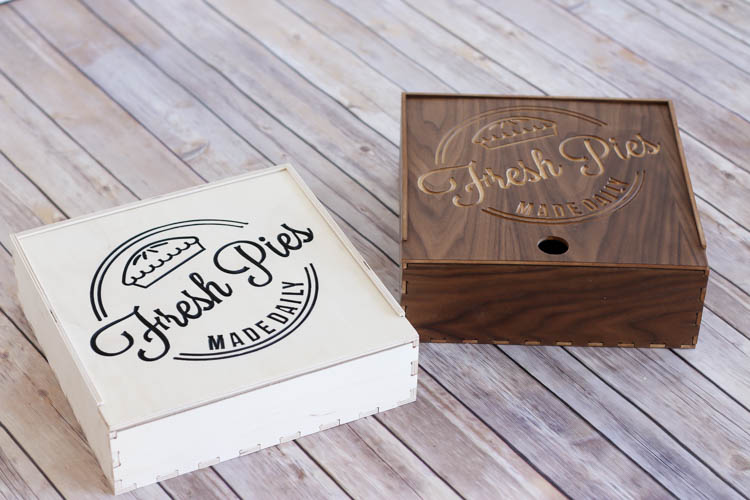
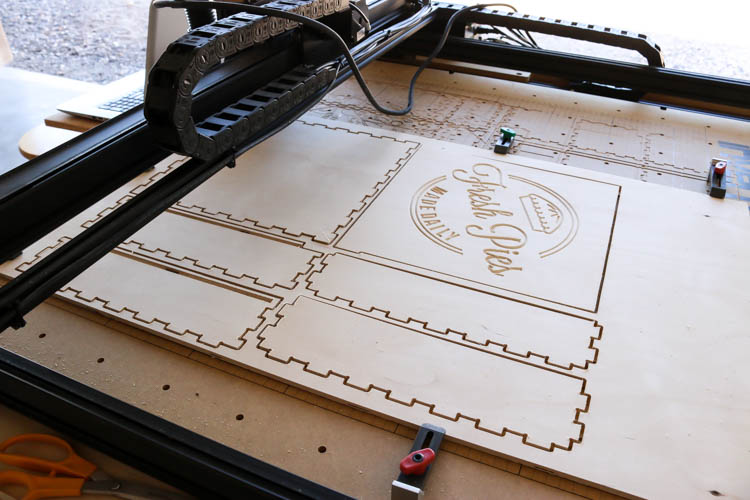
I used 1/4″ baltic birch to carve this box; however you can use any type of plywood you like. I made a second one with walnut plywood and it looks beautiful! Plywood varies in thickness depending on where you measure throughout the sheet, so be sure to check multiple edges and determine the thickness of your material prior to carving using calipers. Since this design is carved completely through, I made sure to input the thickest part of the material into Easel prior to opening up the box generator. I carved the box top design first, using my 90 degree v-bit, then carved the outline of the box pieces with a 1/8″ straight bit. Again, you can find all of the instructions on how I did this in my video.
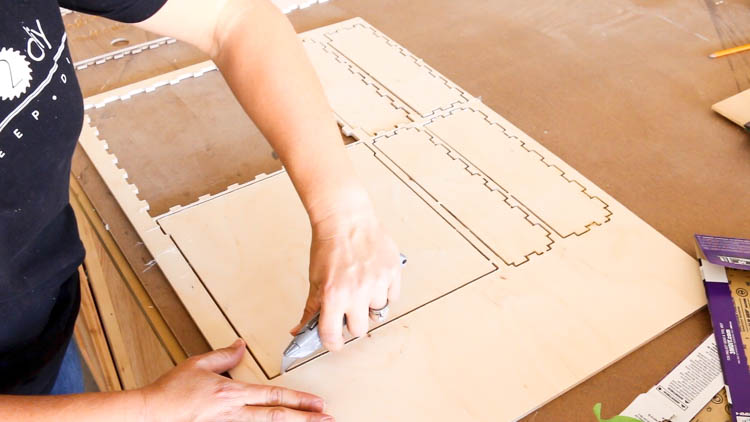
Whenever I’m carving a through cut, I like to use tabs to ensure that none of the pieces move around while the X-Carve is still carving the design. You can also use a good double-sided tape. Once the box pieces were carved. I removed the material from the machine and used a box cutter to cut the tabs. I then sanded all of the pieces down smooth with 220 grit sandpaper, taking care to also remove any excess material left from the tabs.
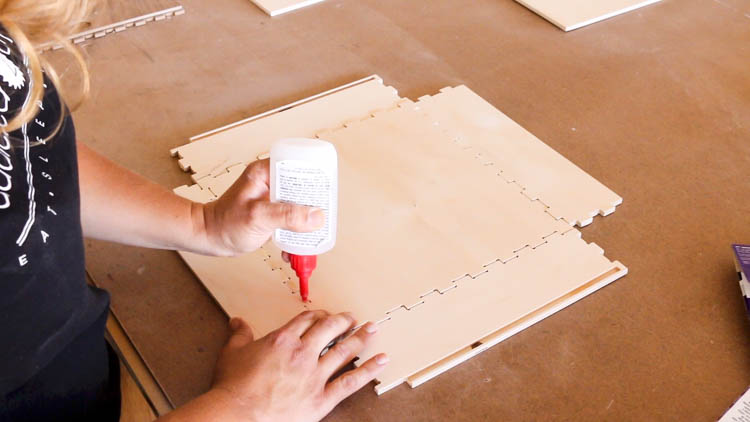
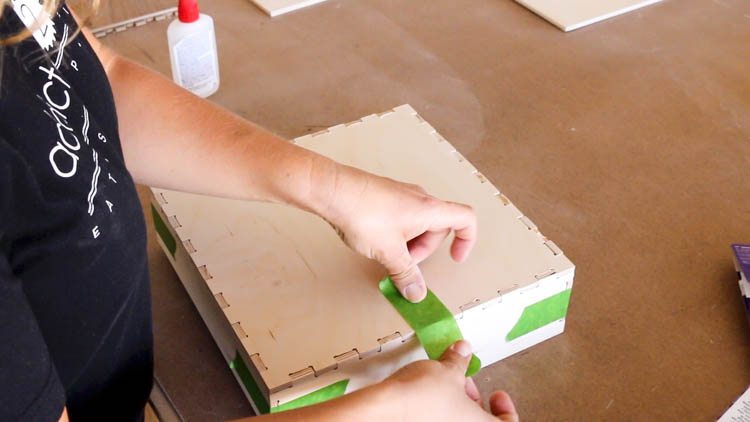
I glued up the edges of the box, then assembled all of the pieces. To help keep the box in one piece while the glue dried, I used masking tape to hold it together.
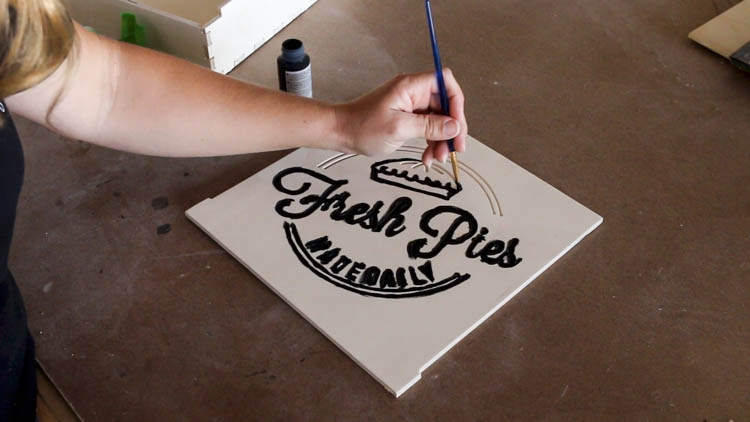
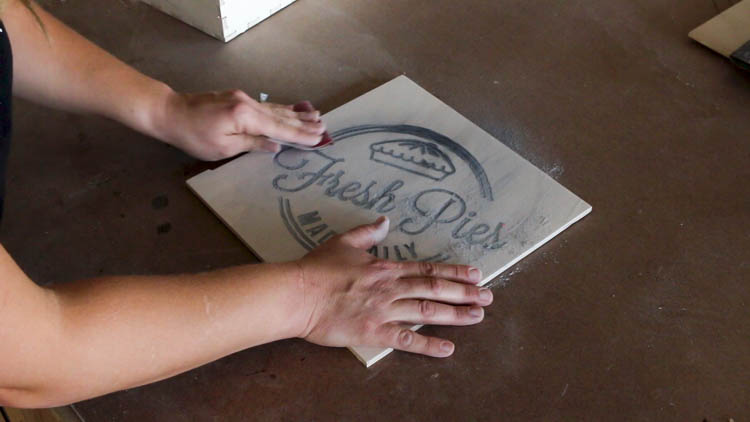
To really make the design pop against the light-colored wood, I painted it with black acrylic paint, then sanded it down to clean up the design.
Once the box is assembled, you can choose to either leave it as-is, or you can finish it with a clear coat, such as polycyclic. For the walnut box I carved, I wanted to highlight the color of the wood, so I used mineral oil.
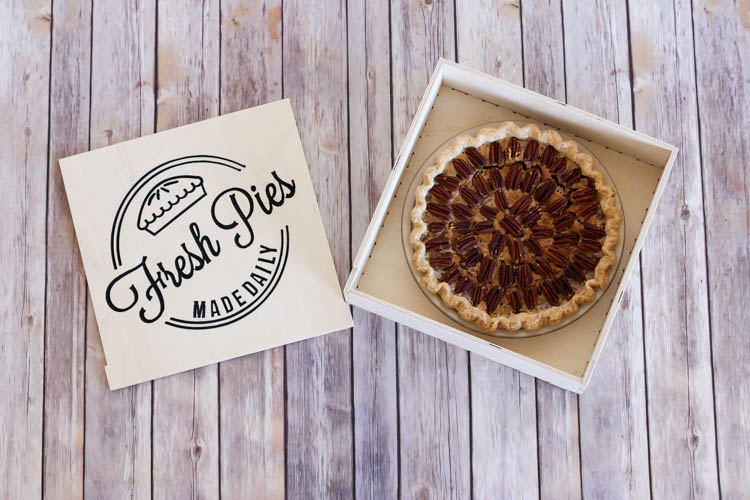
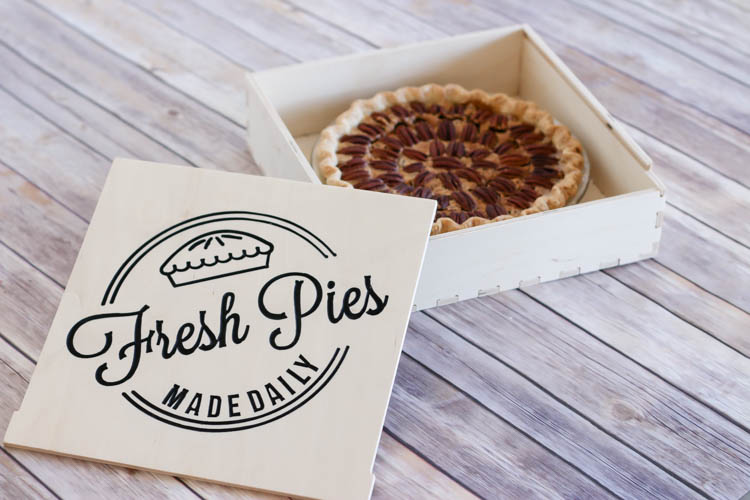
Fill the box with your favorite pie or other baked treats and you’re all set for Thanksgiving! Honestly, one of the most stressful things about transporting food for the holidays is trying to get the pie there in one piece, without something falling on it. Now, I don’t have to worry! I can’t wait to make more of these boxes to give as gifts and even make a few for pretty storage of things. Maybe even our TV remotes. If you want to learn more about how I made this, check out my YouTube video and also sign up for a free account on Inventables where you can follow along with the video to learn how to make your own wooden boxes and more. Oh and if you’re drooling over that pecan pie, you can find that recipe HERE.
If you’re interested in purchasing a machine, you can find all of the information for that HERE. Inventables also sells a wide variety of carving materials, bits, and accessories to really take your carving to the next level.
DISLCOSURE: I was provided product and compensation for this post. All opinions and ideas are 100% my own. This post contains affiliate links. If you purchase an item from one of these links, I may receive a small commission at no extra cost to you.

Yum! I’m hungry for some Thanksgiving pie now…
YUM!! YUM!!! I am ready for that pie … what beautiful pie boxes and they are a beautiful gift in themselves
I love these pie boxes!!! What a great gift for that Thanksgiving hostess, as well as Christmas gifts like you mentioned. You do such beautiful work. Thank you for the pie recipe, I will give it a try!
These boxes are so original and they certainly beat nasty cardboard ones. Better still is that they can be used time and time again. Perfect design, and eco-friendly
I will never have this machine, but I want to buy the cut box kit from someone who can make it for me.