If you follow me on Instagram, you may have seen that I have been making a list of things I’m doing to finally give my craft room a proper makeover and make it more functional. For a while, it’s been driving me crazy and to go along with my phrase of the year, I’m “taking charge” and whipping it into shape. To start, I knew my rolls of vinyl needed a place to stay organized.
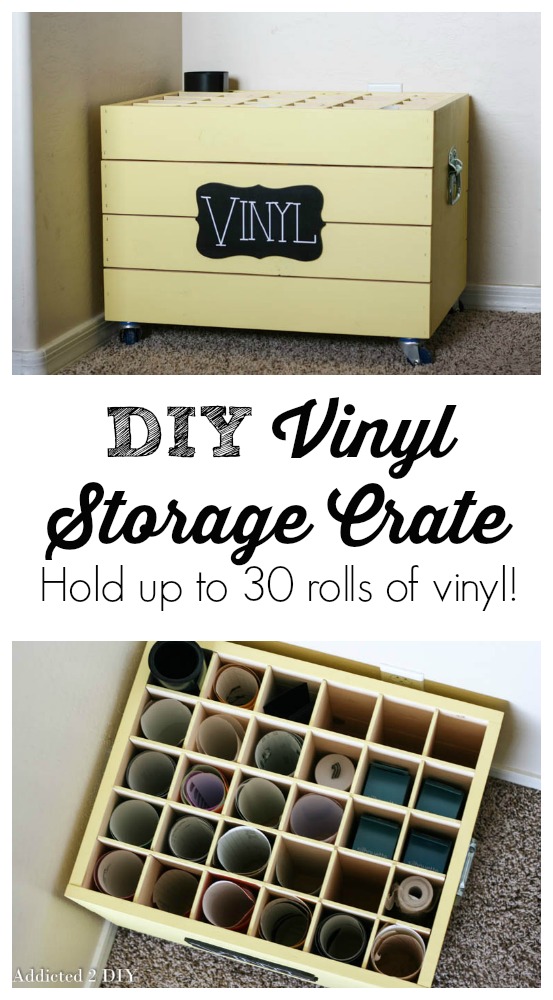
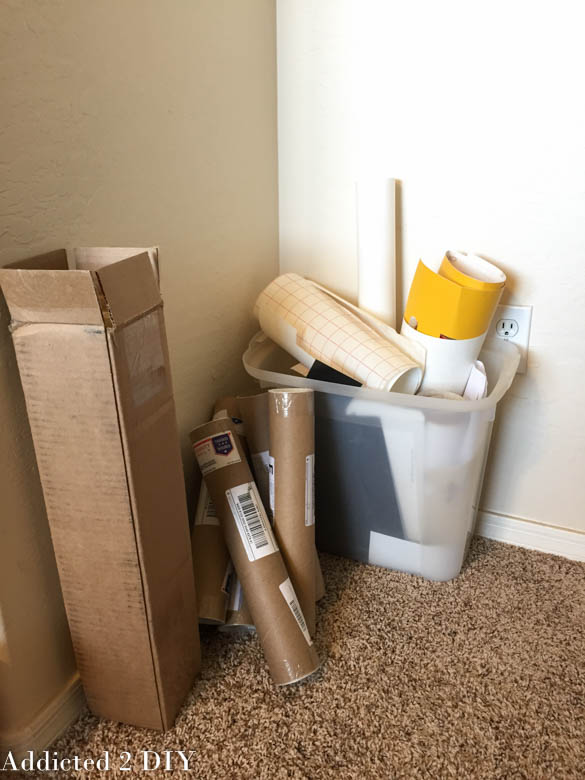
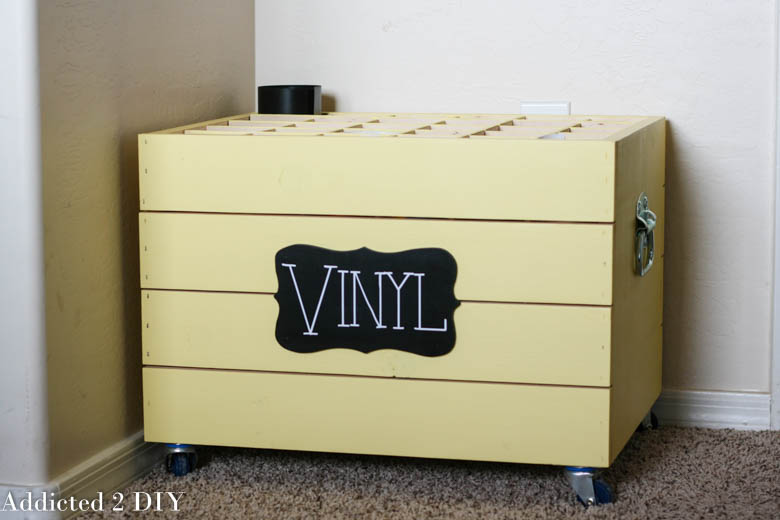
Here is the horribly disorganized “before” of my vinyl situation. The lid from my wrapping paper tub just wasn’t working for me anymore, but keep the vinyl in those cardboard tubes wasn’t working either. I loved how the industrial crate toy box turned out for my oldest son, so I decided to make one for my craft room.
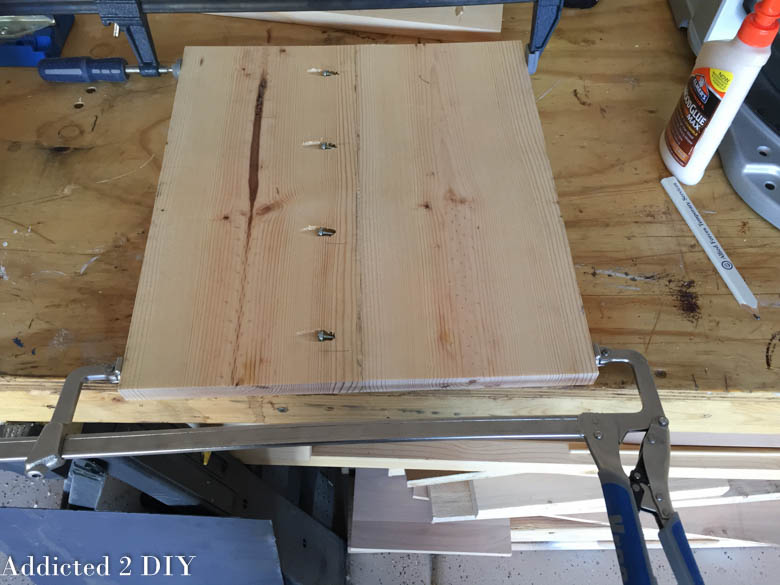
I made the crate the same way I did in my original tutorial, but this time made it a bit wider to accommodate more vinyl. I cut my end pieces at 16″ and then screwed it together with the seam going horizontally this time instead of vertically. I have to say, too, that I MUST get myself more of these Kreg Automaxx bar clamps (affiliate link). They are so much easier to use than fumbling around with traditional clamps. I’ll definitely be phasing out my other clamps.
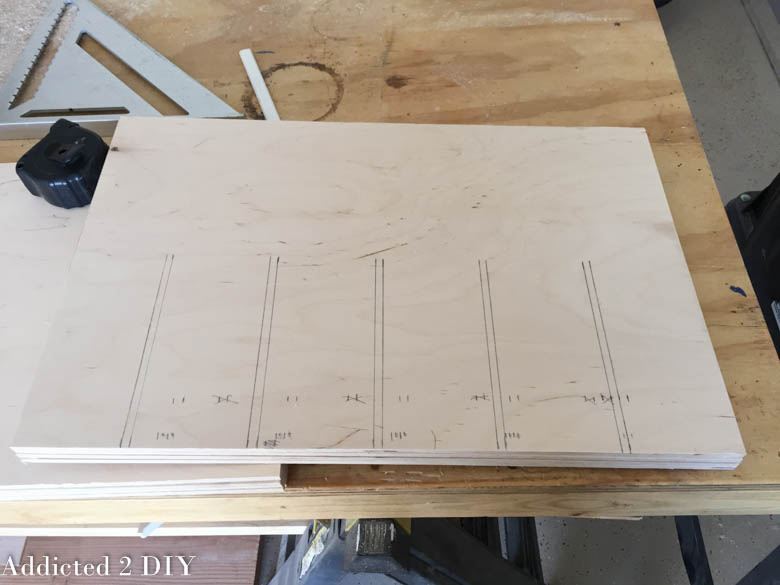
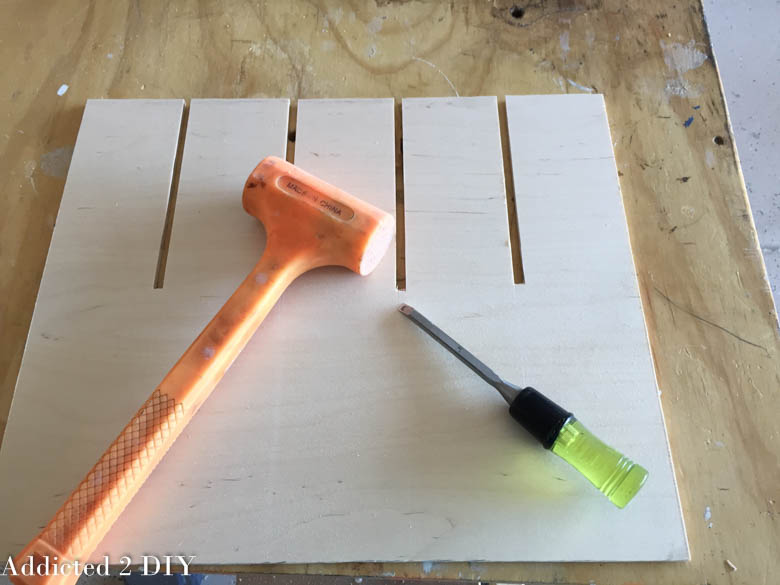
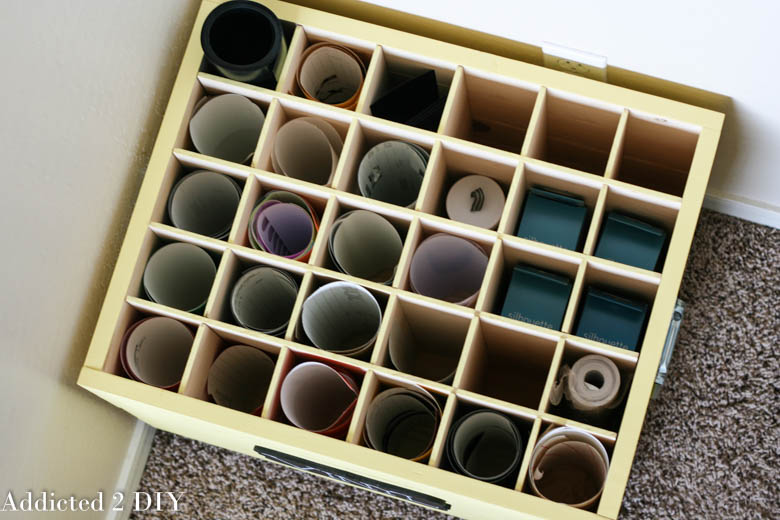
Once my crate was assembled, I made my dividers. I had a little over half a sheet (5′ x 4′) of 1/4″ birch plywood leftover from the bathroom vanity we built for my brother-in-law, so I used that for my dividers. I grabbed my Kreg Rip-Cut and ripped my plywood into 13″ wide pieces. Then I took those pieces and cut out 5 – 16″ long pieces and 4 – 20 1/2″ long pieces. These pieces all fit together like a puzzle, so they had to be notched out. For the 20 1/2″ long pieces, I had to play around a bit and figured out that 3 1/4″ spacing worked the best. I started from one end and marked out 3 1/4″, then marked 1/4″ past that. This will be the width of the notch. I continued down the rest of the board. The last section will be 3″, but that’s okay. I did the same for the 16″ pieces of plywood, but marked those spaces out at 3″.
I used my compound sliding miter saw to cut the notches out of the plywood. I measured out halfway up the plywood to make a stopping point for myself and then placed the wood on the miter saw and made my cuts. It’s tedious to do this so many times, but the end result is so worth it!
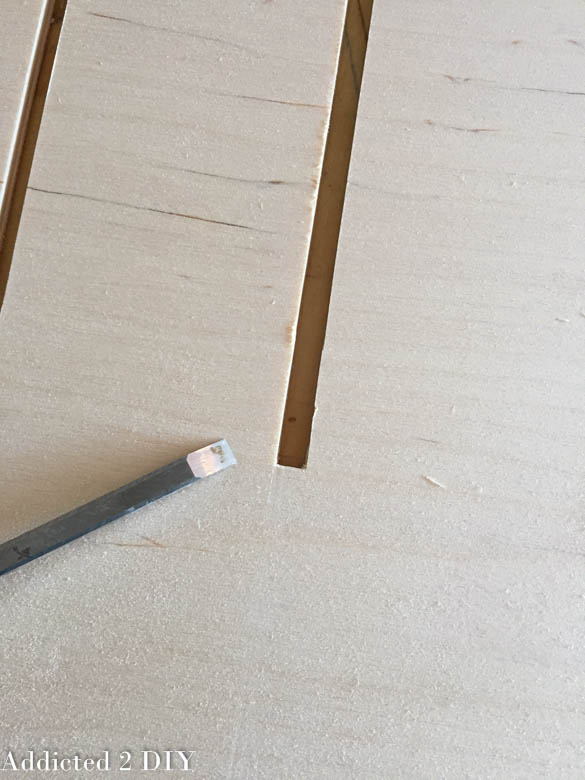
I used a 1/4″ chisel and mallet to clean up the notches and square them off.
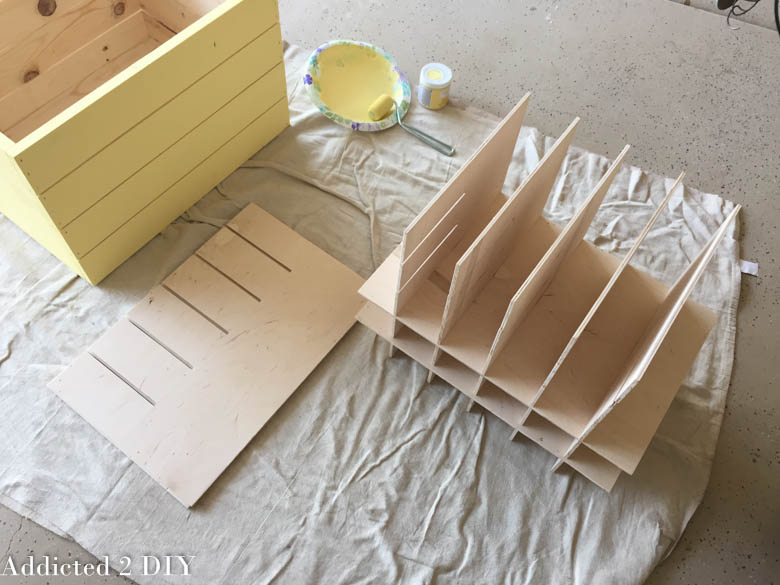
I sanded all of my pieces of plywood and pieced them together. Make sure that when piecing these together, the 3″ ends of the longer pieces of plywood are all on the same side. I painted the outside of my crate using Americana Chalky Finish Paint in Delicate. It’s a soft yellow color that fits right in with the color palette I’m using in my craft room. I didn’t bother painting the inside of the crate or the dividers. I figured the inside of the crate isn’t exactly going to be seen much since it will be full of vinyl.
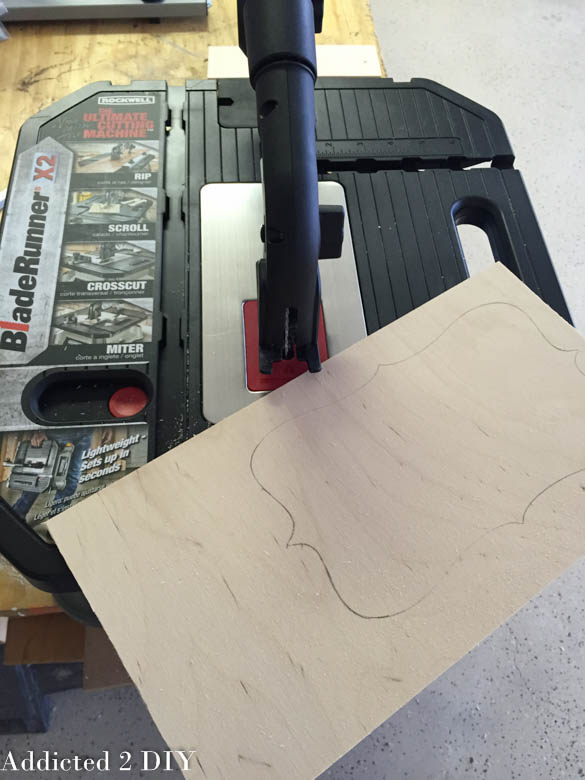
I still had some small scraps of 1/4″ plywood left and it made for the perfect opportunity to play with my new Rockwell BladeRunner saw that I won in a giveaway. I cut out a label template on my CAMEO and traced it onto the plywood, then cut it with my saw.
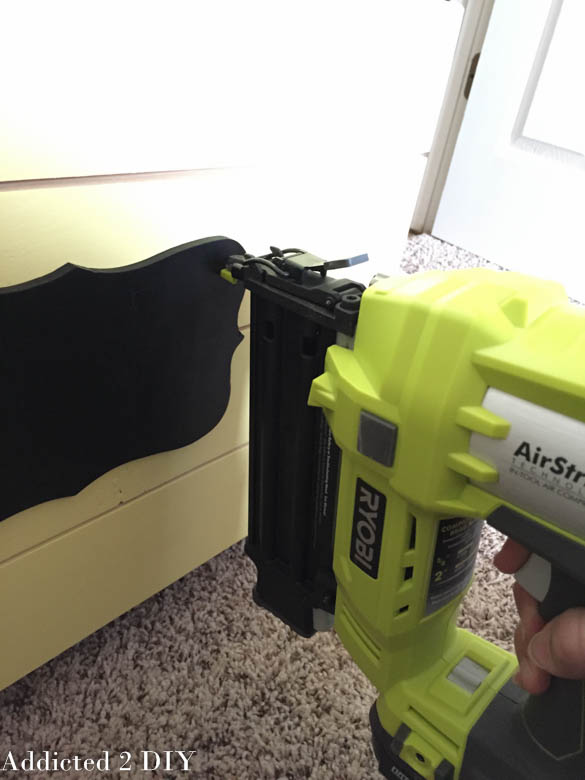
I painted it with chalkboard paint and then used my brad nailer to attach it to the front of my crate. You can certainly purchase a wooden chalkboard label for the front of the crate, but I liked the idea of being able to choose the size and shape of it.
I was so happy to finally clean up this little corner of my craft room and have all of my vinyl easily accessible and know what I have and what I don’t. It saves me from buying stuff that I didn’t actually need and everything stays neat and tidy. If tackling the slots isn’t your cup of tea, you can always cut PVC pipe or cardboard tubes and place them inside the crate and then store your vinyl in those!
Linking up at these parties:

This is genius! I just got done using some vinyl tonight and put it with all my other vinyl stuff – it looks like your before photo. lol This rolling crate is perfect storage for the vinyl! Fantastic job and thank you for the tutorial. 😀
Julie (Being Home) recently posted…Master Bathroom (Tile Complete)
This literally took my breath away…I was just looking over the weekend for a way to store my vinyl (I have tons of it). I have it on a metal shelving unit now, but I want to remove the shelving and was wondering what to put the vinyl in. I am certain this is going to work perfectly.
This is genious. There’s no doubt that I am a huge fan as much as I’ve been sharing! Thanks for your website. I love it!!!!
Thank you so much, Kellie!