*This post is sponsored by The Home Depot. All opinions are 100% my own. Please see my full disclosure statement for more information.
Hey there, everyone! Can you believe we’re just days away from the official start to fall? I cannot wait for the cooler weather. We’re still hitting the triple digits and I’m so over it. If you remember, last week I announced that I was participating in another Home Depot Virtual Party with some of my insanely talented fellow bloggers. Today I’m sharing my take on this DIY rustic wheelbarrow that is part of the Home Depot DIH Workshop that’s being held at all Home Depot locations on Thursday, September 15th from 6:30 p.m. to 8:00 p.m. You definitely don’t want to miss out on the opportunity to build this cute wheelbarrow! Make sure you register to reserve your spot for this fun workshop!
If you haven’t heard of the amazing workshops that The Home Depot offers, you really should check them out. Not only do they have DIY workshops, but they also have DIH (do -it-herself) and kids workshops. Customers can learn how to build projects, make easy home repairs, and the kiddos can build their own fun creations! There’s really something for everyone and every skill level!
As I mentioned last week, I’m sharing my own take on this rustic wheelbarrow project. I love how mine turned out and there are so many uses for it! Here’s how I built mine.
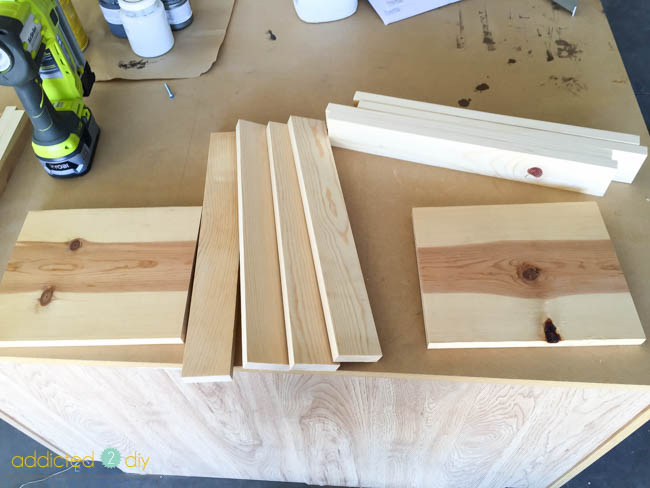
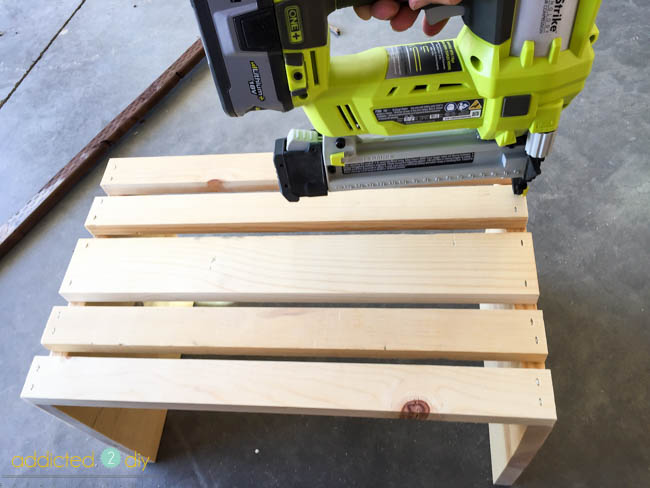
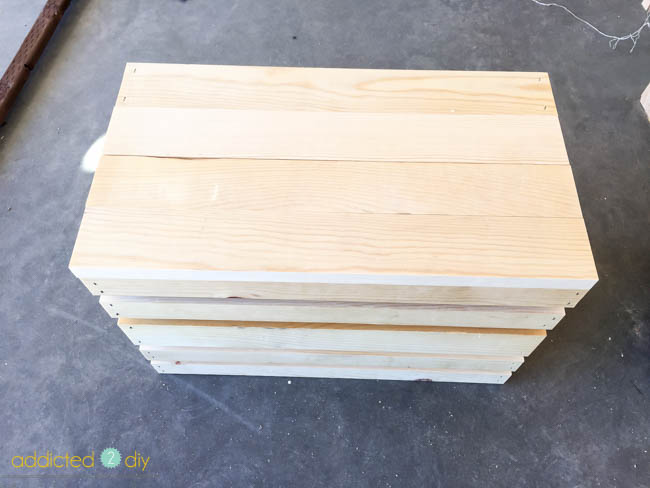
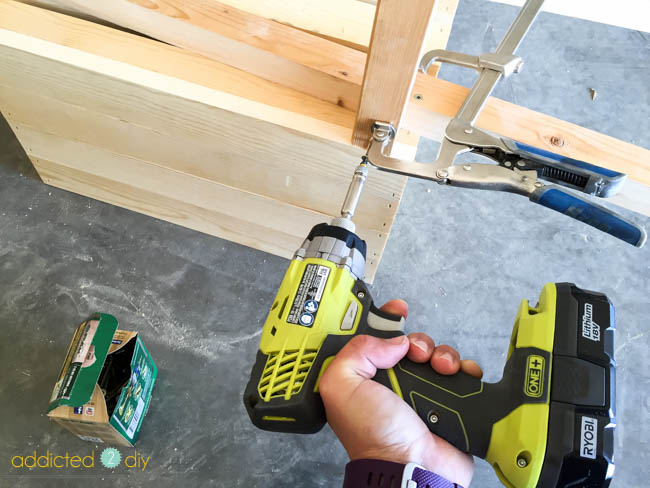
For the sides, I worked from the bottom up and attached the 1×3 pieces with wood glue and 1 1/4″ narrow crown staples.
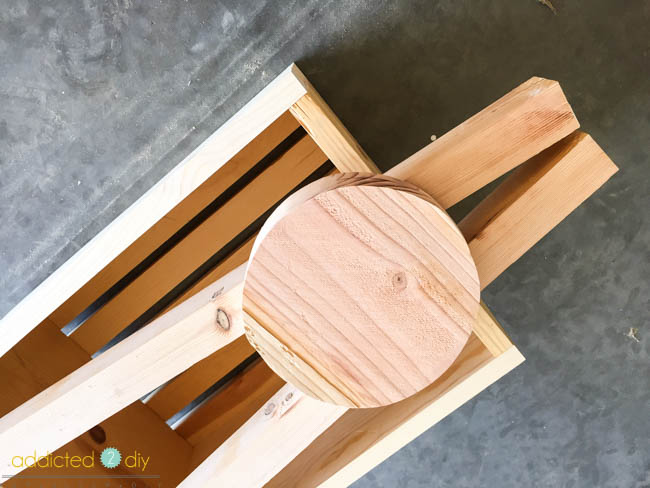
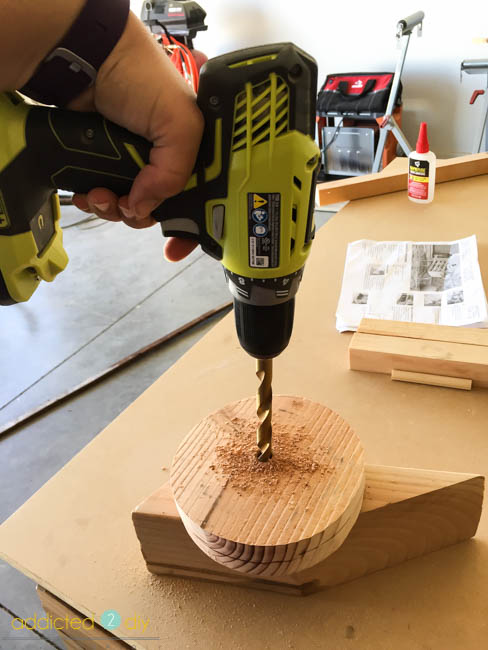
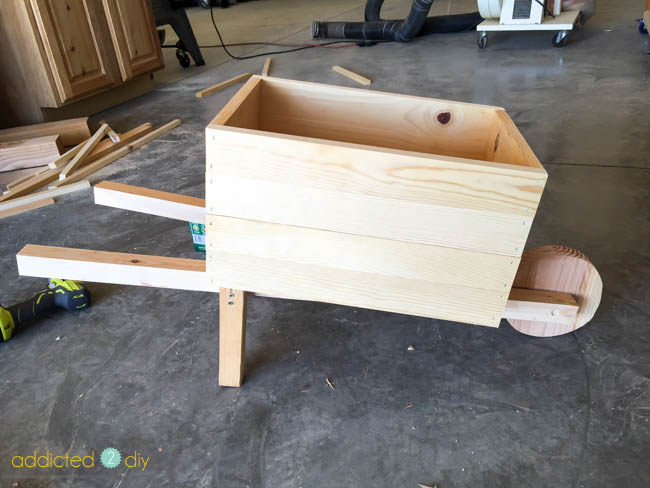
I ripped down a 2×8 to make the frame and legs and used another scrap 2×8 for the 7″ wheel, which I cut with a jigsaw.
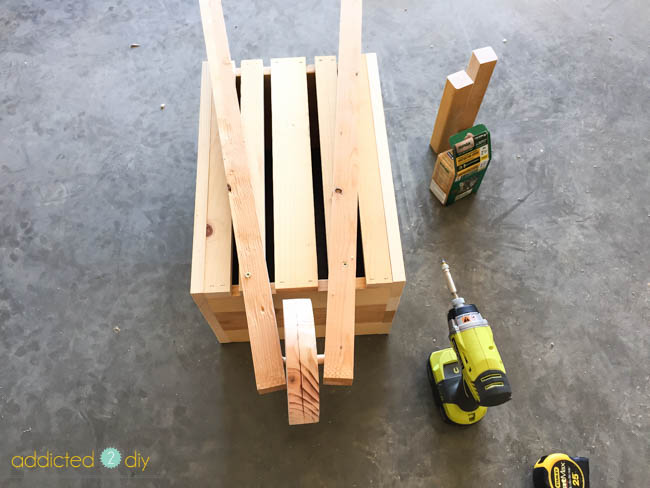
I drilled a 1/2″ hole through my wheel as well as a 1/2″ hole through the 2x2s. The hole in the 2x2s is 1 1/4″ up from the ends and drilled at a 5 degree angle. I cut a 1/2″ dowel at 5 1/2″ to create the axle for the wheel. I assembled the lower frame of the wheelbarrow making sure that it was centered over the bottom of the crates. The handles are inset from the rear corners of the crate by 1 1/2″ to accommodate the legs. I attached the bottom frame to the crate with 2 1/2″ wood screws.
I placed the legs 3/4″ from the back edge of the crate and attached them with wood glue and 2 1/2″ wood screws.
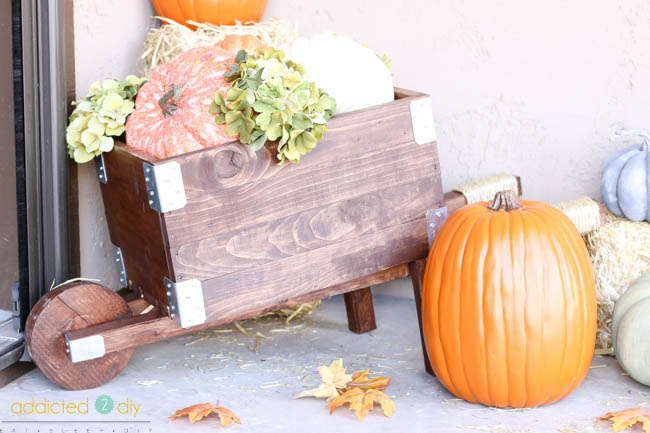
Once the crate was finished, I stained it with Minwax gel stain in Hickory.
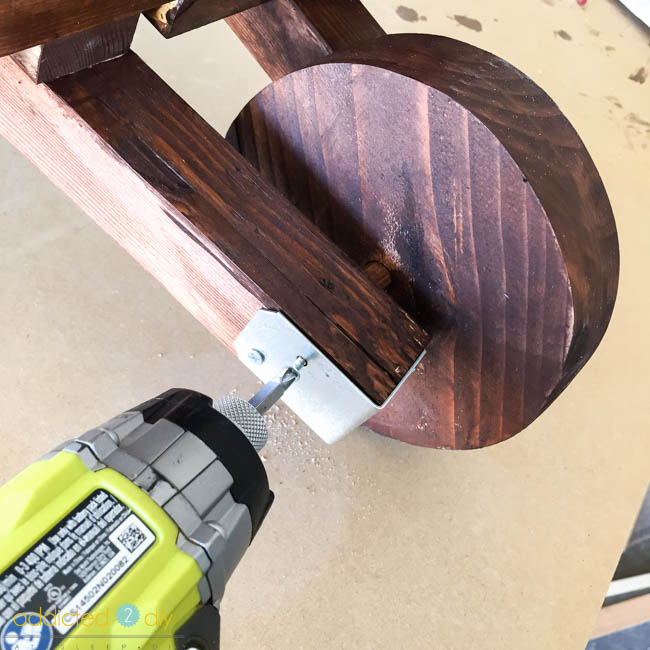
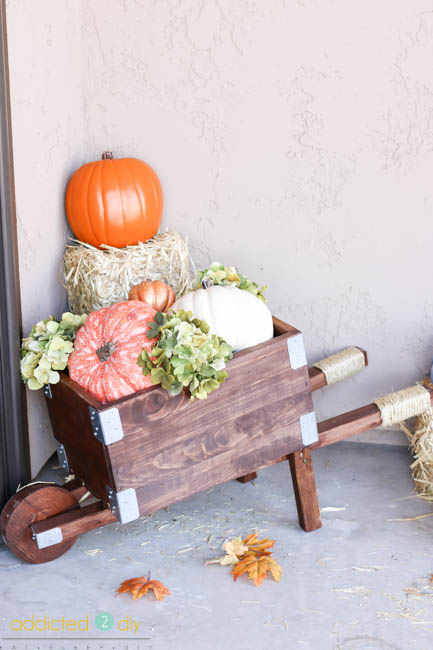
To give it an industrial look, I bought some Simpson Strong-Tie angle connectors. I bought two A21 angles for the front of the wheelbarrow and eight A23 angles for the crate. I attached them with 5/8″ wood screws.
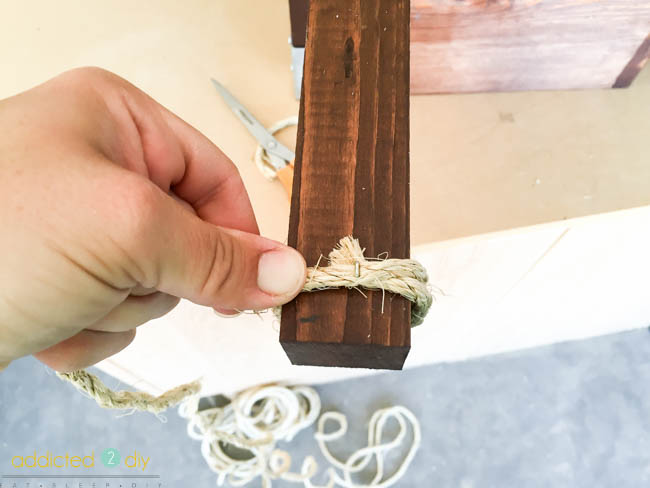
The handles also felt like they needed a little something, so I bought some 1/4″ sisal rope. I stapled the starting end with a 1 1/4″ narrow crown staple and then tightly wound it around the handled until it was about 5″ wide, then stapled the ending piece of the rope and cut off the excess.
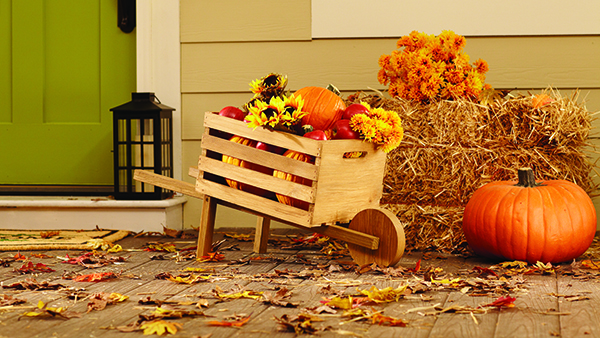
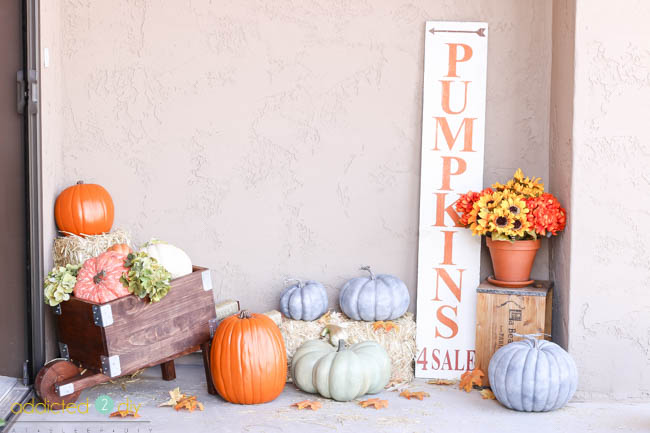
I am so happy with the end result! It fits right in with my fall front porch decor!
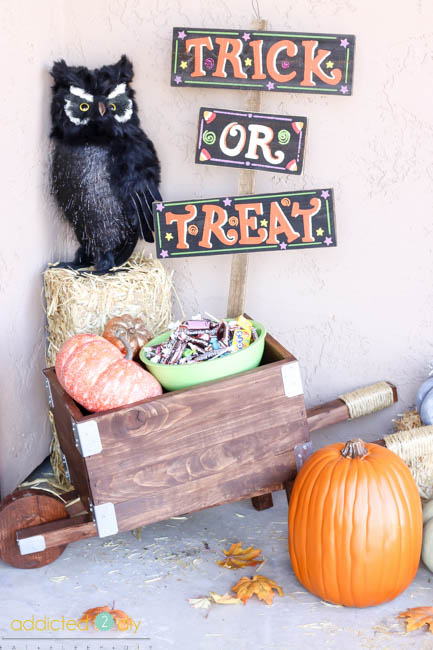
Because I love decor that can be used for multiple seasons, I also decided it would be perfect to hold candy for Halloween! Especially if you will be out trick-or-treating with your kiddos but still want to leave some candy out for the other little ghouls and goblins that come knocking.
How would you customize this fun wheelbarrow project? Don’t forget to register for the Home Depot DIH workshop so you can learn how to build your own! Also, make sure you visit all of my other fellow bloggers who participated in this virtual party and see their creative take on this project!
Addicted 2 DIY (that’s me!)

Those angle connectors are the perfect additions!
Kim recently posted…Make a personalized rustic wheelbarrow
Thank you, Kim!
Katie, I love the addition of the strong tie connectors and the twine on the handles!! It looks awesome, and you are already for Halloween too, sa-weet!
I knew that Home Depot did kid workshops but I didn’t know they had workshops for adults too. I love that wheelbarrow! It would look perfect on my front porch. I will have to see if my local Home Depot is participating.
Jen V. recently posted…DIY Doll Socks for American Girl Dolls
Love what you did with the hardware and your whole set up is just so cute!
katie, super cute with all your fall styling. We can all look at our styled wheelbarrows and just think that there is a chill in the air and leaves blowing all around and it’s not super hot outside..
laura janning recently posted…How to create a multipurpose Rustic Wheelbarrow
Cute, love the addition of the angles and the rope!