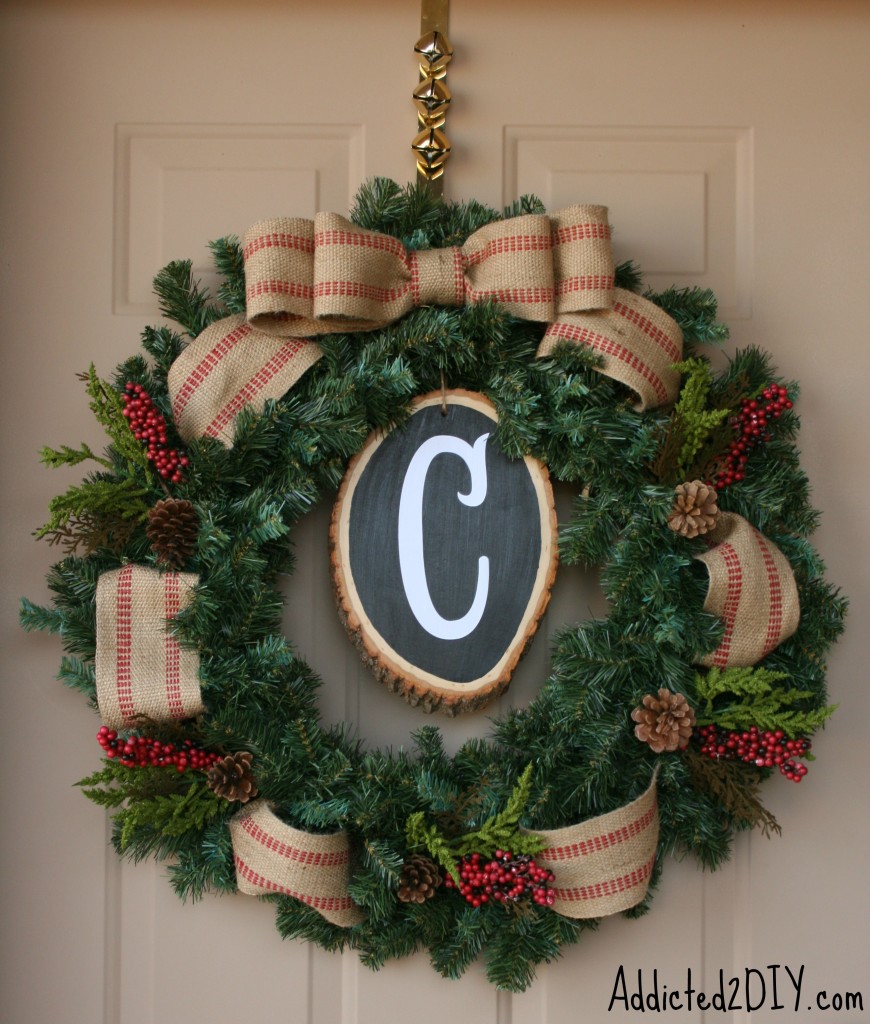
Hi everyone. I’m really excited to share this DIY Monogram Wreath with you today. This is the first time I’ve ever made a wreath. As much as I love to DIY everything, I usually purchase fresh wreaths every year. Mostly because I love the fresh pine smell when I go in and out the front door. The downside was that I was dropping $30+ a year on wreaths. While that may not seem like a lot, it does add up over time.
I had an idea of what I wanted to make, so I went to Hobby Lobby yesterday and just started grabbing some things.
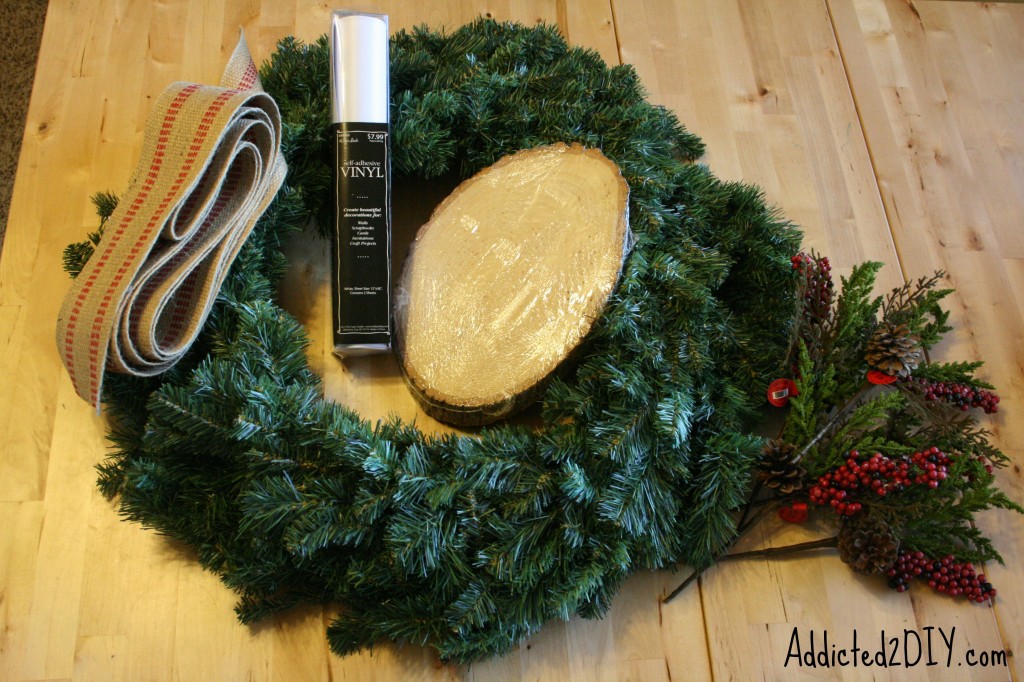
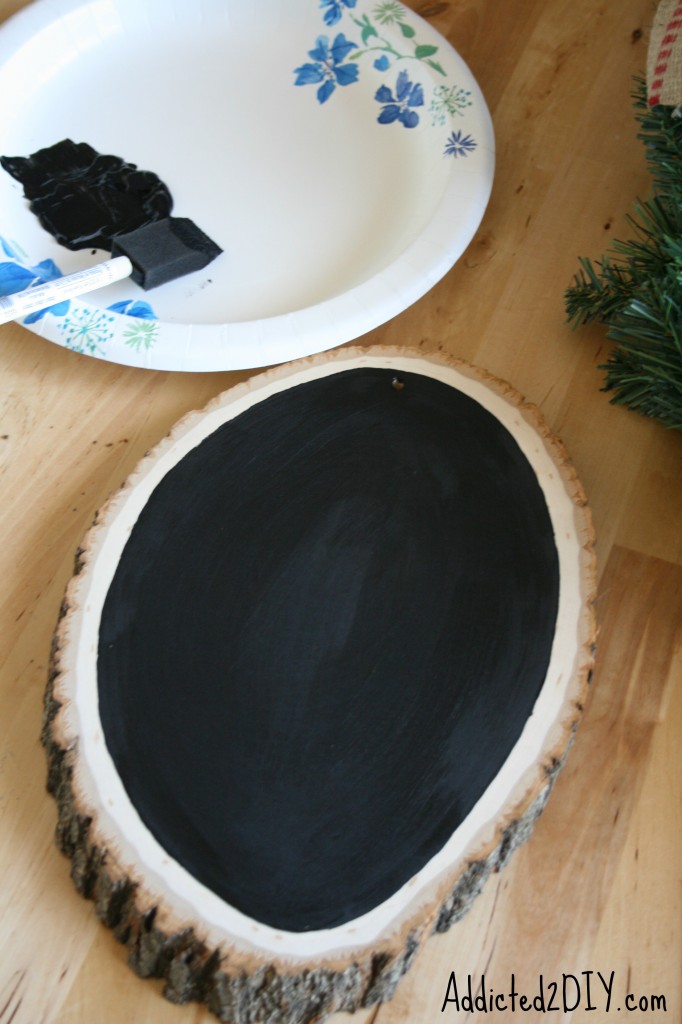
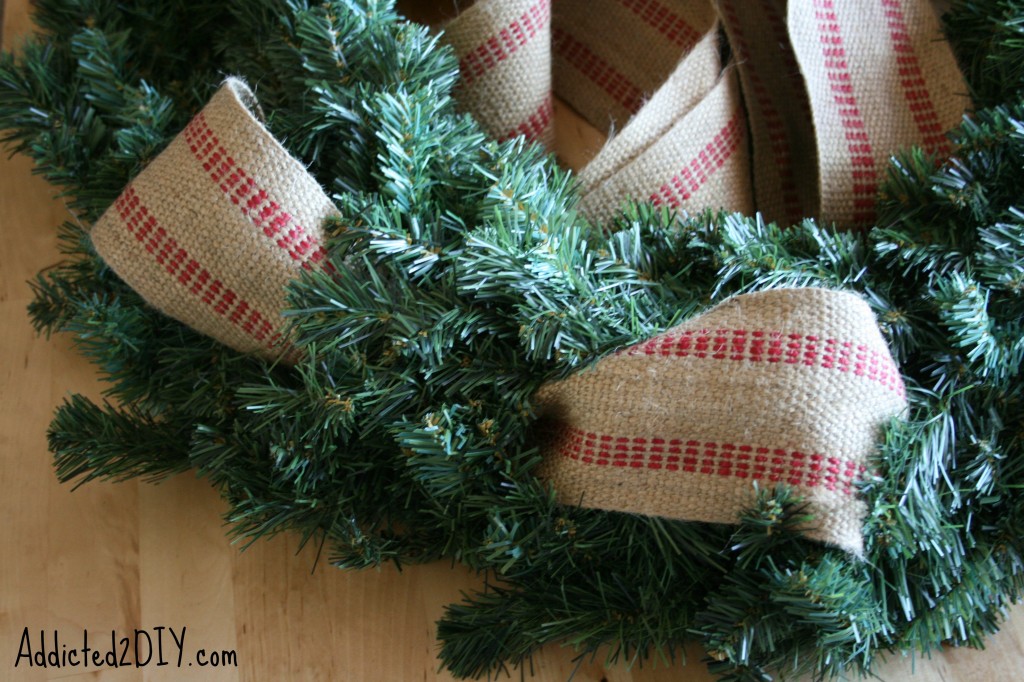
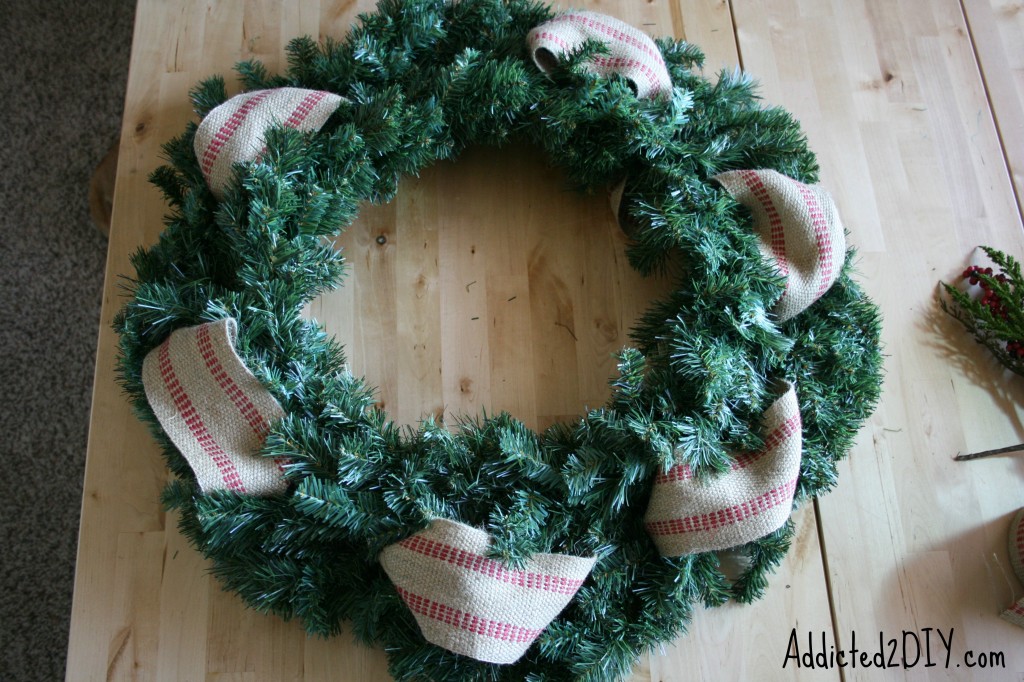
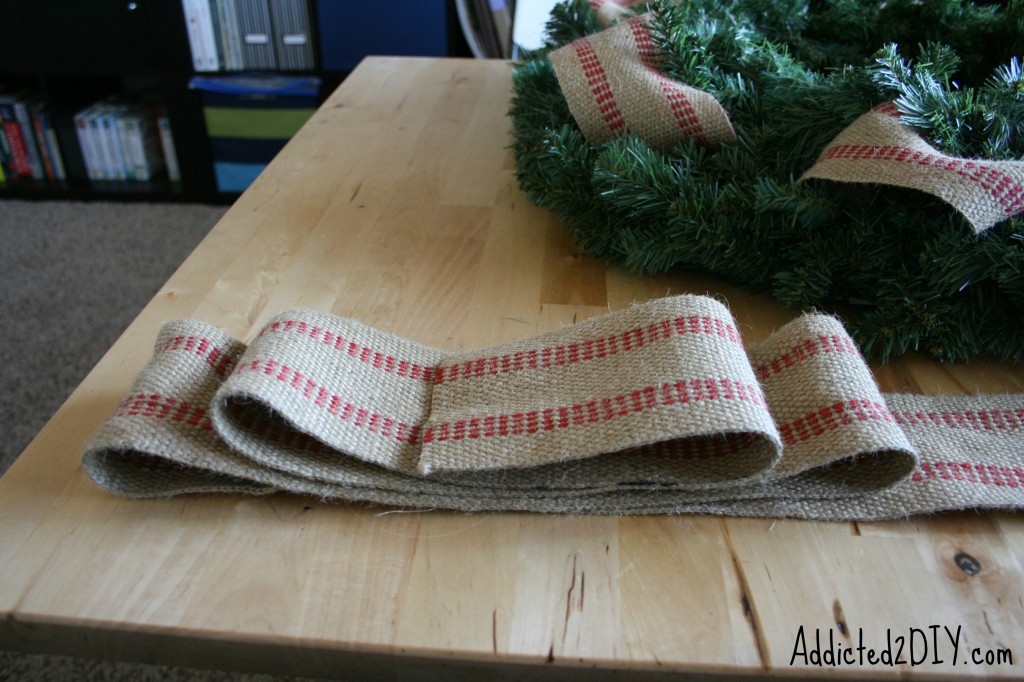
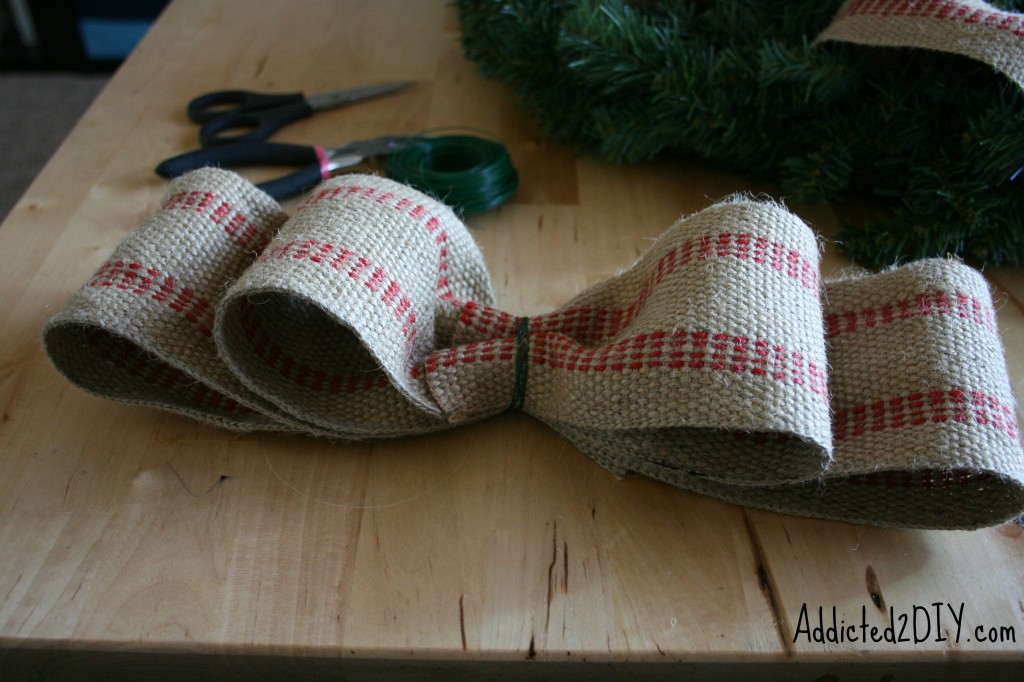
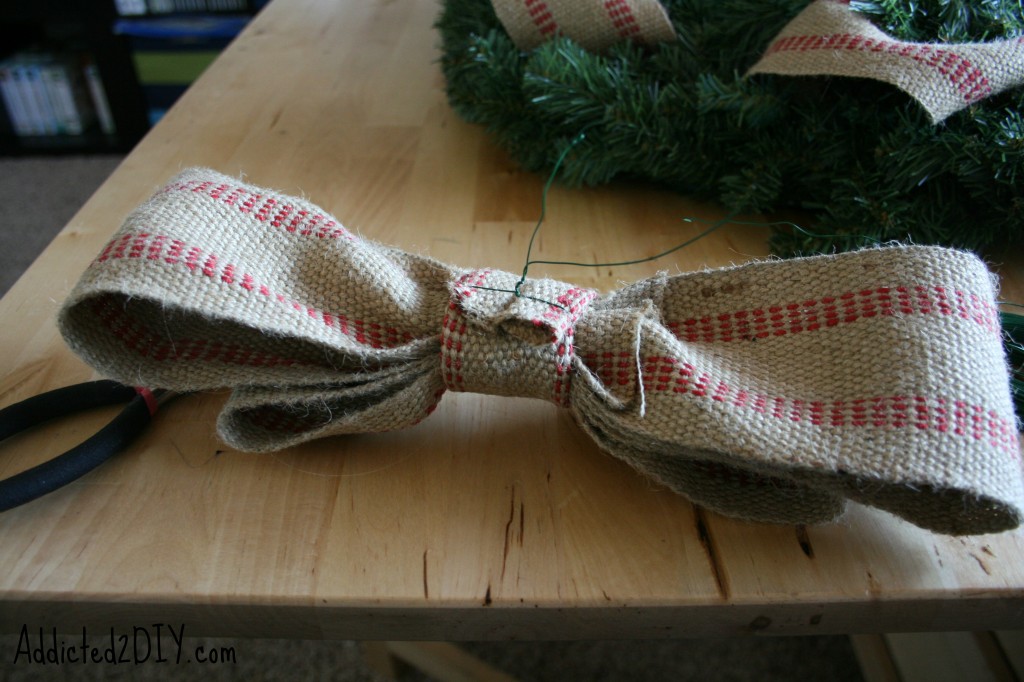
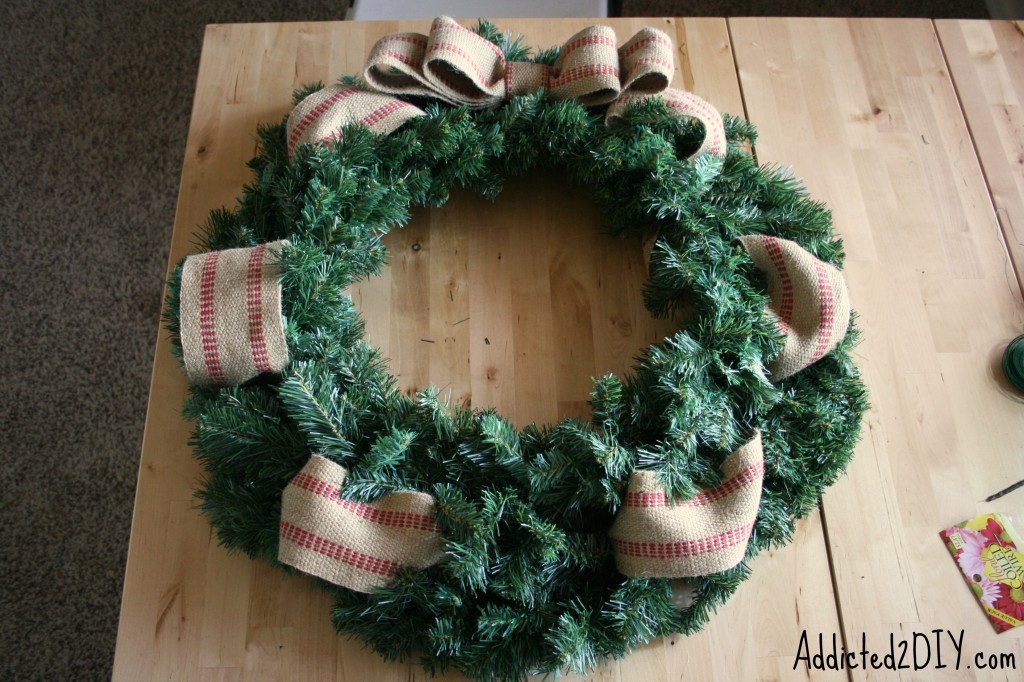
I stuck the picks into the wreath and secured them to the wreath frame with floral wire. When doing this, I also wrapped the wire around the jute webbing on the back to keep that in place as well.
I hope you found this tutorial helpful. I always love to hear your comments and I’m always happy to answer any questions. Feel free to like, share, and/or pin this tutorial with your friends!
~Katie

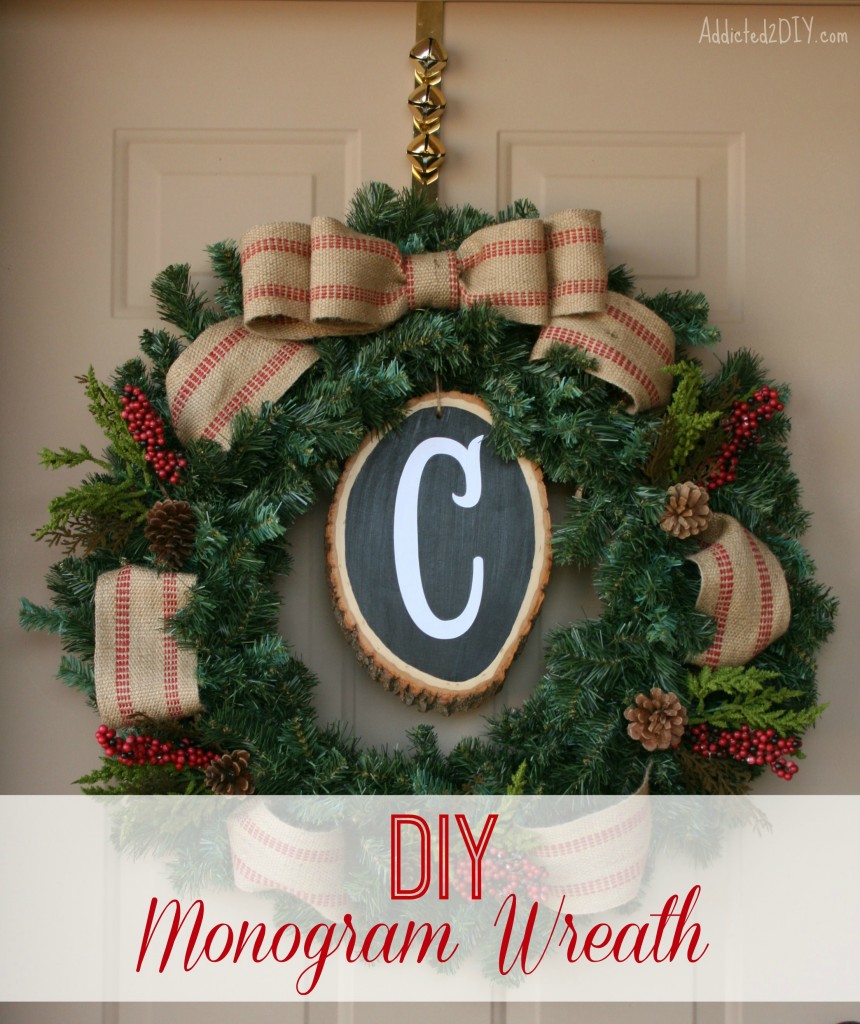
What a beautiful decoration! The monogram really makes it 🙂
Thank you! I’d been picturing it in my head for weeks and finally put the pen to paper, so to speak;)
I love this so much that I am featuring you today at the Get Your DIY On Challenge! Hop by to grab your button if you have a chance, and we would love you to share any ornament projects with us too!
-Krista
Thanks so much! I will do that:)
What a fantastic idea. I’m going to try this next year. I use upholstery webbing too, but stencil it with the words “Merry Christmas.” Then tie it across the center. I like yours too. Especially the initial. May I share this on my FB page? ~Delores
Ooh, I like that idea too! Of course, you may share it:) Thanks for stopping by!
Oh! This is just amazingly beautiful!!! I love everything about it! Thanks so much for sharing at our Wowza weekend link party! Enjoy the rest of your week!
Thank you so much:) And thanks for hosting your party!
You make it look sooo easy. I love it!
Thank you:)
I love your wreath, adding that monogram just gave it the perfect finishing touch. Thank you for sharing it at my 12 days linky party.
Thank you so much and thank you for hosting the link party and giveaway!
This is one of my favorite wreaths I’ve seen this year! Thanks for sharing at TTF!
Thank you so much! 🙂
Your wreath turned out wonderful! I am featuring this post today at TTG FB page! Thank you for sharing it with us at TTF. https://www.facebook.com/thethriftygroove
Thank you for sharing it!
I love it but instead of a monogram on the chalk board, I’m going to write up the remaining days to Christmas changing the figure every day.
I love that idea!