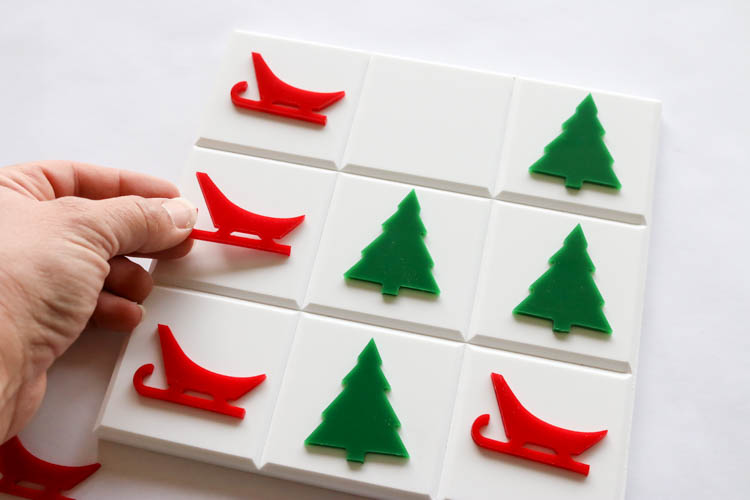
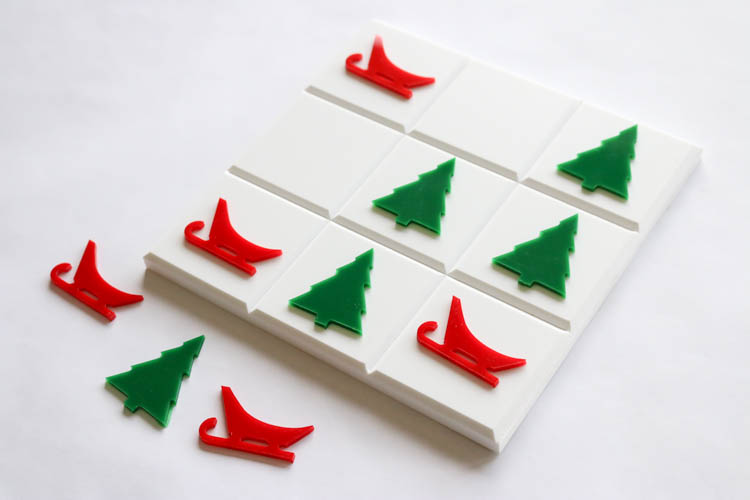
Hey there, everyone! With the holidays rapidly approaching, I am feeling so inspired to create fun projects on my X-Carve. In case you missed it, I shared a tutorial and video on how to make Pie/Gift boxes for the holidays with it. Today, I’m going to be showing you how I made this fun holiday tic-tac-toe project that is a great boredom buster for kids and adults alike! I’ve included affiliate links to the products I used for your shopping convenience.
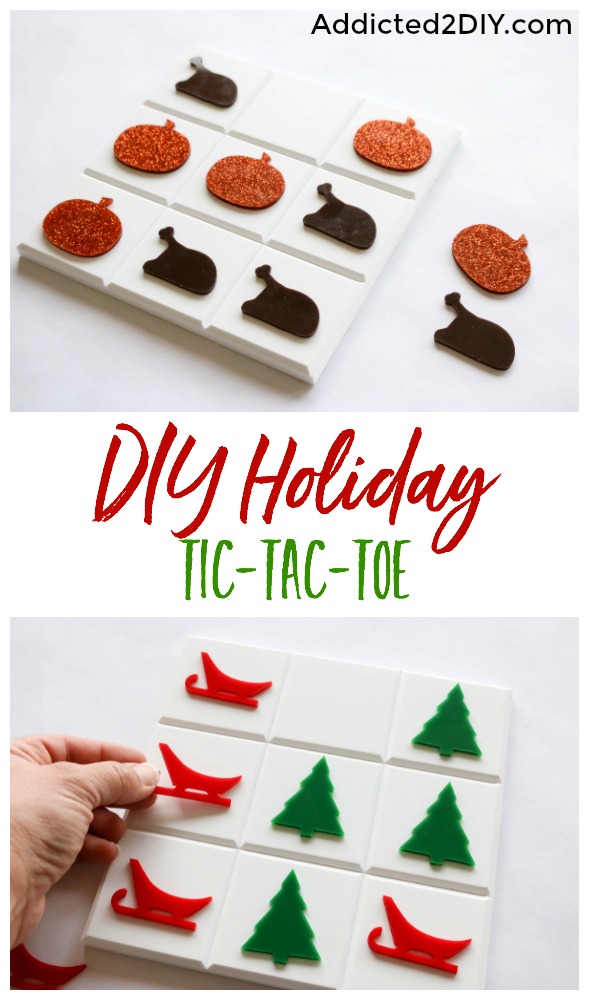
I’m partnering with Inventables once again to bring you the instructions for this fun holiday-themed tic-tac-toe game. I decided it would be fun to make one for Thanksgiving and Christmas, but the possibilities are really endless when it comes to the game pieces. I used my X-Carve to create this project, and you’re probably going to be hearing a lot from me about how much I love this machine! It’s so versatile and you can carve so many different materials. For example, the game board was carved from corian and the pieces were carved from standard and glitter acrylic. By the way, I kind of have a new obsession with the glitter acrylic that Inventables sells on their website. I think I’m going to buy every color! I love that it is oh so glittery, but also that it’s completely smooth to the touch.
If you don’t have an X-Carve yet, Inventables just made it even easier to get one! They’ve partnered with Affirm to offer easy monthly payments on X-Carve with no hidden fees. You can check out their site for more information. They’re also offering free shipping right now, which is a HUGE savings!
You can find the Easel file for this over on Inventables.com. Even if you don’t have an X-Carve, you can sign up for a free account, which gets you access to Easel. It’s the free design software from Inventables. It will give you the ability to play around with the software and see how you like it. Especially if you plan on getting a machine, it’s a great way to get a head start on designing projects and even products to sell.
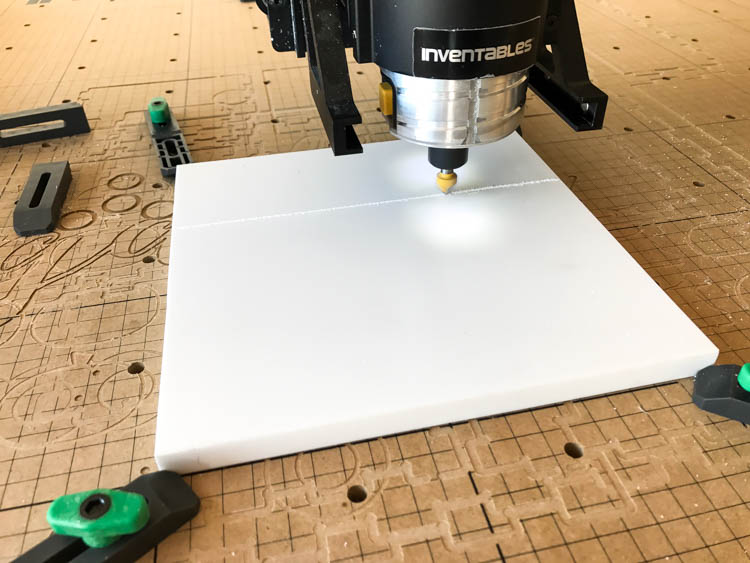
I’ve split the design file into several parts, starting with step 1; the game board, which I made from a 1/2″ thick piece of corian that I cut down to 8″x8″. I used my 90 degree V bit to carve the grooves in the corian representing the different squares on the board. To add a little extra design touch, I also had the bit trace around the outside edge of the board to give it a slight chamfer. I love the look of the white corian, but you can even use wood if you like.
Once the game board was finished, it was time to carve the game pieces. I made sure to set the file up to the proper thickness of the material and then began carving. I used regular acrylic and glitter acrylic for the game pieces. The glitter acrylic is slightly thicker, so you’ll want to be sure to adjust your settings as necessary if using it. I carved the design with a 1/16″ fishtail bit, which allowed me to carve the smaller, more intricate shapes.
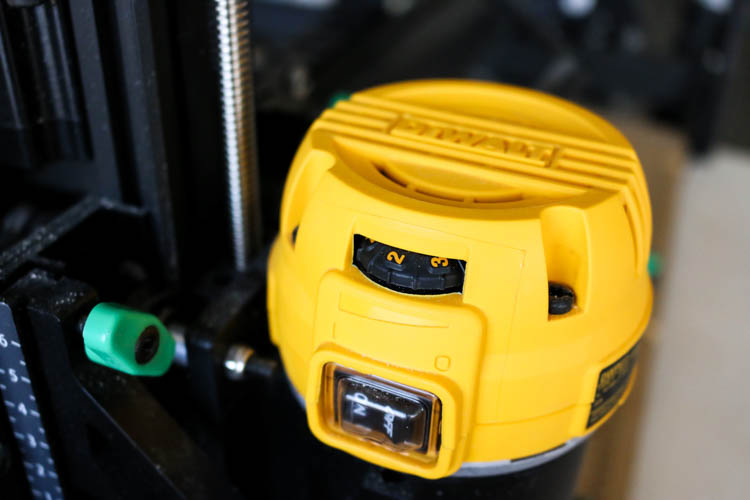
When carving acrylic, there’s a few important adjustments you want to make. First, set the speed of your spindle/router to a slower speed. I found speed 2 to be a good number. Too fast or too slow of a speed can result in the acrylic melting to the bit.
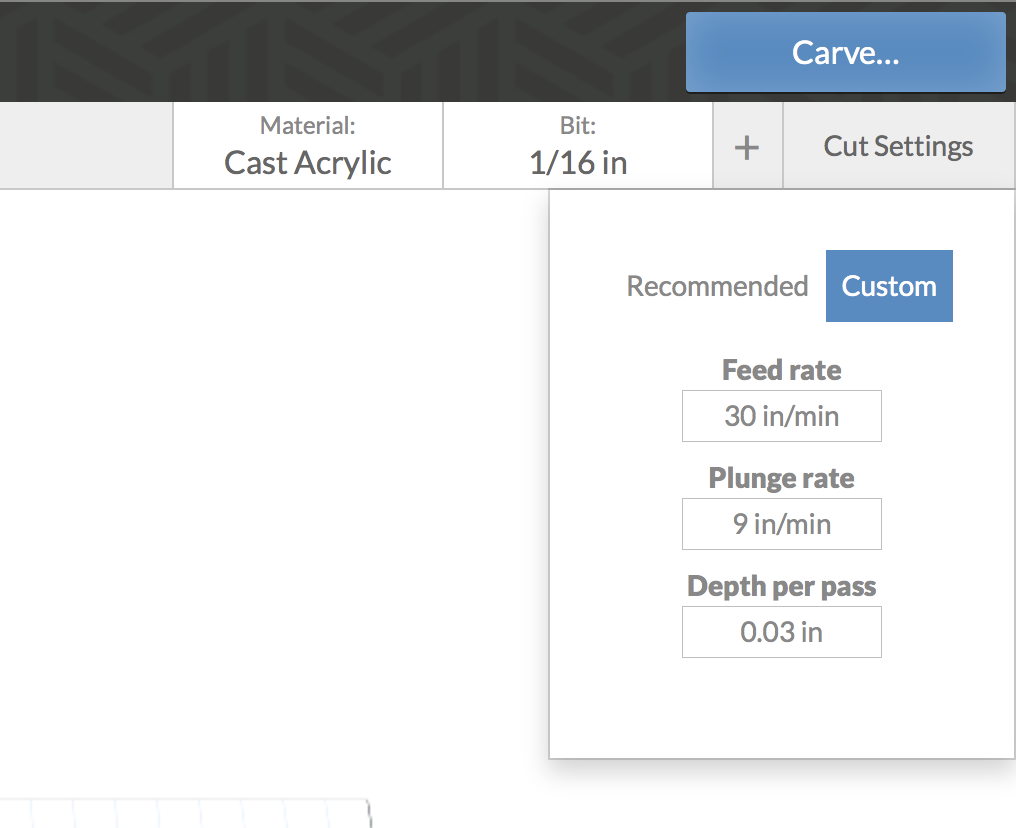
As for the carve settings, you’re going to want to make sure to keep your settings as shown. The design files will already be set to this; however, you can reference this whenever you’re creating your own acrylic designs. That being said, DO NOT try to carve mirrored acrylic with a 1/16″ bit. It just won’t work. I tried countless times and it kept melting and I’d end up with a giant glob of acrylic melted to the bit. Only use 1/8″ bits with the mirrored acrylic.
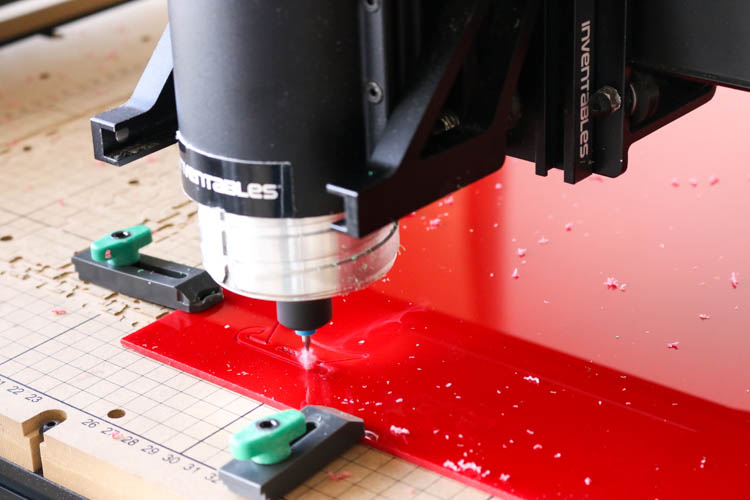
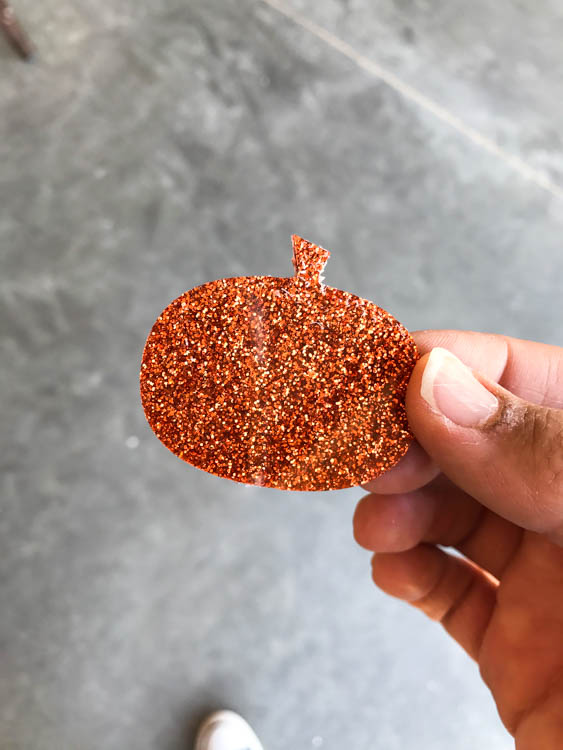
Now you’re ready to carve out however many designs you like! I carved 5 of each design to have equal game pieces for each player. It’s a good idea to have your shop vacuum handy to help keep the acrylic bits at bay. By the way, see what I mean about how amazing that glitter acrylic is? I’m going to be making so many things with it!
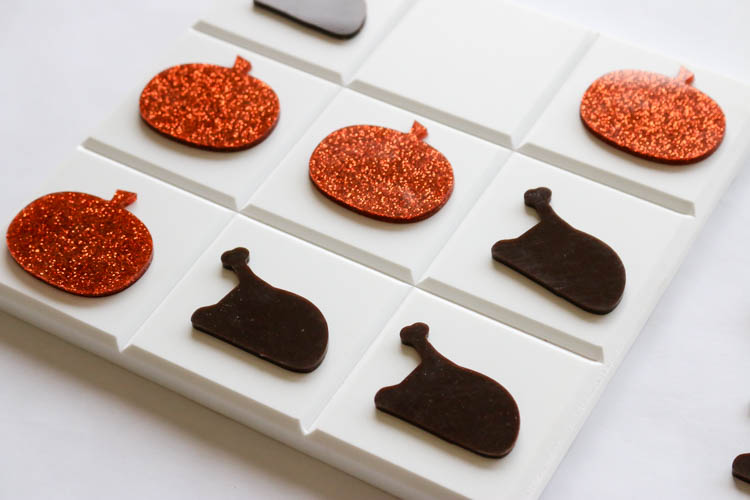
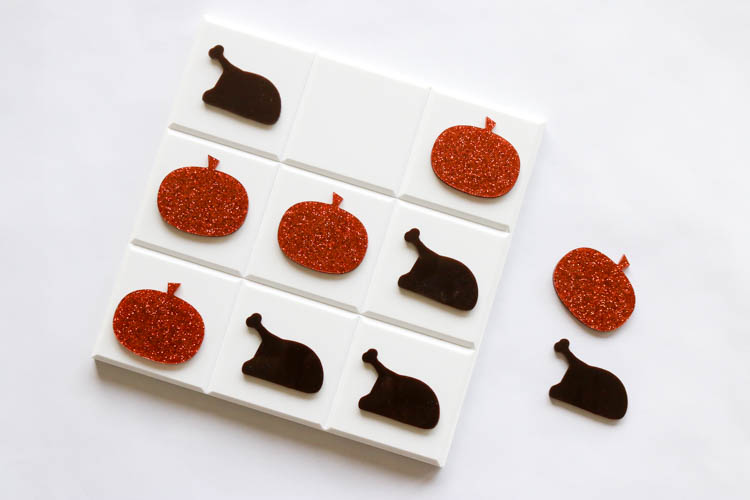
I’m so happy with how this little game turned out. My boys have had the most fun playing with it and challenging us to a fierce game of tic-tac-toe. Not only are they a great boredom buster for the kids while they’re waiting for Thanksgiving or Christmas dinner, but they would make for perfect gifts! Like I said, they can be customized with so many different game pieces. Think footballs and helmets during football season, eggs and bunnies for Easter, stars for 4th of July. I definitely see myself making more game pieces for all of these things. Don’t forget to download the project file for this game on Easel and see what types of different game pieces you can make!
Be sure to keep an eye out for more projects I’ll be sharing using my X-Carve. I love all that it can do and all that I am learning on it. I can’t wait to share more with you.
DISCLOSURE: This post is sponsored by Inventables. I was provided product and compensation for this post. All opinions and ideas; however, are 100% my own. This post contains affiliate links. Should you purchase an item from one of these links, I may receive a small commission at no extra cost to you.

Aww what an adorable idea Thank you
Thank you! It’s definitely be a lot of fun to play with my boys:)