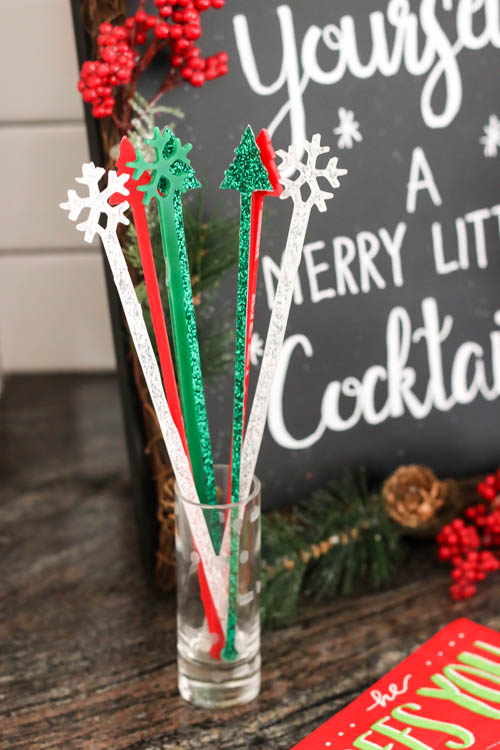
‘Tis the season for holiday cocktails, but there’s always that moment at every holiday gathering where you can’t remember which glass is yours. Was yours the fuller one? Was yours on the left or on the right? Do you just give up and get a new glass? We’ve all been there, right? This year, I decided to make drink stirrers that also double as drink markers for everyone’s glasses. That way we can try to avoid that awkward “hey, you’re drinking from my glass” comment. I’m partnering with Inventables to show you how to design them and carve them on the X-Carve or Carvey.
Designing the stirrers is actually quite easy and you can make them for virtually any holiday or occasion. Just open up a new file in Easel. I made mine using the snowflake and Christmas tree icons within the design library. You can also just use the project I’ve already created and shared on the Inventables site.
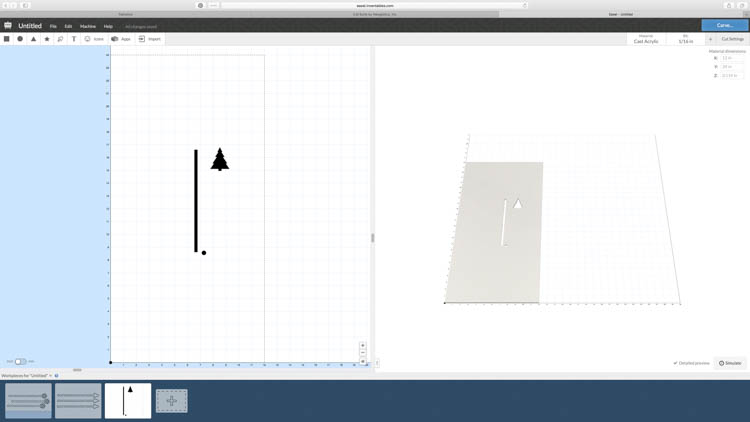
Once you have your design chosen, you want to design the stir stick. Measure the height of the glasses or cups that you will be using to determine the best length. My glasses are tall and narrow, so I made my stir sticks 8” long. I selected the square icon, then sized it to be 1/4” wide and 8” long. For the little ball at the bottom of the stir stick, I made that .35” in diameter.
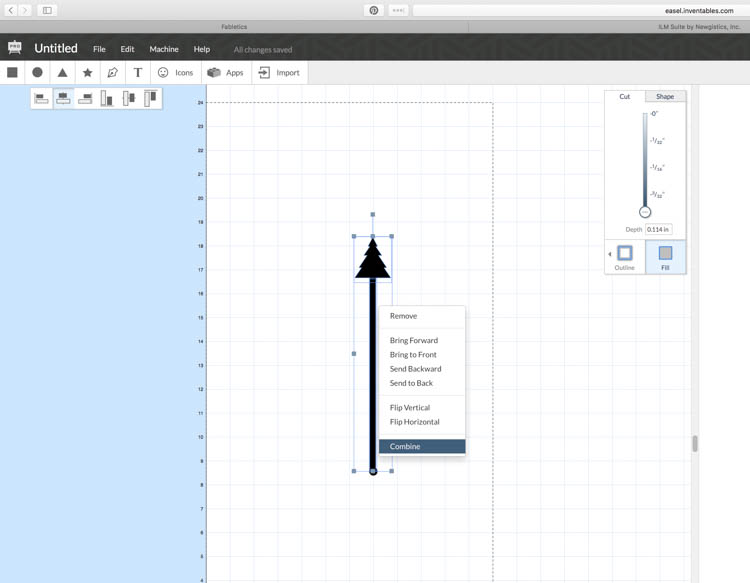
Center all of your design pieces together and then right click, and select combine to make them into one design.
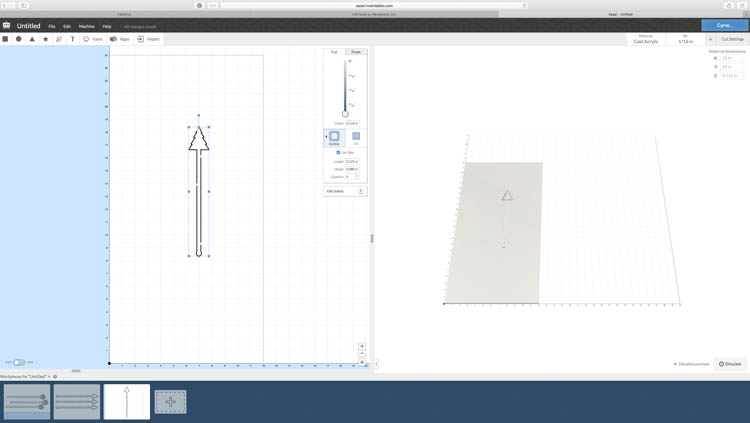
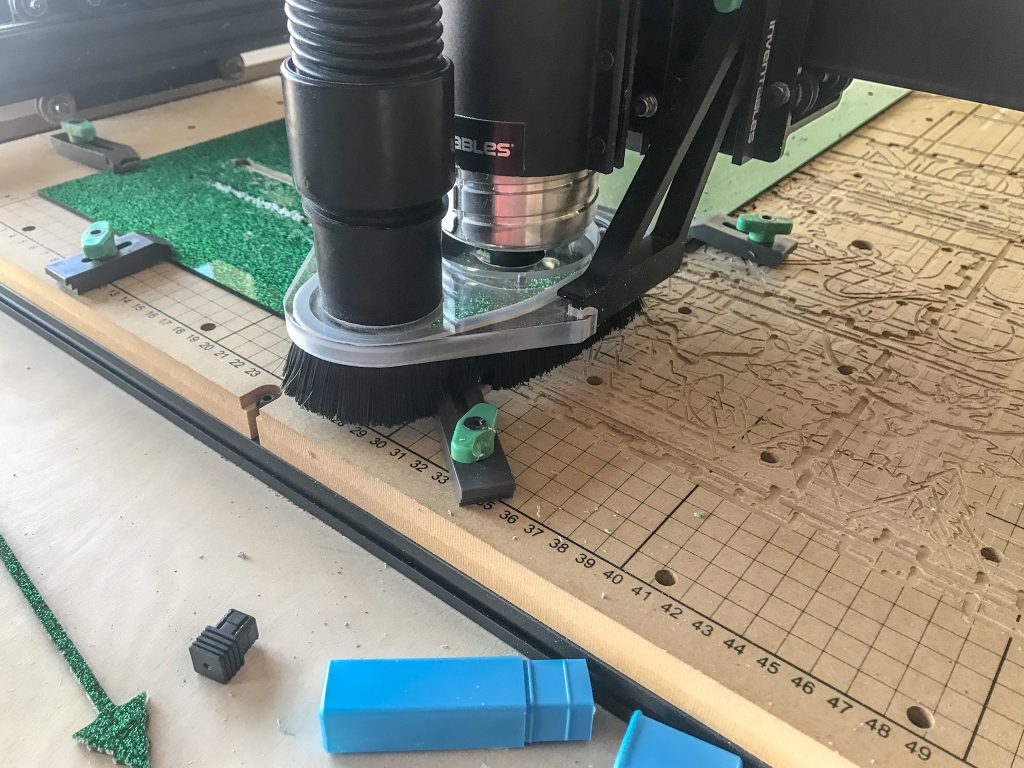
Change the cut settings from fill to carving on the outside path. Make sure that you use tabs and space them throughout the project. I set mine at .125” and .08” depth. Using tabs on acrylic isn’t ideal, but it is definitely necessary to make sure that your project does not move around and get ruined. I wouldn’t recommend double sided tape as it is quite sticky and would be next to impossible to remove your finished projects without breaking them.
Measure the thickness of your material, clamp onto the waste board, and you’re ready to carve! Make sure that when you change the color and type of acrylic that you are using that you also check the thickness of the material every time. For me, the glitter acrylic was thicker than the solid acrylic, so I made sure to adjust that between carves.
Once you’re finished carving, you’ll want to carefully cut the tabs to free the designs and then gently sand them with sandpaper. I used 150 grit sandpaper for these and it worked great without being too rough.
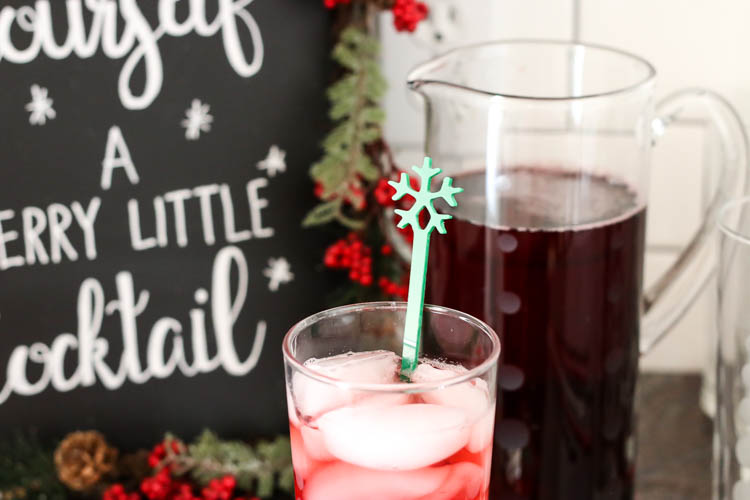
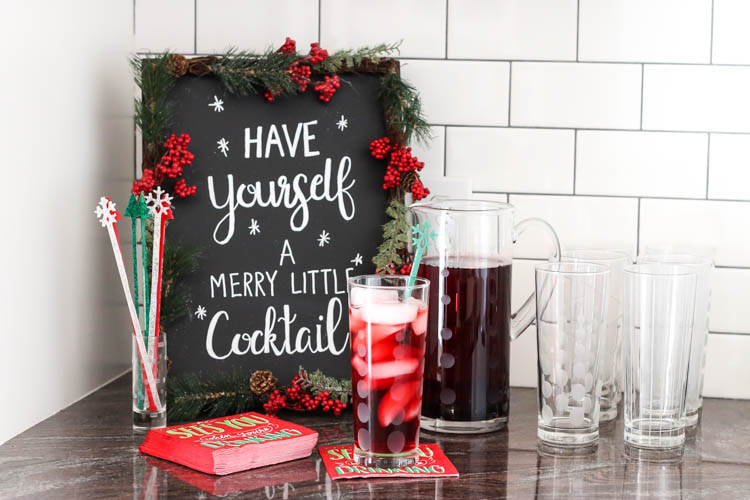
With our fun new holiday drink stirrers/markers, we’re all set for Christmas Eve Dinner! Actually, this year, it’s Christmas Eve, Eve, Eve dinner because my husband will be on shift this Christmas Eve, but you get the idea. Full disclosure, I totally misspelled “yourself” the first time I started trying to write out this sign. Thankfully I caught it before I finished it and took photos. Sadly, it wouldn’t have been the first time I’ve published a post with words misspelled in chalk;)
Special thanks to Inventables for partnering with me on this project! I am absolutely loving all that my X-Carve can do and I can’t wait to share more projects with you! If you’ve missed them, I’ve already shared several that you won’t want to miss and are perfect for the holidays! If you don’t have one yet, hopefully Santa will be bringing you one this year!
DIY Wooden Pie Boxes
Holiday Tic-Tac-Toe
DIY Wooden Christmas Village
Wood Slice Inlay Ornaments
DISCLOSURE: I was provided product and compensation for this post. All opinions and ideas are 100% my own! I’ve included affiliate links within this post. Should you purchase an item using one of these links, I will receive a small commission at no extra cost to you.

Leave a Reply