Learn how to make this simple DIY fall centerpiece that is perfect for your fall table. This fall centerpiece only requires a few tools and can be customized any way you like and used for any season.
Do you have a favorite season? I think fall might be mine. I love all of the smells (give me pumpkin spice everything!) and the crisp mornings. While we don’t exactly have seasons here in the desert, I love to bring those seasonal colors into my decor. This DIY fall centerpiece is one of those projects that is perfect for any season, but is especially great for fall.
How To Make A Fall Centerpiece
In this tutorial, I will show you how to build a fall centerpiece with just a few tools. It’s a perfect project if you’re just learning to use tools and want to add your own DIY home decor.
For this project, you’ll need:
- 1×6 board
- 1×4 board
- wood glue
- miter saw
- 1 1/4” brad nails
- 18ga brad nail gun
- 220 grit sandpaper
- Stain or paint of your choice
Build The Box
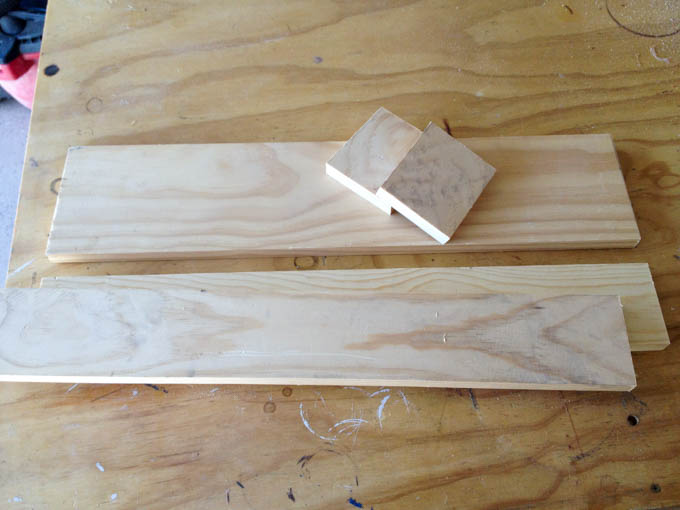
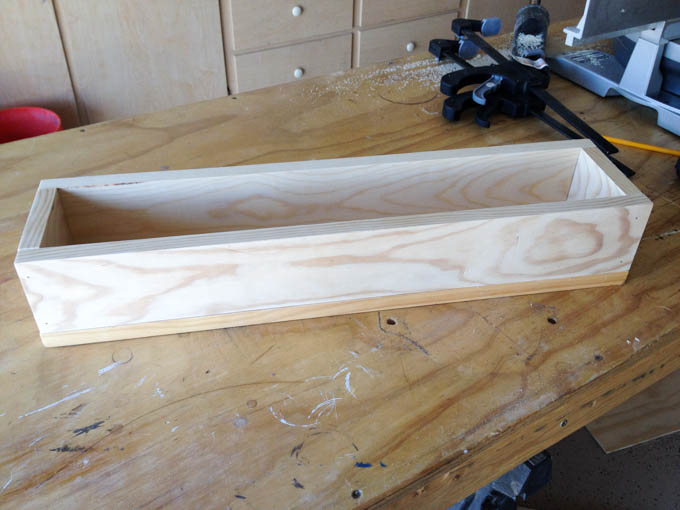
Cut a 1×6 down to 24″ long for the base. Cut two 1x4s at 24″ for the sides. For the ends, cut two 1x4s at 4″ long.
Glue and nail the pieces together with 1 1/4″ brad nails and give it a light sanding to take away any rough or splintered areas. Paint or stain the box in your favorite color. This was stained with Minwax stain in Provencial.
How To Make A Simple DIY Table Runner
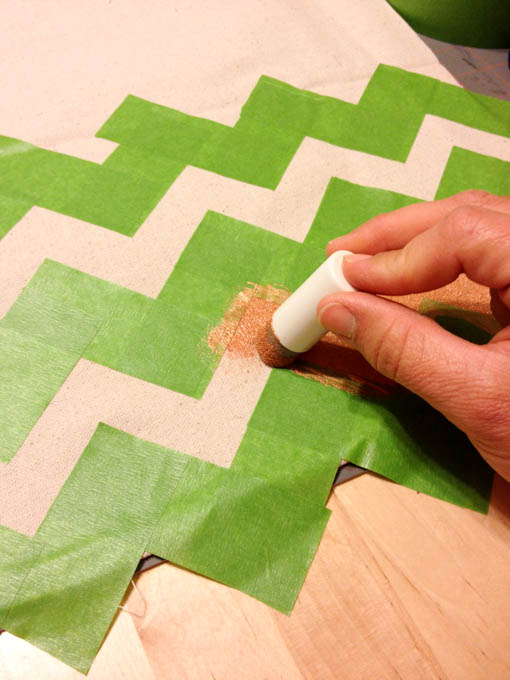
easy lazy way out and just cut a 12″ wide section across the drop cloth. This yielded a 12×48″ table runner.
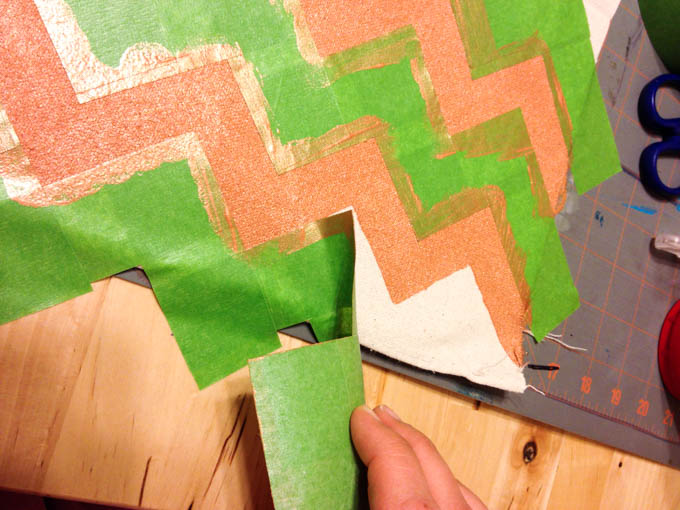
I wanted to have a chevron design, so I just made up a quick pattern with painters tape. There isn’t any specific method that I used. I just cut the tape pieces and stuck them together at 90 degree angles across the runner. Like I said, I was going for easy here. I mixed 1 part fabric medium with two parts of Martha Stewart metallic paint in copper and then dabbed it on with a sponge.
I peeled up the paper and, voila! I made sure to peel the tape up in one piece, so I could just stick it down when I painted the other side of the runner.
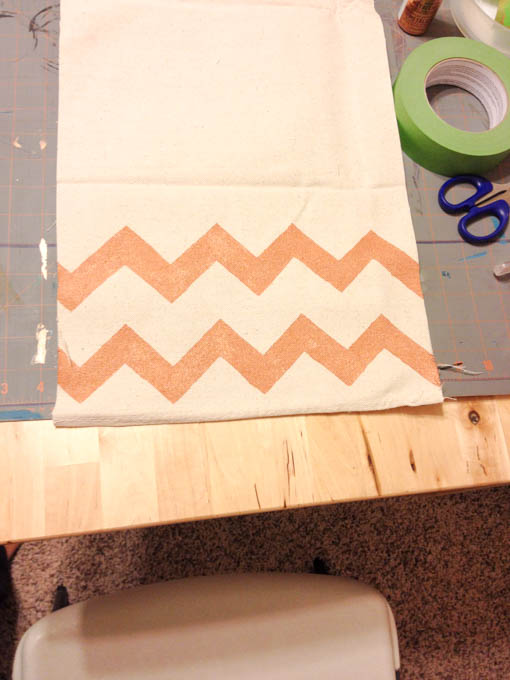
Here’s the end result!
How To Style A Fall Centerpiece
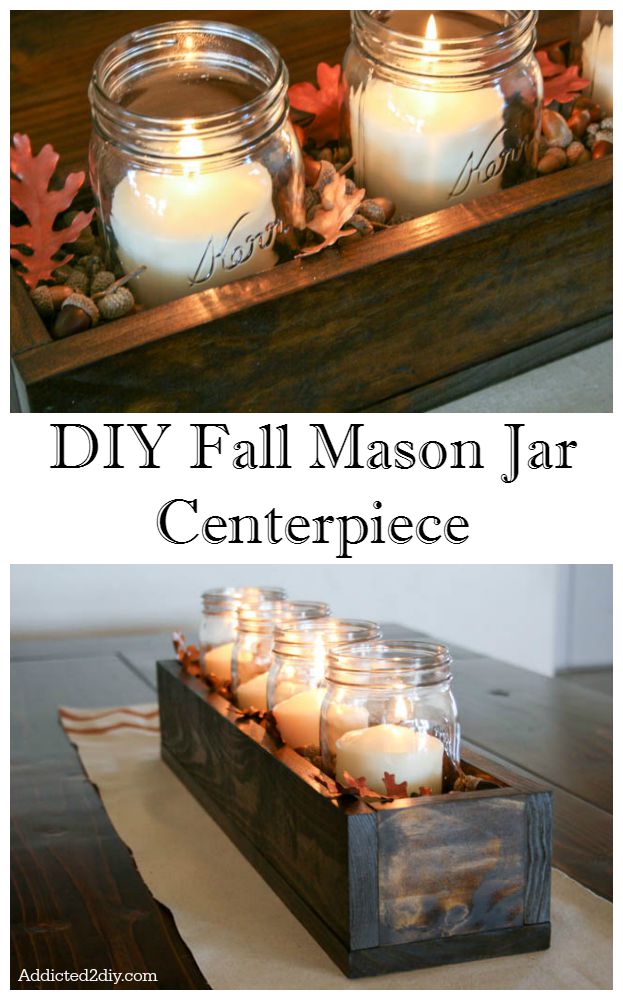
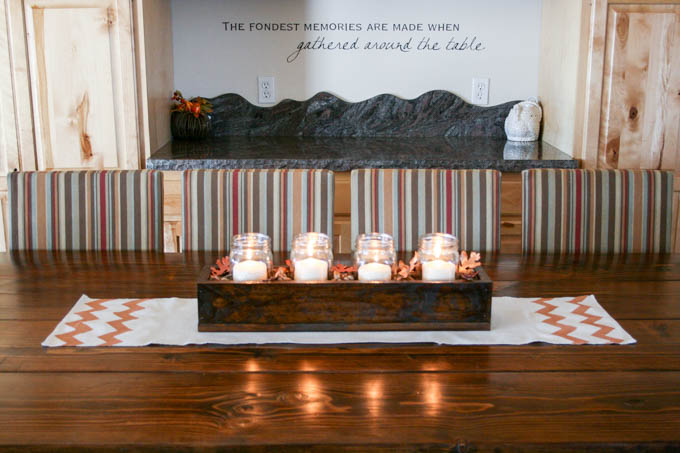
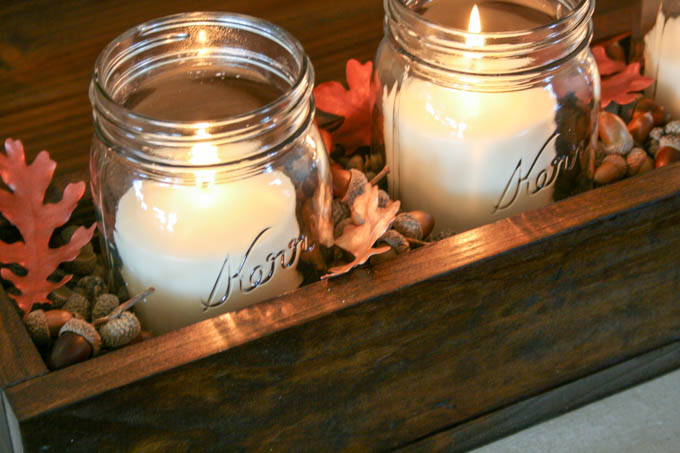
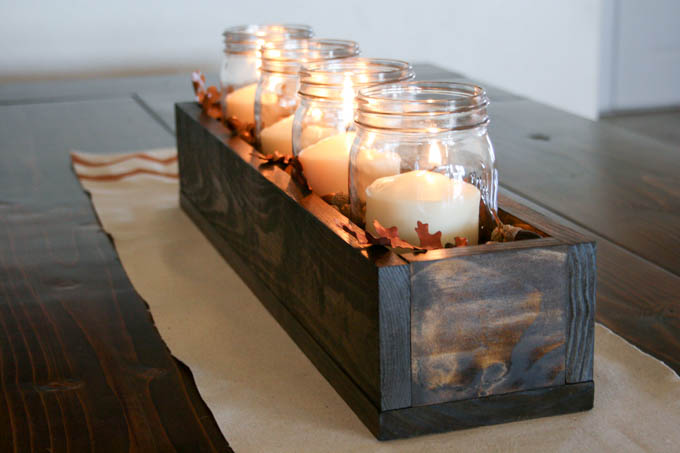
Here’s the finished centerpiece. I used quart-sized mason jars with 3″ pillar candles. The candles were a bit too tall, so I just cut an inch or so off of the bottoms of them with a chef’s knife.
To fill in the box, you can use just about anything. Fill it with acorns, leaves, cinnamon sticks, mini pumpkins, etc. I chose to fill it with some acorns I had collected as well as oak leaves. The leaves were a beautiful gold color when I picked them, but turned a yucky brown color a few days later so I decided to paint them to give them a little bit of a metallic flair as well.
This DIY fall centerpiece is such a quick and fun project that you can customize in so many ways. Whether you love the stained look, the chippy paint look, or all natural! Throw some handles on the ends for a little something extra. Swap out the filler when the seasons/holidays change. The possibilities are endless!

This looks great! Would LOVE for you to link up to Friday Favorites at http://imnotatrophywife.com
I am headed back to pin this! laura
I’ll definitely do that when I get back to my computer:) Thanks!
How warm and cozy!! I love it! The box is super awesome, I love to make things with wood too! And the runner is so fun I love the chevron! If you have a chance I would be so happy for you to share this at my wowza weekend link party! http://mylove2create.blogspot.com/2013/11/wowza-weekend-link-party.html
Thank you! I just linked up to your party a few minutes ago:)
Love the centerpiece… And the table!
Thank you so much:)
Your table and centerpiece are beautiful! You have inspired me to try it myself….thank you!
Thank you! I hope you enjoy your finished product! I just love ours:)
I like it, very pretty!
So pretty, I love it! Great job! 😀
Thank you:)
Love this! I’m a sucker for candles 🙂
I would love it if you would link up at Martha Mondays, open now through Wednesday night!
http://www.watchoutmartha.net/2013/11/martha-mondays-link-up-party-features.html
~Amanda
http://www.watchoutmartha.net
Will do! Thank you:)
This is so pretty, love the DIY! So did my readers 🙂 I shared this on Facebook yesterday https://www.facebook.com/photo.php?fbid=10153458474720217&set=a.353593675216.349539.323548680216&type=1
Thank you for sharing it! I liked your page as well:)
Featured this weekend at Friday Favorites! Would love for you to link up a new favorite!!!
laura
Thank you so much! I will definitely link up again:)
I love the centerpiece, perfect to decorate during the Holidays and all year round! The table is also gorgeous 😉
Thank you! I’m planning to make a new runner for Christmas and fill it with some Christmas tree trimmings:)
I love this centerpiece! I’m always a fan of simple centerpieces. I’m going to try my hand at a hand painted table runner for the holidays, thanks for the inspiration!
Absolutely love this box! I guess I know have a project for my husband! 🙂 Can’t wait to do this, I might even do it for the christmas season too! 🙂 Pinning!
I just adore how this turned out! Perfection. Simple and stately.
Thanks so much for linking up at our holiday mason jar party!
🙂 Linda
It All Started With Paint & Mason Jar Crafts Love
Thank you! And thank you for hosting the link party:)
Thanks for sharing your fall centerpiece. It were featured in today’s fall craft roundup. Don’t forget to link up your Christmas decorating ideas tomorrow for another chance to be featured! http://www.thepinjunkie.com/2013/11/fall-crafts-roundup.html
Thank you! I will be sure to link up!
Love this! What size are the mason jars? Where did you get the candles, and what size? I’m going to show friends how to make this at a craft party! What a great idea!
Thank you, Becky! The mason jars are quart-sized mason jars. I bought the candles at Target, but you can purchase them just about anywhere. Just make sure they fit into the mouth of the jar:)
Did you put polyurethane on box?
No, but you certainly can if you’d like to seal it.
So, I know I’m reading this 4 years after posted, but I just had to say…I love that your dog food bag is on the floor. It means you actually live like a real person. That makes you relatable! =) I love the centerpiece btw. I’m terrible at anything with power tools, so my Hubby will have to make the box 😉
Lol! Thank you! And you should definitely try making this with your husband! It’s so easy and a great starter project:)
We love the use of mason jars in decorations. This is such a simple yet beautiful centerpiece idea. We liked it so much we featured it on our blog. Check out the post here: https://savedbythecents.com/budget-friendly-diy-thanksgiving-decor/
Keri recently posted…10 Budget Friendly DIY Thanksgiving Decor Tutorials
My wife and I stumbled on this post (we can see it’s been a few years) and we wanted you to know that we used your tips to build our own fall centerpiece! It looks amazing. Thank you for sharing.
Bob Gilmer recently posted…Best Dual Fuel Generator Money Can Buy In 2019 (Complete Guide)
So glad you made one and are enjoying it!