Learn all about how I built a custom mudroom and took an empty nook and turned it into a beautiful, functional space.
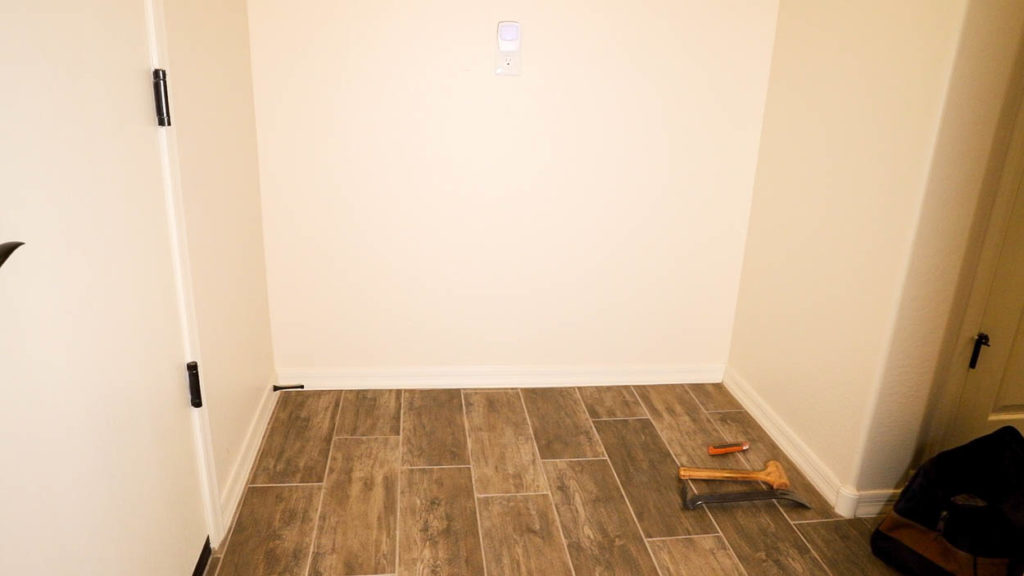
I’m partnering with my friends from DAP Products today to show you how I transformed this empty nook at my mom’s house into a gorgeous custom mudroom!
The process for this was definitely a challenge as space was tight and I ran into a few roadblocks along the way, but the beauty of built-in projects is that there’s pretty much nothing a little trim, caulk, and paint can’t fix!
Get The Printable Plans
I’ve put together printable PDF plans, which you can use to create your own beautiful mudroom. These plans include your supply list, cut list, and the broken down steps.
The beauty of this project is that it can work as a built-in project or as a standalone mudroom. If you do choose to go the standalone route, you’ll just add a bit more trim around the top and bottom, or you can use veneer edge banding to finish things off.
Building A Custom Mudroom
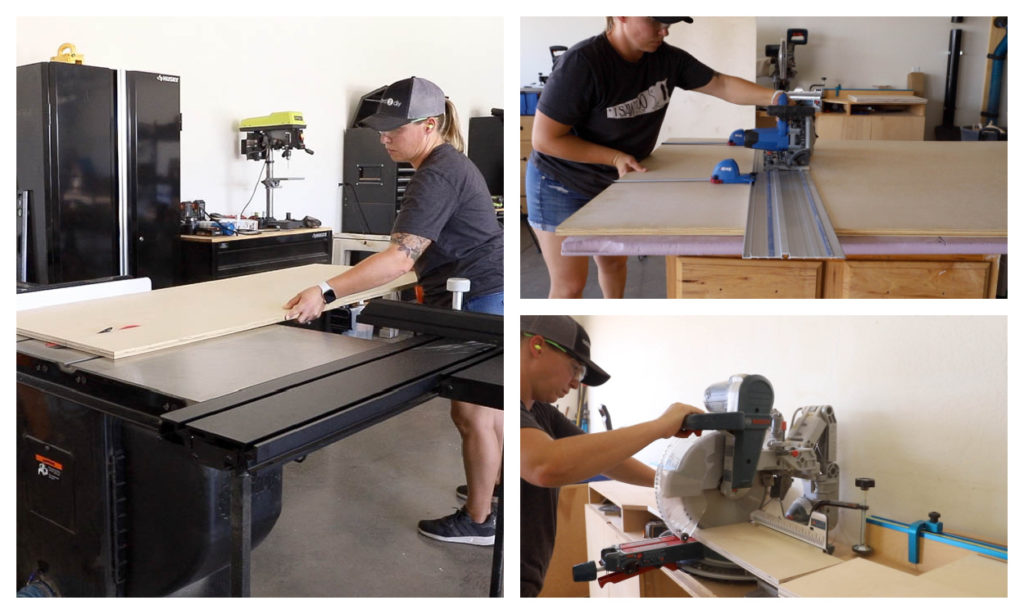
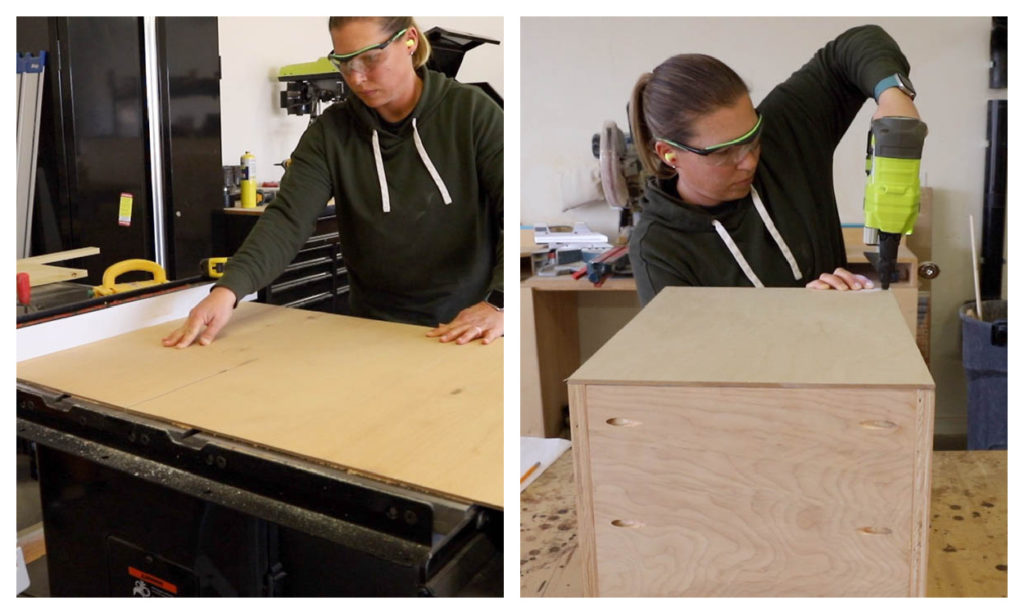
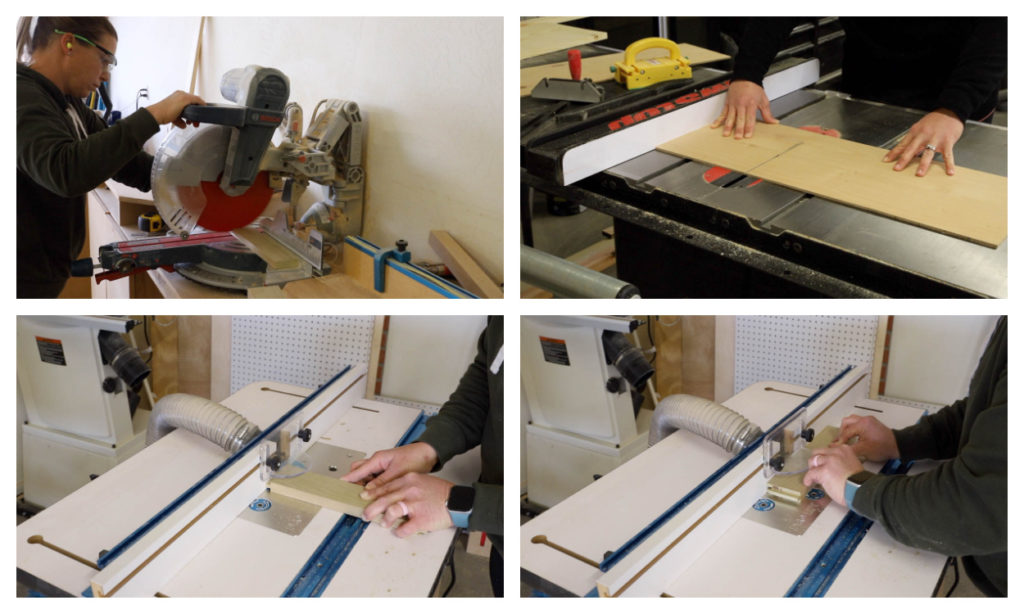
Before I could get started with building, I needed to cut all of my plywood pieces down to size. For this, I used my table saw, Kreg Adaptive Cutting System, and my miter saw. If you don’t have an Adaptive Cutting System, you can use the Kreg Rip-Cut and/or the Kreg Accu-Cut to get the needed cuts without your table saw.
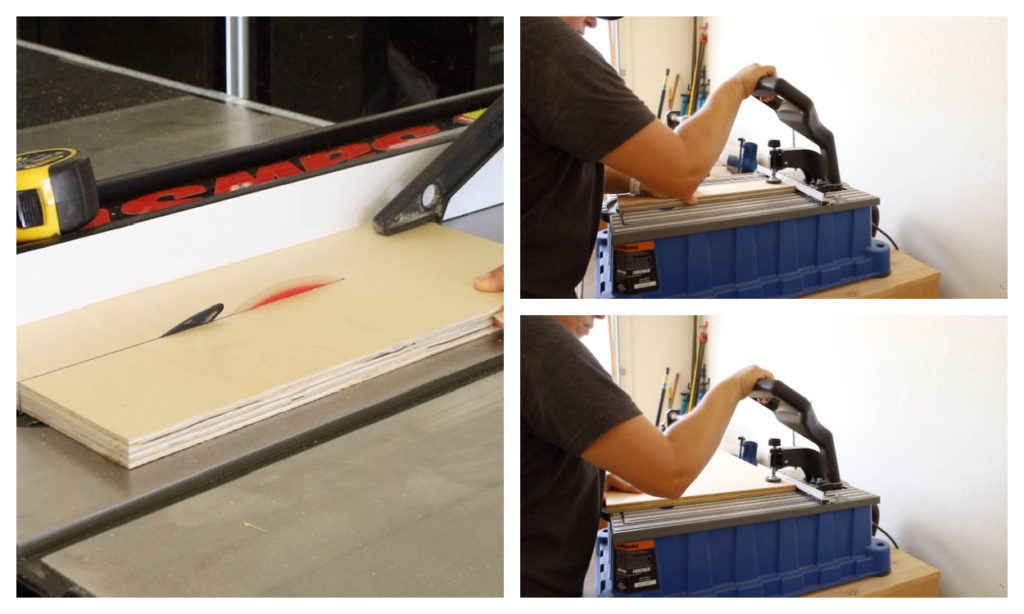
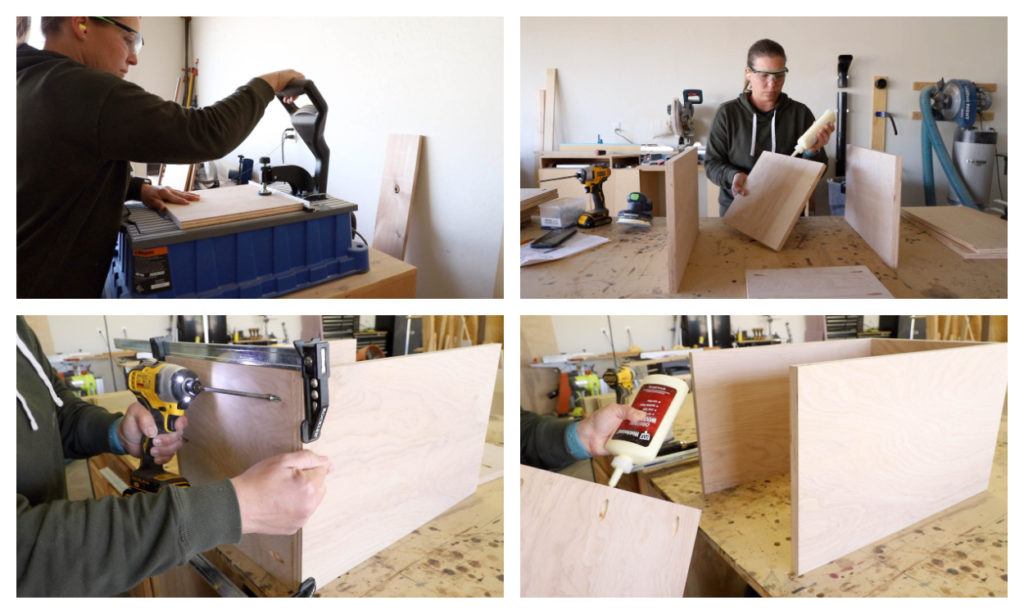
To start building the base, I cut the pieces down to size for the stretchers, then drilled pocket holes in the stretchers as well as the top edge of side walls for the base.
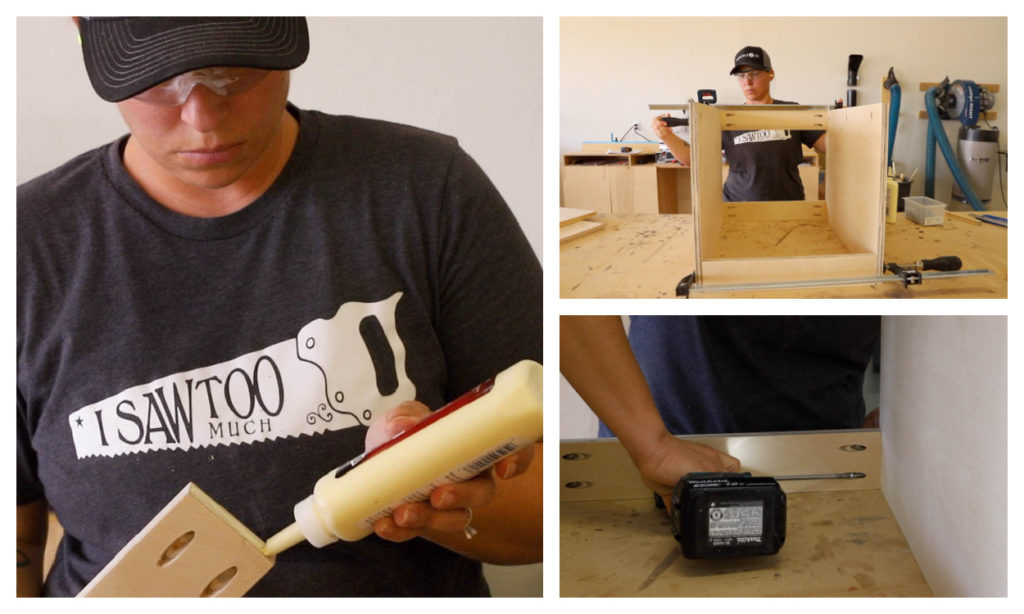
To build the base, I added DAP Weldwood Wood Glue to the stretchers and then clamped them in place. The Weldwood Wood Glue is what I use on all of my DIY projects and I love how quickly it dries and how strong the hold is. Well…unless I mess up and have to take something apart. Then it’s a fight to break that bond.
I attached them using 1 1/4″ pocket screws. I added two stretchers to the back of the base and one to the bottom front. The pocket holes on the side walls need to be on the upper edge of the bases so they can be used to attach the bench.
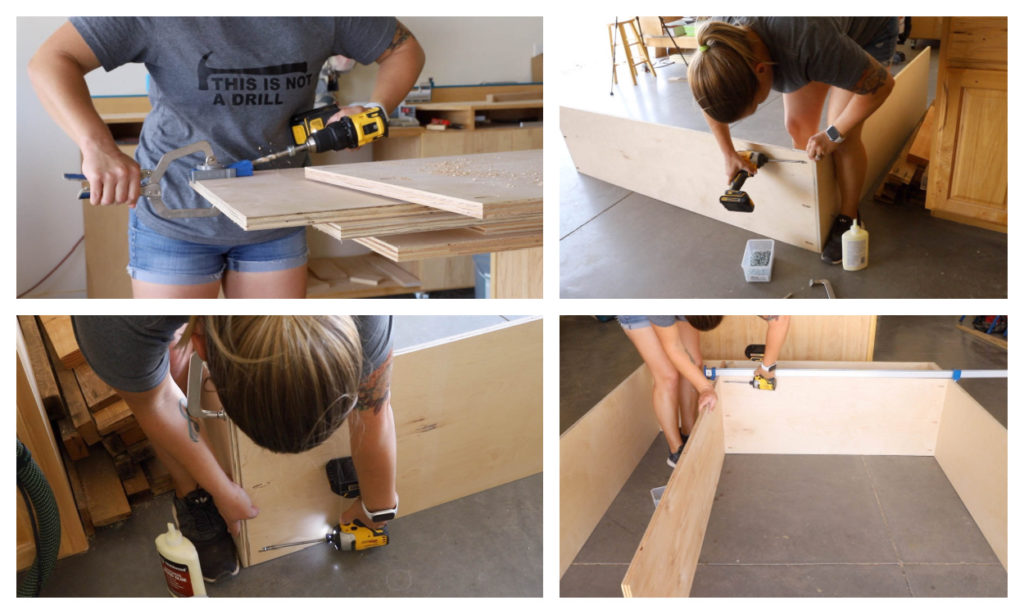
For the upper portion of the mudroom, I drilled all of my pocket holes, then got to assembling the main carcass using wood glue and 1 1/4″ pocket screws.
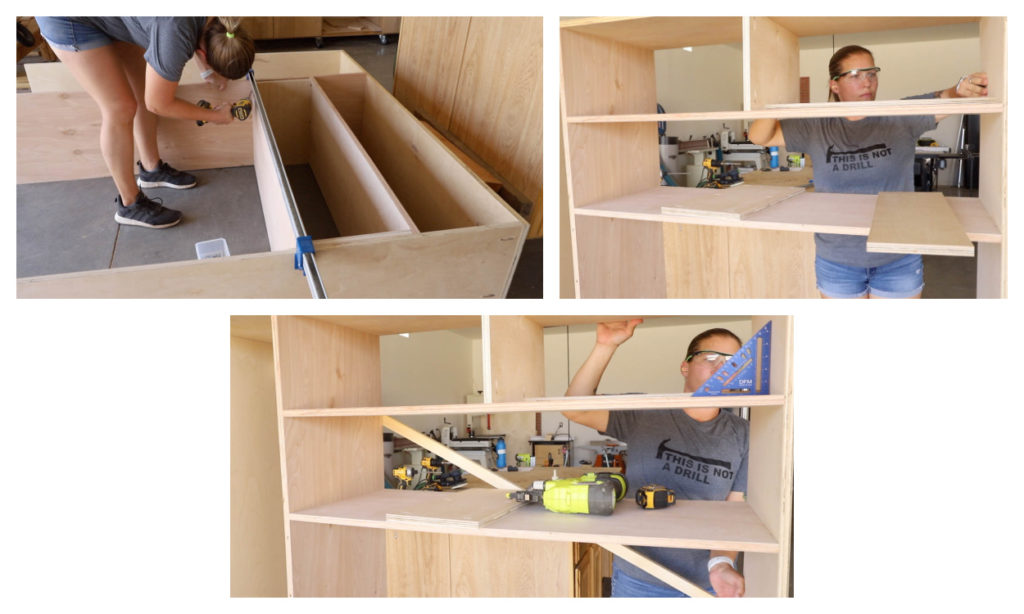
Using the shelves and dividers as spacers made assembling the entire unit much easier and more efficient. I attached the shelves and dividers using 1 1/4″ pocket screws. To keep the whole unit square, I also nailed a scrap 1×2 across the back as a scab to square up the unit while I installed the center dividers on the shelves.
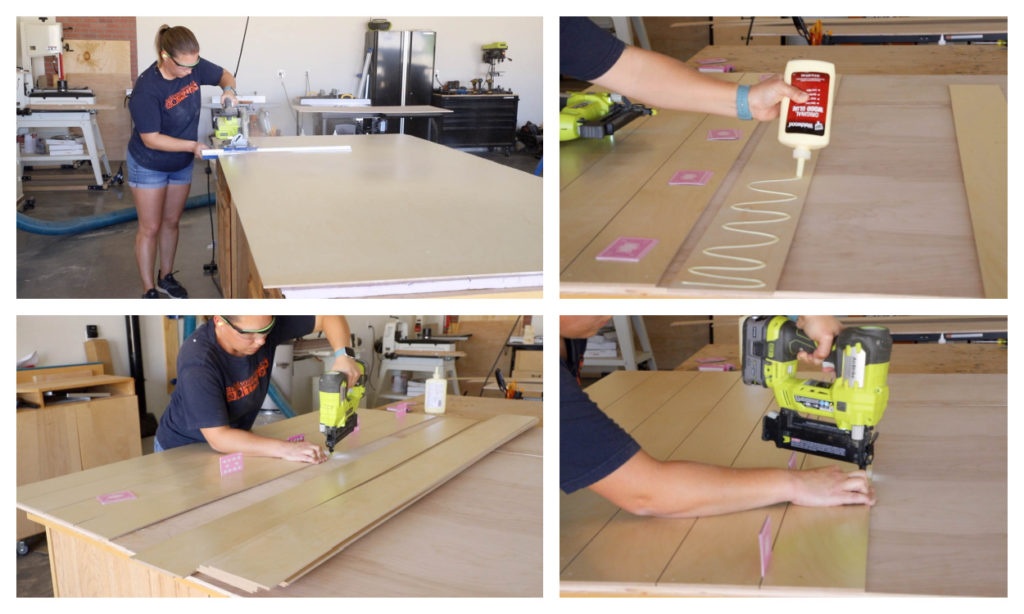
The back of the unit is faux shiplap and I used 1/2″ plywood as a backing and 1/4″ plywood for the slats. The backing is cut to the size of the back of the unit and required two pieces to be attached together to cover the entire back. Then I used my Rip-Cut to cut the strips of 1/4″ plywood down for the shiplap.
I used stacks of playing cards to make a 1/8″ gap between the slats, then glued and nailed them in place with 5/8″ brad nails.
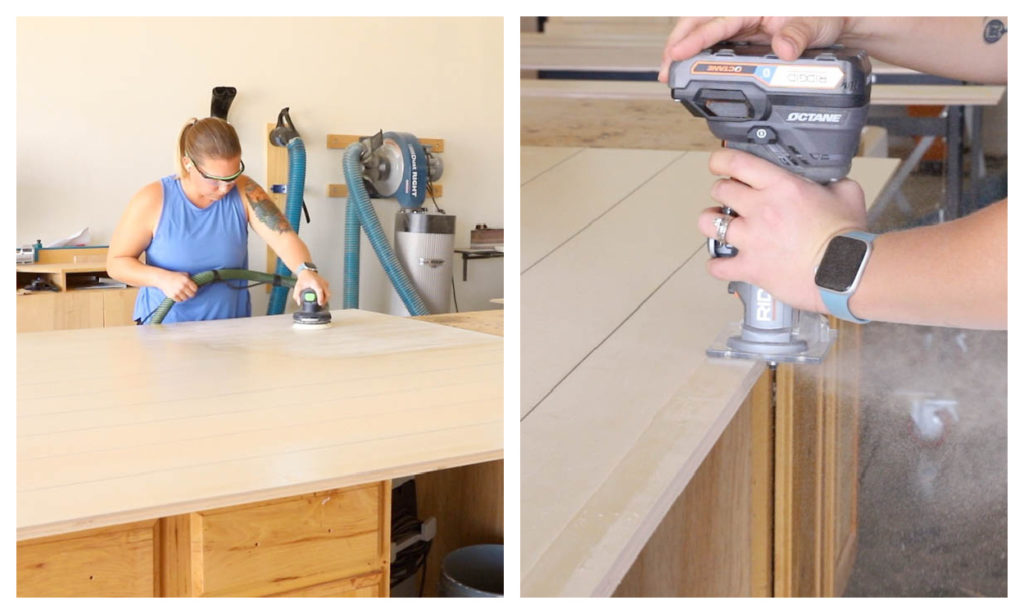
The plywood I purchased wasp refinished, so I gave it a light sanding with 220 grit sandpaper to scuff it up for the paint to adhere better. You won’t necessarily need to do this if you are using regular unfinished plywood.
The shiplap strips overlapped a bit on the final edge of the panel. To clean this up, I used my flush cut router bit and palm router.
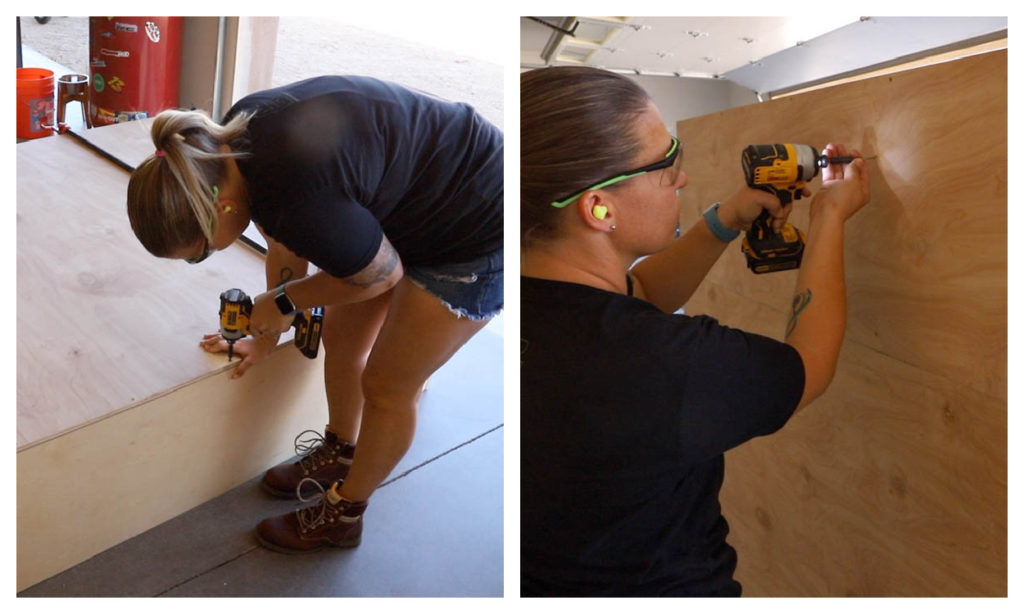
To attach the back panel to the upper unit, I first laid it face down on the floor, then drilled countersunk pilot holes and added 1 1/4″ screws. Once the perimeter was attached, I stood the unit up and measured where the shelves and dividers were to also secure the panel in place in the middle of the unit.
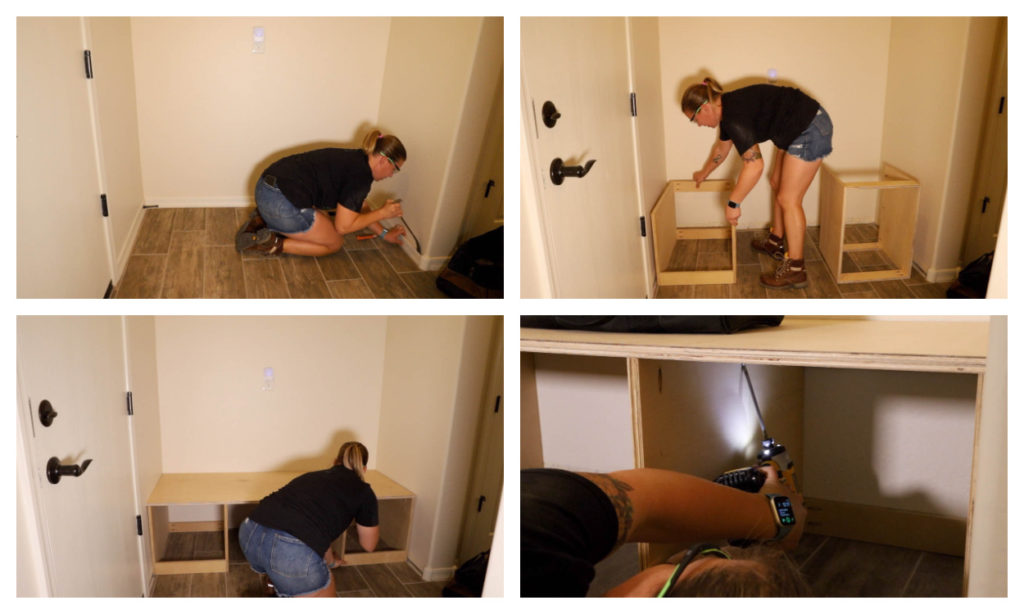
With everything built, I headed over to my mom’s house to start the installation process. I first needed to remove the baseboards in the nook, then brought in the bases.
I set the bases in place and attached the bench on top of them using 1 1/4″ pocket screws and the pocket holes I had drilled prior to assembling the base.
For the upper unit, I didn’t grab a photo of this as it was a bit of a tense and stressful install. I built the unit to fit perfectly inside the nook, so it was a tight fit already. Because of this, I hadn’t taken into account the fact that the doorframe for the garage entry door would be in the way. We ended up tearing out the trim and taking the door and hinges off to fit the upper unit in place. It was big, and heavy, and a lot of words were said that aren’t exactly family friendly.
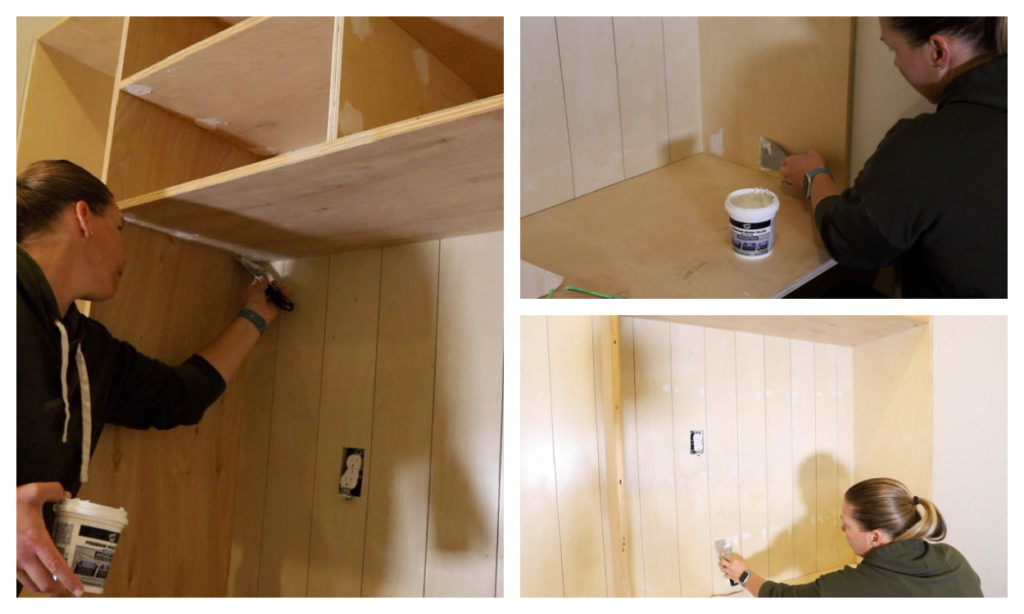
Once the upper unit was installed, I went to work filling all of the pocket holes and nail holes using DAP Premium Wood Filler. This wood filler is by far my favorite to use on my projects, whether I’m painting or staining the finished product. Other than when you’re using a very light stain like Natural or Golden Pecan, it takes the stain color so well and blends in beautifully.
With the pocket holes being so large, it takes about 2 coats of the wood filler to get them smooth, sanding the dry filler in between coats. I did all of this before adding the face frame to the front of the unit to make the sanding process easier.
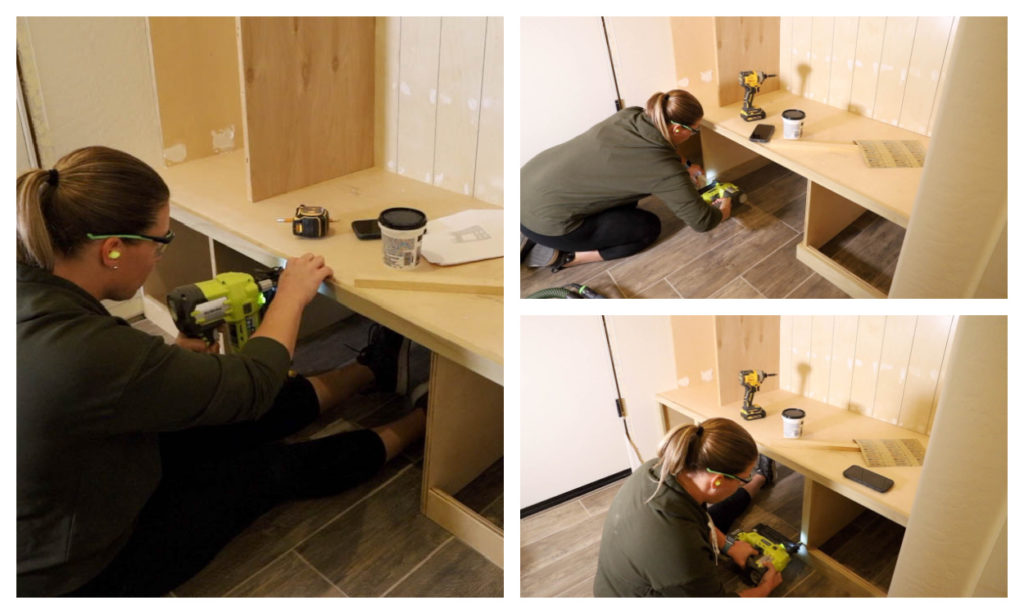
While I waited on the wood filler to dry, I added the face frame pieces to the front of the mudroom bench with 1 1/4″ brad nails. You can find all of the approximate measurements for these in the printable plans. Once the wood filler was dry and sanded,
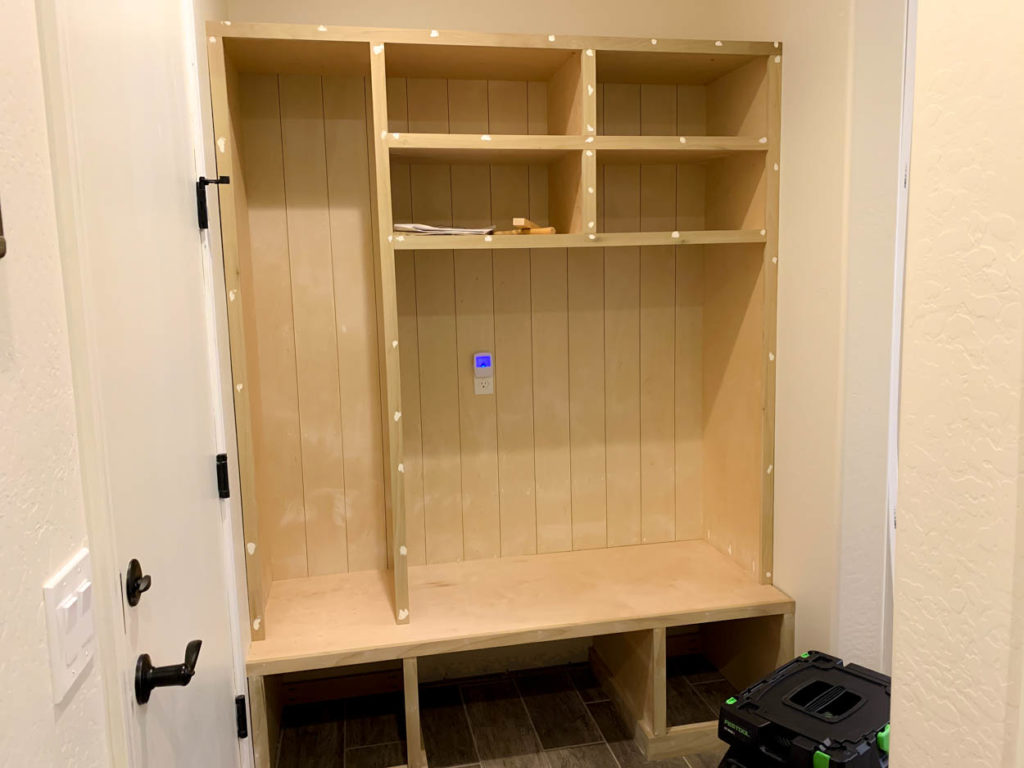
I added the face frame to the upper portion of the unit and filled all of the nail holes with wood filler.
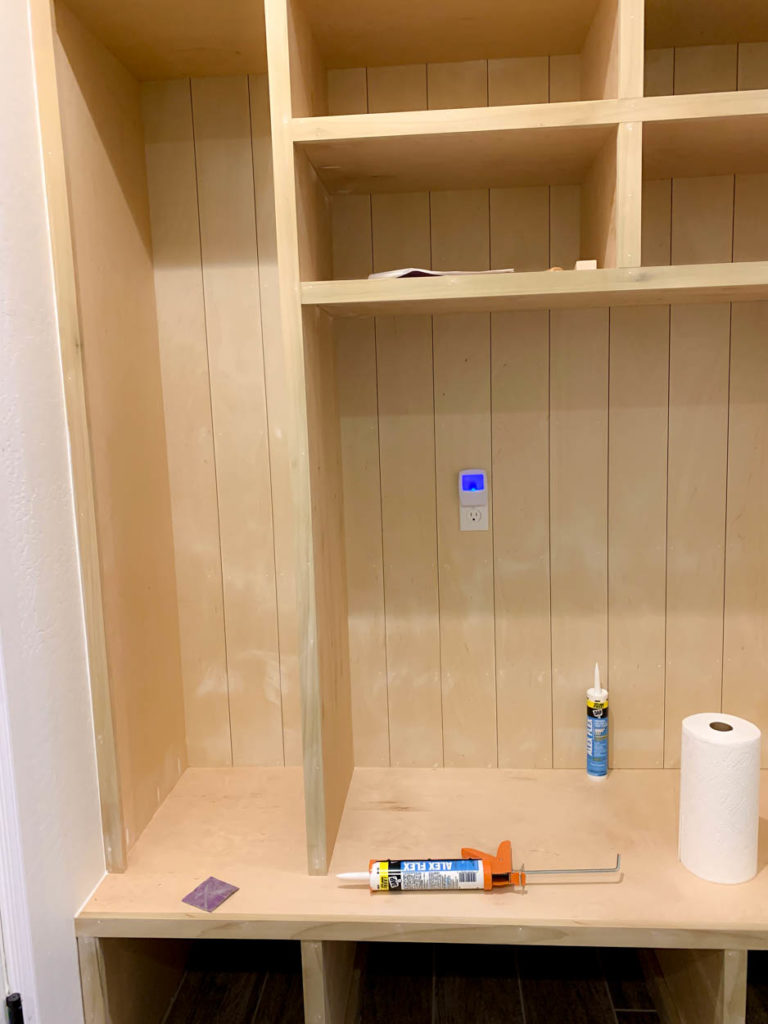
Once everything was sanded, I used DAP Alex Flex caulk on all edges of the unit as well as on the bench top where the panel and vertical pieces join, just to give it a cleaner, seamless look. It dries in 30 minutes and is flexible and won’t crack, which makes filling all of these gaps between the trim a breeze and I won’t have to worry about them later.
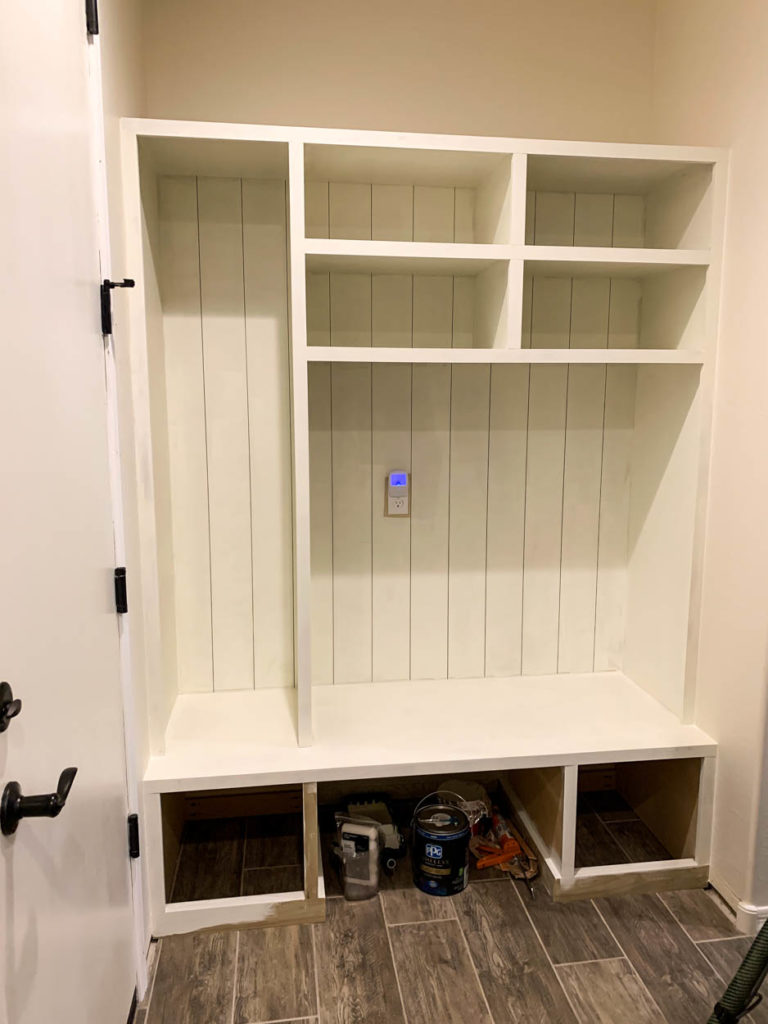
I painted it to match the trim color in the house (PPG Macaroon Cream) and ended up painting the entire unit with 3 coats.
Once all of the painting was done, I got to work (re)building the drawers. The unit didn’t initially have a face frame on the lower portion, but with the location of the garage door trim, I needed to adapt and had to rebuild the drawers a bit smaller and shimming the inside of the drawer openings with plywood so that I had a flush surface to add the drawer slides.
I built the drawers from 3/4″ plywood and attached a 1/4″ plywood bottom with wood glue and narrow crown staples. You can use a brad nailer, but in my head, the staples have a bit more bite than the brad nails for something like this.
To build the drawer faces, I cut down to size the poplar rails and stiles as well as 1/4″ plywood for the panel. I used my tongue and groove router bit on the rails and stiles to glue the frame together. You don’t need to have a great big router table for this, either. In fact, prior to this, I had a small RYOBI router table and would use this same bit to build my drawers and cabinet doors.
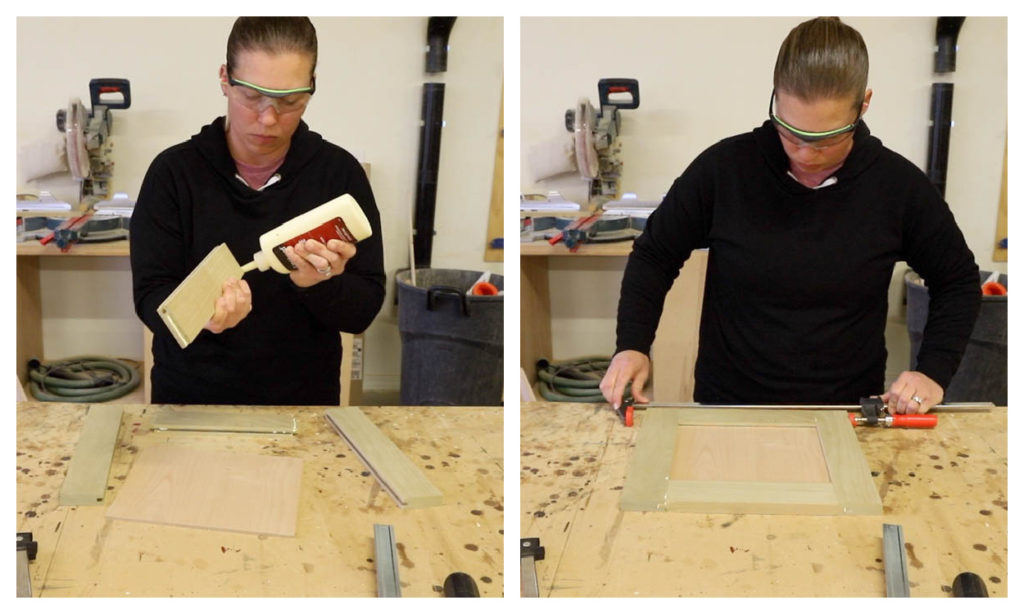
With all of my pieces prepped, I glued and clamped them together and set them aside to dry.
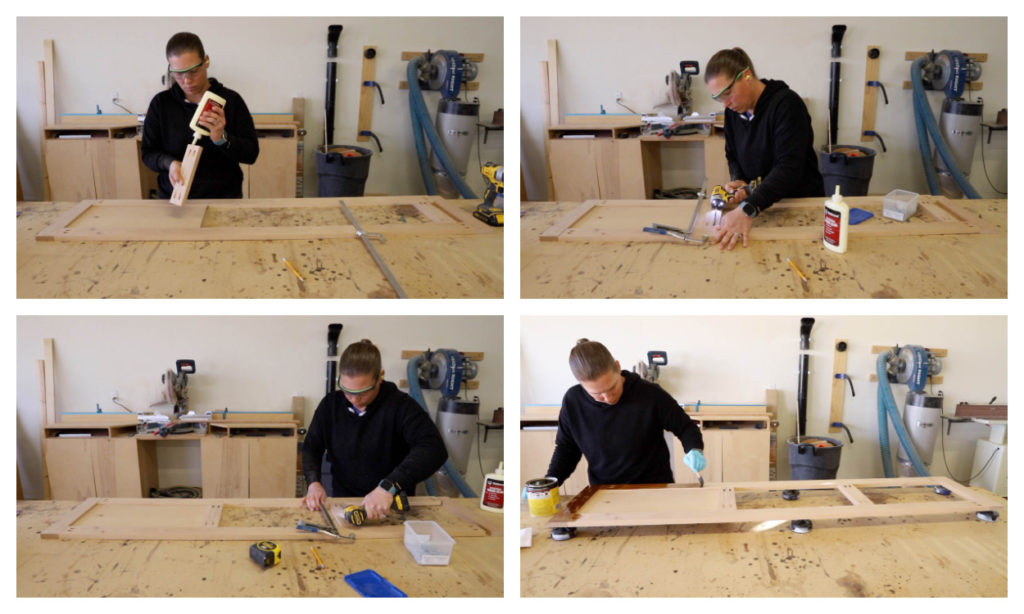
To build the door, I cut my boards down to size and drilled pocket holes into the stiles and the middle two rails. I routed a 3/8″ deep groove all of the way across the rail on the upper end of the plywood panel, partially across the bottom rail and also partially across the stiles. This way the plywood panel fits nicely into the groove for the lower portion of the door.
I assembled the door with wood glue and 1 1/4″ pocket screws, then stained it in Golden Oak stain. When the stain was dry, I finished it off with several coats of Minwax Wipe-On polyurethane in satin sheen.
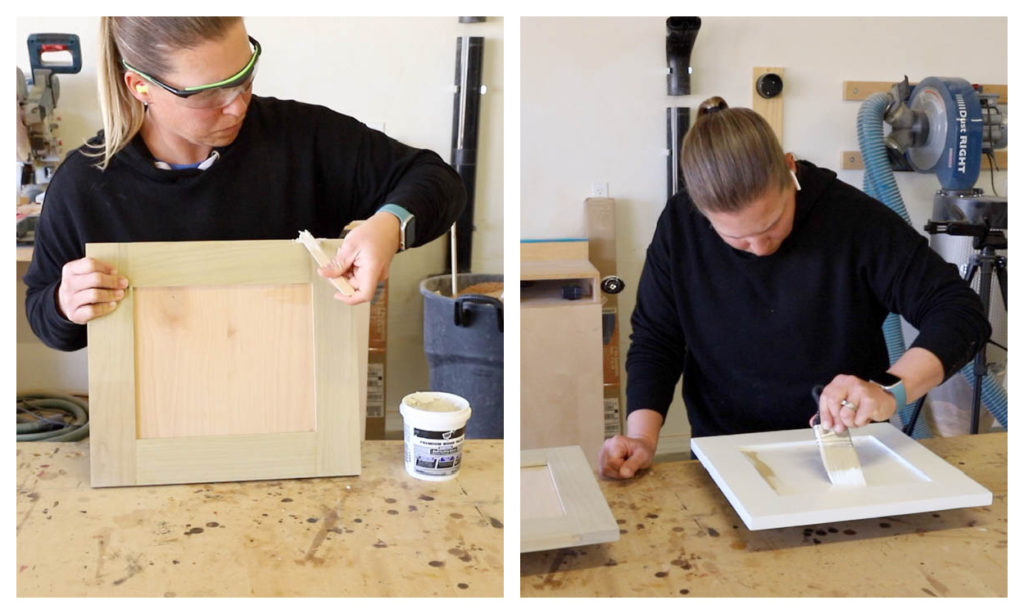
When the drawers were dry, I sanded them and prepped them for paint. There was a bit of tear out in the wood from the router, so I filled those areas with wood filler, then painted them with three coats of paint.
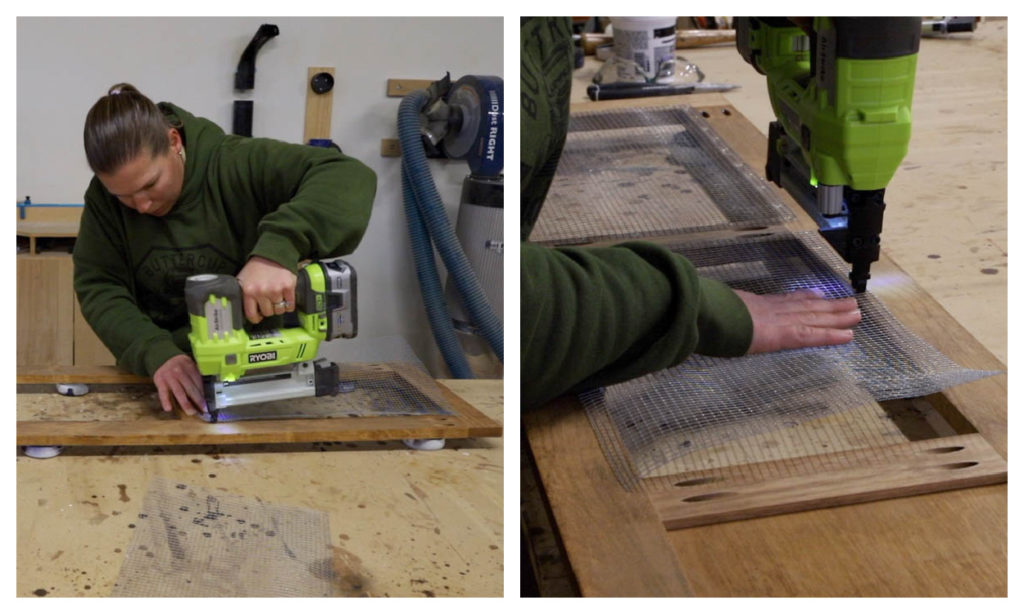
Once the door finish was dry, I cut wire mesh to size (3/4″ overlap on each side) and attached it in place with 3/4″ narrow crown staples.
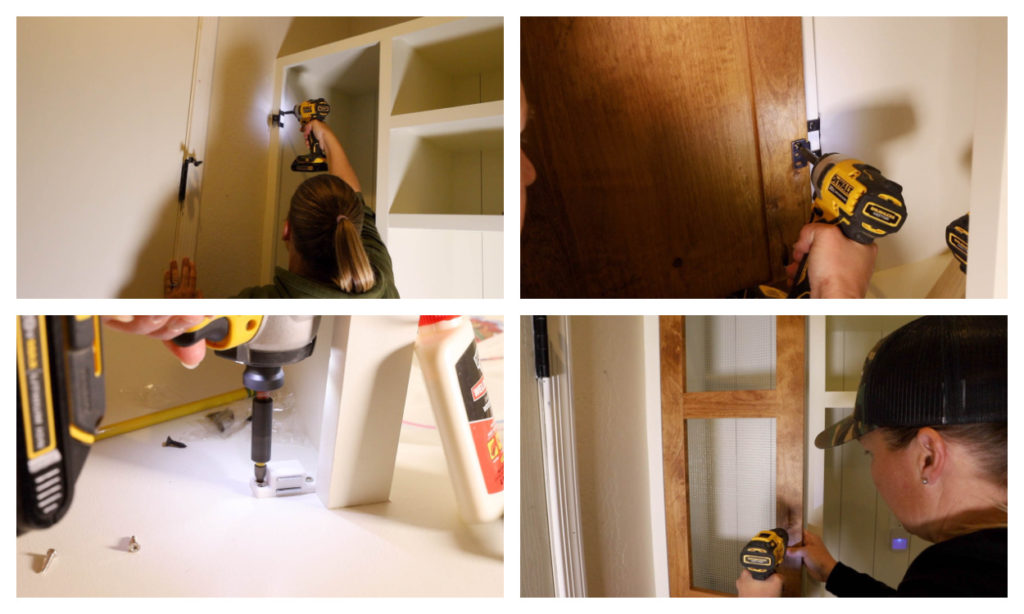
I loaded everything up in my truck and took it all over to my mom’s house for final assembly. I used partial wrap hinges for the door and added magnetic closures to the top and bottom of the opening. For the top opening, I added a small 3/4″ piece of blocking, flush with the bottom edge of the face frame to attach the magnetic closure. Once the door was hung, I drilled the hole and added the knob.
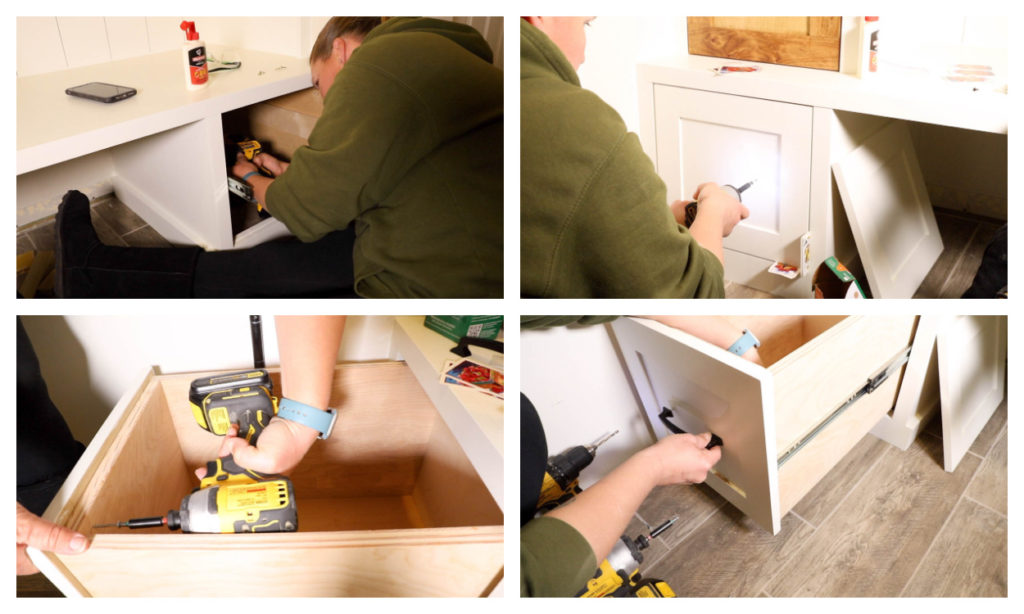
I installed the drawers using 20″ side mount drawer slides. I set my gap for the drawers using playing cards. With the hole locations for the handle already marked, I drove 1 1/4″ wood screws through those marks to temporarily attach the drawer front. I pulled the drawer out and attached it from the inside at all four corners using 1 1/4″ wood screws. I then used a 3/16″ drill bit to drill the holes for the handle to be attached.
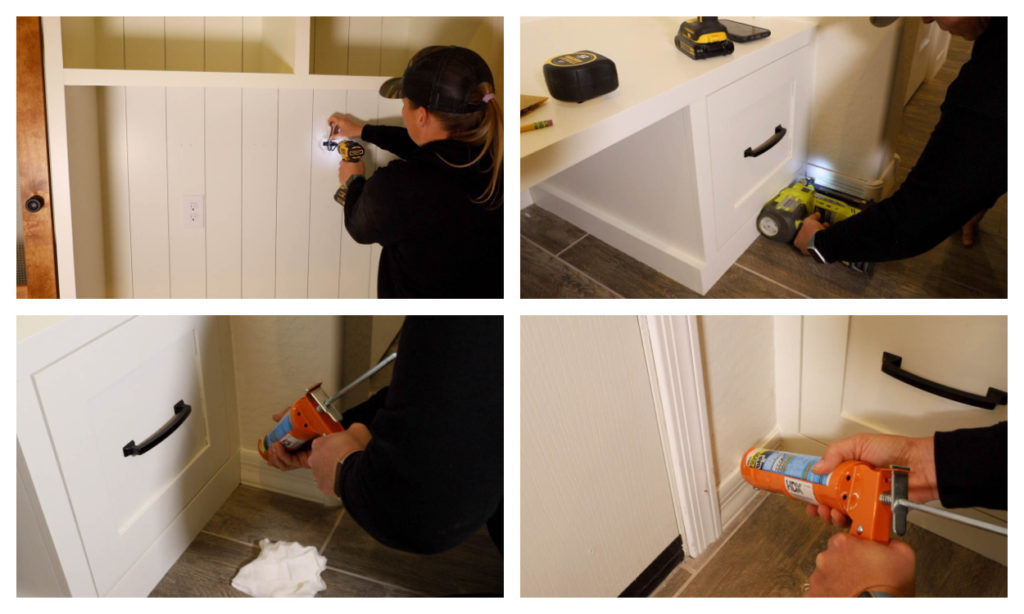
To finish everything off, I added hooks to the back panel as well as inside the cabinet, then cut and installed the baseboards where they had been removed. I caulked and touched up paint and was done!
Built-In Mudroom Bench
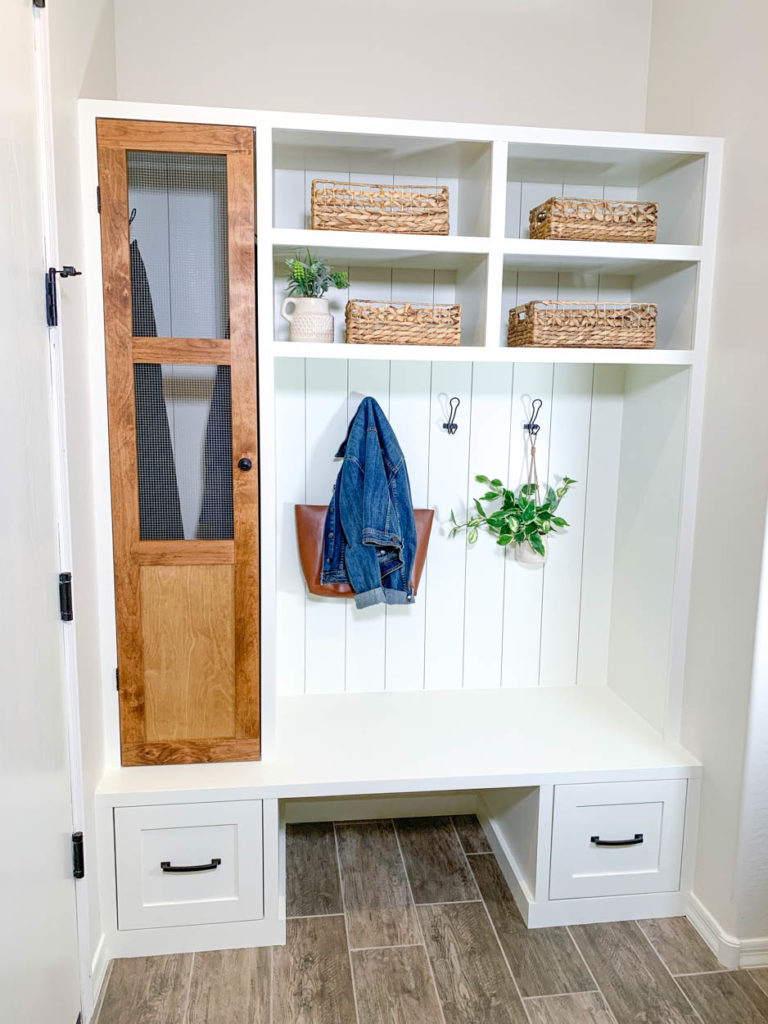
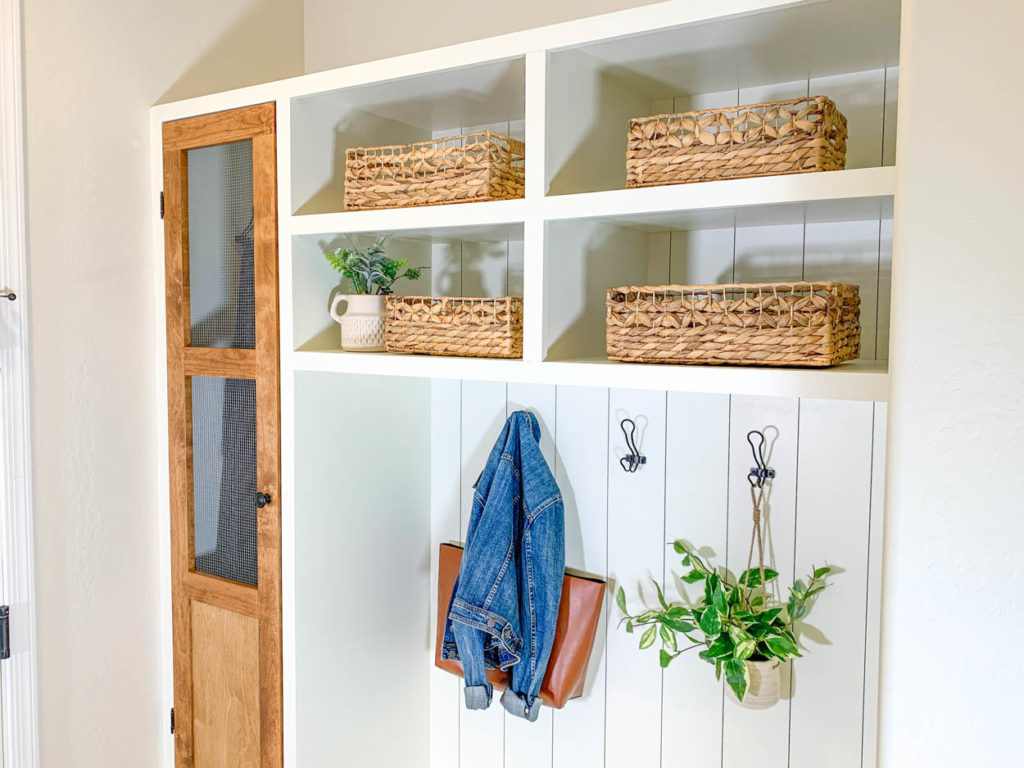
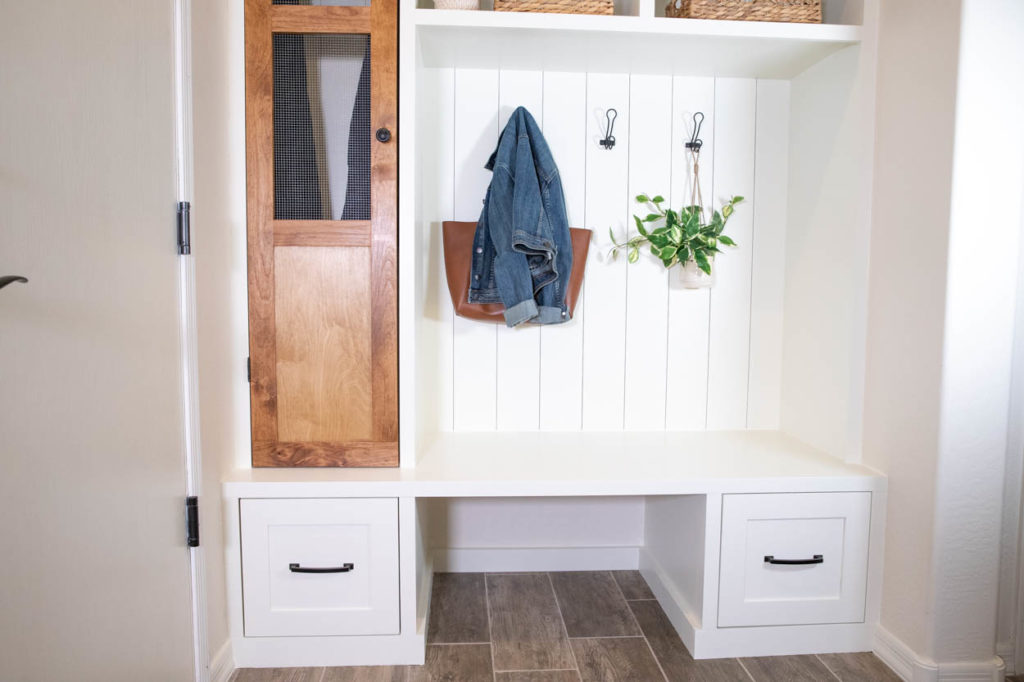
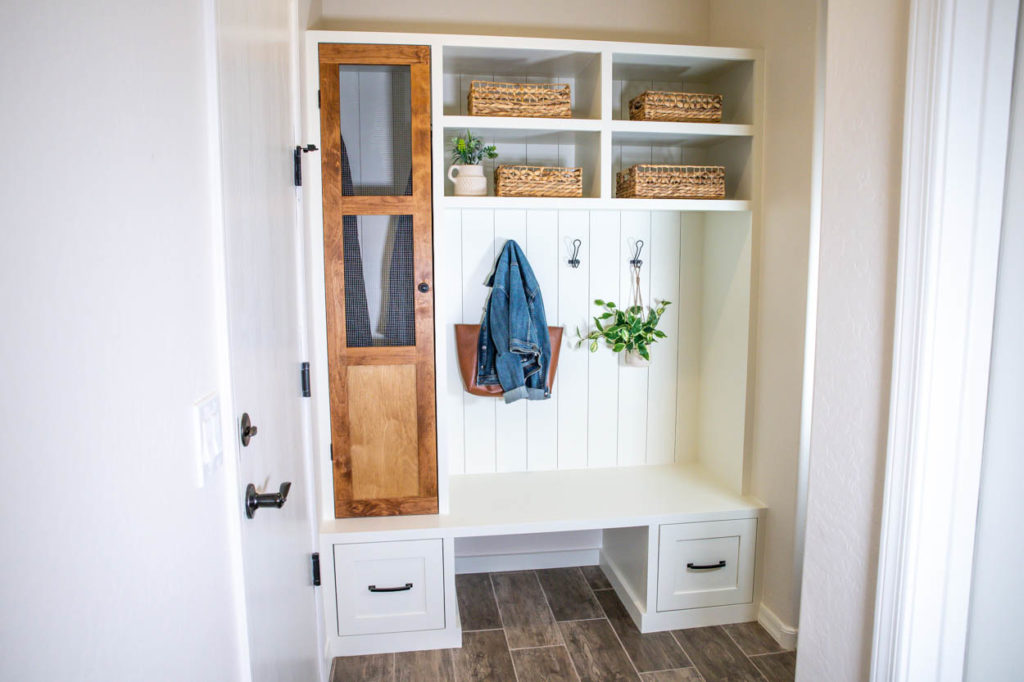
I am so happy with how this mudroom turned out. This area was just a wasted space full of potential before. Now, it’s a fully functional area filled with extra storage, a place to hang coats and bags, plus drawers for holding blankets or whatever you need.
If you’d like to build this mudroom, make sure you get the plans with all of the steps broken down into easy to follow directions, along with the cut list and supplies needed. For more projects like this one, make sure to check out my printable plans page!
*DISCLOSURE: I was provided product and/or compensation for this project. All ideas and opinions are 100% my own.

My oh my, what a beautiful improvement. Ya done good
Thank you so much!
Can you tell me the width of this mud room bench? Thanks
Hi Kelly,
It is about 63 1/2″ wide.