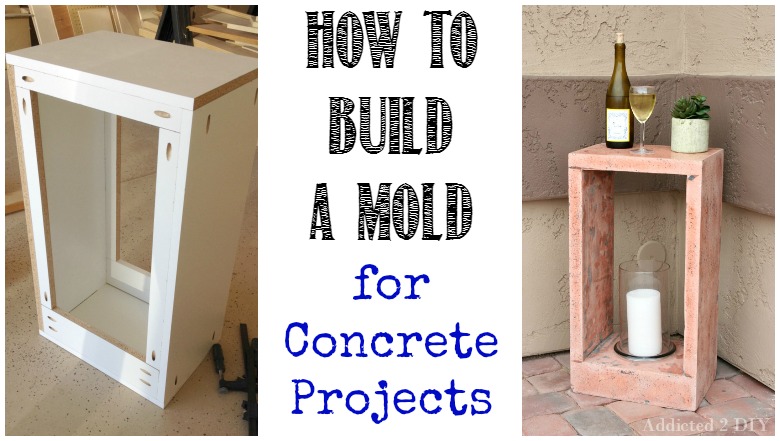
Hi everyone! Earlier this week, I shared how I made this DIY Concrete Side Table. It was my very first concrete project and, although it was a challenge, it was a lot of fun to build. Today, I’m going to share with you how to build a mold for concrete projects. While this mold is specific to this project, the method is the same for a lot of different types of concrete projects. Whether you’re making a side table like mine, a planter box, or a poured table top, you’ll need a good, strong mold to hold it in and something that the concrete won’t inevitably stick to.
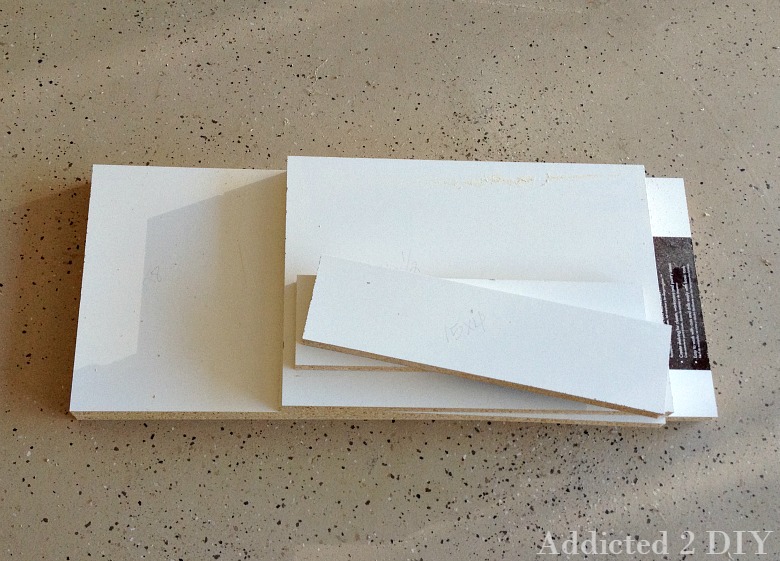
Concrete molds are typically made of melamine. You can find it at home improvement stores in the shelving section. It can be easily cut down to size either at home, or you can have the friendly employees do it for you at the store. The melamine is fairly inexpensive, so it’s not something where you have to stress over adding excess cost. Also, you can sometimes reuse it to make a duplicate project as long as you don’t accidentally break any of the pieces.
When cutting the pieces for the mold, remember to take into account that the inside measurements will need to equal the measurements you desire for your project. It can be easy to look at your desired project measurements and accidentally cut your mold pieces to the same size. My side table is 3/4″ shallower because of that;)
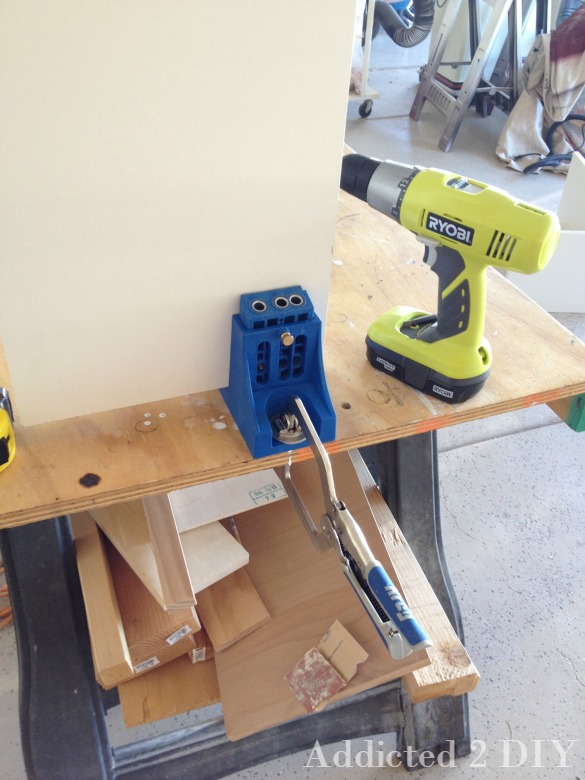
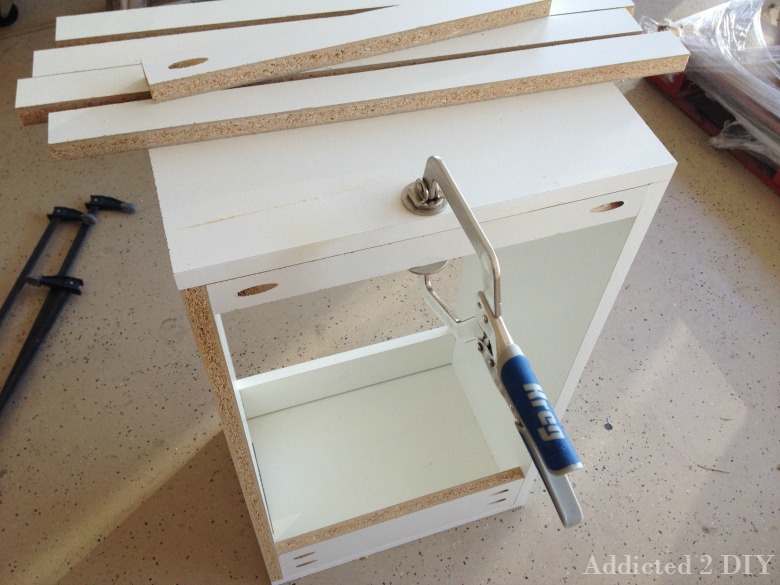
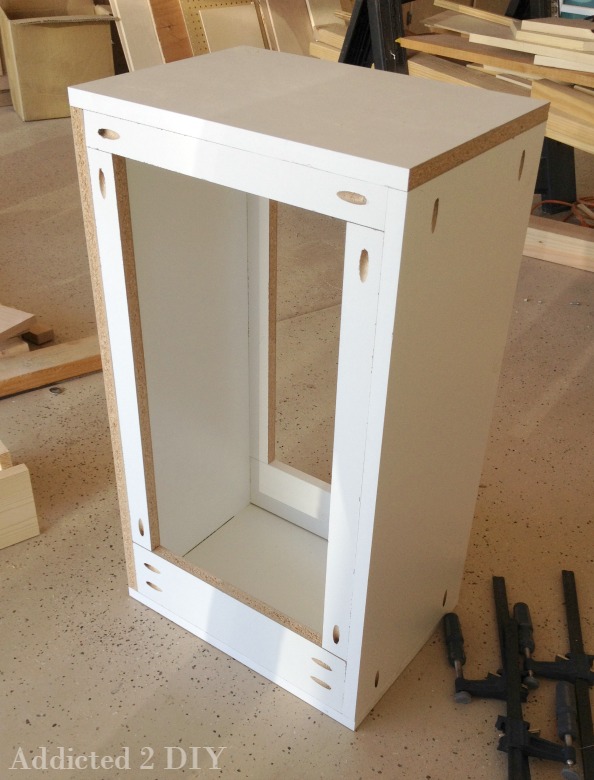
The molds can be put together with screws or nails. I chose to drill pocket holes with my Kreg Jig and screw it together. This made taking the mold off so much easier than prying it off.
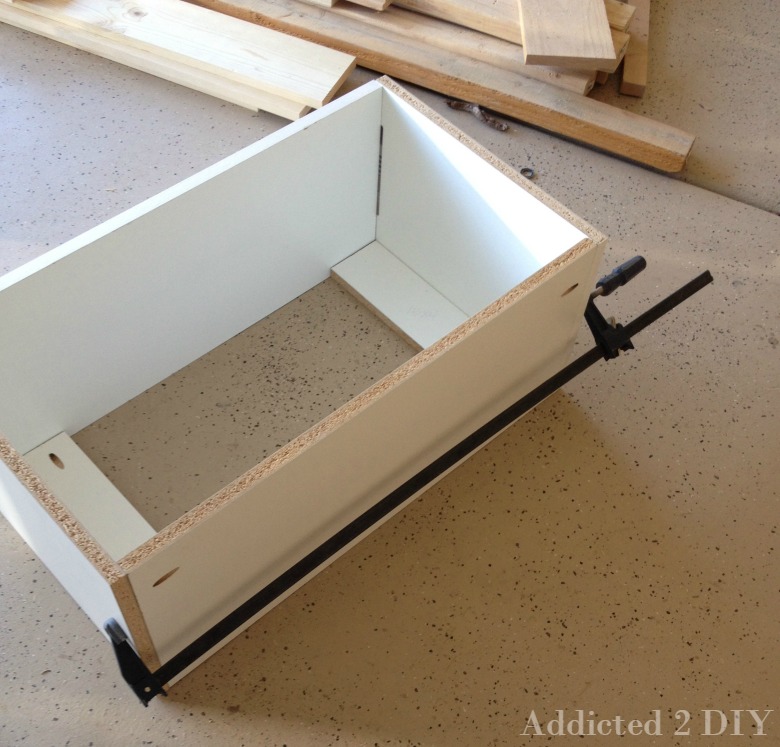
I clamped all of my pieces and screwed them together using 1 1/4″ pocket hole screws. By the way, I recently got this Kreg Automaxx Face Clamp is one of my new favorite accessories in the garage. No more setting the thickness for different types of wood. It automatically adjusts to any thickness up to 2 7/8″ thick! Such a time saver!
Once the mold is put together, it’s ready for concrete! Depending on the type of corners you want on the finished project, you can also use silicone on the inside corners of the mold. This will give you a more rounded corner rather than sharp edges. I chose sharp edges for this project, so at this point I was done.
My husband and I are looking at the possibility of making a poured concrete top for our BBQ island. If that happens, I’ll be sure to also share the tutorial for that!
And if you are now itching to get your hands dirty and make a concrete project of your own, click the image below to see what I learned from my first project. Have a great weekend!
DISCLOSURE: This post contains affiliate links. If you purchase a product from one of those links, I will receive a small commission at no extra cost to you.

Hi, for concrete molds, you do first on side, let it dry, then, do other side, let it dry, nd so on until finish all sides?
Thanks for sharing it!
For this mold, it was done all at once.
I don’t understand how you poured it all at once with the mold as shown… Was there an internal box of some kind?
No. The concrete was thick enough that it stuck to the mold and held there. It took a little trial and error, but it actually worked beautifully!
My driveway has been in rough shape for years. It is as if the top surface has chipped off over time. At this point, I might as well jackhammer my driveway away and start over again. Would I need to frame my driveway space before pouring new concrete?
I’m no driveway expert, so I’d hesitate to give you any advice. Most are framed with 2x4s though:)
Some people just cut concrete parts and shape them the way they want. Of course those needs proper equipment and some companies do those.
core drilling Brisbane recently posted…Commercial Construction & Renovation
Lovely work on that. Really good. It would be nice for kids to these too. Really awesome and turned out really good. Great job.
One great idea here Katie. Instead of buying expensive corner tables, this DIY project works fine.
Charlotte Goodchap recently posted…How We Maintain Excellence in Our Concrete Cutting Services
Hi Katie, really like your concrete mould project!!
I recently made a window surround with wood shelf. The surround I had to make a mould and gradually fill up with plaster. Very happy with my first mould!!
I agree, you have to just go and try something and the reward is the learning experience and not the perfection. That will come with practice.
I am now going to make a faux marble fireplace. Start with carpentry mould then pour concrete, then fettle off later. Then I can plater using Venetian/polished plater technique.
I would post the pics on here but cannot upload.
All the best with your future projects,
Regards
John
United Kingdom
I can’t wait to see your fireplace! I loved the window moulding you made! Great job!