Hey there, everyone! Today, I’ve got a very special guest on the blog and I can’t wait for you all to “meet” her! She’s the talented DIYer behind the YouTube channel Darbin Orvar. Today, she’s sharing a project that I think you all will love, so without further ado, meet Linn!
Hi guys!
I’m so happy to be here with a guest post for you today! My name is Linn and I spend my days making videos for my DIY channel on YouTube called “Darbin Orvar“. I love to build and make all sorts of things, but practical pieces of furniture that you can build easily and inexpensively have a special place in my heart. Today I’m going to show how to build a great little end table that you can customize in a lot of different ways to fit your space. Thanks so much Katie for having me!
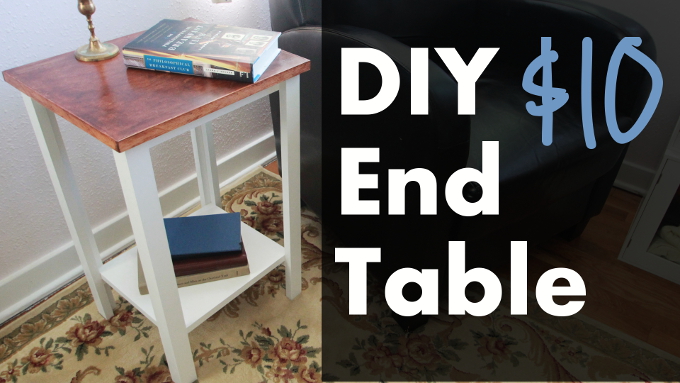
This piece is a great example of how it doesn’t have to be very difficult or costly to build your own furniture. I’m going to use ¼ sheet (2′ x 4′) of plywood to create this piece, and you can either buy this size pre-cut in the home improvement store for about $20, or you cut it from a full sized sheet of plywood, in which case the cost would be about $10. Either way, it’s a bargain!
Let’s get started, shall we!
You’re going to need the following cuts out of 3/4″ cabinet grade plywood, I used poplar.
Materials:
4 @ 1.5″ x 24″ (38 x 610mm) – legs
4 @ 3/4″ x 24″ (19 x 610mm) – legs
2 @ 1 3/8″ x 13 1/2″ (35 x 343mm) – rails
2 @ 1 3/8″ x 10″ (35 x 250mm) – rails
1 @ 11 1/2 x 13 3/8 (292 x 340mm) – shelf
1 @ 14″ x 16″ (356 x 406mm) – top
4 @ 3/4″ x 3/4″ – (19 x 19mm) -shelf support
Another nice, but not necessary addition is edge banding. I cut up some thin 3/4″ strips of pine, however you could use traditional edge banding, metal or whatever you want.
You’re also going to need a table saw or circular saw to cut up all the pieces, or you can ask your home improvement to make all the cuts for you, for a small fee. I’m going to use my nail gun for assembly, and it’s really one of my favorite tools when it comes to building easy furniture. I’m also going to use my pocket jig to connect some pieces. In addition to that I will use a drill and screws.
Method:
First of all we’re going to assemble the legs by attaching one of the 1.5” pieces next to one of the ¾” pieces with glue and nails, creating a corner. Repeat with all the legs.
Also glue and nail in the railing in between the legs. I’m using pocket screws for the shorter sides, however you could also toenail them in here.
Now it’s time to attach the little shelf support pieces. I measure out 5 inches from the bottom of the legs and glue and nail in the 3/4 inch square pieces. Then it’s simply a matter of resting the shelf on top of the support pieces. To make sure it stays in place I’m gluing and nailing down the shelf as well.
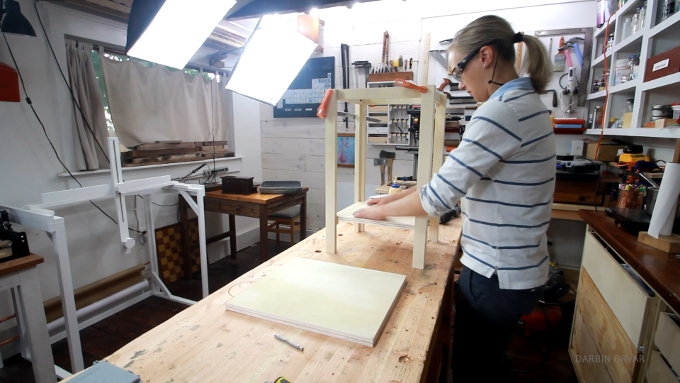
In order to attach the top I’m countersinking some holes on the underside of the rails, and then putting down some glue and screwing the top down. Since this is plywood, I’m not too concerned with any wood movement, however if I was working with a solid wood top, I would only screw it down and not glue it in place.
At this point the table is assembled! Nice and easy!
Finishing
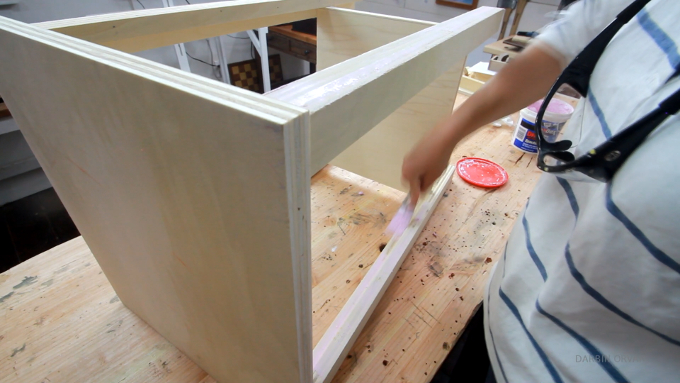
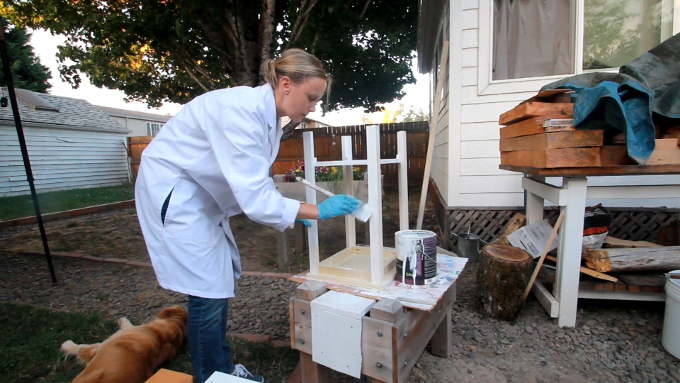
OK, so to take this table from bland to wow, it’s time to focus on finishing. One of the best ways I’ve found to finish the edges of plywood is drywall spackle. It’s cheap, easy to put on, and sands off easily. I apply spackle on all visible plywood edges except the top. Then sanding and painting the base with a white flat paint and primer in one.
I personally love the combination of a white base and wooden top, however you could certainly experiment with any color scheme that fits your preference.
To cover the edges of he top, I’m attaching some of the thin strips of pine I mentioned earlier which I glued and stapled in. Another option would be traditional edge banding.
Now, time to finish the top! I decided to go for a mahogany gel stain which I put on carefully to avoid any stain getting on the white base. I ended up putting on two coats with a slightly thicker ring on the outskirts of the table to create the illusion of wear in the middle.
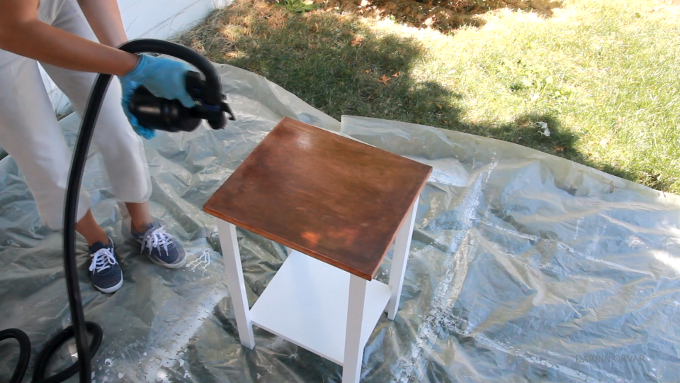
For a finishing top coat I sprayed the entire table with a waterbased polyurethane using a HVLP sprayer. You could certainly brush something like this by hand, however the sprayer does a nice even job and is really quick to use. I always prefer to use a waterbased polyurethane if I’m spraying on top of white paint, since oil based poly tends to add a slightly yellow tone. After two coats of polyurethane and plenty of time to dry, I finished the top with a linseed oil beeswax polish which protects the top and adds a really nice, smooth finish.
And that’s it! A great little end table with endless possibilities in terms of customization. It’s easy and affordable to make, and you could definitely utilize the same technique for building all kinds of furniture.
Make sure to check out the video for a more in depth point of view, especially if you feel inspired to build something similar!
It was so much fun guest posting here today. Thanks again Katie!
Thank you so much Linn for sharing the tutorial for this beautiful side table! Isn’t it amazing what you can do with a little plywood? If you want to see more of her awesome tutorials, make sure you subscribe to her YouTube channel!




What a cute and simple end table! I have a bunch of plywood scraps that would be perfect for this.
Vineta @ The Handyman’s Daughter recently posted…Cut Perfect Lines Every Time with a DIY Circular Saw Guide
Thanks Vineta, if you build it, I’d love to see it!