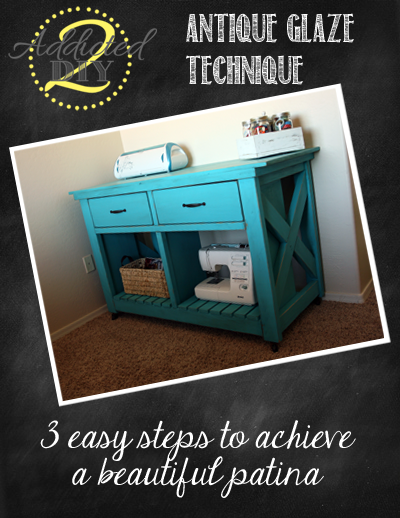
Hi everyone! Today I’m going to show you how I did the glazing on my craft cart. I have to admit that I was extremely nervous about glazing it. This was my first time glazing and I didn’t want the hours I’d spent painting my craft cart to be ruined. It turns out that glazing is really easy and I’ll show you how I did it and got the patina I had envisioned in my finished product! All you have to do is distress you piece, brush it on, and wipe it off!
I chose to use Valspar Antiquing Glaze from Lowes. You can make your own glaze using a glazing medium and stain, but I took the easiest route and just bought a bottle of this stuff. This little bottle wasn’t cheap. I bought it a few months ago, but I want to say it was around $15. Don’t let that price scare you off though. I didn’t even use half of the bottle doing this entire piece.
Antiquing glaze is a great product because it gets into the nooks and crannies of the piece you are glazing and gives it dimension, texture, and a beautiful patina. Since this craft cart doesn’t have any intricate carving, or routered edges, I sanded the corners a bit to expose the bare wood.
I used my detail sander as well as my orbital sander to get the distressing I was looking for. You can sand by hand, but I was impatient and it was just easier to grab the power tools.
Here’s what it looks like before I started glazing. I took my air hose and blew off any residual sawdust and then got to work!
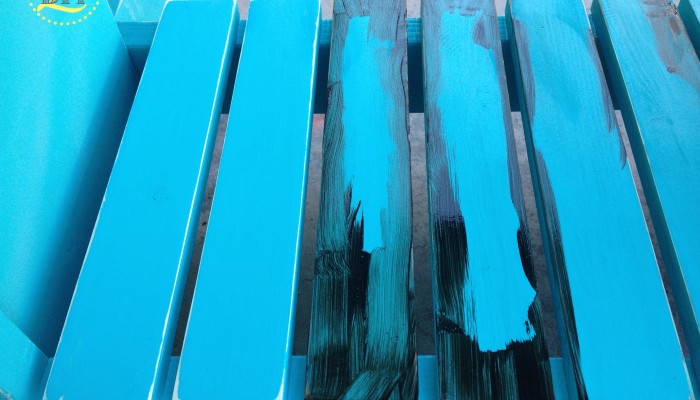 I used a foam brush to apply the glaze. You can use a rag or paint brush as well. I didn’t apply it over the entire piece because I knew that when I wiped the glaze off, it would work itself over the entire piece of wood. Make sure that you work in small sections. Otherwise the glaze will start to dry and become a little harder to work with.
After brushing on the glaze, I would wait about 15 to 30 seconds and then wipe it off with a damp cloth. You can use a dry cloth to get a darker finish, but I was going for a more subtle look. If you do use a dry cloth, you have to wipe it off pretty quickly before it starts to dry.
Here’s how it looked after the glaze was wiped off. I liked this amount of color, but if you want to go darker, you can always reapply the glaze and wait a bit longer. I did that in a few areas where I wiped a little too hard.
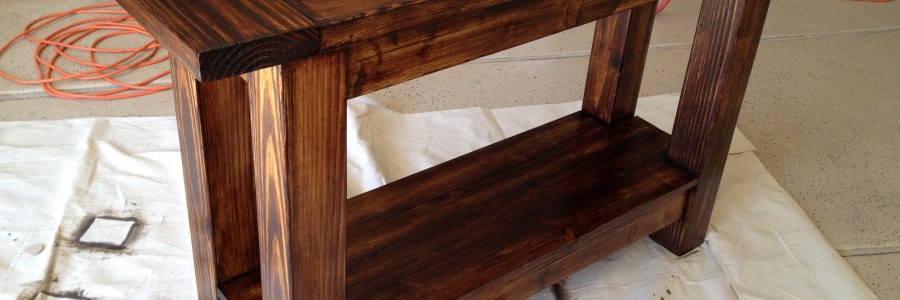
I found that enough glaze built up on the rag that I was using that I could just use the rag to wipe some of the residual glaze onto the larger expanses of wood. It gave me just enough color that I was happy with it. Once your rag gets too saturated with the glaze, just rinse it and wring the water out really well.
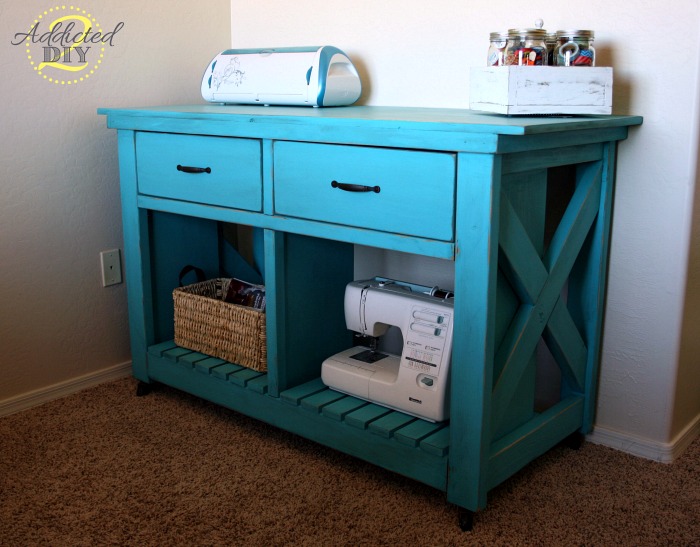
And here is the final result! I am so happy that it turned out exactly how I had pictured it in my head. I hope that this tutorial will give you the courage to give glazing a try. I was shocked at how quick and easy it was and I can’t wait to glaze some other projects. I’ll be sure to share those projects with you as well!
~Katie

Leave a Reply