Learn how to build a beautiful outdoor table using this step by step tutorial and video.
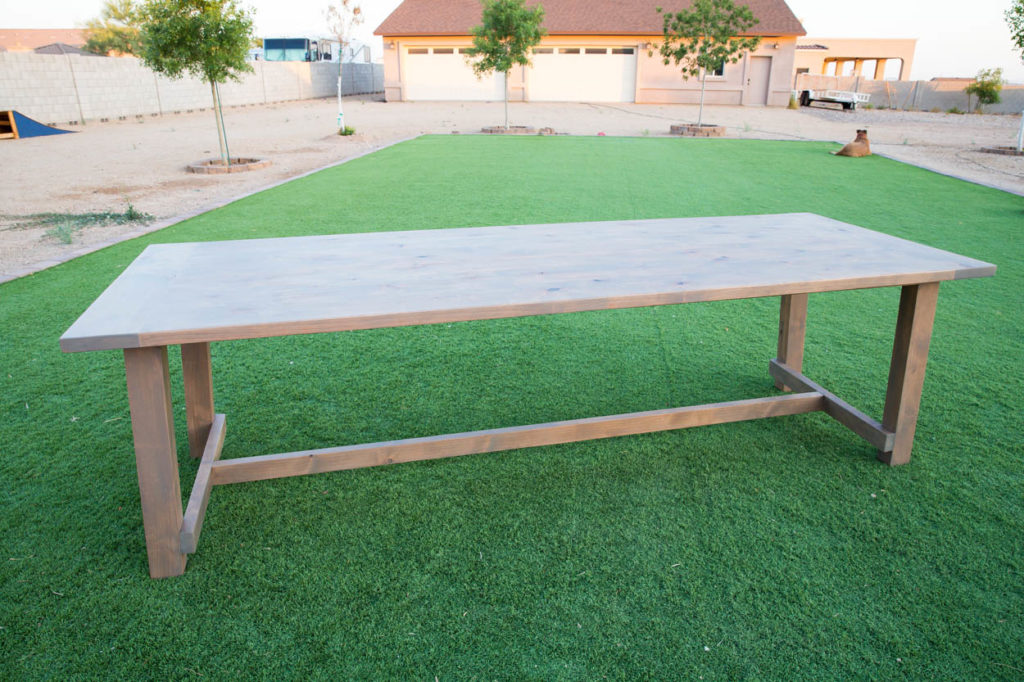
Some good friends of ours are completely redoing their backyard and asked me if I could build a table for them to go underneath their new covered patio area. They had wanted a custom sized table that was extra long for when they entertain and today I’m partnering with my friends from DAP Products to show you how I built it!
For this project, I really wanted to try something new with my joinery methods, so I purchased a Festool Domino and used the domino tenons and DAP Weldwood Original Wood Glue to build the table. This being said, the steps I took can EASILY be modified to use a Kreg Pocket Hole Jig and outdoor pocket screws.
Watch The Video
To help with this project, I also created a video tutorial showing you exactly how I went about building the table.
Purchase The Printable Plans
I’ve put together the step by step printable plans, which include the materials list and cut list for this project.
Building An Outdoor Table
I used knotty alder for this table, which I milled down to the nominal thickness of a 2×4 for this project. You can do the same, or you can purchase lumber from your local home improvement store. Cedar and redwood are great for outdoor furniture projects; however you can also use pine.
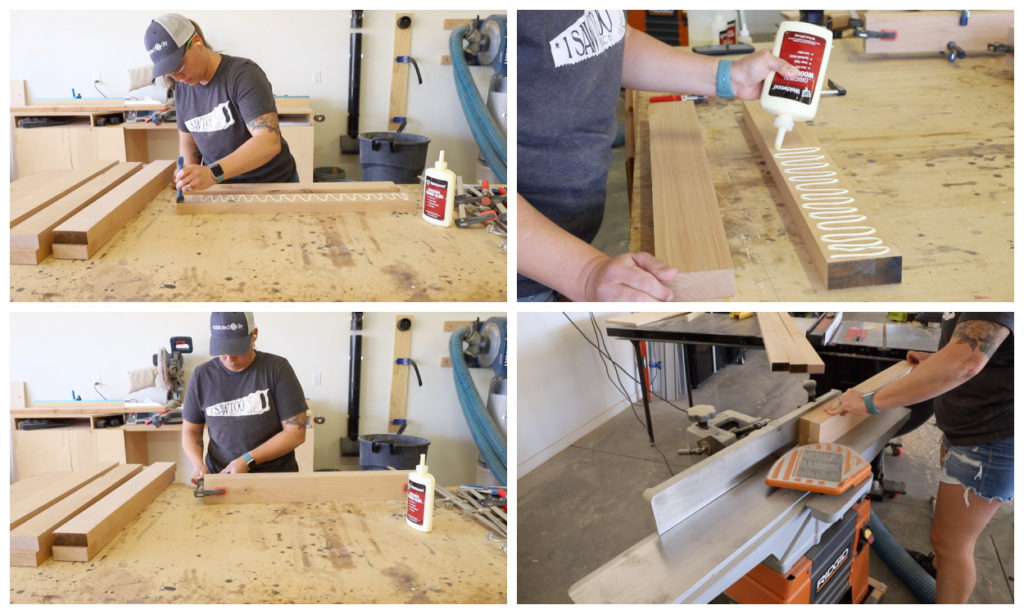
The legs on this table are big, chunky legs, so I cut the 2×4 boards down to a length just an inch or so longer than needed and glued two of them together per leg. I spread the glue with a silicone brush to evenly coat the whole face of the board and then clamped them together to let them dry.
When the glue had dried, I ran the legs through my joiner to remove any glue squeeze out and also square them up. Make sure when doing this that you are counting the number of passes on each side so that you do the same for each table leg.
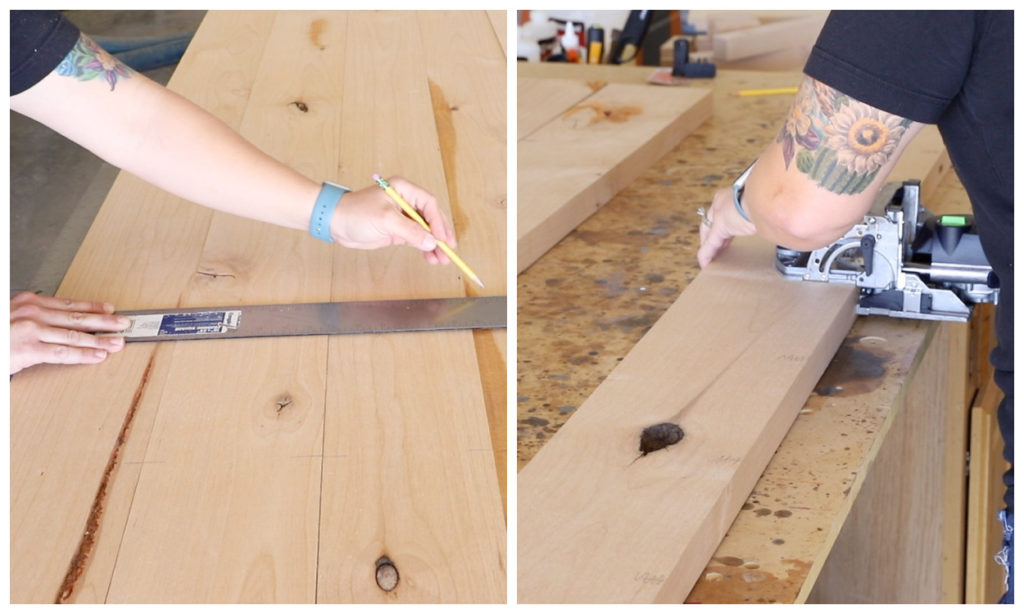
Once I was finished working on the legs, I moved on to the table top, which would need some time to dry. I cut all of the boards to length and then laid them out on my workbench. I used a square to mark the location where all of the domino tenons would go, then used my domino to rout the mortises.
This can also be done with a pocket hole jig, drilling 1 1/2″ holes into the wood and assembling the table top with wood glue and 2 1/2″ pocket screws.
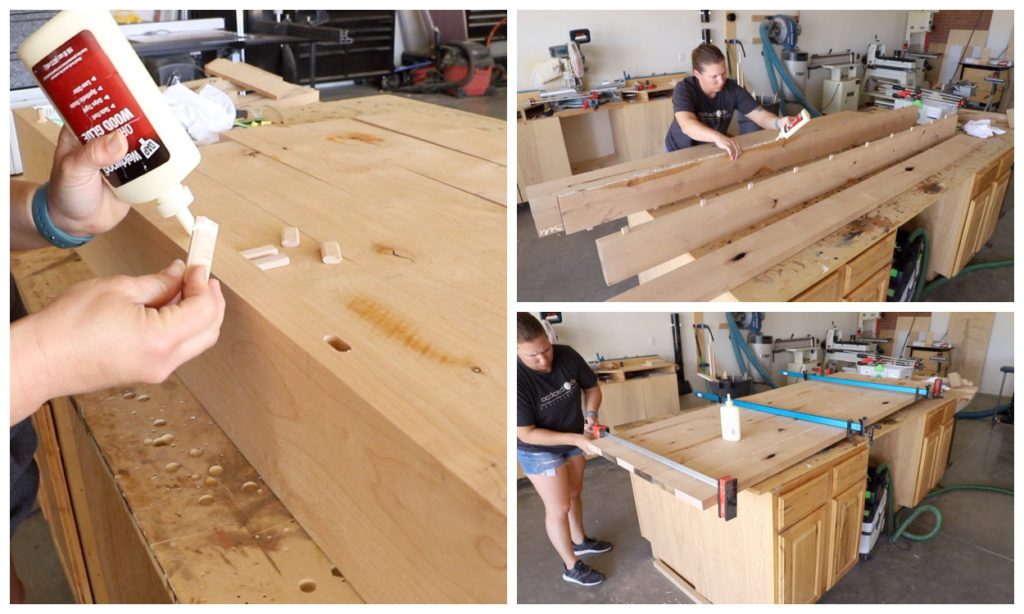
To assemble the table top, I glued the domino tenons into the holes on each board, then added glue to the next board edge and also glue in the mortises on that board. I pieced together the table top one by one and then clamped it all together and let it dry.
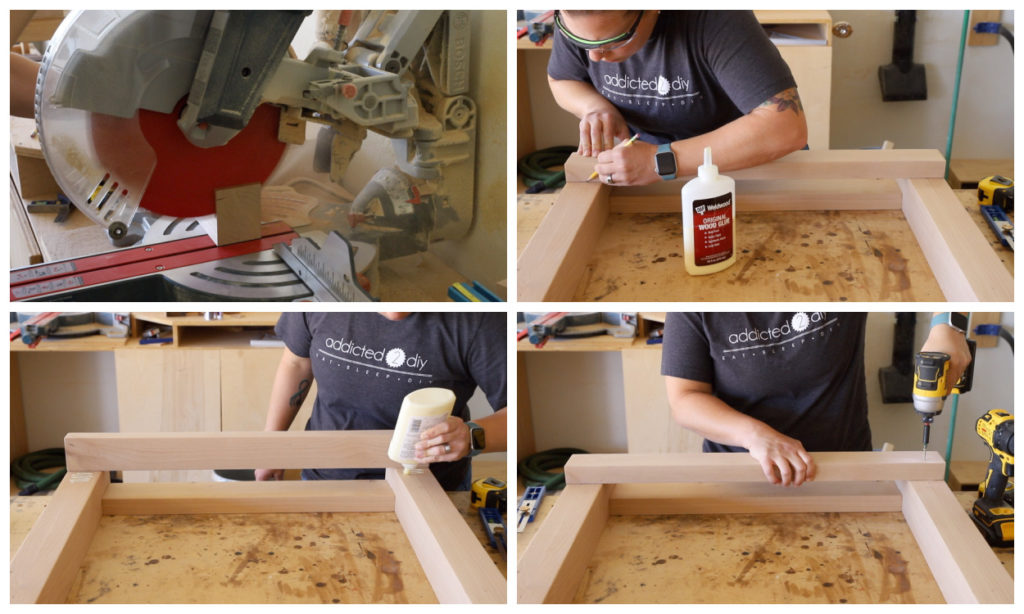
To build the base of the table, I cut the table legs to length at a 5 degree angle, so that they would kick out just a bit. I added a stretcher near the bottom of each side to add additional strength and support to each leg.
I marked the location of the stretcher, 3″ up from the bottom of the legs. I added wood glue and drilled two 1/8″ pilot holes into each end of the stretchers. I temporarily secured them in place with 2 1/2″ wood screws in the upper holes.
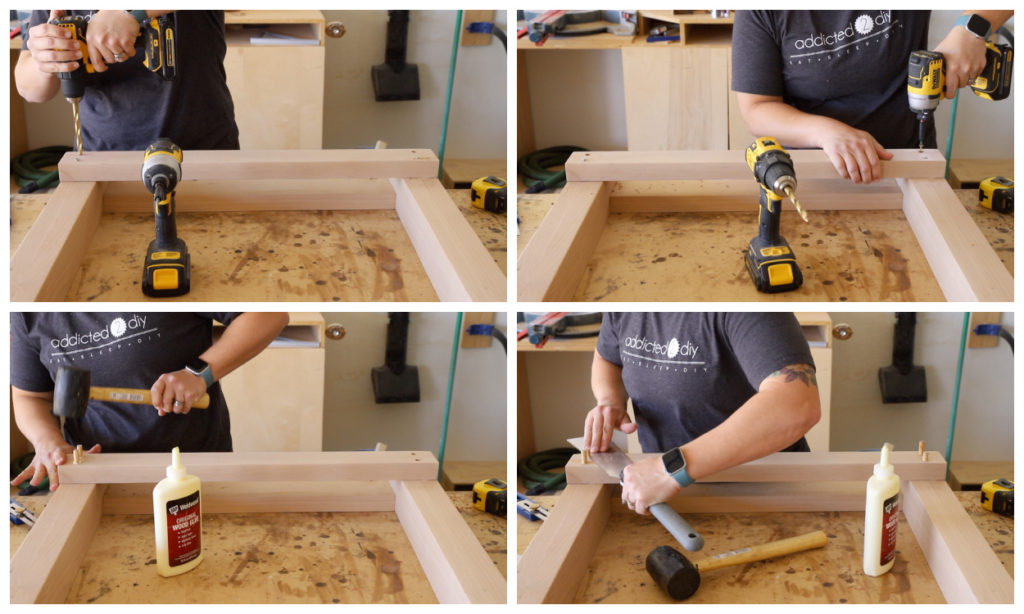
I used a 3/8″ drill bit to counter bore holes into the stretchers, about 1/2″ deep, then added 2 1/2″ wood screws to those holes. I removed the upper screws and followed the same steps.
I cut 3/8″ dowels into smaller pieces, added glue to them and tapped them into place with a rubber mallet. I cleaned up the excess glue with a towel, cut the dowels flush with the top of the wood and sanded everything smooth.
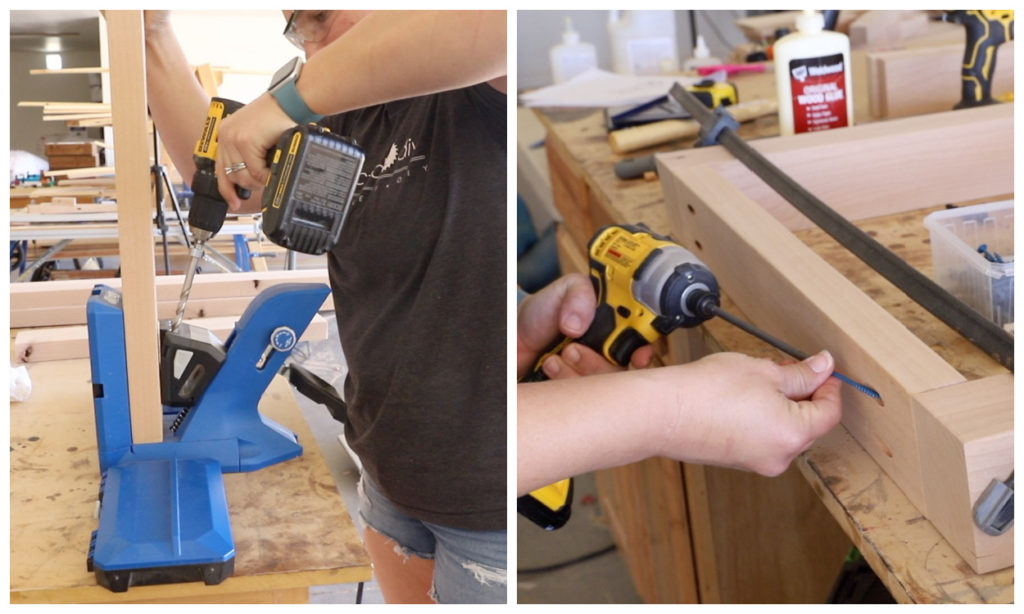
For the frame that makes up the underside of the table, I had planned to also assemble using domino tenons. I had forgotten that this step needed to be done prior to adding the stretcher at the bottom of the legs, so I grabbed my trusty pocket hole jig and drilled 1 1/2″ holes into each end of the boards and attached them in place using 2 1/2″ pocket screws and glue.
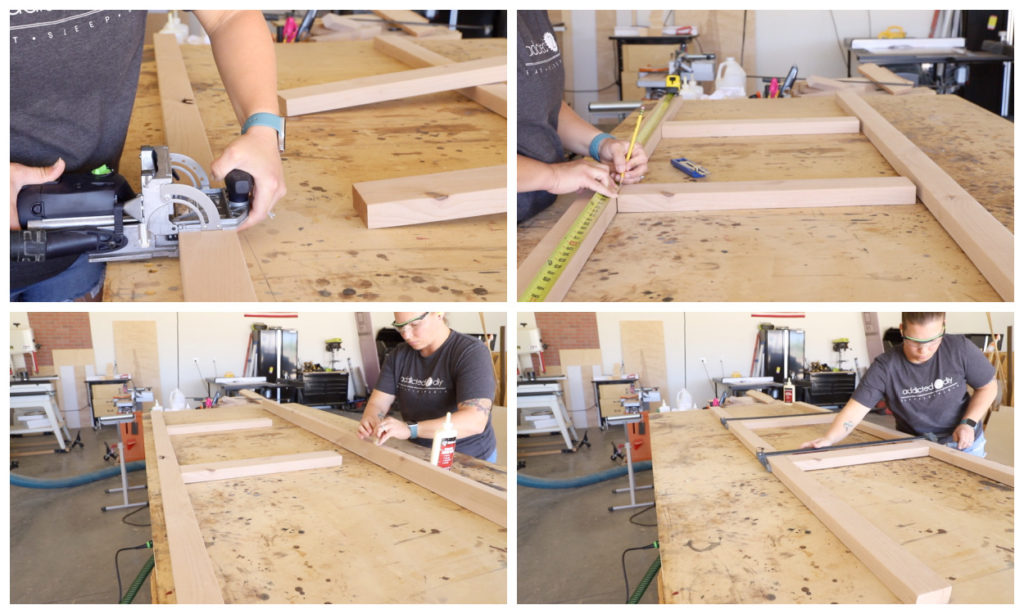
For the remaining portion of the frame, I did use the domino tenons, marking the location of everything and routed the mortises. I glued the tenons in place and then assembled the hole thing fitting the tenons into the mortises and adding glue to the joints. I clamped it all together and let it dry.
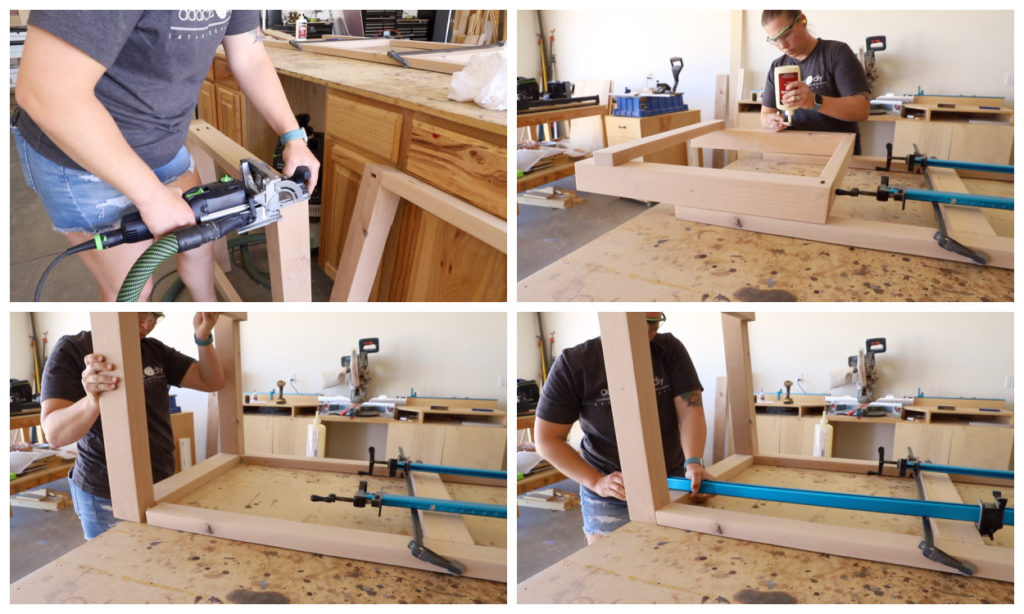
For the legs, I marked out the middle point on the leg where it would join with the table frame and did the same with the ends of the long frame pieces. I routed the mortises into each and then glued the domino tenons in place. I fit the legs to the end of the frame, adding wood glue to the joint, then clamped it together and let it dry.
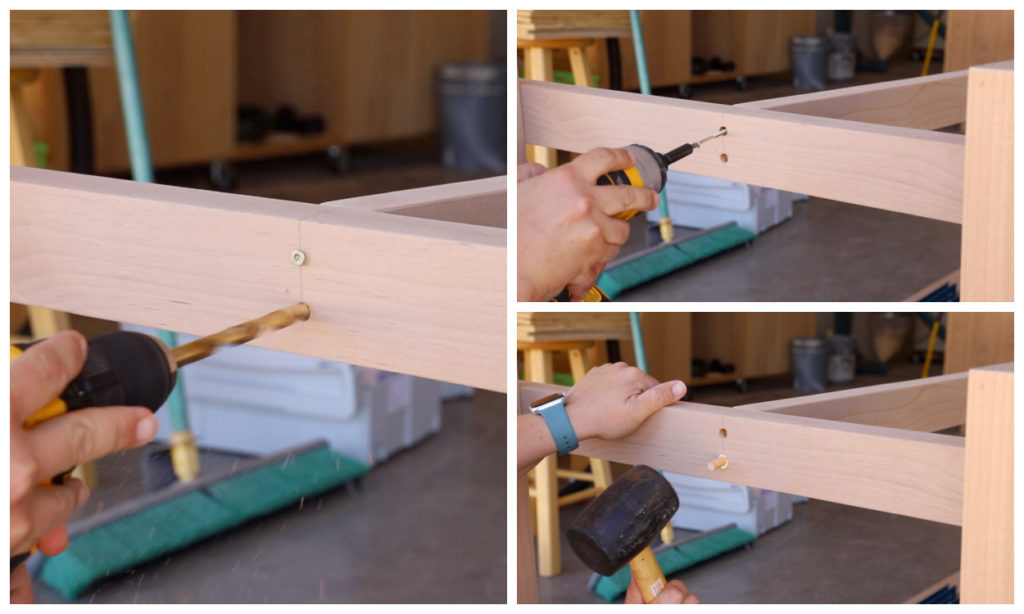
Once the frame of the table base was dry, I added a stretcher the length of the table and attached it to the stretcher I had put on the legs. This again adds strength and stability to the table. I attached the stretcher in the same was as I had previously done using 2 1/2″ wood screws and dowels to fill the holes.
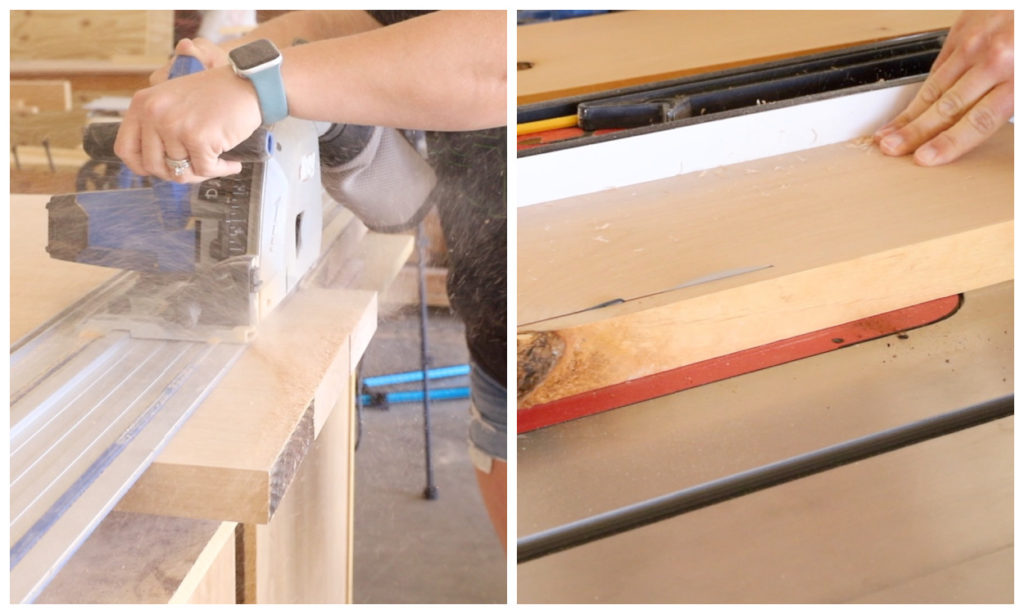
With the table base complete, I moved back over to the table top. I squared up the ends of the table top using my adaptive cutting system. You can also use a circular saw and a straight board to act as a fence for this.
The table will have breadboard ends, so I cut those to a length just slightly longer than the tabletop width and ripped them down to width on the table saw.
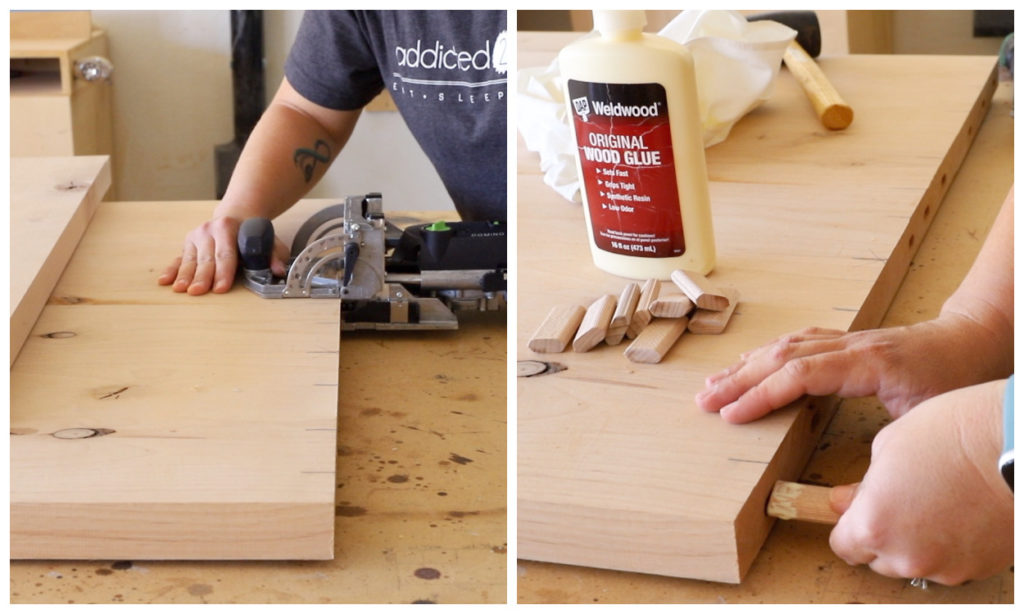
I routed the mortises for the domino tenons into the ends of the table and the inside edge of the breadboard ends, then glued the dominos into the ends of the table.
I’m going to get controversial here, but I’ve never experienced wood movement or it being hindered when attaching breadboard ends with glue and screws. So if you don’t have a domino, you can choose to attach the breadboard ends with glue and pocket screws. I did assemble the breadboard ends with the anticipation of wood movement, but I really don’t anticipate that happening in our dry climate of Arizona.
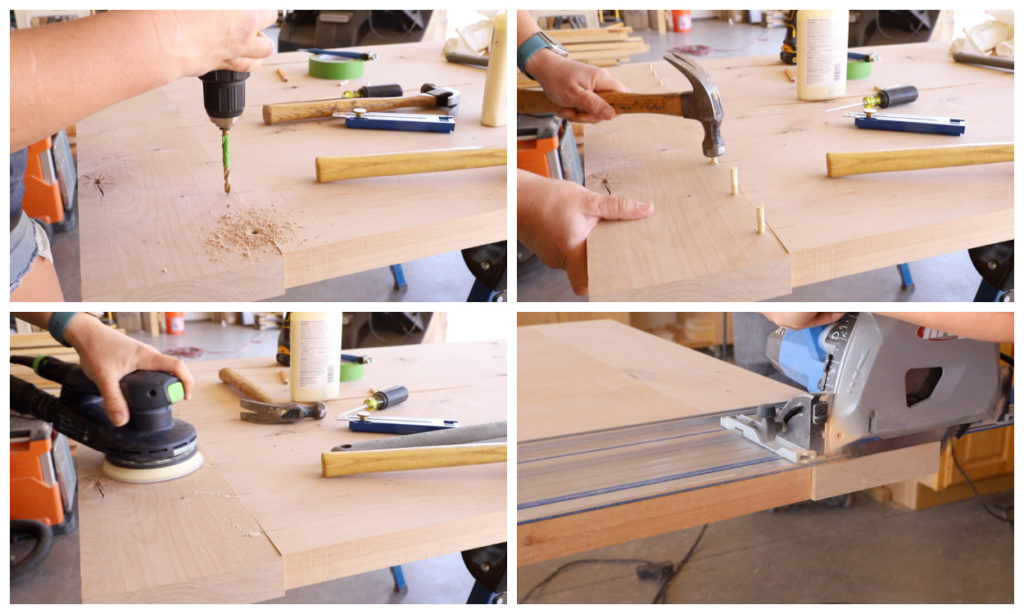
To attach the breadboard ends, I added glue to the center three tenons and then fit the breadboard end onto the table. On the underside of the table, I had marked on the breadboard ends the mid point of the tenons so that I could drill through them and add dowels.
I marked my desired depth with tape on the drill bit and drilled 1/4″ holes into the wood, through the tenons, but not out the other side of the board. I tapped 1/4″ dowels into the holes and added glue to the last 1/2″ of the dowels so that they would be secured in place, but still allow the wood movement to occur. I cut them off flush with the table top and then sanded everything smooth.
I set up my adaptive cutting system again to cut the breadboard ends flush with the edges of the table top, then sanded the entire table to prep for stain and finish.
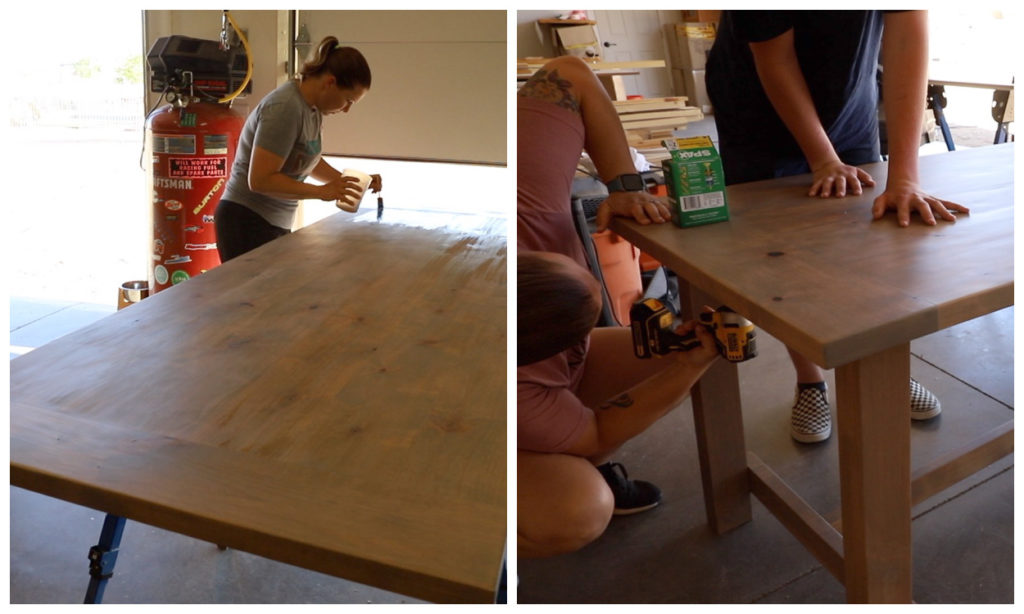
I stained the table in weathered oak stain and then applied four coats of outdoor varnish. I used Total Boat Halcyon Clear varnish for this as I didn’t want the finish to amber the wood at all and disrupt the weathered grey color.
Once the table base and top were dry, I attached them together. I drilled pilot holes on the underside of the table frame and then counter bored them a bit to allow the screws to sit just flush with the underside of the frame. I attached the table top with 2 1/2″ wood screws.
Outdoor Farmhouse Table
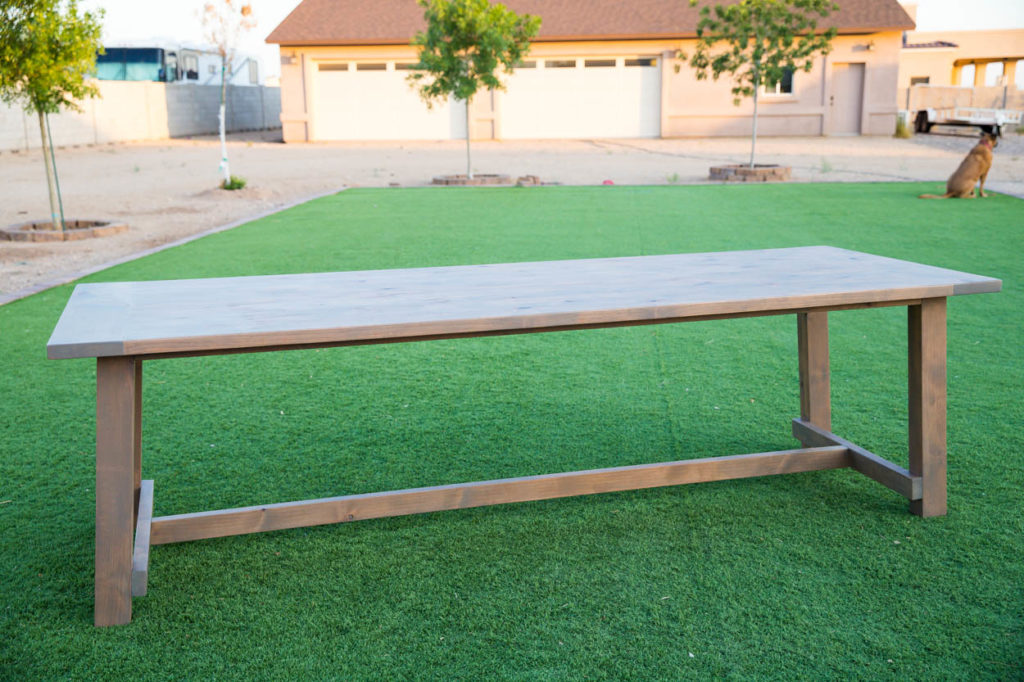
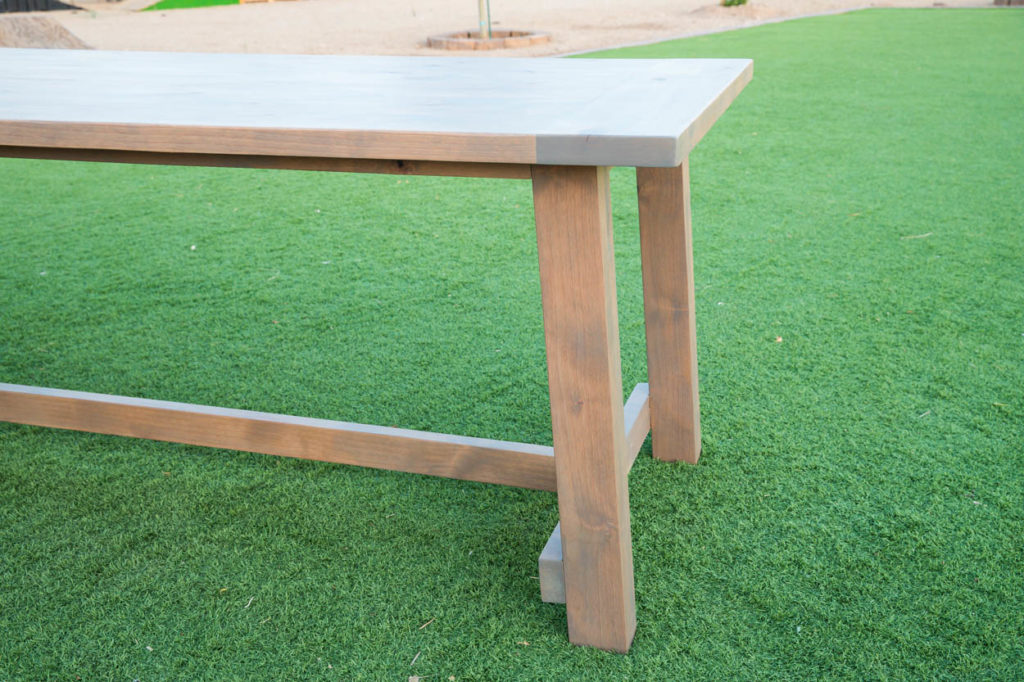
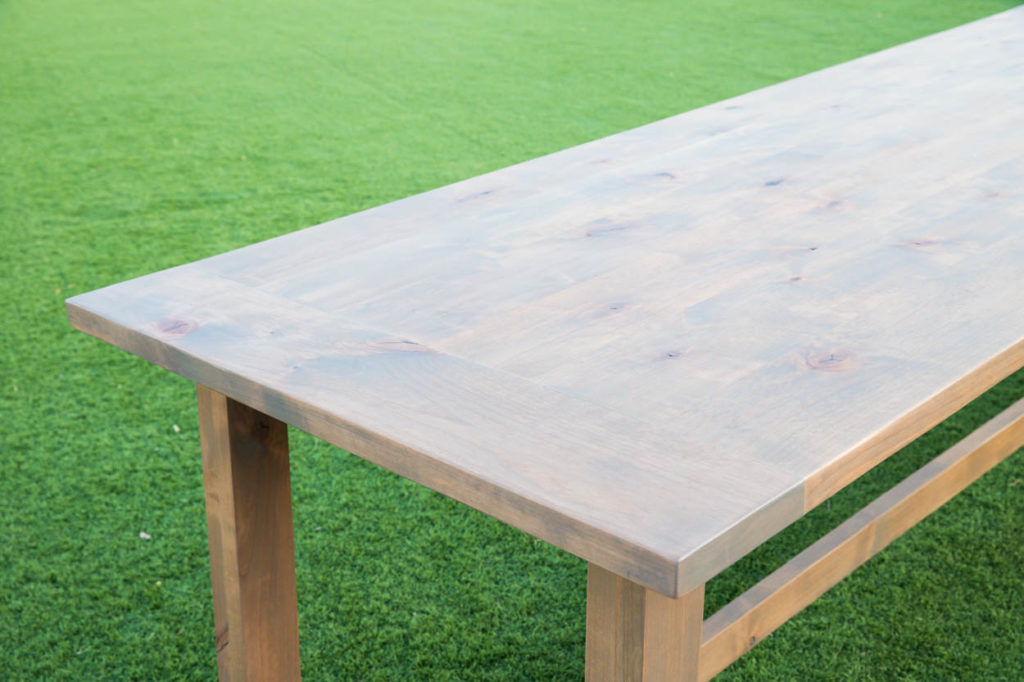
I’m extremely happy with how this table turned out and I am happy to now have my first domino joinery build under my belt.
To build this table yourself, make sure that you also download the printable plans and follow the tutorial. You can also watch the step by step video tutorial to help you along the way.
Again a special thanks to my friends over at DAP Products for partnering with me on this table build. With the help of the DAP Weldwood Original Wood Glue, I know that this table will last and be enjoyed for many years to come.
DISCLOSURE: I was provided product and/or compensation for this project. All opinions and ideas are 100% my own.

Leave a Reply