A washer toss game is a fun way to spend time with family and friends for some friendly competition. This DIY washer toss game is a quick and easy project you can build in just a few hours.
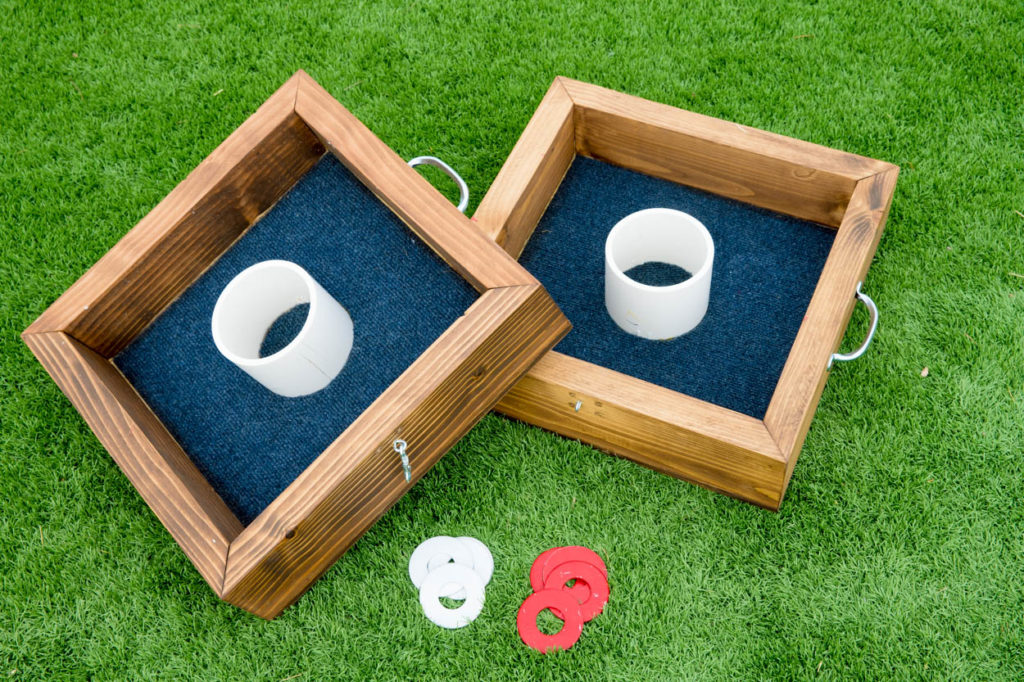
We are hitting the road and camping a ton this summer to escape the heat and relax. We have a few games we play, but were introduced to a washer toss game a few months ago and it was so much fun to play! I’m partnering with my friends from DAP Products to show you how I built this set and how you can build your own!
What is washer toss?
Washer toss is a fun, family-friendly game that you play with two teams and is somewhat similar to corn hole. The teams split up and a member from each stands with an opponent at one of the game boards and tosses washers into the other game board, 15 feet away. Each team takes turns tossing the washers to the other game board, trying to score points. The team that reaches 21 points first, without going over, is the winner.
How to play washer toss
We’ve discovered there’s a few different ways to play this game, so really it’s just up to you on how you want to do it. You can play with four washers or two. Scoring can be done based on where the washer lands or based on the washer actually making it into the box or cup.
The way we were taught to play is as follows:
- Each team gets 2 washers to toss.
- One member from each team takes turns tossing the washers.
- Once the washers are tossed, the score is tallied. Only one team can score on each turn.
- A washer in the box is worth 3 points. A washer in the cup is worth 5 points. A washer within 12″ of the front or side of the box is worth 1 point.
- If a player scores points and the opposing team scores the same points, the score is a wash at 0 points. If a player makes two washers into the box but the opponent only makes one, the scoring player gets 3 points.
- If a player lands the washer on the edge of the box and the opponent does not knock it off in their turn, the game is over.
- You must score exactly 21 points in order to win. You cannot go over. If you score over 21 points, your points revert back to your previous score and you try again.
Watch the YouTube tutorial
How to build a washer toss game
To build this game, you’ll need the following materials:
- 2 – 2×4 boards @ 8′ long (or 2 -2×6 boards ripped to 3 1/2″ wide)
- 2′ x 4′ x 1/2″ plywood
- 4″ pvc pipe (1 bought one 2′ long)
- Indoor/outdoor carpet (sold in bulk by the foot. I bought 18″ and got 18″ x 12′ off of the roll for a few dollars).
- 1″ washers (you’ll need 4 to 8 of them depending on how you want to play)
- spray paint for washers
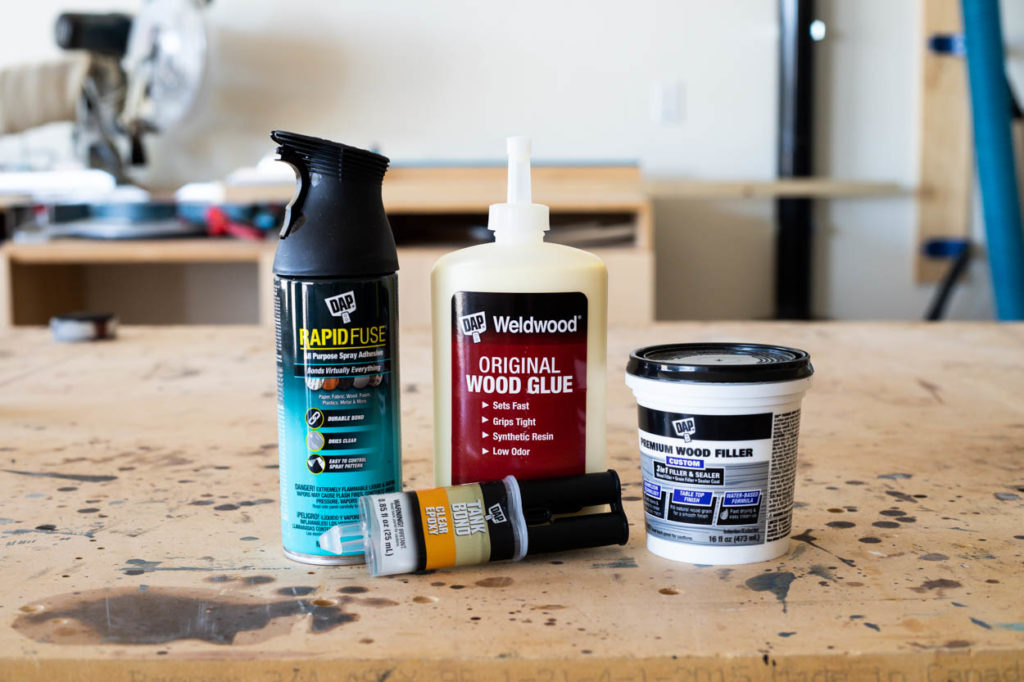
- DAP Weldwood Original Wood Glue
- DAP RapidFuse All-Purpose Spray Adhesive
- DAP Premium Wood Filler
- DAP Tank Bond Clear Epoxy
- 2″ brad nails
- 1 1/4″ brad nails
- 1 1/4″ wood screws
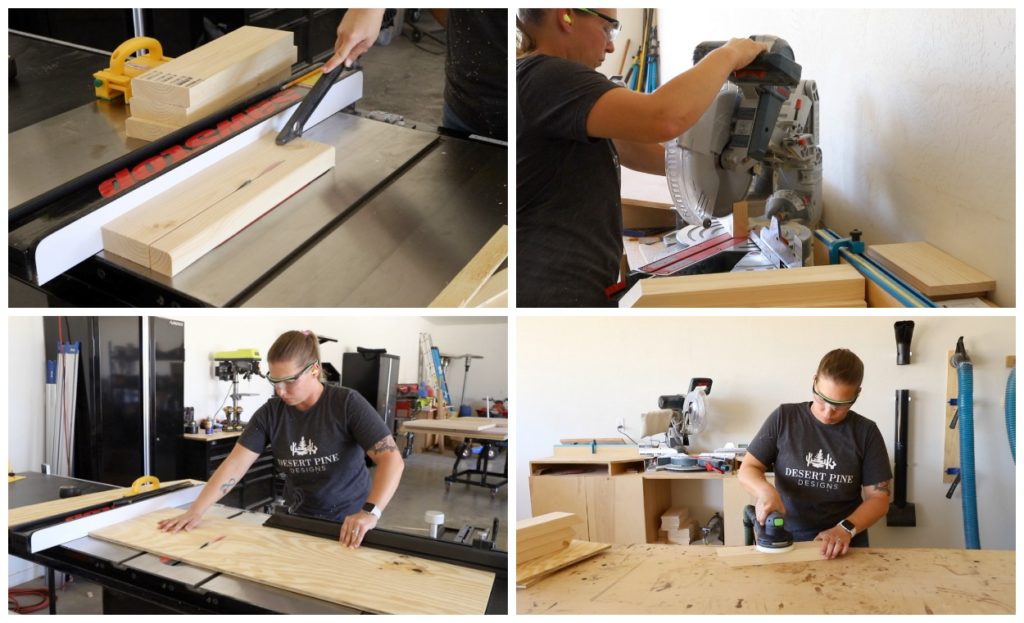
I started by cutting the 2×6 boards to a length slightly longer than I needed, then ripped them down to 3 1/2″ wide on my table saw. I went back to my miter saw and cut the boards down to 16″ long with 45 degree miters on each end. To make this simple, you can also use 2x4s and butt joints rather than mitered joints. In that case, cut four boards to 16″ long and four boards to 13″ long to make the frames.
To cut the bottoms of the game boards, I cut 16 x 16″ squares of 1/2″ plywood on my table saw. You can also use a circular saw or jigsaw to cut these pieces.
Prior to assembly, I sanded all of the boards down. It’s much easier to do this when the pieces are separate than when they are put together, so I try to make a habit on every project of doing this.
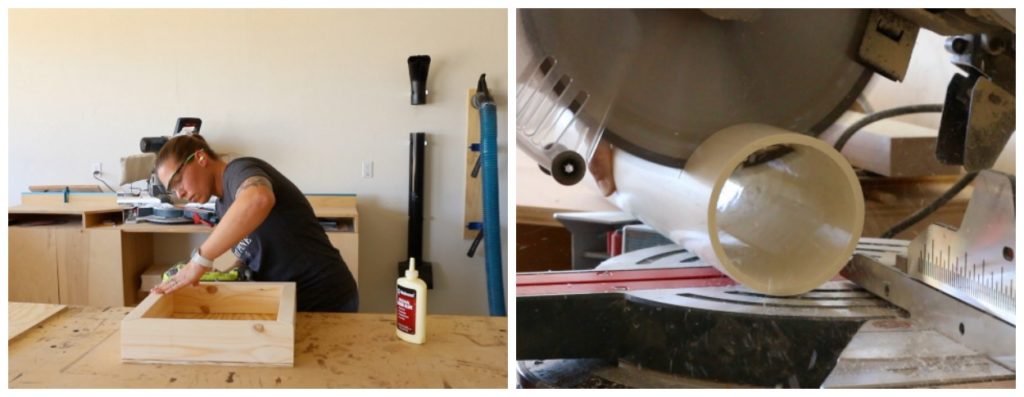
To assemble the frames for the game boards, I glued up the corners with DAP Weldwood Original Wood Glue and then nailed them in place with 2″ brad nails. I used my 16 ga brad nailer for this, but you can use an 18 ga or even wood screws. If using wood screws, make sure to drill pilot holes prior to driving the screws in. It will make the process a whole lot easier, and prevent any splitting in the wood.
For the PVC cups, I grabbed my 2′ x 4″ PVC pipe and cut two cups at 3 1/2″ long to fit inside the game board, flush with the top. I used my miter saw for this, which gave me a nice, clean cut. If you choose to use any other saw for this, just be sure your cut area is smooth and even.
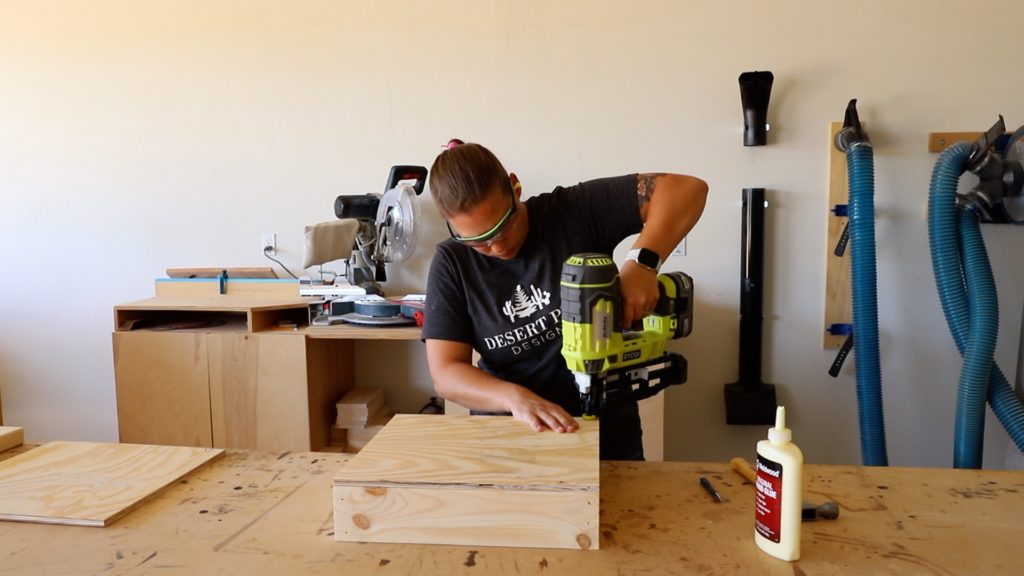
To attach the bottoms to the game boards, I added a bead of wood glue to the frame and then nailed them in place with 1 1/4″ brad nails.
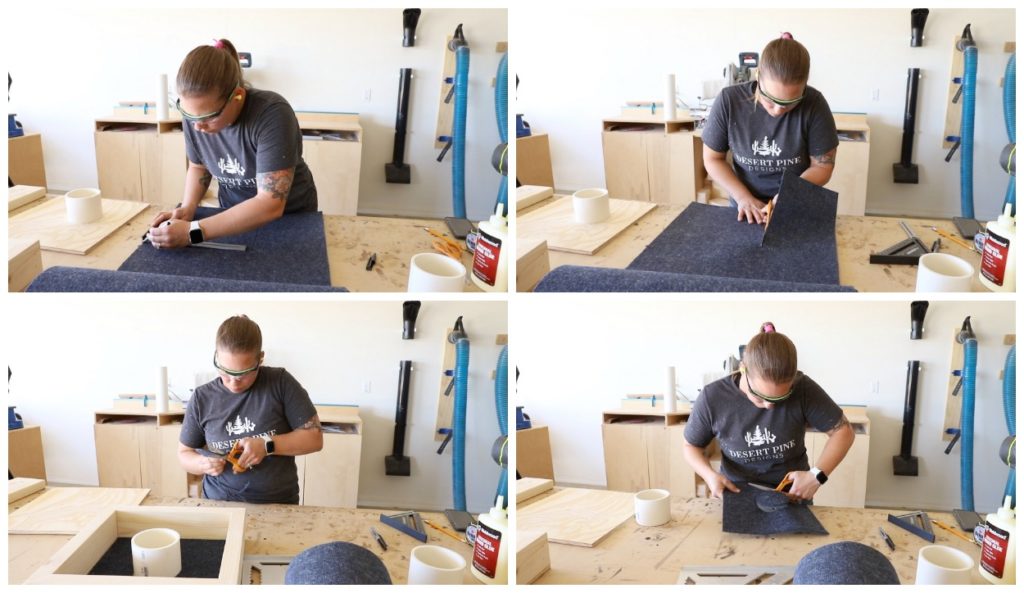
The bottom of the game boards are lined with outdoor carpet. I measured the inside dimensions of the frame and marked those measurements on the carpet with a ruler. I used a sharp pair of scissors to cut the square out and fit it inside the frame and trimmed as needed.
To cut away the center portion of the carpet, I marked the center of the carpet square, then centered the cup over it. I traced the inside and outside edge of the cup on the carpet and then cut it out, starting with the outer line. Once the circle was cut away, I fit it into the box and then cut away the inner circle to fit inside the cup.
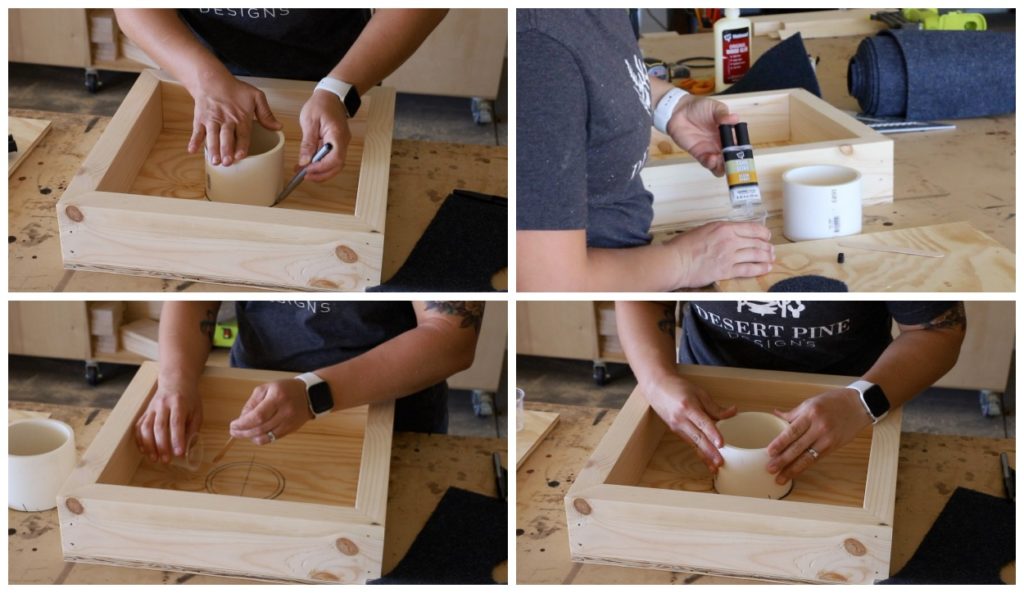
To attach the cup to the game board, I traced an inner and outer line to make a reference point for where I needed to spread the epoxy. I used DAP Tank Bond Clear Epoxy to attach the cup, which comes in an easy to use dispenser and gives you equal amounts of the resin and hardener so there’s no measuring involved. I squeezed it into a cup and mixed it up with a popsicle stick, then poured it in-between the two lines I had drawn in the wood. I pressed the cup firmly down on the epoxy and then added any remaining epoxy around the outside of the cup. The epoxy hardens in about 5 minutes, which makes it very easy to keep on working without too much of a delay.
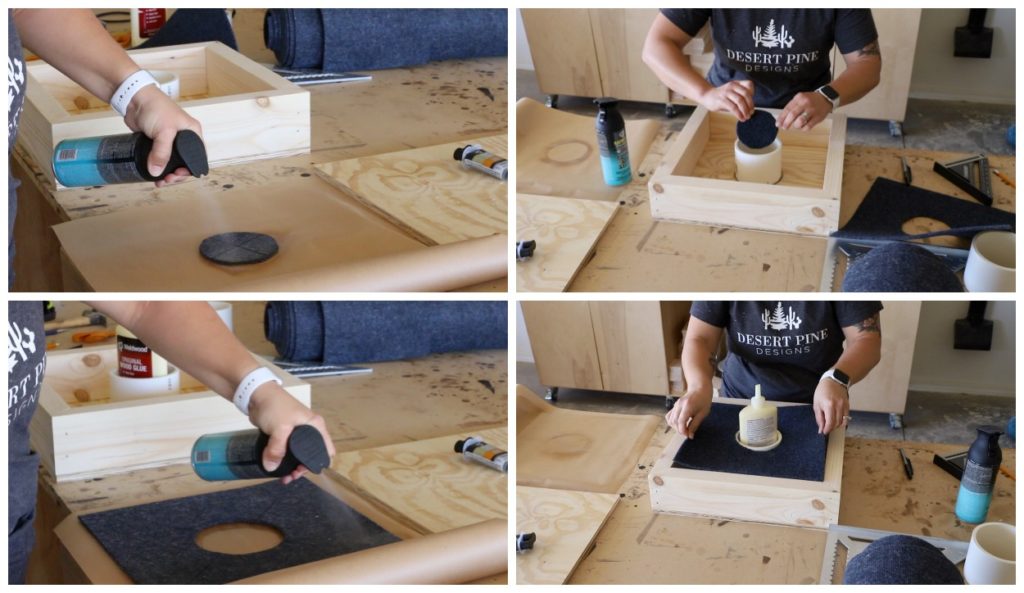
Once the epoxy had hardened, I added the carpet to the game board. I used DAP RapidFuse All-Purpose Spray Adhesive for this. I unrolled some paper onto my workbench to protect it from getting sticky and laid the carpet pieces on it. I sprayed the circle piece first and then firmly set it in place inside the cup.
For the larger square, I sprayed it all over and then carefully set it in place inside the game board. To ensure everything stayed flat while the spray adhesive cured, I grabbed whatever was within arms reach and set it on the carpet to weigh it down.
The RapidFuse All-Purpose Spray Adhesive can be used for a temporary or permanent bond of lightweight materials. For this use, obviously it will be permanent and I’ve been super happy so far with how it is holding up. The washer toss game survived a weeklong camping trip so far and was rained on pretty heavily and not a single piece of carpet has lifted from the plywood.
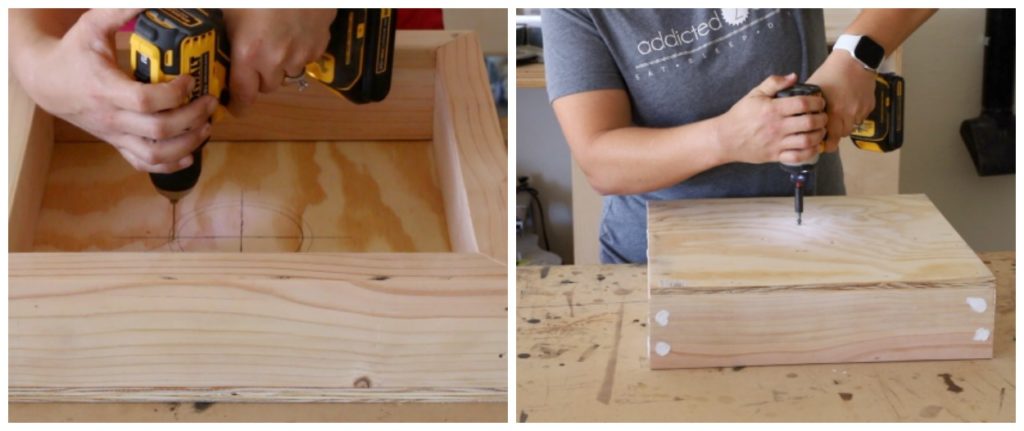
The washers for this game are big and heavy. Epoxy bonds well, but it can only take so many hits before it will break away and I wanted to make sure that didn’t happen with this board. To add some extra reinforcement, I added screws to the underside of the boards, into the PVC cups. I forgot to do this step on the first game board, but the easiest way to do this is to drill pilot holes into the board from the inside, centered between the inside and outside circle lines that were traced.
Once the cups are attached and the epoxy has hardened, I drilled countersunk holes into the bottom of the boards, using the pilot holes as a reference point. This will allow the screws to sit flush with the plywood. I drove 1 1/4″ wood screws through the plywood and into the PVC cups. Sometimes the screws weren’t centered exactly, so I had to make a few adjustments and try again. Luckily it’s the underside of the board, so it’s no big deal.
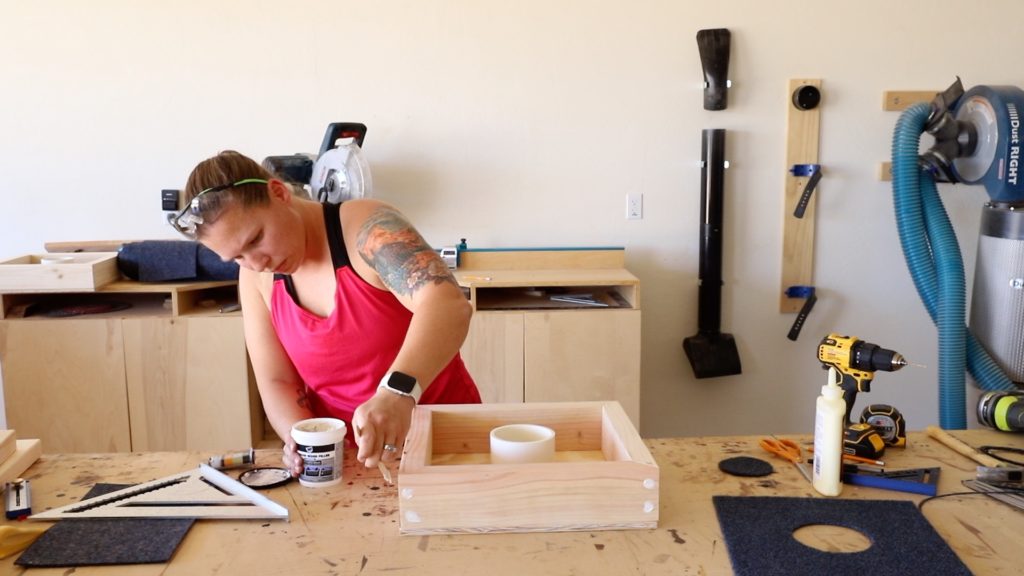
To clean up the game just a bit, I wanted to fill the nail holes on the frame. I used DAP Premium Wood Filler to fill all of the nail holes on the sides of the board, then sanded it down once it dried. This wood filler has such a great consistency and takes the stain so well. I used it for the first time on my barn door project and was super impressed!
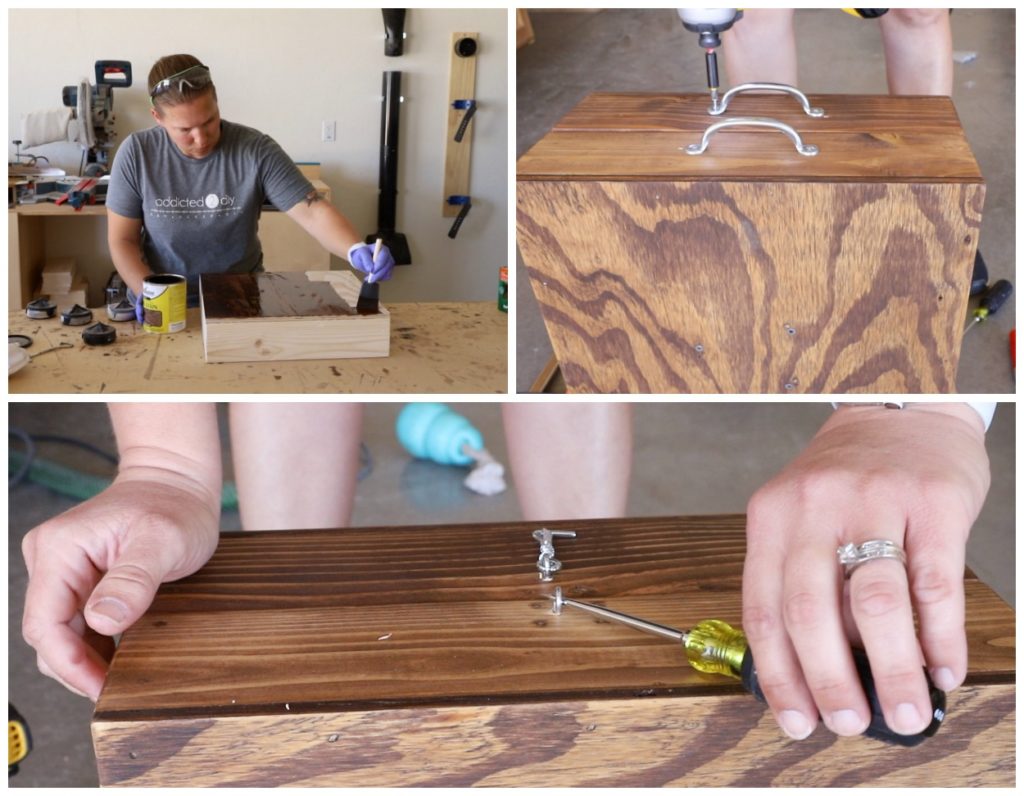
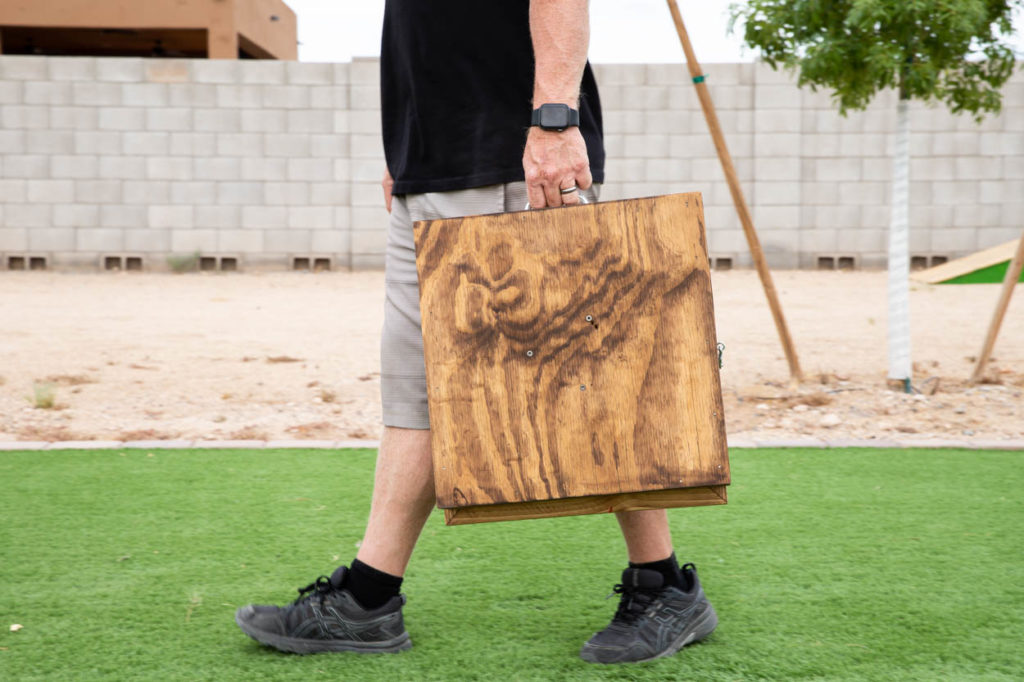
To finish off the washer toss game, I added a coat of stain, some galvanized handles, and spring-loaded hook and eye latches to keep everything together. This way we can carry the game around and/or store it without losing pieces.
I also spray painted the washers in two different colors, which I forgot to photograph or capture a video step of.
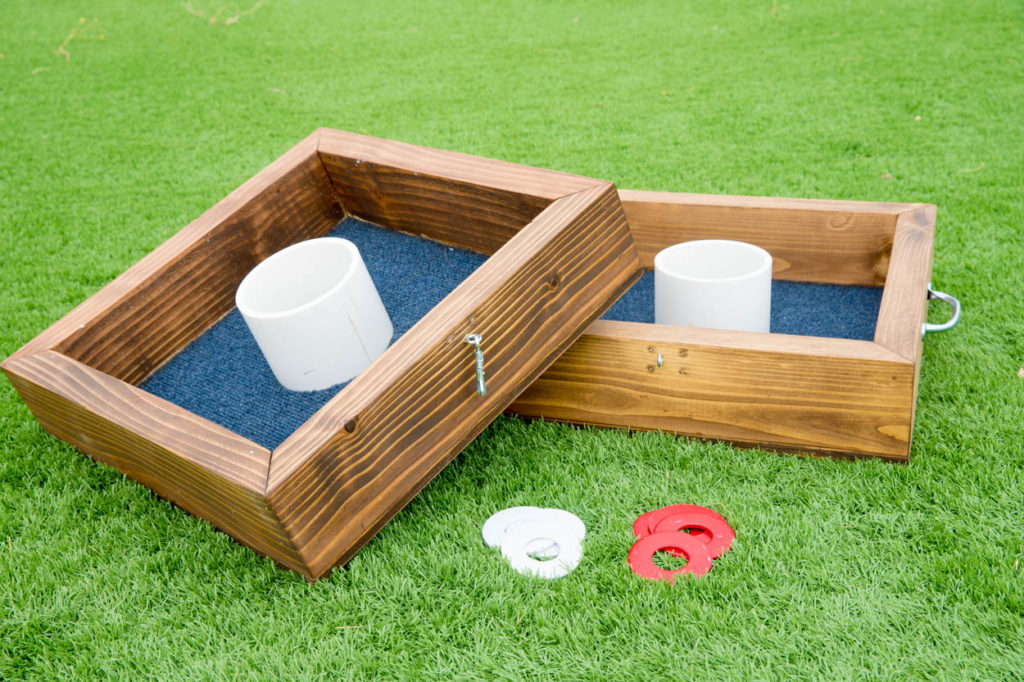
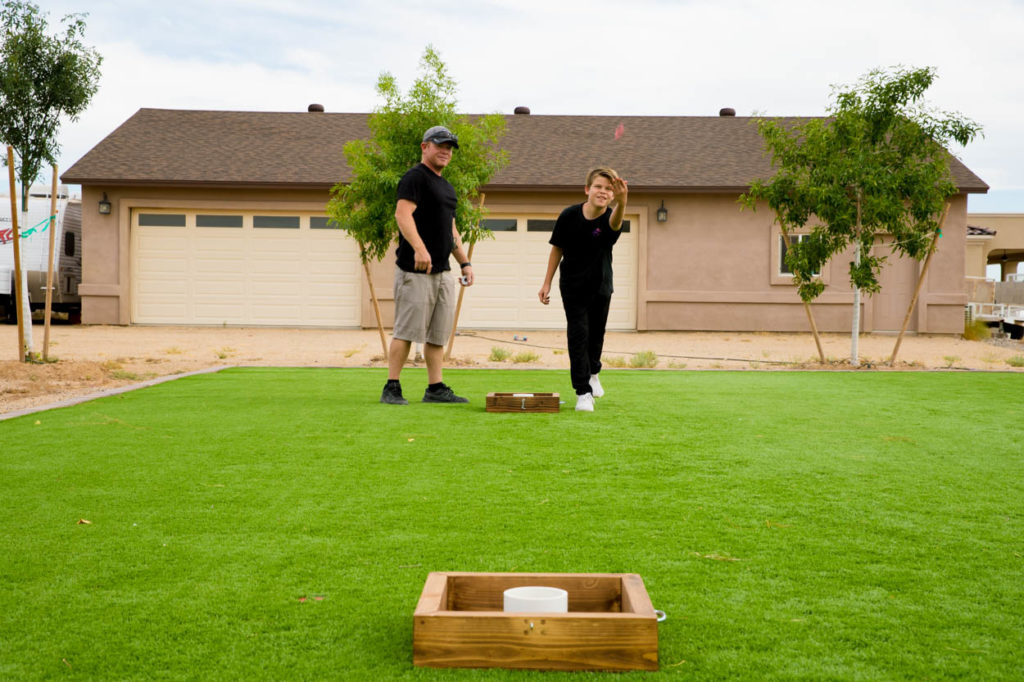
This washer toss game was such a simple project and it’s already provided us with a several hours of family fun. Like I mentioned above, it has already held up to a week-long camping trip where we got some heavy rains and all I had to do to start playing again was dump the water out of the game boards. It’s such a fun game to play and its compact size makes it easy to take anywhere.
Make sure to check out the video tutorial for this project and if you build one, I’d love to see it!
DISCLOSURE: I was provided product and/or compensation for this post. All opinions and ideas are 100% my own.

Hey, Katie! The video looks like a simple project. I’ll show my husband how to make the same washer toss game. Love your projects:) Thank you!
Awesome! It’s such a fun game to play!