Learn how to make this DIY ladder golf game with just a handful of tools and a few supplies. It’s a great game to build and play with the family.
It’s the end of the month, which means it time once again for the DIY challenge! This month’s challenge is a 5 tool challenge. That means you can use only 5 power tools from the list: miter saw, orbital sander, jigsaw, nail gun, drill. The purpose of this challenge was to show you that you can build great things without a massive collection of tools. Make sure to check out all of the links from my fellow bloggers to get inspired!
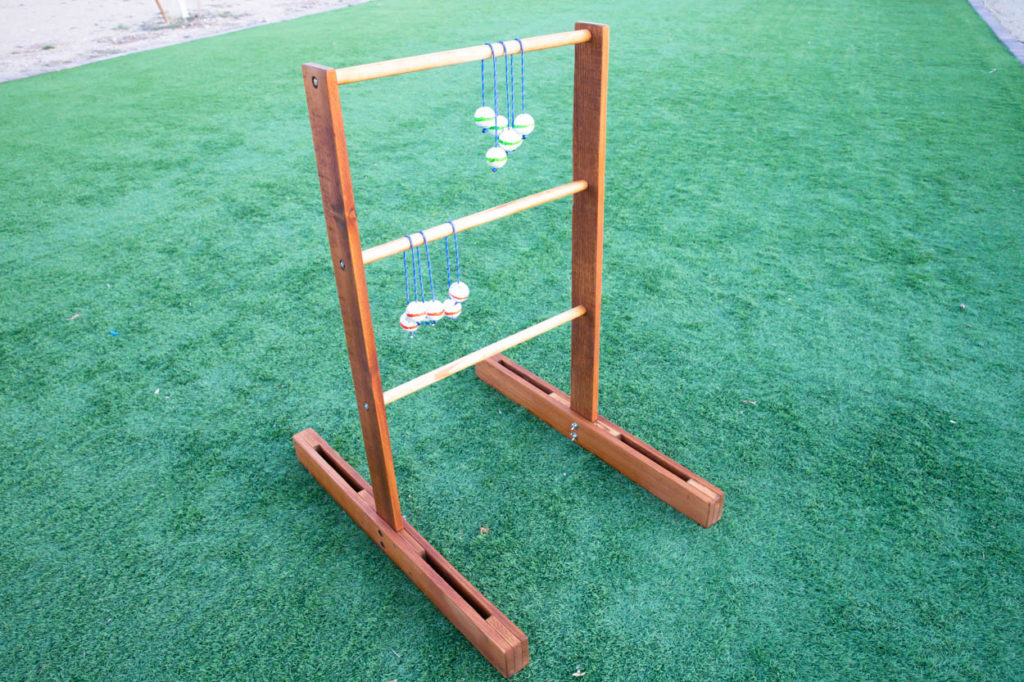
I built a DIY ladder golf game for the backyard, which I know my family will love playing. Now, admittedly, I did make a mistake. I did all of my shopping and building and was super proud of how quickly I built this and how inexpensive it was. The problem is that ladder golf (or ladder ball) is played with two ladders. I didn’t realize that until I was basically done building this one. Whoops! But hey, this is just like regular ladder golf. Just a little more walking. It’s exercise!
How To Build Ladder Golf
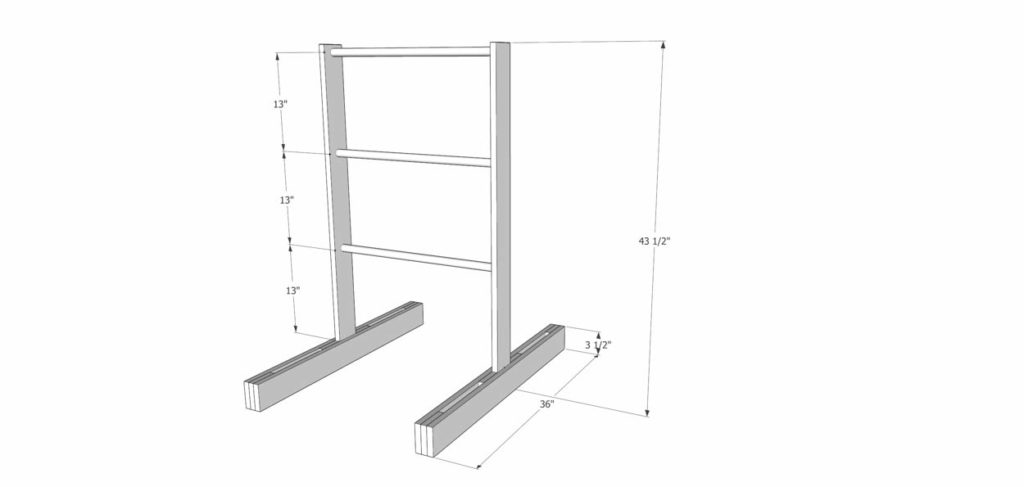
To build a ladder golf game, here’s what you’ll need (this is for two ladders, not the one like I made).
- 6 – 1x4x8′ cedar boards
- 6 – 1″ dowels @ 24″ long (I bought 36″ long dowels as that’s what they had)
- 12 – 1/4″ coarse threaded inserts
- 8 – 1/4″ wing nuts
- 8 – 4″ x 1/4″ bolts
- 12 – 4″ x 2″ bolts
- 20 – 1/4″ washers
- 12 golf balls
- paracord rope
- 5 minute epoxy
- orbital sander
- drill
- miter saw
Cut List:
- 4 – 1×4 @ 43 1/2″
- 8 – 1×4 @ 36″
- 16 – 1×4 @ 3 1/2″
- 6 – dowels @ 24″
- 6 – paracord rope @ approx 20″ long (or a little longer)
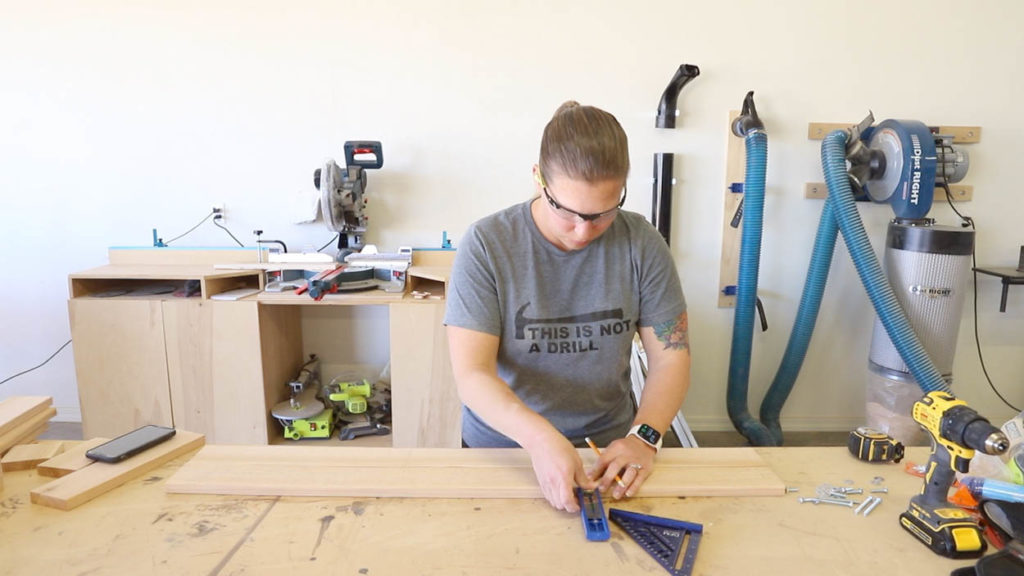
Cut and sand your boards down then begin marking out the hole locations to drill into the vertical pieces.
The rungs of the ladder are 13″ apart on center, starting from the top edge of the base. Measure 3 1/2″ up from the bottom of the vertical pieces. From that point, measure 13″ on center or 16 1/2″, then 29 1/2″, finally 42 1/2″. Mark the center of the board to determine the hole placement.
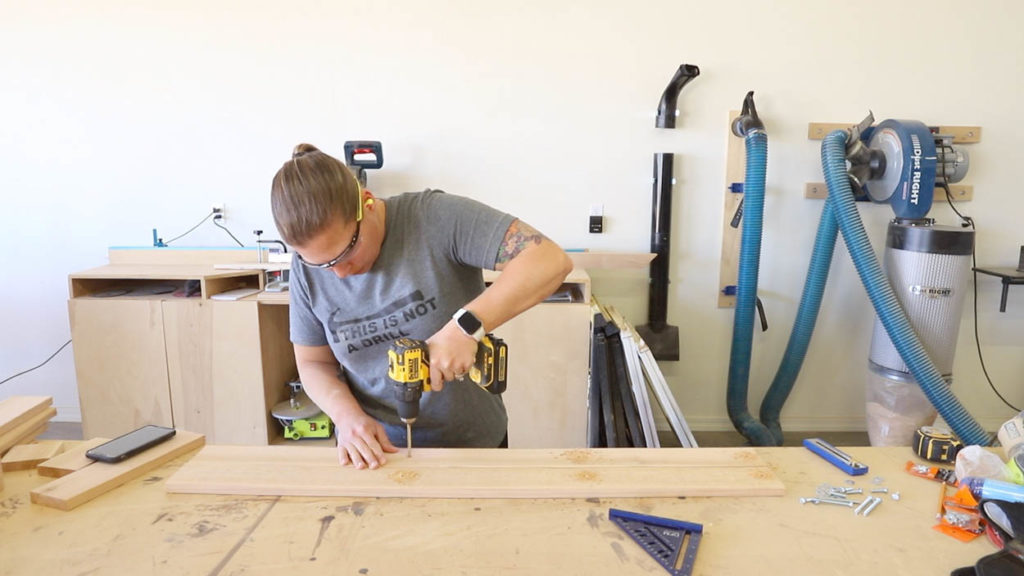
Drill holes into the vertical boards where you made your marks using a 7/16″ drill bit.
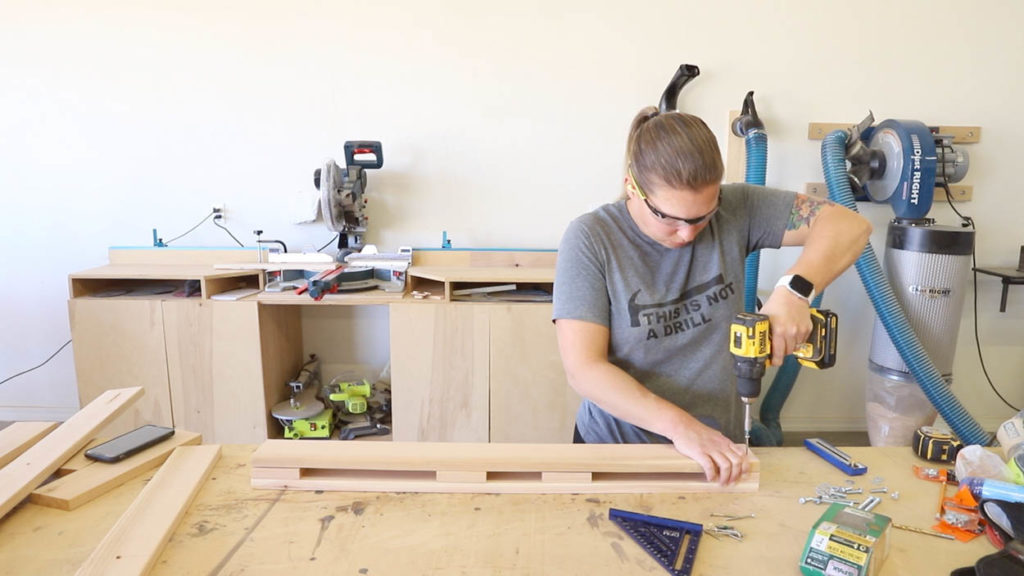
Build the base. Line up a 3 1/2″ spacer flush with the ends of the 36″ boards. Screw everything together with 2″ wood screws. Do the same for the other end.
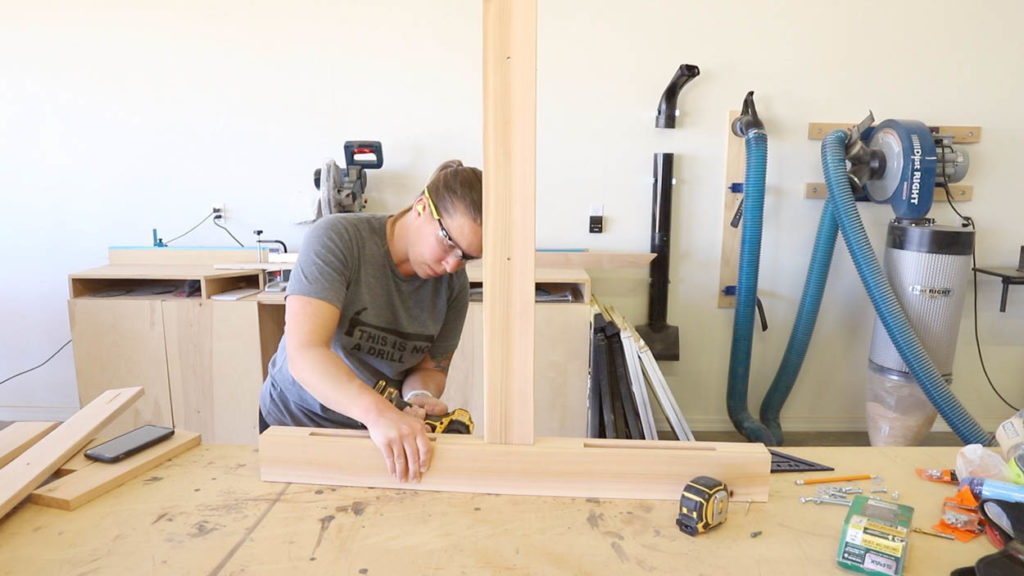
Find the center point of the base and line the vertical piece up with it. Screw the remaining two spacers into place on each side of it with 2″ screws. The vertical piece should be able to slide in and out to allow for disassembly after play.
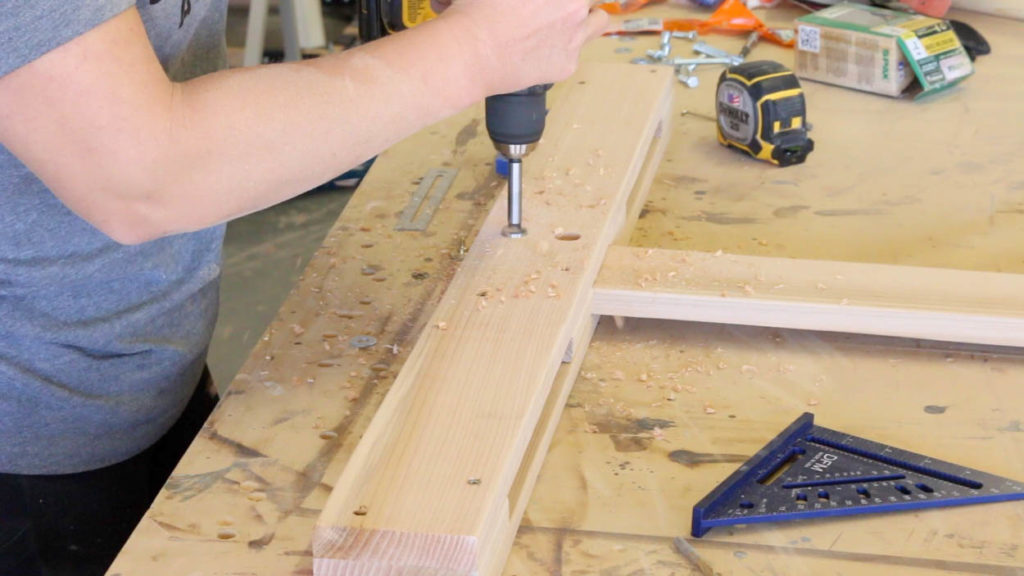
Drill 3/4″ holes approx 1/4″ deep into the base, lined up center with the vertical board.
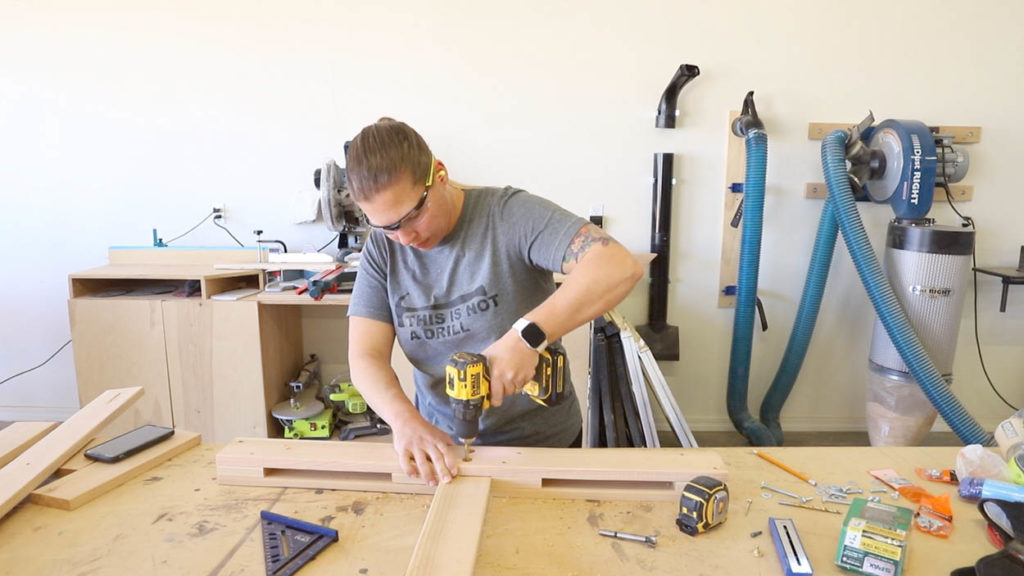
In the center of those holes, drill a 7/16″ hole through all three boards.
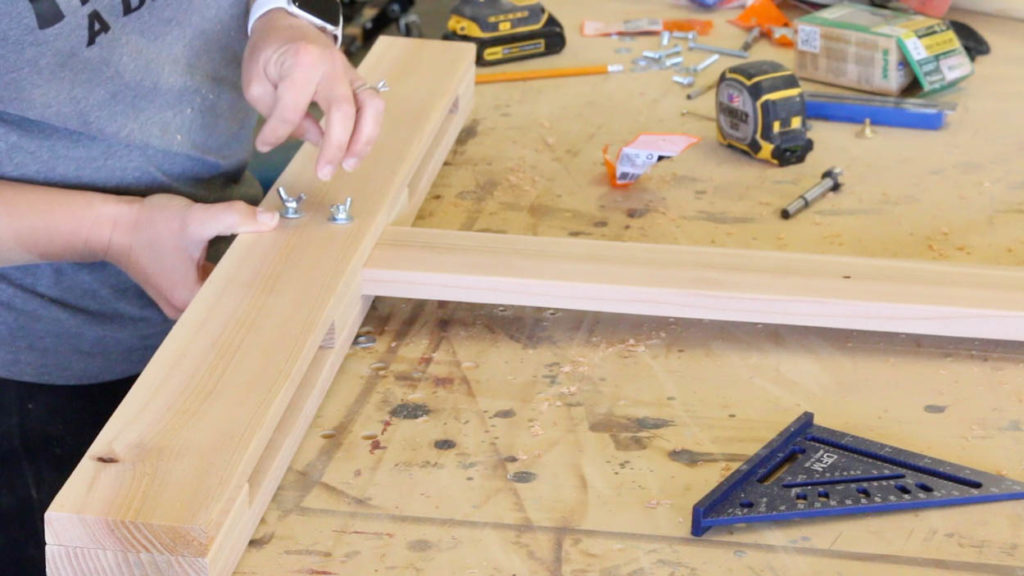
Install the 4″ bolts with washers on each end and wing nuts.
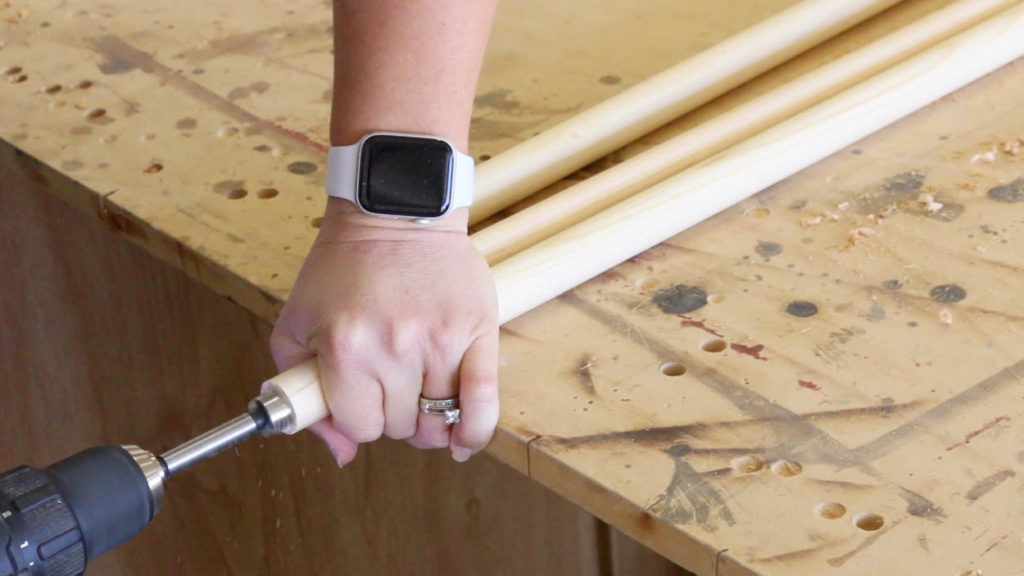
Mark the center point of the wooden dowels with a pencil and a ruler. Using a 3/4″ bit, drill 1/16″ to 1/8″ deep into each end of the dowels. Then drill a 1/4″ hole into the center of the dowel, approx 1/2″ deep.
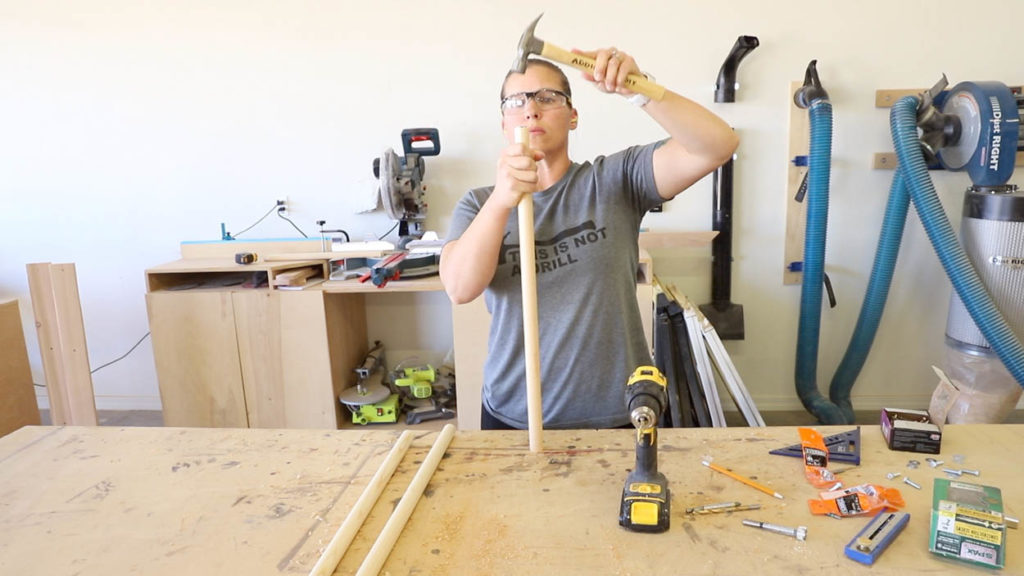
I used a hammer to pound the threaded inserts into place, but they pulled out a bit when I tried to install them onto the ladder frame. I knew they needed to be installed permanently so this didn’t become a problem later on.
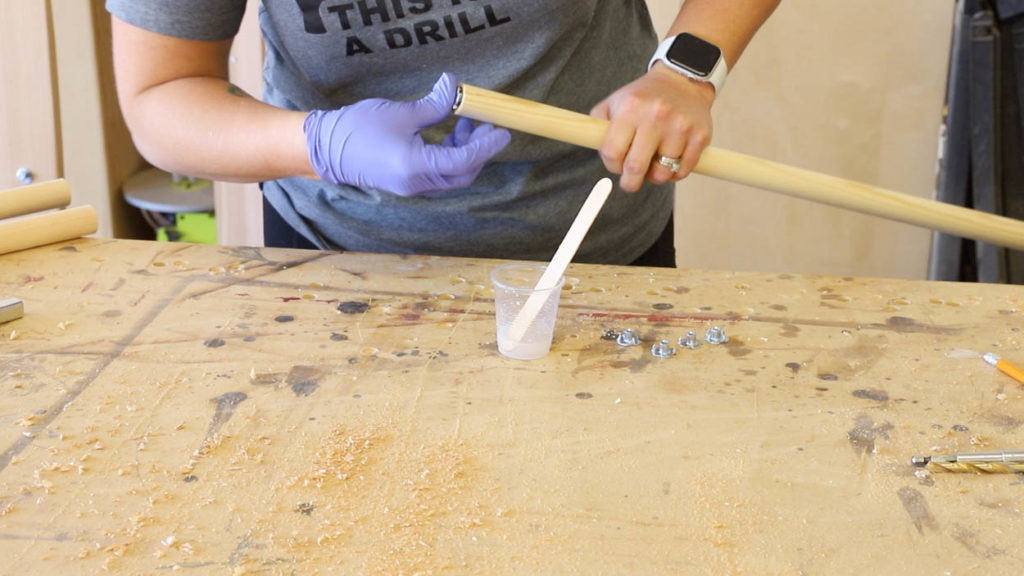
I mixed up some 5 minute epoxy and applied it to the inserts, then pushed them back into the ends of the dowels.
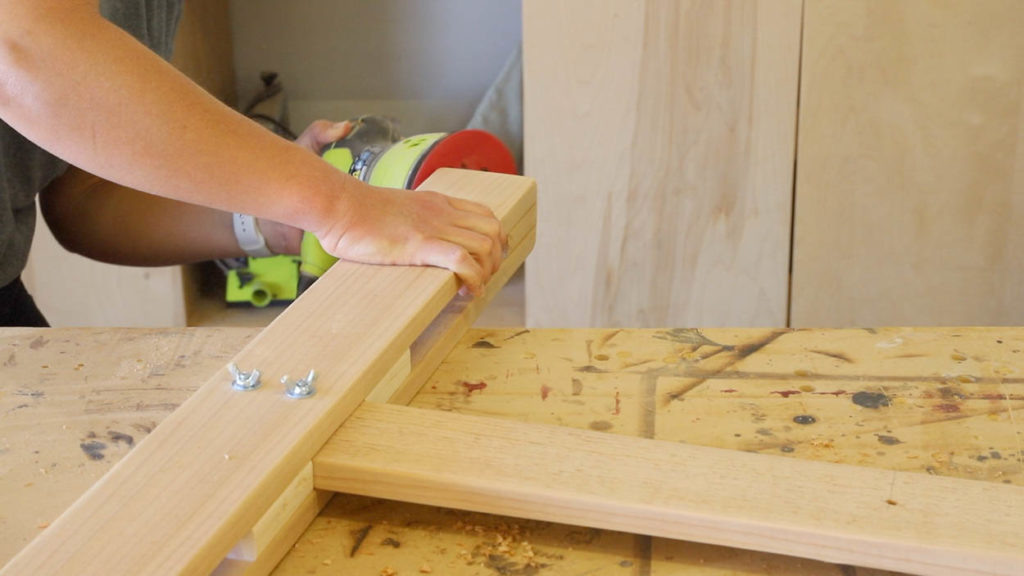
While the epoxy cured, I smoothed out the corners and edges of the base and vertical pieces of the game.
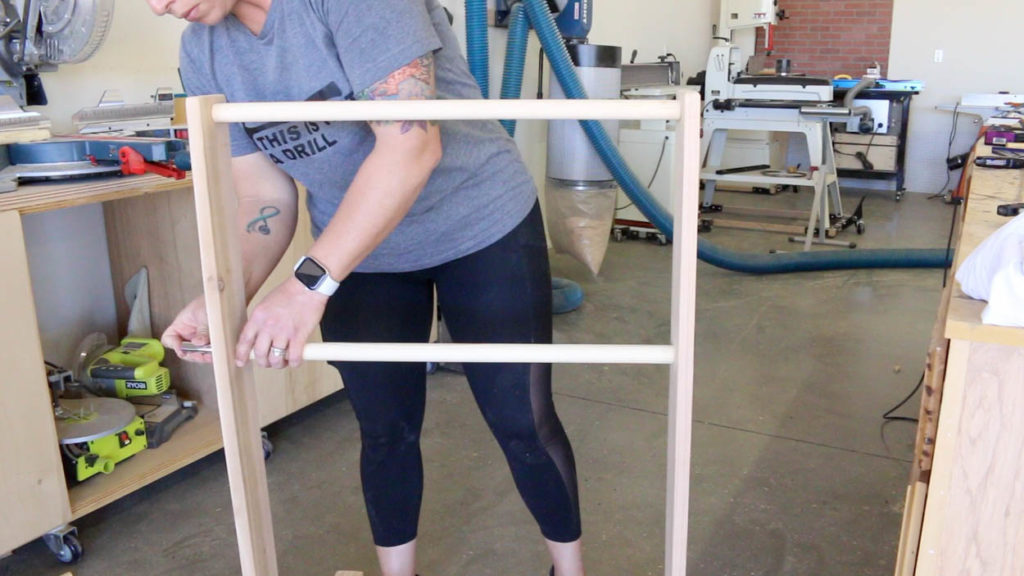
Once the epoxy was dry, I installed the dowels to the vertical pieces using 2″ bolts with washers.
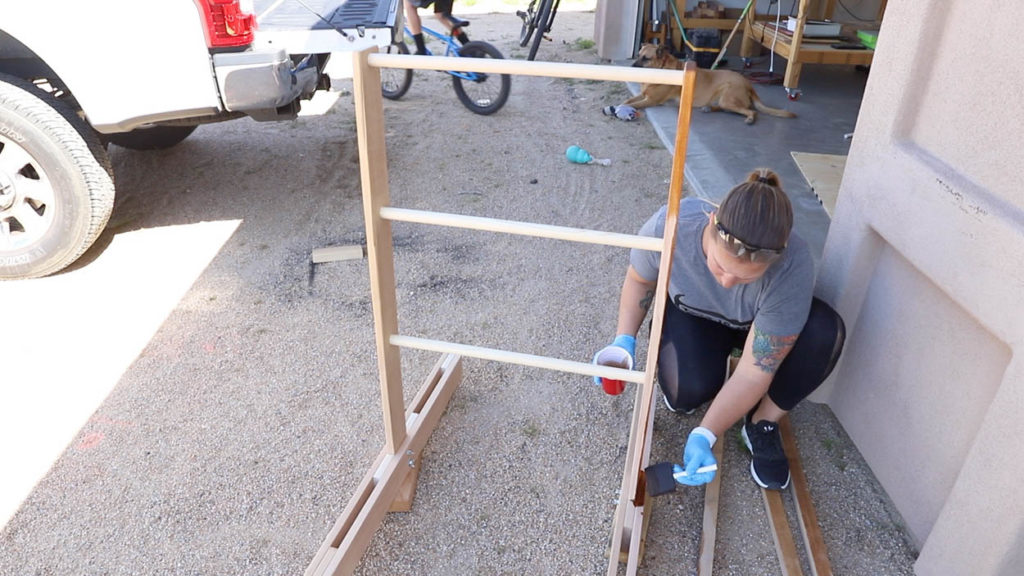
I stained the whole ladder with outdoor stain to give it a little more protection from our desert sun.
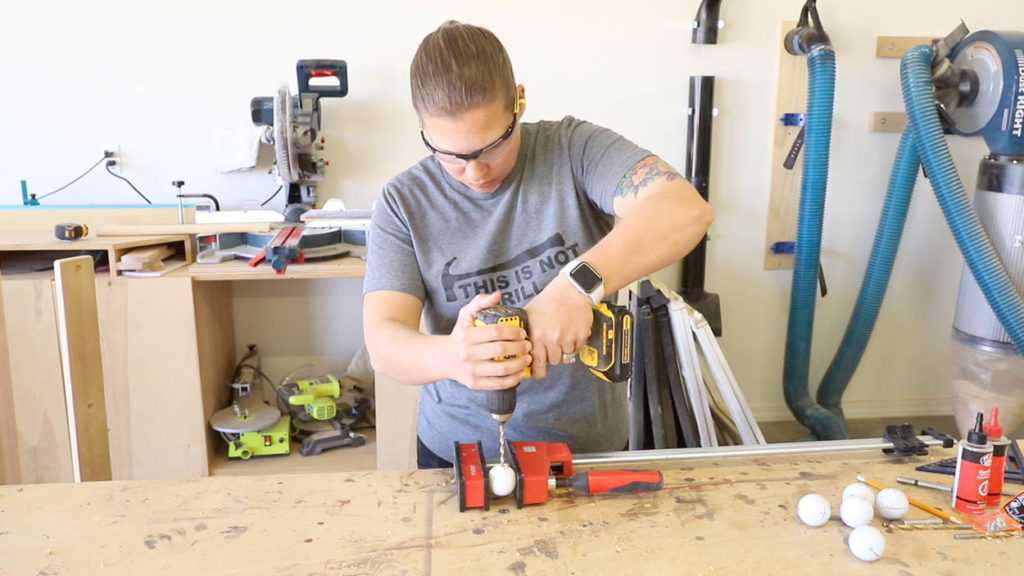
For the golf balls, I drilled an 11/64″ hole into each of the golf balls, lining the drill bit up over a dimple in the ball to keep it steady. The golf balls were shockingly easy to drill through. I guess I assumed that I’d have to work a little harder, but they are just made of hard plastic.
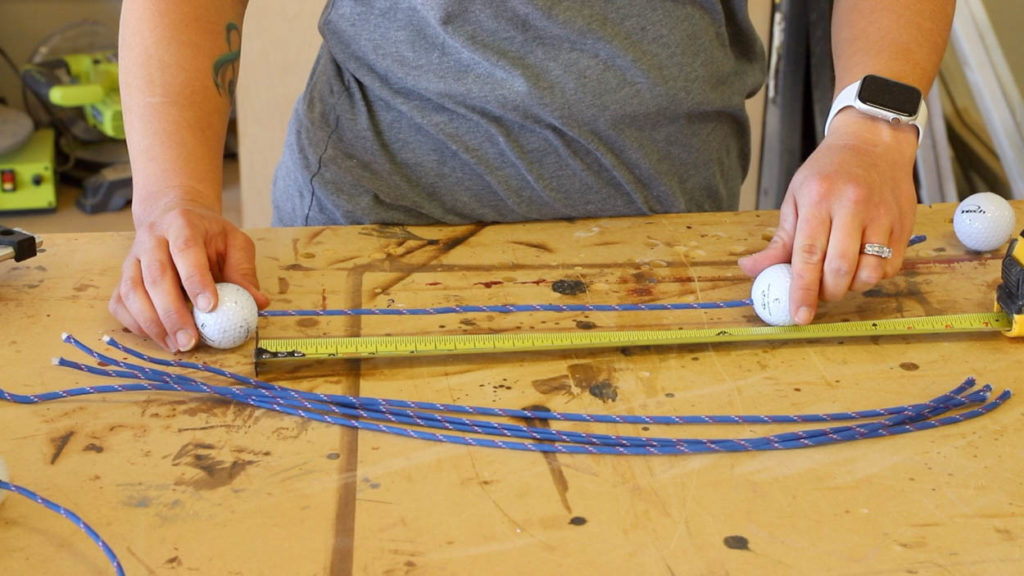
Once all of the holes were drilled, I cut six pieces of paracord and threaded it into the holes. I tied one end off, then measured so that there was 13″ of cord between the two balls, then tied off the other end at that point. I burned the ends to melt the cord to keep it from fraying.
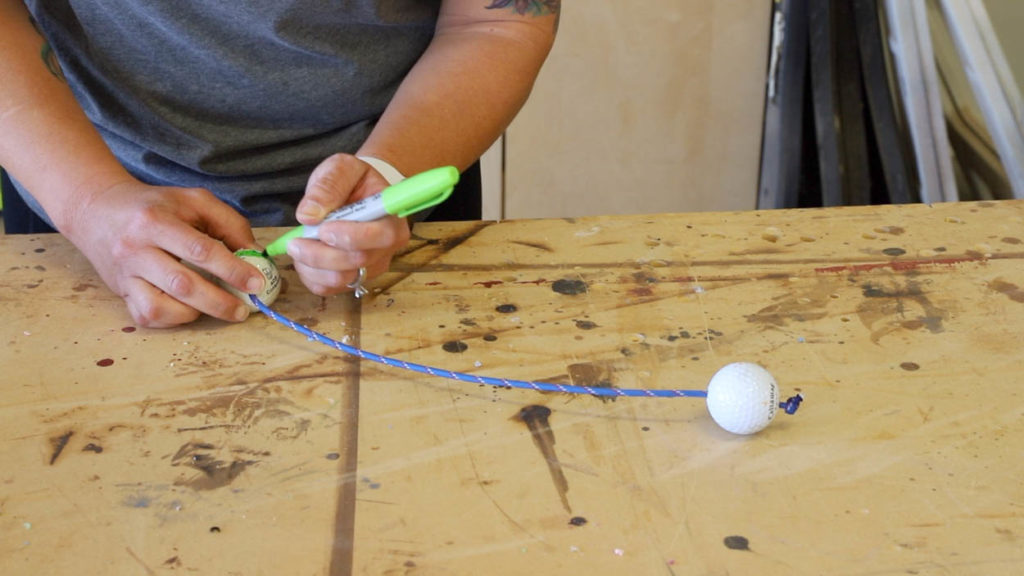
The balls need to be two different colors to differentiate between the teams. I thought about spray painting them, but it would have been a huge mess. I grabbed a couple of permanent markers from the house and marked a simple line around each of the sets of balls to differentiate them.
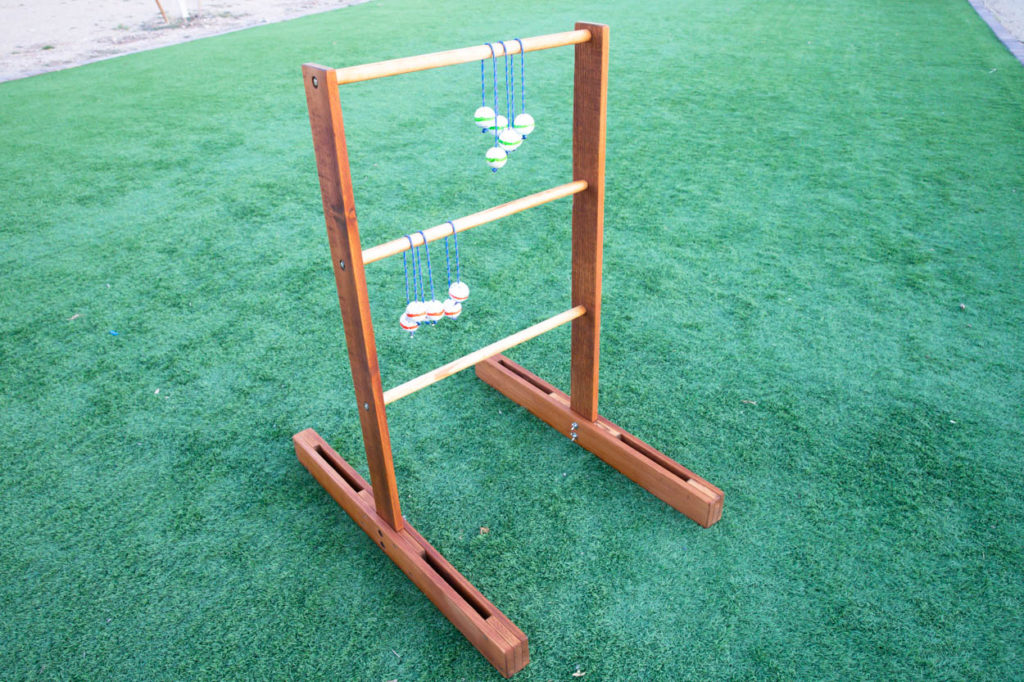
The game was such a simple project to build. Especially since I only built one. Ha! But I am looking forward to enjoying this with my husband and kids. It’s easy to disassemble and I’m going to look around for a bag that I can put it in so we can store it and also take it on camping trips with us. Maybe I’ll get around to building a second one, but we’ll have to see. What do you think? Should I go ahead and build another? Just leave it with the one?
5 Tool Challenge
Check out all of the projects my fellow bloggers created using no more than 5 power tools!
My Repurposed Life
Anika’s DIY Life
The Awesome Orange
Jaime Costiglio
At Charlotte’s House
Hopefully these projects inspire you to create your own wonderful projects and feel confident in knowing that you don’t need a ton of tools. Just a few essentials and your imagination!

We love this game! Also mad impressed with the golf ball drilling jig! 🙂 I can’t even imagine what janky solution I would have come up with ! 🙂
Charlotte recently posted…How to Build a Rustic Wooden Bench
Haha! It’s just a big clamp. I grabbed the biggest one I had thinking it would be a tough job. Turns out it was super easy! It’s also super fun for the kids to guess what color plastic is inside the golf ball;)
Awesome project! I’ve never played ladder golf… I don’t think I’d be very good at it. Thanks so much for hosting this challenge for us each month Katie. I truly appreciate it and look forward to it each month.
pinning!
gail
Thanks so much, Gail! We used to have one years ago and loved playing it together. It’s super fun!
Perfect for my older kids. I’m definitely adding this to the list. And of course cedar is always so pretty 🙂
Jaime Costiglio recently posted…DIY Simple Side Table
Thank you, friend!