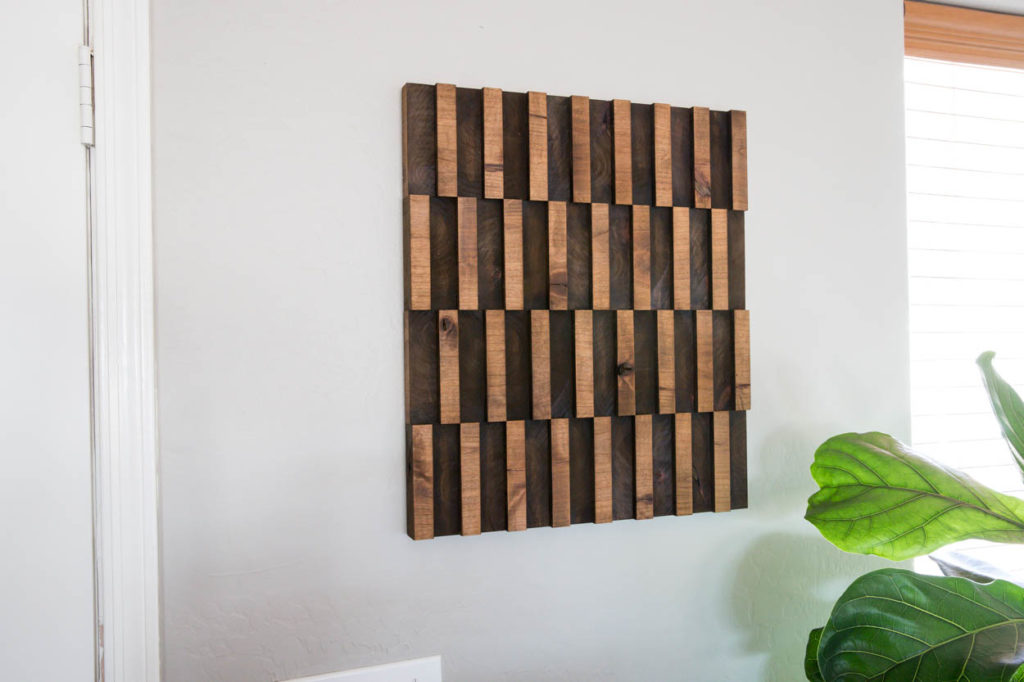
Hey there everyone! It’s that time again for another monthly DIY challenge and this month’s theme was wall art. The rules were simple. Create a piece of wall art using whatever you like! I decided to use some scraps of wood to create this abstract wooden wall art and I’m pretty thrilled with how it turned out!
Make sure to keep reading, because there are several other amazing wall art projects this month and I’ve linked to all of them below!
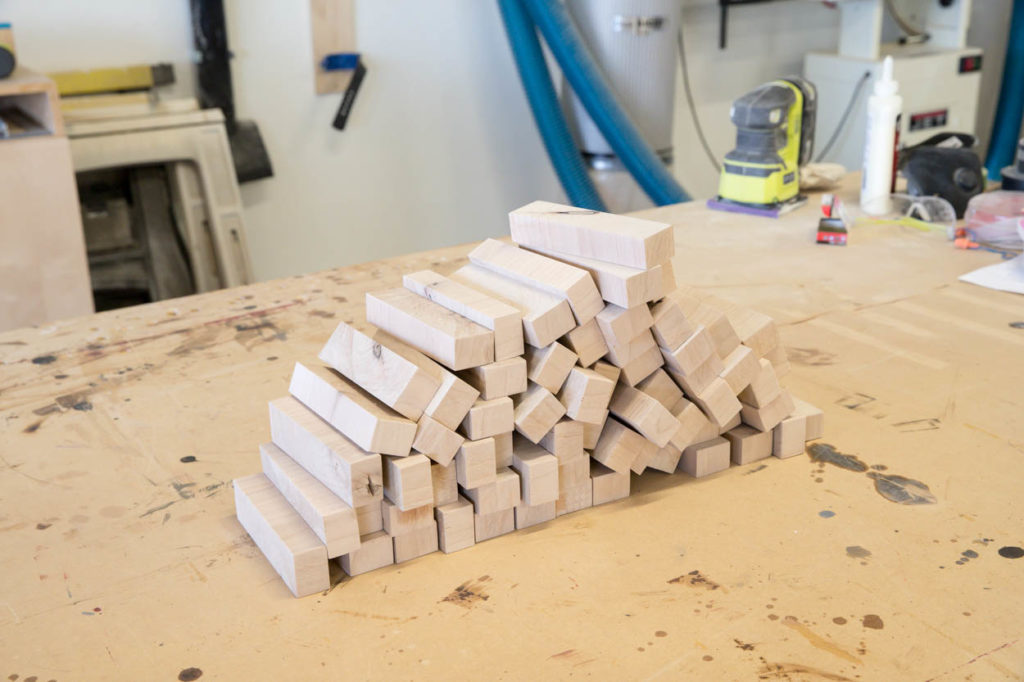
It all started with these little scraps of wood that I had originally intended to use when I built my youngest son’s trophy shelf/hat rack. I had planned on them going in rows and tilting out to hold his hats. After cutting and sanding all of these pieces down, I decided that it just wouldn’t look right for the design I was going with so I set them aside, knowing one day I’d find a use for them. Today is that day!
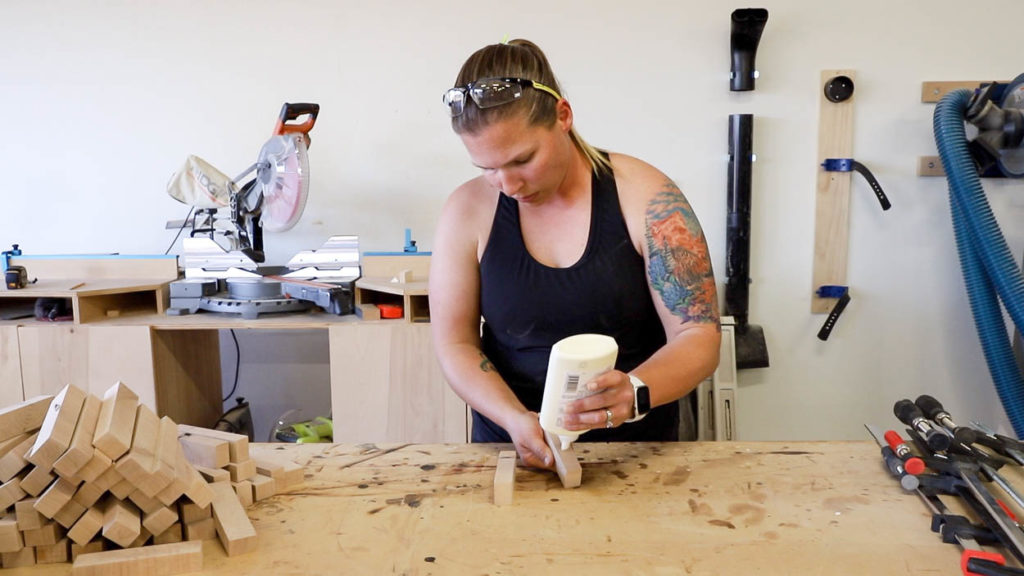
This project is super simple to recreate for yourself. You’ll just need to cut a 2×6 board down into 1″ wide pieces and then alternate the pieces. You can make this as big or as little as you like. For this size which is about 21 1/2″ tall and 18″ wide, I used 64 pieces. All you need is glue and a miter saw!
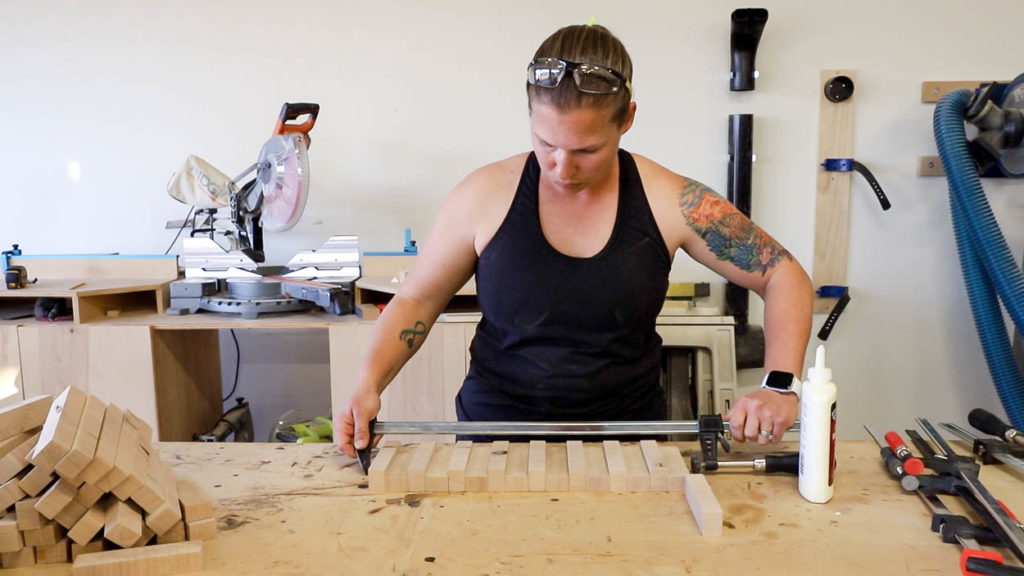
I glued up all of the pieces alternating them to sit flat and vertical (edge grain and top grain). Once I had a row of 16 of them glued up, I clamped them together to dry.
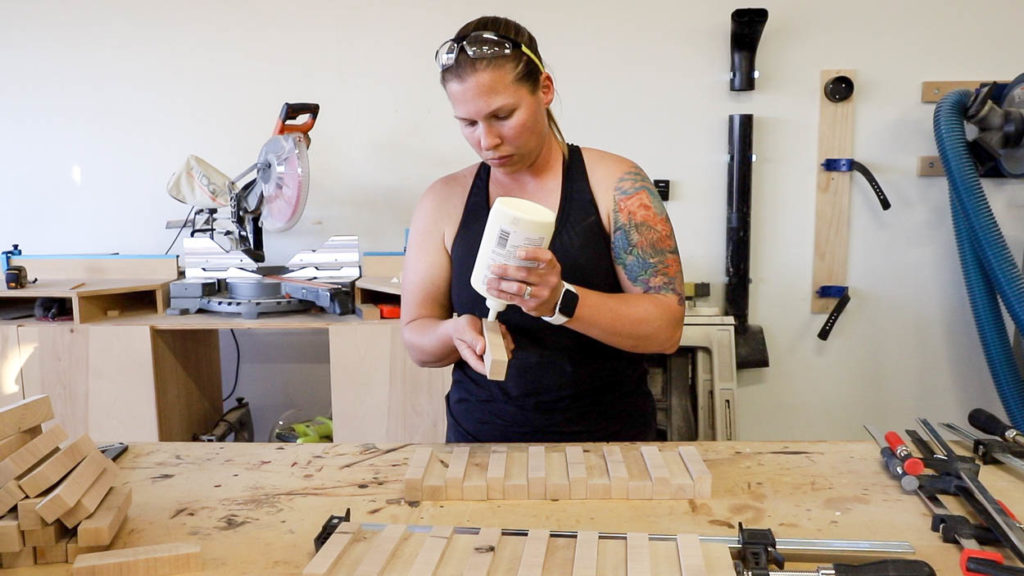
I then moved on to the next rows, repeating these same steps until I had four rows glued up. I set them all aside to dry.
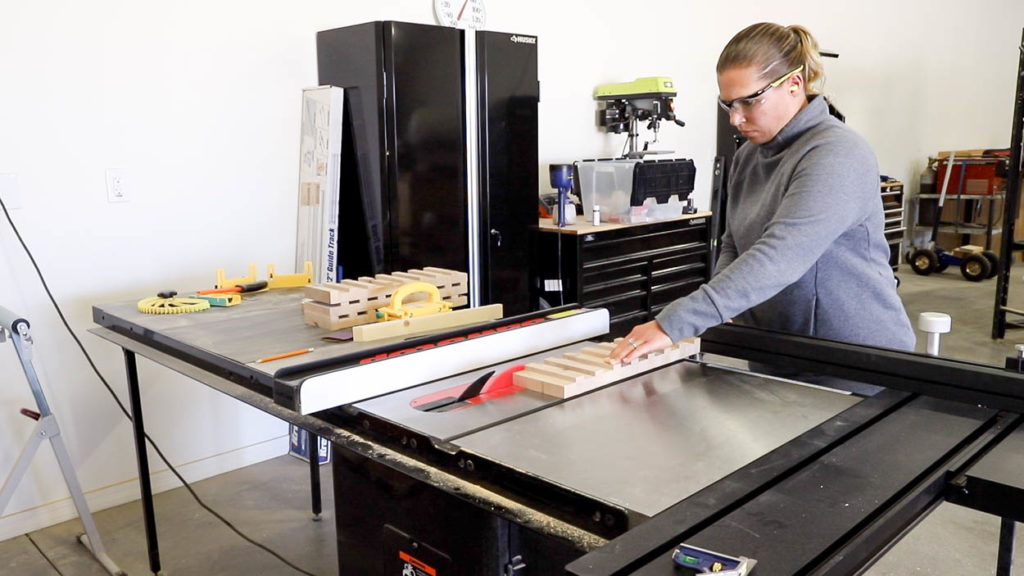
I’ll admit, I was in a bit of a hurry when gluing these up, so they weren’t 100% flush on the bottom and top edges. Once the rows were dry, I took them over to my table saw and cut off just enough of the edge to make them flush. This step is totally optional and you can use a sander if you don’t have a table saw.
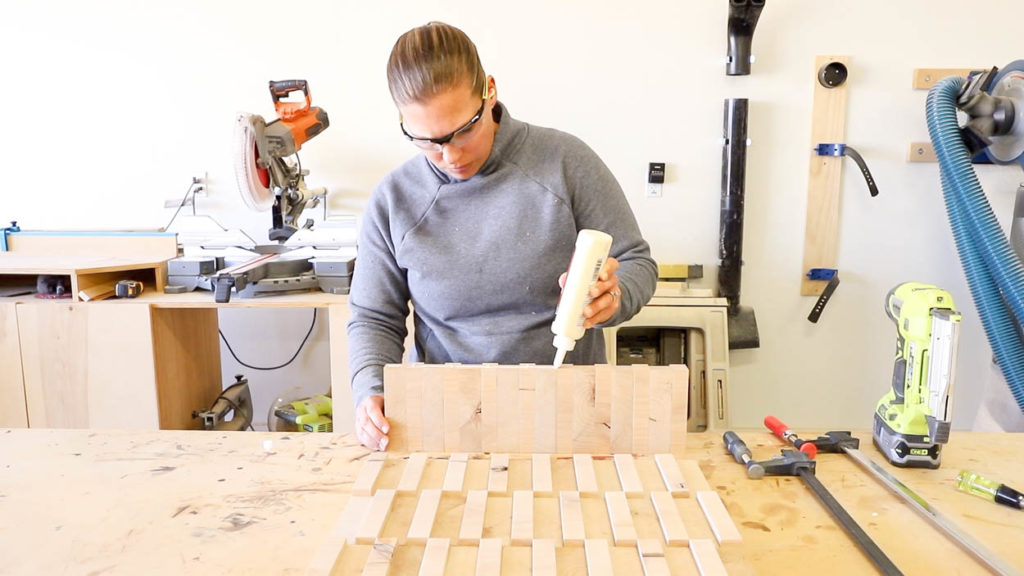
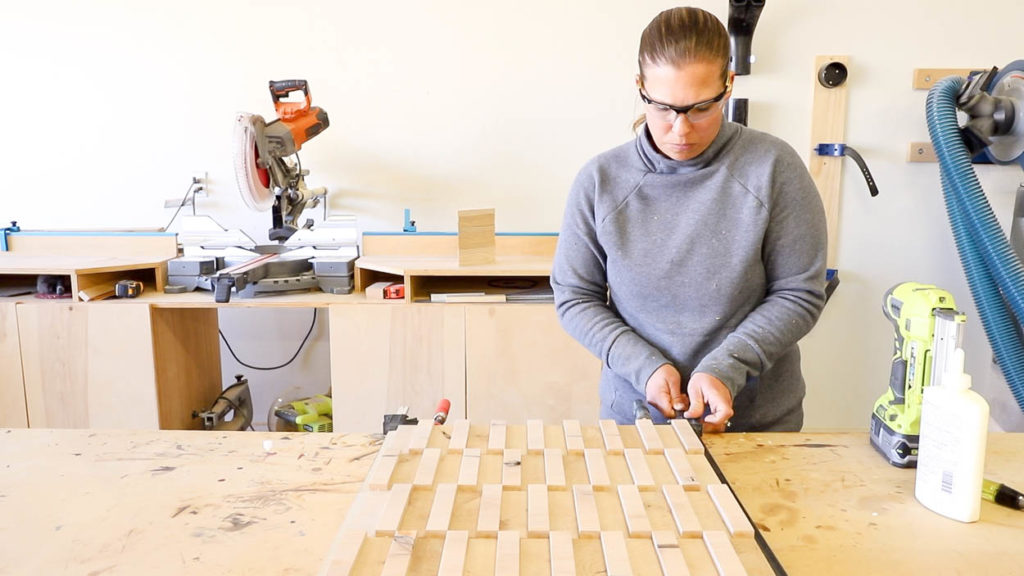
I came back to my workbench and glued up the edges of the rows, then clamped them together and set them aside again to dry.
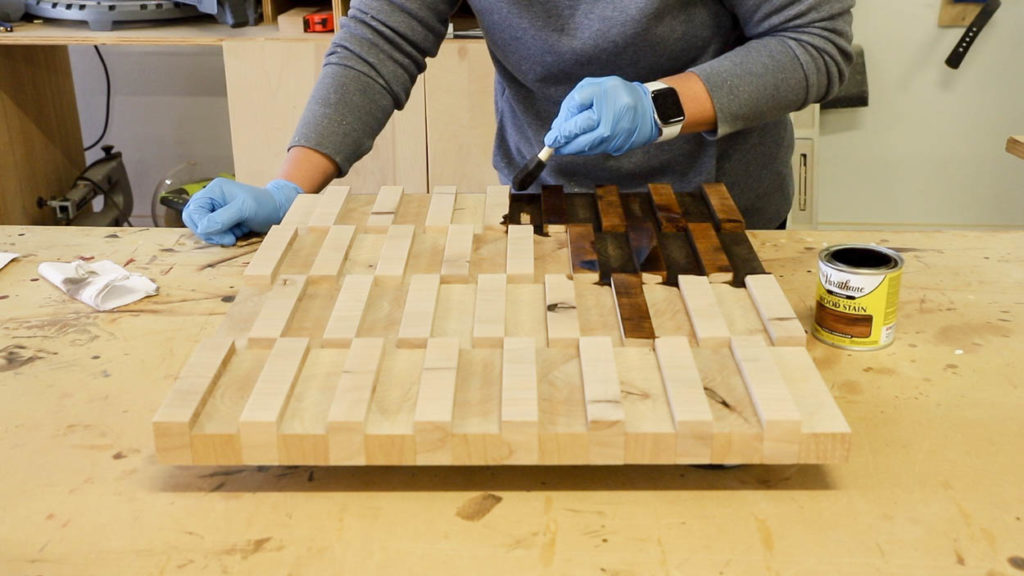
With the panel glued up and dry, it was time for stain. I chose Early American stain by Varathane and brushed it all on with a foam brush, using a cloth to wipe up any excess. I let it dry overnight and then it was time to hang it.
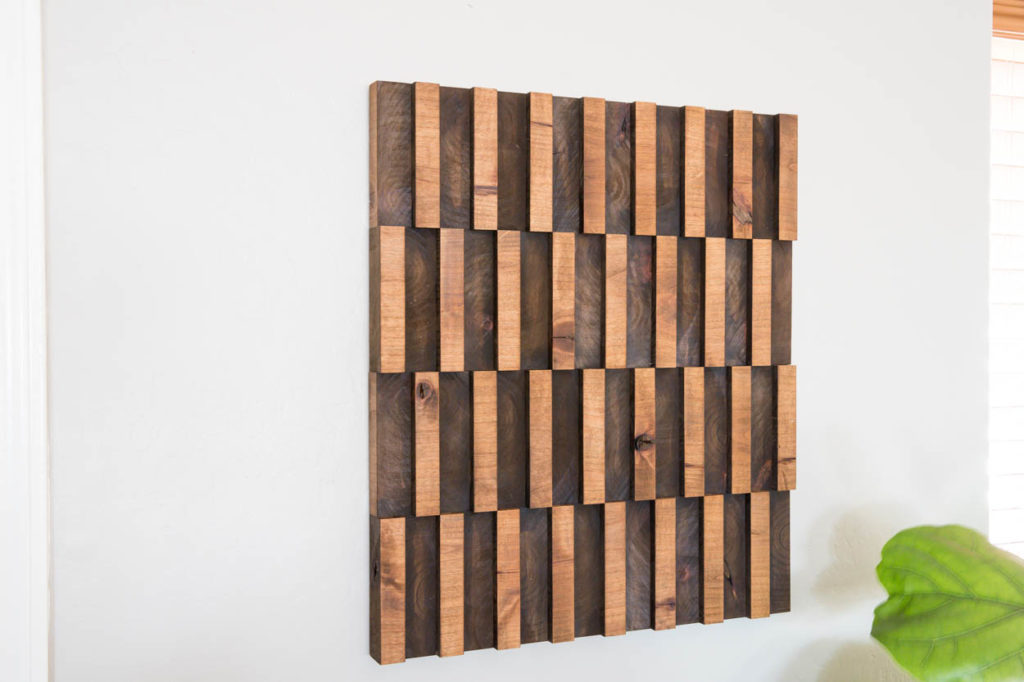
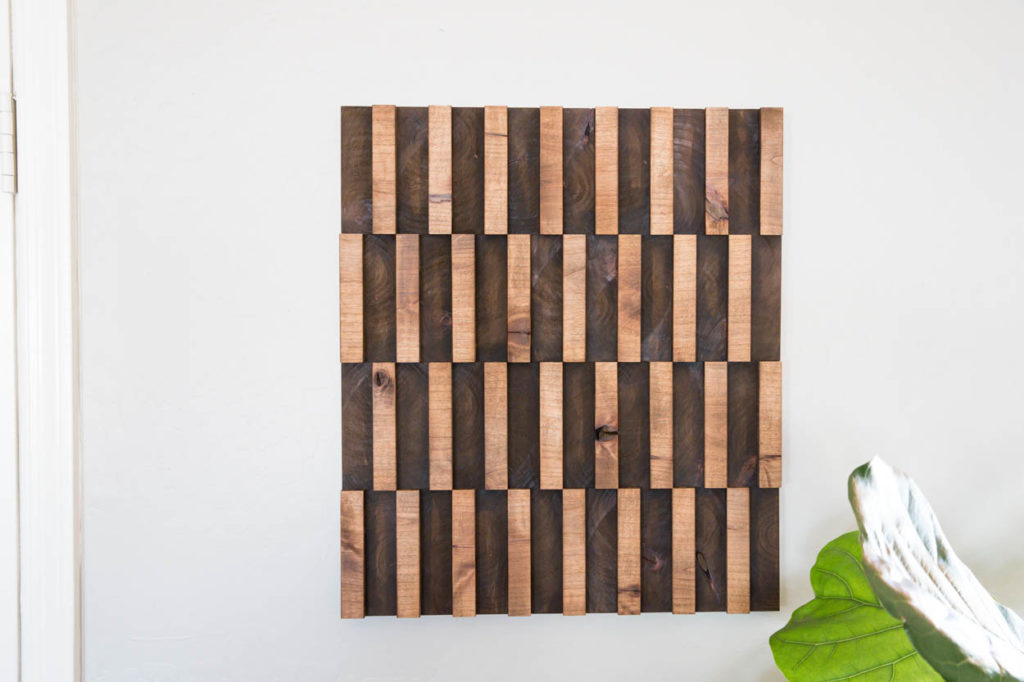
The end result is this gorgeous abstract wooden wall art that perfectly fit the empty space between my front door and window in my den. That area was just begging for some attention and this was just what it needed! I love when something so simple can come together like this.
Wall Art Challenge Projects
My Repurposed Life
Ugly Duckling House
Anika’s DIY Life
The Awesome Orange
Joyful Derivatives
At Charlotte’s House
Ellison Made
Make sure to subscribe to my website and stay tuned each month as our amazing and talented group share these monthly challenges!

Katie,
What a perfect accidental project! How fun that you had all that scrap wood just waiting for it’s purpose. I love how your abstract wooden wall art turned out.
Thanks for being the “glue” that holds US all together in these monthly challenges. 😉
pinning!
gail
Lol! I see what you did there;) I kept staring at that pile of wood for months and I’m so glad I finally put it to use!
This is so awesome! I love the modern rustic vibe 🙂 Great DIY!
Rachel Joy recently posted…Easy DIY Macrame Plant Hanger Wall Hanging Tutorial
Thank you Rachel!
I love when a cool piece of art can be made from things we already have lying around. The dimension is so fun on this!!!
Thanks so much, Brittany!